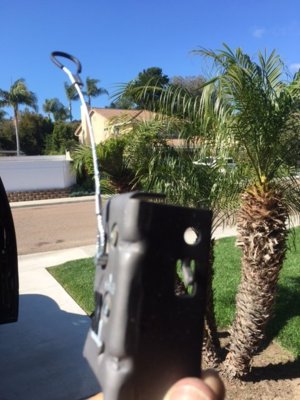
What did u do to your raptor today?

Disclaimer: Links on this page pointing to Amazon, eBay and other sites may include affiliate code. If you click them and make a purchase, we may earn a small commission.

SVT_Aaron

Full Access Member
Joined
Feb 9, 2015
Posts
438
Reaction score
263
Location
El Paso/Ft Bliss, Texas
Im curious how these will work out too. The problem I see with basically sleeving the axle to the hub is first off, gas mileage will suffer. And depending on how much you drive, the front driveshaft is spinning all the time. While this may not seem like a big deal, the fleet I work at has a lot of Dodge trucks that use a similar system. The front diff & driveline are always engaged and shifting to 4wd is done at the Transfer case alone. We had one front driveline come apart at the u joint while driving down the highway and it was ugly. It totaled the truck! And the Dodge (Ram) front driveshaft U joint has a needle grease zerk, Raptors dont. And few of us mechanics even knew about it. In fairness, we only had 1 come apart, but you can bet they had a campaign to get them all inspected & greased.

It may not be an issue at all, the U joint may hold up fine. But no doubt your gas mileage will drop. Please post a follow up when you have run these for a while. I would personally rather see a better, stronger version of the IWE made. I seem to recall one of the vendors that post here was working on a better IWE. Any word on that ?

I read in the thread about how people were fine with it and haven't had any issues, so I figured I might as well give it a try. I've had nothing but issues with mine and had them replaced not too long ago. after getting them replaced I had taken a trip to a lake near by about a month later and when I tried to get out of some really soft sand the IWE's failed on me again and I had to be pulled out. so reading what everyone wrote and recommended I bought them. the only issue for me now is just finding a great mechanic to do the job.
I will make sure to follow up and post pics if possible! as for the question you asked, im not too sure I tried to get a hold of Joe (HaynesOffroad) but no luck.
 

S197Mach1

Active Member
Joined
May 4, 2014
Posts
80
Reaction score
50
Location
Chesapeake, VA
Getting Ko2 put on because I found another nail this time in the side wall lucky me! Was going to replace eventually this kind of forced my hand. Factory tires at 45k still had 8 32nd of tread spare which had been un used has 16 32nds so 50% I think is not too shabby.


Sent from my iPhone using Tapatalk
 

R1jamn

Full Access Member
Joined
Jun 18, 2011
Posts
401
Reaction score
299
Sealed the third brake light today.
I never had an issue with leakeage inside the cabin and I'm not waiting for it to start either.


No signs of leakage around the third brake light after removing it.

No%20Visible%20Leakage_zpsrcwxftik.jpg

Third brake light removed.

Third%20Brake%20Light_zpsrlrou2th.jpg

Clear RTV silicone sealant applied.

Applied%20Clear%20RTV%20Silicone_zps9b2ig5xe.jpg

Applied sealant to the holes of the lens where the two mounting screws go and installed the third brake light.
Cleaned up the sealant around the perimeter.
Now to let it cure for 24 hrs.

%20Curing%20on%20Third%20Brake%20Light_zpslj5momzb.jpg
 
Last edited:

badm0t0rfinger

Rocket Man
Supporting Member
Joined
Nov 30, 2014
Posts
1,678
Reaction score
3,712
Location
The Beach
That's something I've been meaning to do.

Edit/Addition: Does that prevent you from accessing the bulbs if they go out or if you want to change them to LEDs?
 
Last edited:

Sano Dano

Full Access Member
Joined
Dec 25, 2011
Posts
399
Reaction score
420
Location
Encinitas, CA
Weekend Mods

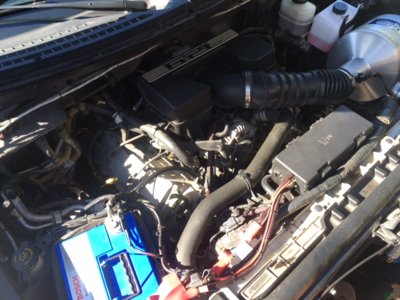
Finally had a free weekend to install some mods that have been sitting in the garage.........

Installed the RPG UMP filter kit.
This is the ONLY CAI filter to use if doing any off road driving, especially if
traveling down in Baja!

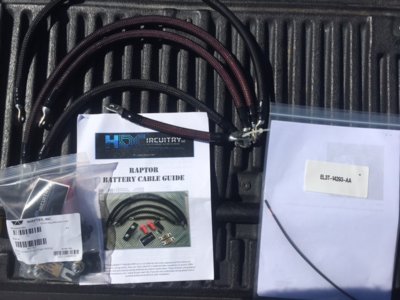
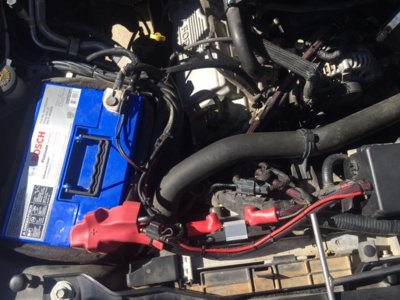
Installed the HDC HD Battery Cable Kit.
Pretty straight forward install, the new positive cables to the alternator
and battery could have been a tad shorter so as to lay a little neater, but
unless your are making them up on the spot, would be difficult to do.

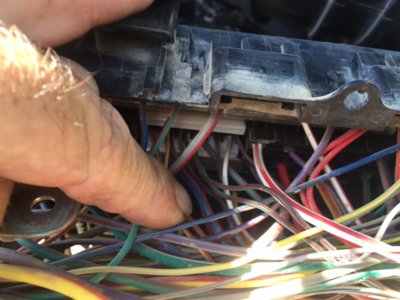
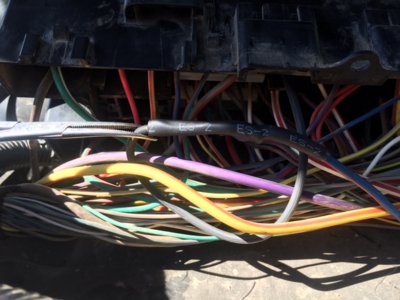
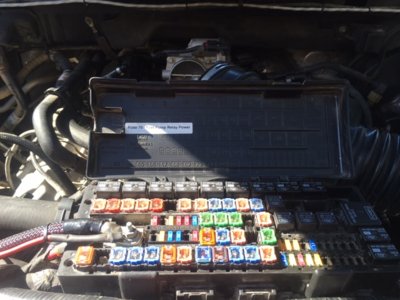
While I was at it, installed the Ford rework kit for fuse #27, you guessed
it, mine was burnt but still running.
Here again, pretty easy to do, just don't cut the wrong wire, 12ga blue with red!

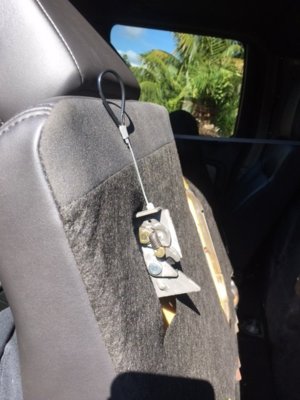
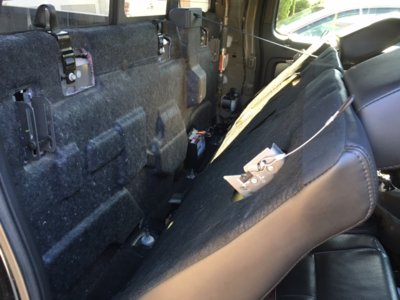
Added pulls to the rear seat backs to gain access, there's a surprising
amount of room back there.
 

Attachments

  • HD Battery Cables Fuse 27.jpg
    HD Battery Cables Fuse 27.jpg
    129.7 KB · Views: 146
  • IMG_3821.JPG
    IMG_3821.JPG
    25.9 KB · Views: 100
  • IMG_3824.JPG
    IMG_3824.JPG
    118 KB · Views: 140
  • IMG_3835.JPG
    IMG_3835.JPG
    119.2 KB · Views: 146
  • IMG_3836.JPG
    IMG_3836.JPG
    124.2 KB · Views: 135
  • IMG_3840.JPG
    IMG_3840.JPG
    143 KB · Views: 134
  • IMG_3838.JPG
    IMG_3838.JPG
    141.9 KB · Views: 136
  • Latch2.jpg
    Latch2.jpg
    63.8 KB · Views: 146
  • Latch3.jpg
    Latch3.jpg
    120.6 KB · Views: 141
  • Latch1.jpg
    Latch1.jpg
    77.2 KB · Views: 142

Mikerider

Full Access Member
Joined
Jun 20, 2016
Posts
105
Reaction score
109
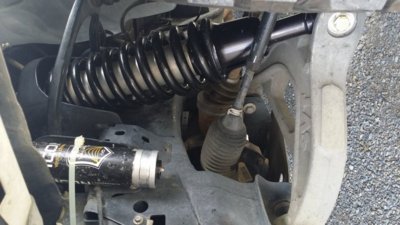
3.0s on, brackets ........ not so much. Pretty bummed they didn't get here yesterday or today hopefully monday though. Also swapped my old front shocks to Mike and got him mid perched.


Good times, glad we could get that mount figured out on your icons. Can't wait to hear how they ride.

f7a7d41abf47415857deda6bccb6059f.jpg


ede7bbd2d33f18fe0b42d3bd4bef70eb.jpg


dfc66597c3dec3946d3e587abe73d615.jpg


3447e71bdc3ec7849422702aefc3e92b.jpg


My old coilovers cleaned up pretty good too!

037fd05cddb9cc8bd42357edf8fee33a.jpg


Sent from my iPhone using Tapatalk
 

Ramathorn178

Full Access Member
Joined
Jan 29, 2012
Posts
379
Reaction score
345
Location
Selah, WA
Good times, glad we could get that mount figured out on your icons. Can't wait to hear how they ride.

f7a7d41abf47415857deda6bccb6059f.jpg


ede7bbd2d33f18fe0b42d3bd4bef70eb.jpg


dfc66597c3dec3946d3e587abe73d615.jpg


3447e71bdc3ec7849422702aefc3e92b.jpg


My old coilovers cleaned up pretty good too!

037fd05cddb9cc8bd42357edf8fee33a.jpg


Sent from my iPhone using Tapatalk

Cleaned up super nice. Like I said with the lack of prepping them.... lol. Yeah took a rip around the block and yeah I'm in love now "need" rears.
 

R1jamn

Full Access Member
Joined
Jun 18, 2011
Posts
401
Reaction score
299
That's something I've been meaning to do.

Edit/Addition: Does that prevent you from accessing the bulbs if they go out or if you want to change them to LEDs?

Should be able to wrestle the lens off after sealant is dry. It won't be fun....
After the lens is removed you will have access to the internals.
 
Top