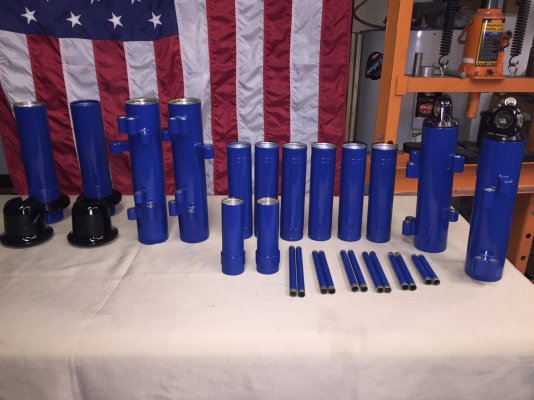
DIY - Stock Raptor 2.5 Shock Rebuild.

Disclaimer: Links on this page pointing to Amazon, eBay and other sites may include affiliate code. If you click them and make a purchase, we may earn a small commission.

mmaterni

Full Access Member
Joined
Dec 31, 2014
Posts
563
Reaction score
649
Location
Toledo Ohio
Makes no sense to me. I know you've rebuilt a lot of shocks, but 1/4" from the snap ring? When you charge, and the shaft pops out, won't the piston be bottomed out against the snap ring? Seems to me that the fluid would not even be under pressure because the piston will have no travel left
If you PM me I will give you my cell. Not an expert but rebuilt mine and I believe I can answer your question. After putting the IFP back in after removal you push it back down away from the snap ring 1/4 inch. Then proceed with rebuild.

Sent from my SM-G930T using Tapatalk
 
OP
OP
m3dragon

m3dragon

FRF Addict
Joined
Nov 28, 2012
Posts
1,308
Reaction score
1,372
Location
Orangevale
Makes no sense to me. I know you've rebuilt a lot of shocks, but 1/4" from the snap ring? When you charge, and the shaft pops out, won't the piston be bottomed out against the snap ring? Seems to me that the fluid would not even be under pressure because the piston will have no travel left

I think you are confusing things.

You could set the inner piston 2 inches down if u wanted. If you add the noted amount of fluid in the instructions, when you charge the shock, the inner piston will push the fluid up.

When you bleed the shocks you only let out the air and very little fluid.

Once the air is out of the upper chamber with fluid, the nitrogen will push the inner or bypass piston up to the snap ring. As you can only compress fluid so much, if you added what was listed, you would be at the 1/8 or 1/4 gap to the snap ring.

The video also shows all this.

The small gap is not going to hurt performance and you will save from damaging your shocks as the inner piston is not slapping the snap ring.
 

Aaron

Meme Corps Commandant
Joined
Jun 13, 2011
Posts
13,097
Reaction score
7,475
Location
WA
Used these instructions and rebuilt my shocks without too many issues. A couple of small requests though. Could the fluid amounts be added to the instructions on the first page? I know they're in the thread, just sort of buried when I read through. Then could a couple of pics of the fluid being added and the installation of the piston/cap and the bleed procedure be added as well?

Just some things I thought might help. Awesome guide and I couldn't have done it without it.


Sent from my iPhone using Tapatalk
 
OP
OP
m3dragon

m3dragon

FRF Addict
Joined
Nov 28, 2012
Posts
1,308
Reaction score
1,372
Location
Orangevale
Used these instructions and rebuilt my shocks without too many issues. A couple of small requests though. Could the fluid amounts be added to the instructions on the first page? I know they're in the thread, just sort of buried when I read through. Then could a couple of pics of the fluid being added and the installation of the piston/cap and the bleed procedure be added as well?

Just some things I thought might help. Awesome guide and I couldn't have done it without it.


Sent from my iPhone using Tapatalk

I will make the changes to the instructions and clean up the post. Sorry posted it when we were still learning and discovering the secrets of the 2.5. Now if we can only get a set of 3.0s.....
 

Aaron

Meme Corps Commandant
Joined
Jun 13, 2011
Posts
13,097
Reaction score
7,475
Location
WA
I will make the changes to the instructions and clean up the post. Sorry posted it when we were still learning and discovering the secrets of the 2.5. Now if we can only get a set of 3.0s.....

Nothing to be sorry for, it's a great guide. Thanks for being willing to update it! :rockit:
 

jps1145

Member
Joined
Oct 10, 2014
Posts
5
Reaction score
0
Location
Tehachapi, CA
i have a spare set of front shocks that I've got disassembled and ready to rebuild. I've read this whole thread and didn't see anywhere that the bottom of the shock has been removed. I have that taken out (took a big cheater bar through the bottom mounting hole and clamped in a press). There is an o-ring on that that needs to be replaced. It contains the gas chamber.
A question I've come up with... Is there an exploded view of these shocks anywhere on the web?
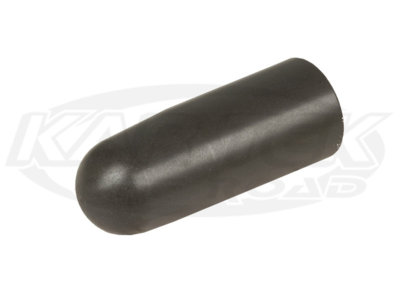
I would also suggest making a tapered sleeve to slide onto the shaft of the shock to so the seals aren't damaged when trying to slip over the end of the step in the shaft. The video posted above shows them using a mallet to drive the cap over the shaft. I see nothing but damaged seals doing that.
something like this:
https://www.kartek.com/parts/fox-78...ls-from-tearing-when-you-rebuild-a-shock.html
 

Attachments

  • FOX-39800095-A.jpg
    FOX-39800095-A.jpg
    29.8 KB · Views: 52
OP
OP
m3dragon

m3dragon

FRF Addict
Joined
Nov 28, 2012
Posts
1,308
Reaction score
1,372
Location
Orangevale
1) If the main body is not leaking you do not need to replace the O ring on them. Those failing are very very rare so no need to spend time and money on them. 1 front 2 rear.

2) The easiest way to put the O-Rings on is to put oil on the seal and the shaft then walk the seal on. They will not tear as there is no sharp edges. Worst case is the seal will fold over on the Rear Seal only.
 

Gsteve

FRF Addict
Joined
Dec 11, 2013
Posts
1,761
Reaction score
728
Great info... does anyone do a swap program? A guy would need an exchange type deal.
 
Top