What did you do to your Raptor today? (Gen2)
- Thread starter Jepper
- Start date
Disclaimer: Links on this page pointing to Amazon, eBay and other sites may include affiliate code. If you click them and make a purchase, we may earn a small commission.
Johnfaeglasgow
Full Access Member
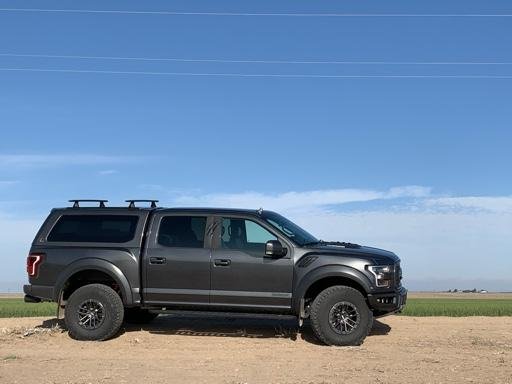
Finished up installing my Icon leafs this morning. Option 2. Took the truck on a shakedown along some washboarded dirt roads, crossed some drainage ditches at various angles and speeds and flexed everything a tad before going back to the shop and checking torques.
Ride is superb. Less of the wallow and bounce than the stock springs had. I’m very happy so far.
Sent from my iPhone using Tapatalk Pro
Ride is superb. Less of the wallow and bounce than the stock springs had. I’m very happy so far.

Sent from my iPhone using Tapatalk Pro
JohnyPython
FRF Addict
Iron X
Claybar
Paint correction/mild cut Menzerna polish
Menzerna Sealer
Menzerna FMJ
Topped with Bead Maker
First time (I know) with a PC DA polisher. I’ve always done the work by hand on my cars.
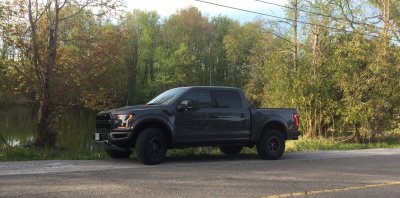
This is the first time I’ve done this to the Raptor in 1.5 years of ownership. Dealer did the PDI. Surprisingly, there wasn’t much paint correction to do except on the doors and tailgate.
Pics that it did happen:

tom wansor
Full Access Member
I just did icon option 2 as well. Did you use stock shackles? I used the rpg for a 1inch drop. Ride even empty is so much better!Finished up installing my Icon leafs this morning. Option 2. Took the truck on a shakedown along some washboarded dirt roads, crossed some drainage ditches at various angles and speeds and flexed everything a tad before going back to the shop and checking torques.
Ride is superb. Less of the wallow and bounce than the stock springs had. I’m very happy so far.
Sent from my iPhone using Tapatalk Pro
Last edited:
Johnfaeglasgow
Full Access Member
Cool! Yeah, stock shackles and Icon extenders for the stock bumps. I figured if it was too high I might put longer RPG shackles on to even it out. That or maybe Eibachs up front. I won’t decide for a few weeks whilst things settle.I just did icon option 3 as well. Did you use stock shackles? I used the rpg for a 1inch lift. Ride even empty is so much better!
Sent from my iPhone using Tapatalk Pro
tom wansor
Full Access Member
I have the Eibachs and about 1 inch higher now in rear.Cool! Yeah, stock shackles and Icon extenders for the stock bumps. I figured if it was too high I might put longer RPG shackles on to even it out. That or maybe Eibachs up front. I won’t decide for a few weeks whilst things settle.
Sent from my iPhone using Tapatalk Pro
Turning Blue
Full Access Member
D
Deleted member 12951
Guest
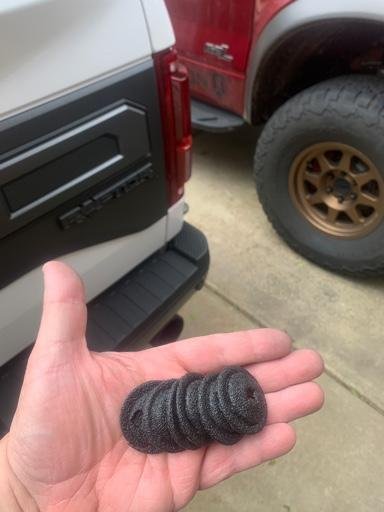
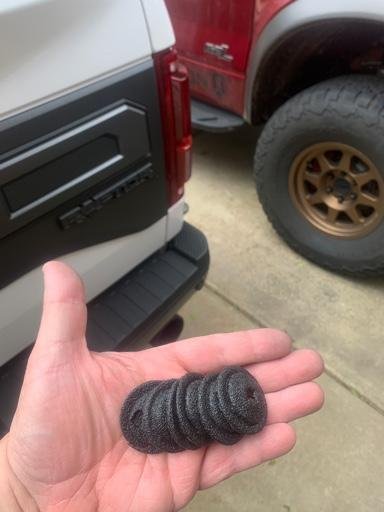
Yep, peeled off with my hand once I got one side started. About half of them the center came out too and I just used a pick to get it out if it didn’t peel off with the rest of it.Did you just cut around the bolt head and peel that off?
Last edited by a moderator:
Similar threads
- Replies
- 0
- Views
- 2K
- Replies
- 19
- Views
- 2K
- Replies
- 41
- Views
- 6K
Members online
- icecoldak
- heritageflyers
- smgilles
- FireWolf
- Schutte77
- FML
- efergus11
- tomcrump
- saeuta
- Chewie
- GraniteGuy
- Mad Zeus
- RivRaptor
- mleaky
- Louisiana Barefoot
- KillerBlackbird
- jeffraptor
- R D
- Looqw
- GLT
- Barney
- deadeye99
- Forgiven
- Terence_
- someday
- AfterMidnightRambler
- smteal
- JeepSRT8
- Unleaded
- BAT47
- tabvette
- New recaros
- Sethrad
- Arnold231101
- krash
- roostinyfz
- Cdcorn1
- YuriZNetwork
- Darkwhip
- LS1POWERED
- Free
- Vernon_D
- taquitos
- JC Chaze
- Nami
- BoostedToy
- ctniner
- bobby anderson
- DavidP
- Ocbuckeye
Total: 3,575 (members: 197, guests: 3,378)


