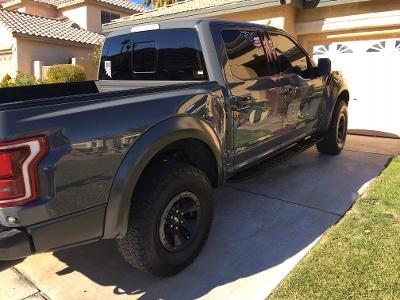
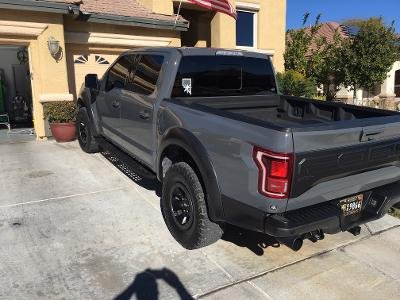
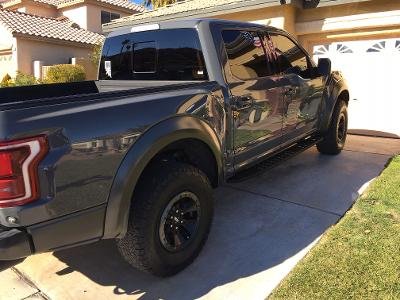
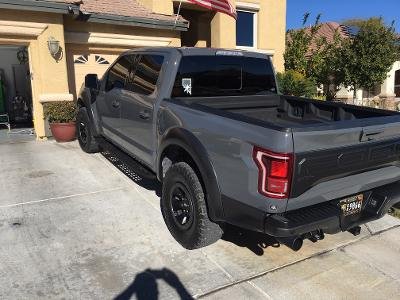
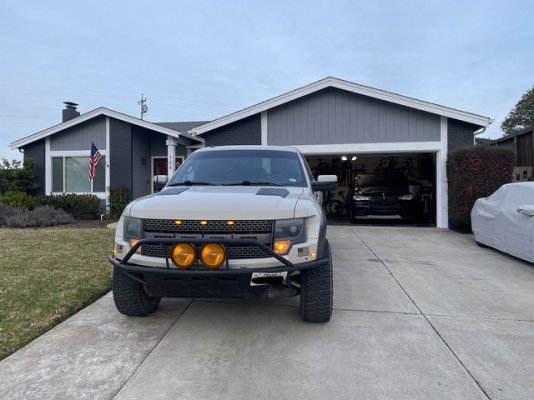
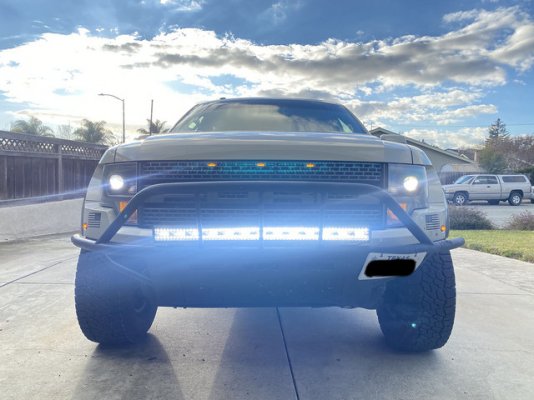
Daaaamn it was a good year!!!Got a few upgrades done throughout the year — just getting around to posting.
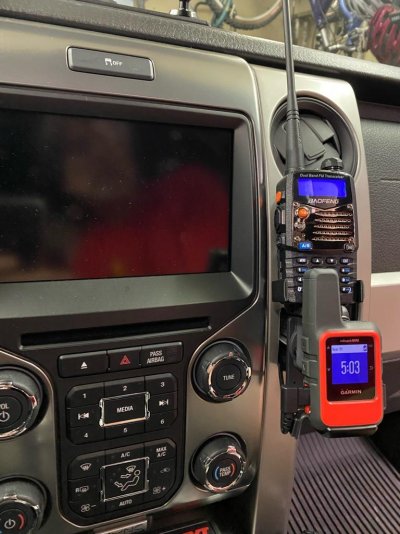
Cleaned up the mount for my Garmin and handheld radio.
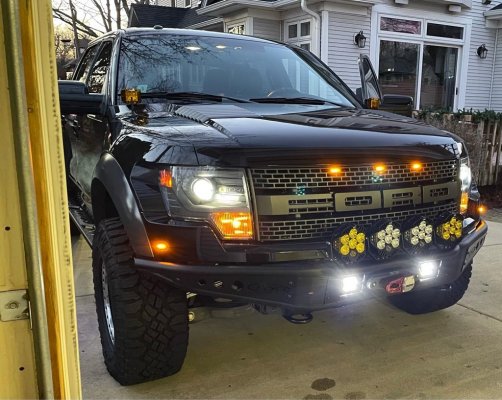
Replaced my Rogue bumper with a new ADD Venom and changed out the front lighting.
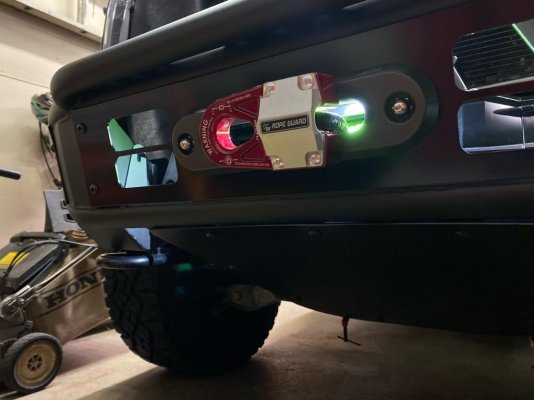
Replaced winch line after last years SnoBall and added a backlight.
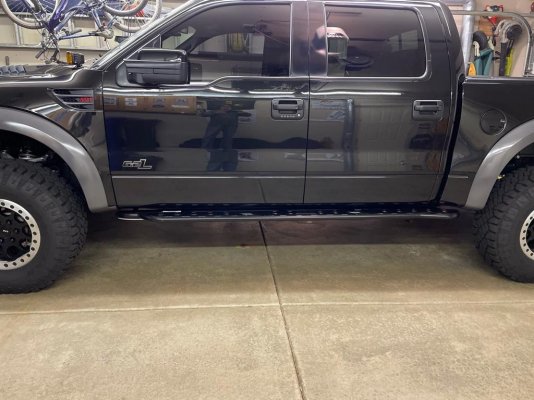
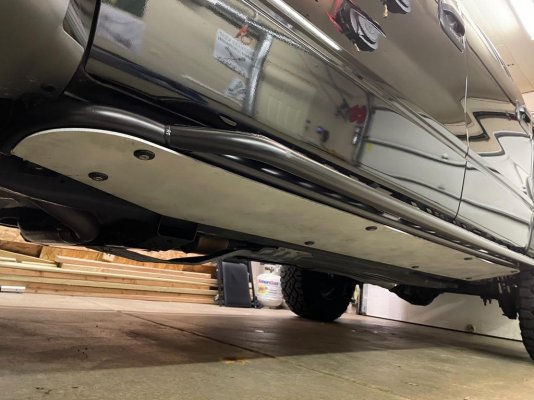
Added some RPG side steps/sliders.
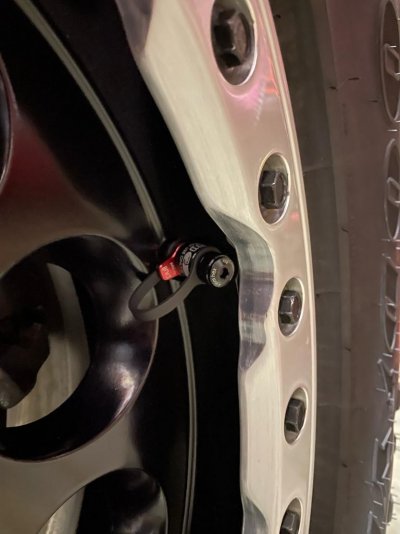
And improved my air-down process with some Apex Design performance valves.
Sent from my iPad using Tapatalk
You are using an out of date browser. It may not display this or other websites correctly.
You should upgrade or use an alternative browser.
You should upgrade or use an alternative browser.
What did u do to your raptor today?
- Thread starter CAbimmer
- Start date
Disclaimer: Links on this page pointing to Amazon, eBay and other sites may include affiliate code. If you click them and make a purchase, we may earn a small commission.
Chiefapple
Full Access Member
Does it identify as a Gen 1? I know the next generation has difficulties deciding what they are.
Sent from my iPhone using Tapatalk
Does it identify as a Gen 1? I know the next generation has difficulties deciding what they are.
Sent from my iPhone using Tapatalk
No it is Gen Neutral. It doesn't Identify as either at this point in its life and doesn't like being pigeon holed.
Does it also use whatever gas pump grade it identifies with?No it is Gen Neutral. It doesn't Identify as either at this point in its life and doesn't like being pigeon holed.
Sent from my SM-G781U1 using Tapatalk
Removed the old round lights that were pretty much useless:
Replaced it with a slim LED light bar that puts out a ton of light:
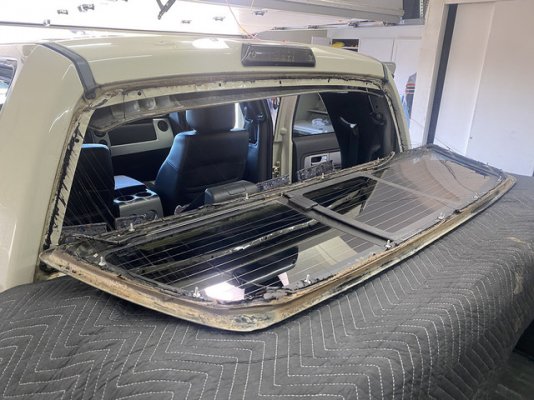
I noticed shortly after buying the truck that water would get into the back seat area. I checked the 3rd brake light as I know that's common but couldn't find any leaks from it. I did however find a leak in the upper drivers side corner of the rear window. The butyl tape had failed allowing water to stream right in. It took about 2 hours to remove the back seats to gain access to the bolts that hold the rear window on. It took another hour to gently loosen and break the tape the rest of the way to pop the window out.
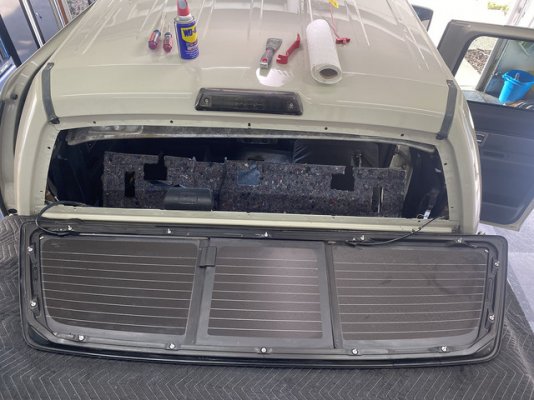
Then came the fun part... Removing the butyl tape from the truck and the window. This took 3+ hours and I used everything I could find. In the end, WD40 seemed to break down the old tape the quickest.
After this I cleaned everything really good to get any remnant of the wd40 or googone out of there, layer in some fresh butyl tape and reattached the window. After tightening everything up, I did a test and found no leaks.
Nice write up. I had the same issue with mine. The removal of the old tape was a bitch for sure!!
laselvasurf
Active Member
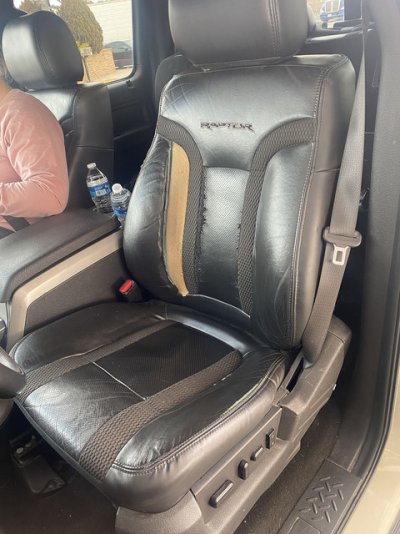
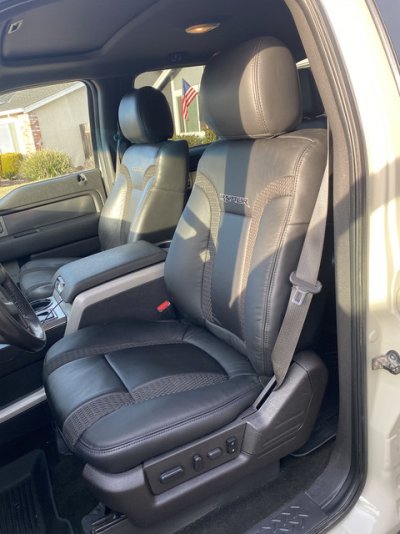
Another day another project! When I bought the truck the drivers seat was terribly warn. The PO purchased a new seat cover for the back of the seat but not the bottom. I replaced the back but didn't like how it was substantially nicer than the bottom so I replaced that as well. I also replaced the seat side trim as it was split at the seat belt.
Before:
After:
Before:

After:

RC51TOFUMAN
Full Access Member
Was it easy to swap seat covers?
Sent from my SM-G973U using Tapatalk
Sent from my SM-G973U using Tapatalk
B E N
FRF Addict
Thanks, I looked everywhere for a DIY writeup and found a couple videos but nothing that was that complete. I come from a BMW background(still have a couple) where just about every process has a DIY writeup out there already, so I was a little surprised I couldn't find anything on this. If I can squeeze in some time, I'll try and take a few more photos and create a new thread as you suggested.
Most everything that isn't suspension related is identical to the standard f150, and there are write ups for nearly everything, most popular truck in the world and all.
Was it easy to swap seat covers?
Sent from my SM-G973U using Tapatalk
Its easy, there is a write up in the how to section.
Chiefapple
Full Access Member
Totally thought the driveshaft was going to be way heavier.
Sent from my iPhone using Tapatalk
Sent from my iPhone using Tapatalk
Similar threads
- Replies
- 0
- Views
- 2K
- Replies
- 21
- Views
- 2K
- Replies
- 12
- Views
- 3K
- Replies
- 13
- Views
- 3K


