What did u do to your raptor today?

Disclaimer: Links on this page pointing to Amazon, eBay and other sites may include affiliate code. If you click them and make a purchase, we may earn a small commission.

WRCRaptor

FRF Addict
Joined
Feb 12, 2013
Posts
1,604
Reaction score
974
Location
Great Lakes
I use one of my old 2011 rims for my spare since it does not have any bead bolts to get messed up from salt, sand and mud. I did not add a TPMS to the spare and don't rotate it in but I have a few 50% old tires I use for the spares on each set now so not wasting a new tire under there.
 

Crikk

FRF Lady
FRF Lady
Joined
Jan 15, 2013
Posts
675
Reaction score
770
Location
Crystal lake il
A little late on the response but I've been looking at the mess of wiring under my hood from ten dualies, two 4 inch bars and two flush mounts and need to clean it up. Would you happen to have a write up on your wiring job? I've got the dualies wired to upfitter 1 and the other four lights wired to upfitter 4 and would like to clean all the wires up with a distribution block. I just can't wrap my head around how to go about it. I'd like to do it myself but if it frustrates me enough I'll take it to a pro.


I do not have a write up, but if you take a look at @Sitdown. 's build thread. He has a pretty goo write up in there. Also you can give @Kmandoske a PM and he can get you squared away.
 

Sitdown

FRF Supporting Member
Supporting Member
Joined
Oct 28, 2012
Posts
1,617
Reaction score
1,521
Location
Suburbia, IL
I do not have a write up, but if you take a look at @Sitdown. 's build thread. He has a pretty goo write up in there. Also you can give @Kmandoske a PM and he can get you squared away.


I have the complete switchblock/relaypanel/juunctionbox setup removed from my truck, for anyone interested but doesn't want to source it all.

http://www.fordraptorforum.com/f170/%A1m%E1s-factory-upfitters-easy-access-wiring-30527/

Complete assy, wiring to length, pretty much all you will need... also includes my dash console trim panel with switches installed (use as a template or keep yours intact should u go back to stock ($260 part), as well as spare junction box if you decided to configure it differently.
 

jdruzik

FRF Addict
Joined
Jan 20, 2014
Posts
20,945
Reaction score
2,348
Location
Green, Oregon...
You've never used your spare? Rotate that baby in and get the added 20% - 25% added life out of the full set of tires!!!

Also, flip that thing over to save the finish on those sweet beadlocks. Lowering the tire is no big deal to check tire pressures, and you might see something when down there that needs attention.

That spare and tire are not on the truck anymore. BFG KO2s and Fuel Trophies have replace all wheels and tires.
 

Boomer12

Full Access Member
Joined
Jan 15, 2014
Posts
123
Reaction score
340
Location
Mojave Desert
Surprisingly it didn't get bashed in, just a little dirty and a few new scratches... It's probably just the camera angle.
 
Last edited:

MTF

FRF Addict
Joined
Nov 27, 2010
Posts
5,455
Reaction score
2,380
Location
Celebration, Florida
Chris told me they were supposed to draw the fresh in to the center of the hub - the top tips face forward. But we also discussed the fact that it probably doesn't make any difference as we aren't race trucks. He said he mounted a set on his wife's vehicle and they have never had an issue. So I guess as long as you don't drive any harder than Chris' wife, you should be ok......LOL

It's funny, though, if you search drilled and slotted rotors and go to the images, they are shown installed in various ways. Front and back. So maybe there really isn't a 'correct' position. I can see them working in either configuration......


I had Brembo GT brakes on my 97 2 Dr. Tahoe.
They were very specific on with direction the fins need to be.
For curved fins: The fins are like a fan and need to draw air in from the holes, and expelled out the fin tips.

There is a full explanation here:
Which direction should the discs rotate? | Race Technologies | Brembo Official Partner

Hope this helps!!!
 
Last edited:

Sano Dano

Full Access Member
Joined
Dec 25, 2011
Posts
399
Reaction score
420
Location
Encinitas, CA
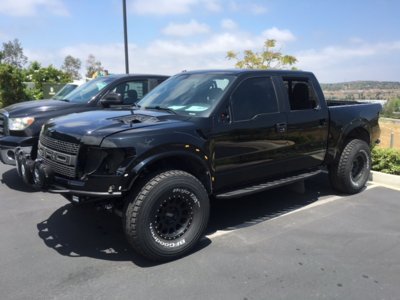
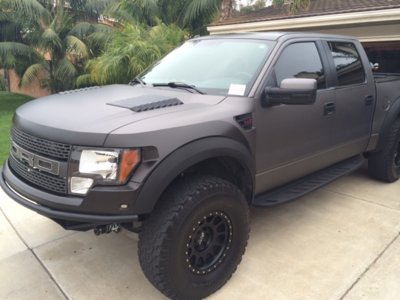
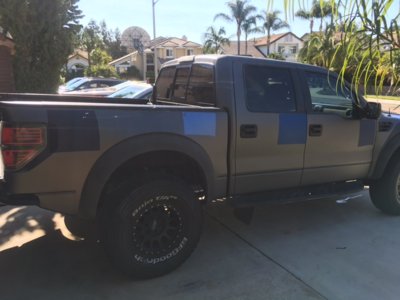
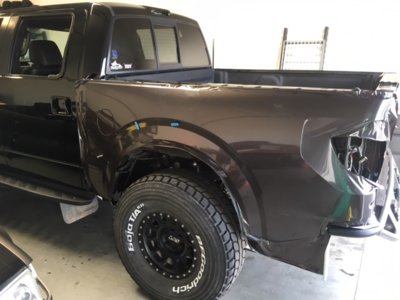
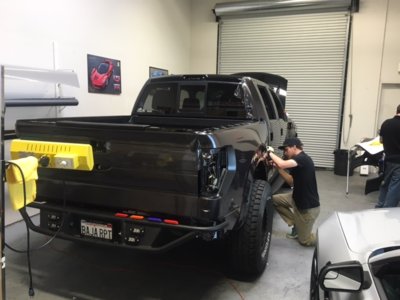
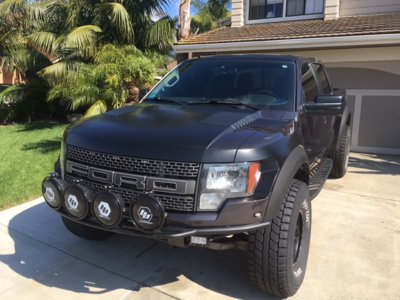
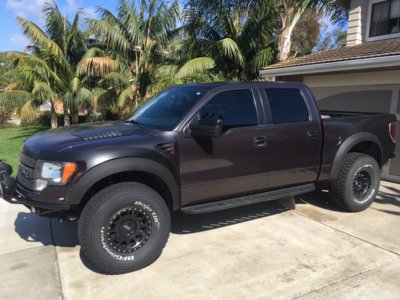
New Wrap!

The Matte Charcoal wrap I had was looking kind of tattered, so I decided to have it redone......initially chose a matte dark blue, but after removing the original wrap, the stock color, black looked sooo good, decided to go with a gloss color that wont show "pinstrips" from the bushes as much.

Truck is done in Black Pearl with satin black details.

California Wraps in Carlsbad did a very good job, their attention to detail is second to none! ....some pics of the process.
 

Attachments

  • IMG_3621.JPG
    IMG_3621.JPG
    108.9 KB · Views: 126
  • photo%204.JPG
    photo%204.JPG
    117.1 KB · Views: 146
  • Wrap_sample1.jpg
    Wrap_sample1.jpg
    96.2 KB · Views: 119
  • IMG_3672.JPG
    IMG_3672.JPG
    95.1 KB · Views: 123
  • IMG_3683.JPG
    IMG_3683.JPG
    99.1 KB · Views: 120
  • IMG_3695.JPG
    IMG_3695.JPG
    139.7 KB · Views: 125
  • IMG_3694.JPG
    IMG_3694.JPG
    148.8 KB · Views: 140
Top