You are using an out of date browser. It may not display this or other websites correctly.
You should upgrade or use an alternative browser.
You should upgrade or use an alternative browser.
What did u do to your raptor today?
- Thread starter CAbimmer
- Start date
Disclaimer: Links on this page pointing to Amazon, eBay and other sites may include affiliate code. If you click them and make a purchase, we may earn a small commission.
CoronaRaptor
FRF Addict
Nice set up!Am I overlanding right? Lol! Added more height!
Looks right!Am I overlanding right? Lol! Added more height!
Lookin goodFinally got around to painting my front bumper. 2 cans of steel it and let it bake in the so cal sun (109 degrees today).
TAC71
Full Access Member
Did you have a cigarette after that? LOL!Kiss her good morning, drove her to work, parked her and slapped her on the behind and said "see you later baby!"
Couple of minor trinkets came in the mail, so waiting for the weekend to do some installs.
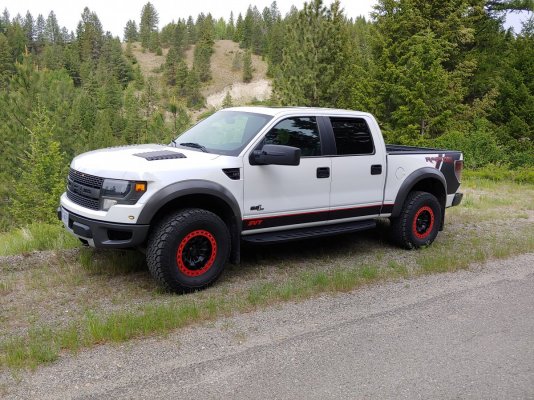
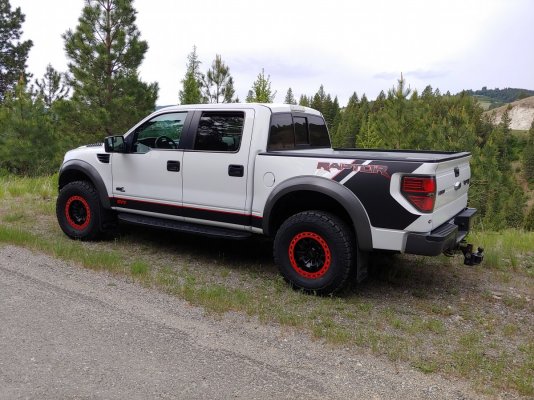
Those look great! Where did you purchase them?Put on my side graphics. Looks so much better than plain white to me.
What are your bump stops hitting on the bottom. I don't see any plate to hit once it bottoms out. Also that bump stop looks awfully close to your brake line.The replacements;View attachment 168832View attachment 168833View attachment 168833View attachment 168972
View attachment 169467View attachment 169468
Carefully cut off the old clips, and transferred them to the new SS lines vs zip tied, as well as added the original gravel & rock guards. Minor surgery needed on the passenger side. Also, goin to replace the breather hose...now just waiting for the Deavers to arrive!
Completed!
Just some observations.
Love the setups.
MEIRONMAN207
¿Goin somewhere...What are RU waiting 4?
Yes waiting on my Deavers next week, then placing the plates. I’m taking easy and they are in tow mode, so the cans are close to the axle tubes. And the pic makes the lines look closer than what they are. Plenty of clearance.What are your bump stops hitting on the bottom. I don't see any plate to hit once it bottoms out. Also that bump stop looks awfully close to your brake line.
Just some observations.
Love the setups.
LOL! I was laughing thru the whole dialogue! I thought I was the only that experienced that kind of luck. You and I share the same dictionary of cuss words. I get so mad I start making them up...LOL! Thanks for sharing.Not all today more the last couple. Ither way so the Ole girl had a timing cover leak. Been sweating for a while. Just been keeping and eye on it. While it started to drip. So I get it all changed out. Not terrible job. Not the most fun tho. Get to torquing up the valve covers to finish the job everything started and run down by hand to start. Nice and easy.. We'll low and behold the very last bolt I touch at the back of the left head right next to the fire wall breaks off at around 60 in/lbs.... f**k...... so get the cover back off. There's decent nub. Should be able to grab it with some vice grips. Naw friends there's zero room. So pull the intake. Perfect loads of room now. You think that son of a B will turn? Well no it wouldn't. So out comes the welder. Get a nut zapped onto the nub. Real nice fill. Good and sturdy. Give it a easy twist. Breaks we off clean with the head. We'll there's no getting a drill in there to extract. So off with the timing cover again, manifolds out already exhaust manifold off the left side. Pull the head...... wow nice and clean inside the engine for 190k kms. Get the head on the bench grind the bolt nice and flat center punch and drill. Nice and centered perfect. Install the extractor. Well holy snapping ******** that c**t is in there extractor breaks of. Well shit. So manage to get the extractor through. Drill out the bolt a little bigger. Manage to get a nice perfect center. Use a pick and pull the threads out of the hole. Run a tap down into the head clean up the threads. Test fit a new valve cover bolt. And reassemble the whole thing. GREAT NEWS! fixed my timing cover leak! Time to assult a bottle of honey jack as a celebration! By the way a over the top creeper is a real body saver for engine work on these tall girls! Sorry for the lack of pictures. I tend to forget to get shots when I'm working away.
Similar threads
- Replies
- 0
- Views
- 2K
- Replies
- 21
- Views
- 2K
- Replies
- 12
- Views
- 3K
- Replies
- 13
- Views
- 3K
Members online
- AKS1
- 256fail
- EZDA45
- ActionJaxon
- thatJeepguy
- Zach M
- Legitvirus
- taquitos
- BahaBlastediam
- miraptorR
- ams mike
- Torchy
- stevelp99
- KYmxracer52
- ahmedmansour
- 1BAD454SSv2
- Old-Raptor-guy
- Dblex
- fraptorR
- danielhsieh
- lanakila
- hanj0208
- KustomAF
- F-22OR
- Sorry About Da Noise
- Krudenite
- clbsnrsk
- scottykarate
- New recaros
- Venti Raptor
- zeush22
- NDRPT87
- TXwheelman
- Mark Cormier
- zacc
- rp2024
- mrdci
- PaleRaptor
- raptorfamily1027
- DaveInMn
- fordperforms
- Telonics
- SeasickLI
- Peterb
Total: 5,720 (members: 51, guests: 5,669)


