52predator
Member
Good evening everyone. I wanted to take some time to share my experience and thoughts on the Wagner Competition Intercooler, https://www.wagner-tuning.com/produ...r-kit-ford-f150-raptor-10-gang-200001119.html
This is the second aftermarket Intercooler I have tried, and by far met my expectations for what I was looking for. The things which were important to me were:
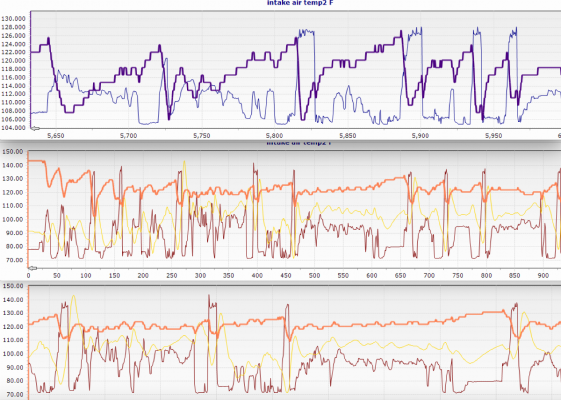
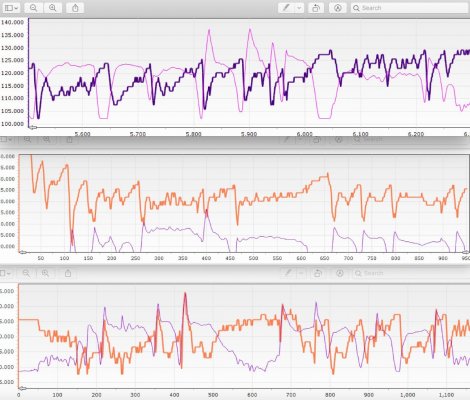
Significant performance gains in flow and lower IAT2 temps.
Retaining all factory functionality of the OEM equipment such as air-directing shrouds and shutters.
A factory look.
Proper fitment.
I won’t go into everything in the instruction manual, but rather supplement it with some things I did during my install to ease the process along.
First step is grill removal. Same process as everywhere else, so I won’t go into detail.
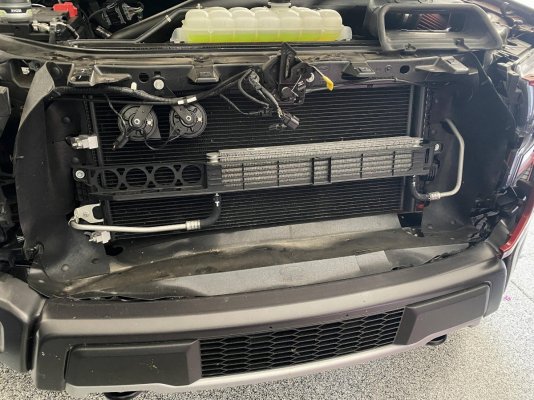
Next I moved the transmission oil cooler up using the supplied brackets.
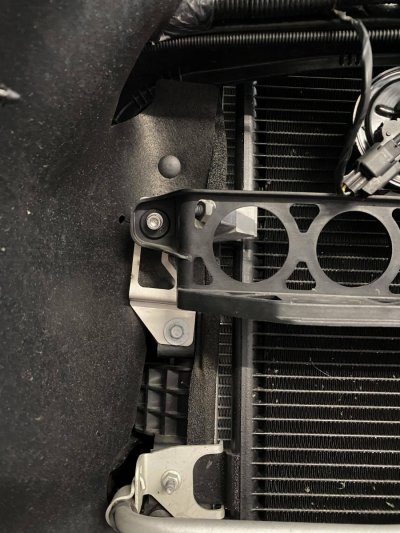
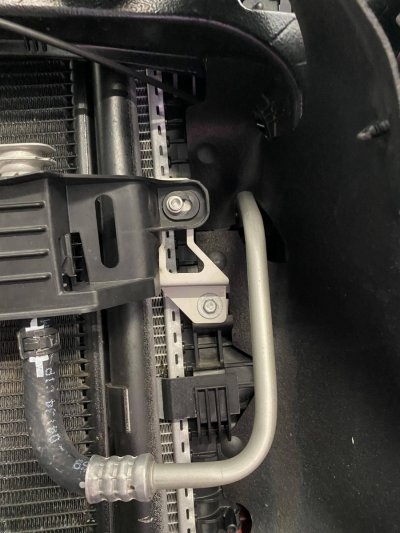
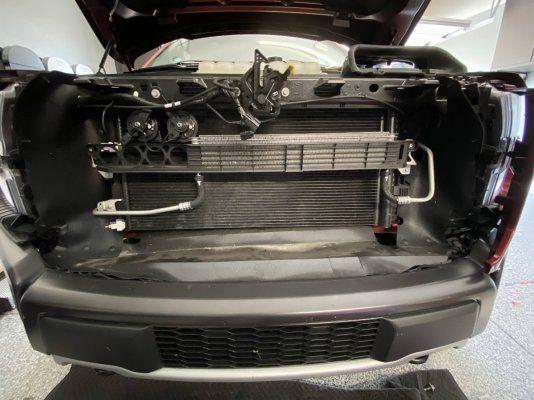
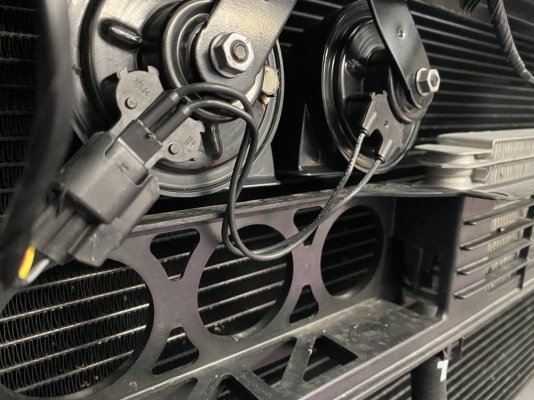
I also moved the horns slightly to clear the oil cooler by tweaking the bracket.
Next step was to remove the factory Intercooler and shrouding behind the shutter system. This process is also documented elsewhere, so I’ll skip the details.
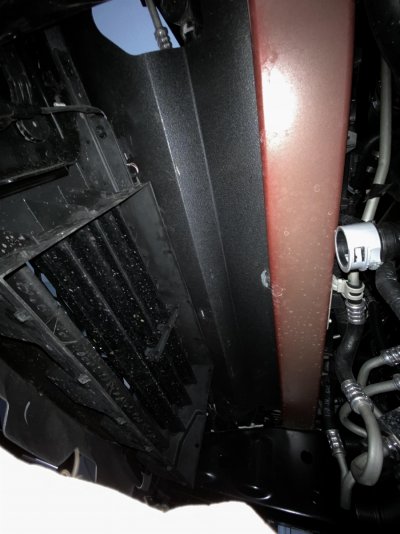
I removed the upper Intercooler bracket, and began to trim the 24” hole out in the shroud. I traced along the shutter assembly as a guide. I cut the other issue at the fold, per the directions and measured 24” wide.
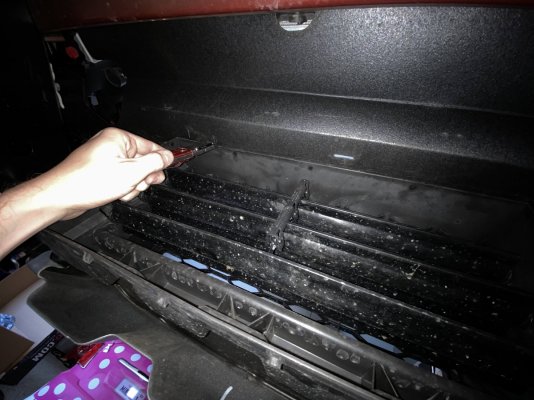
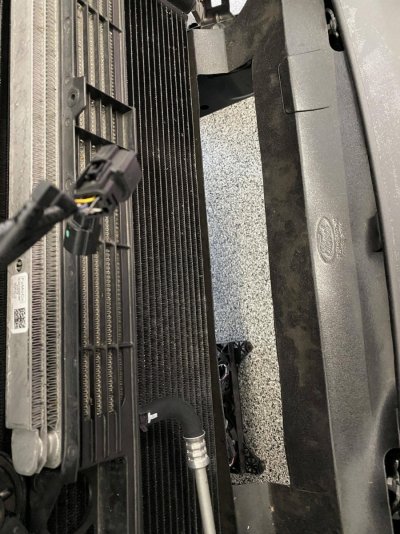
Next I had to install the upper Intercooler bracket for the new unit. It should be noted, this connected the bumper wing brackets, so they did a good job replicating the OEM upper IC bracket. Install was used by adding the rubber insulated bolts to the frame rails.
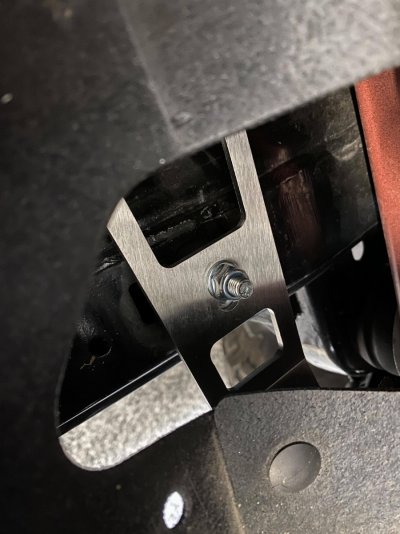
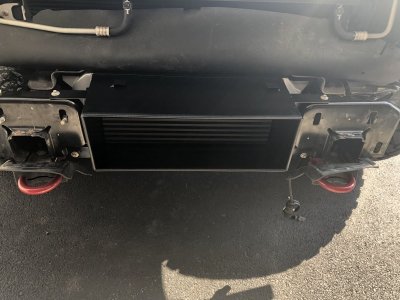
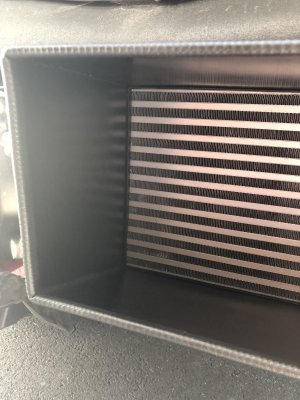
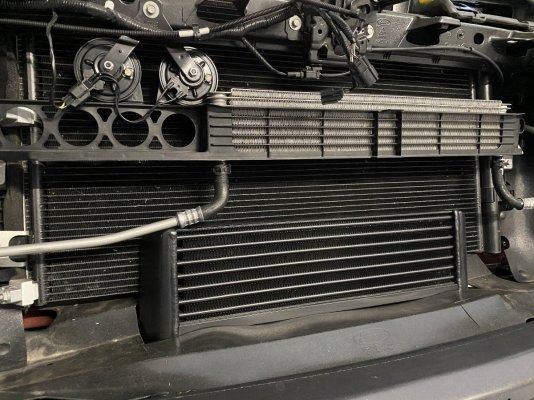
Next it was time to add the stock parts to the new IC. It’s definitely a quality looking piece.
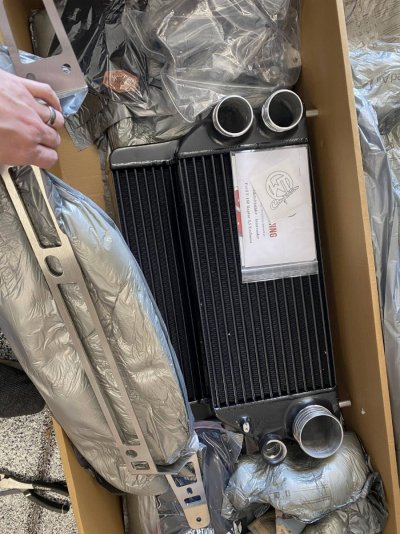
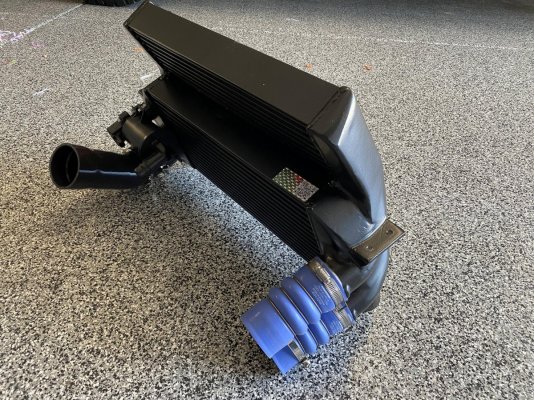
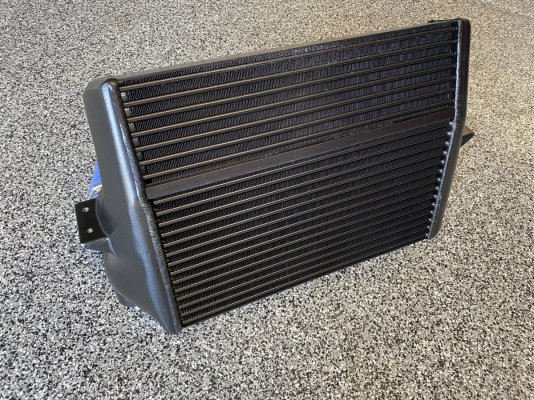
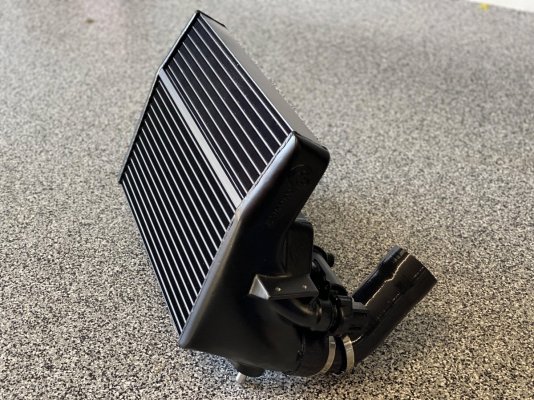
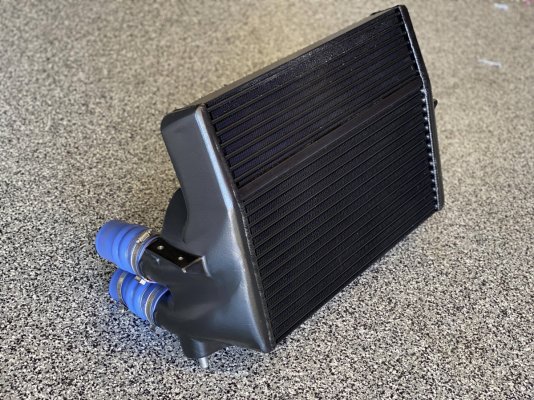
Installation was tricky...by myself. The unit, like most German engineered parts, is very close tolerance. There was a little bit of a learning curve, but what I learned was the top section, as it breaches the rectangular hole you cut in the shroud, needs to be tilted forward so it slides up straight. My jack bared the weight while I made small adjustments back and forth. The intercooler can go just before the IC reaches the top. It’s easier to not try to get the lower bracket up with it. Once the intercooler is all the way up, the upper bracket bolts will allow it to hang while you button up everything from below. You also need to trim the bottom of the fan assembly so it’s flat.
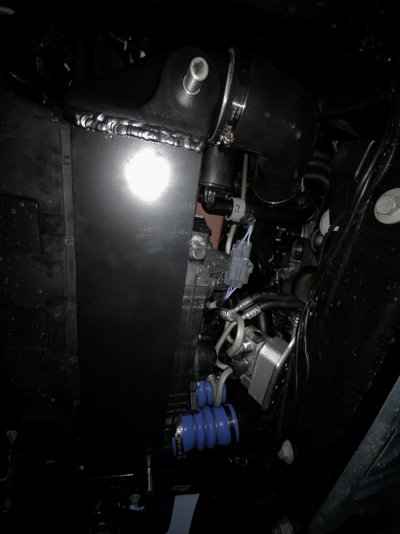
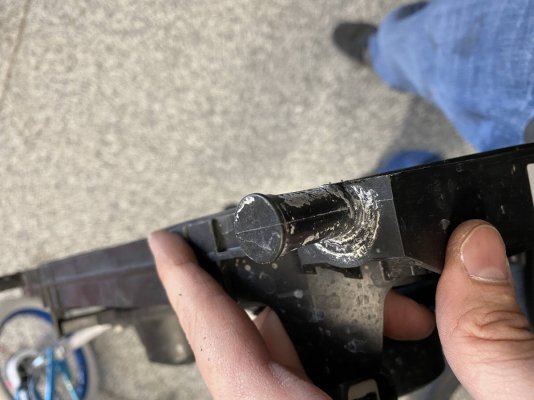
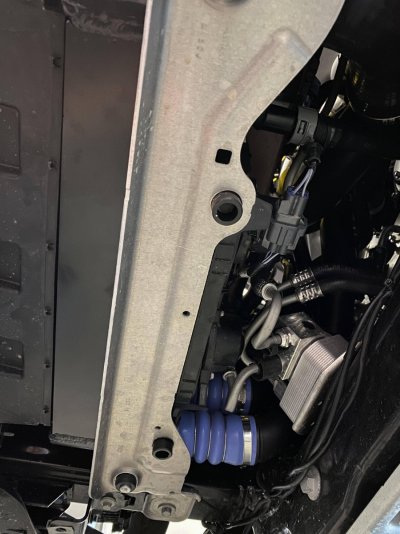
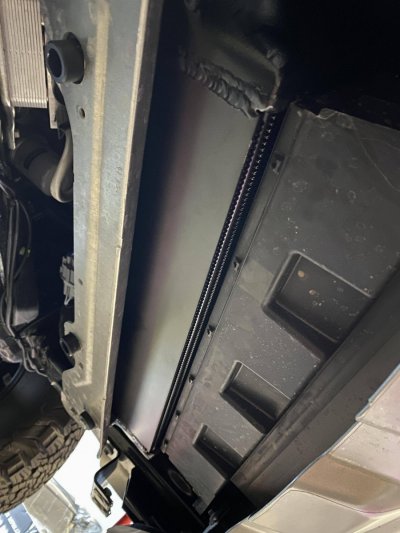
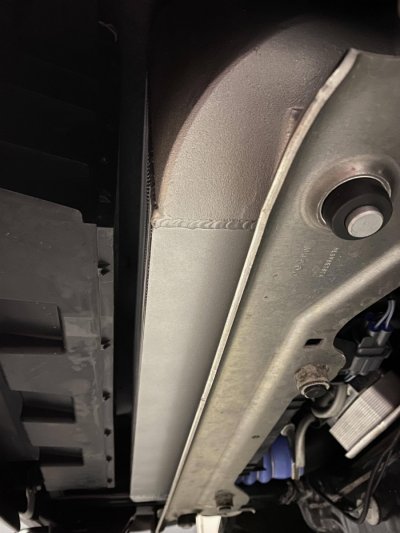
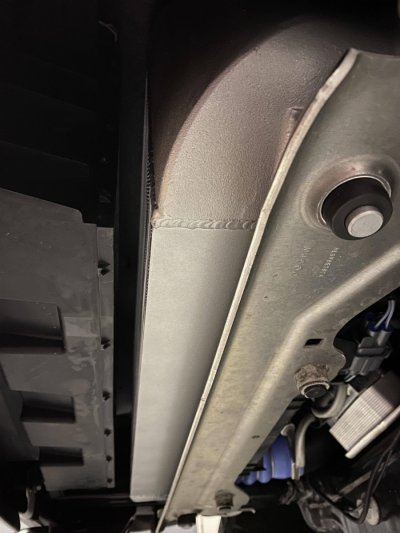
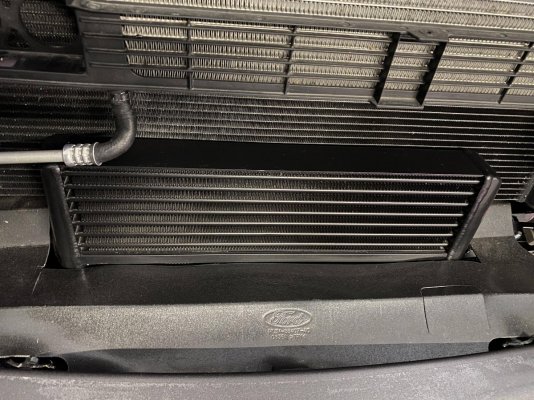
This last picture I love. Look how the IC seats right up against the factory shrouding, getting that forced air at speed. In my experience, this was an advantage the stock IC has because it aids in the ability to recover quickly after heating up. This feature is now carried over to this larger Core. This was not the case in my previous aftermarket IC.
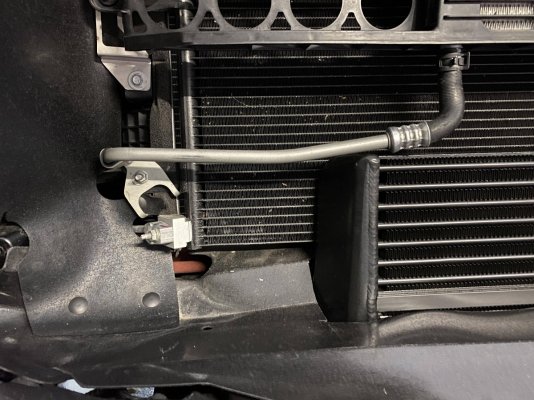
Up top, I had to make an adjustment on the oil cooler pipe. To move it from resting on the IC, I trimmed the top 3/4 inch off the rubber hose, to pull it up higher, and turned the mounting bracket. Voila.
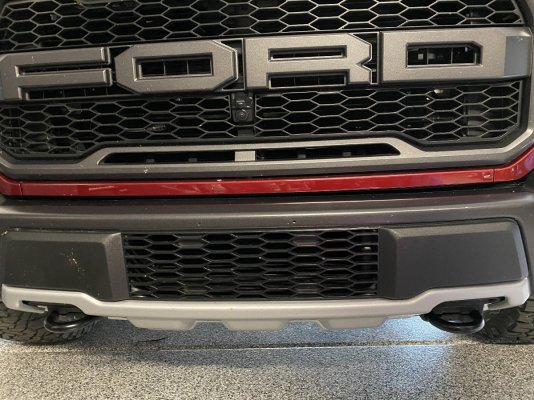
I’m very happy overall. I did not want to use an intercooler which blocked my radiator or caused me to remove the shutter assembly. In Arizona, heat is always a factor, and I feel I got the best of both worlds with the unit.
Thanks!
Matt
This is the second aftermarket Intercooler I have tried, and by far met my expectations for what I was looking for. The things which were important to me were:
Significant performance gains in flow and lower IAT2 temps.
Retaining all factory functionality of the OEM equipment such as air-directing shrouds and shutters.
A factory look.
Proper fitment.
I won’t go into everything in the instruction manual, but rather supplement it with some things I did during my install to ease the process along.
First step is grill removal. Same process as everywhere else, so I won’t go into detail.

Next I moved the transmission oil cooler up using the supplied brackets.


I also moved the horns slightly to clear the oil cooler by tweaking the bracket.

Next step was to remove the factory Intercooler and shrouding behind the shutter system. This process is also documented elsewhere, so I’ll skip the details.

I removed the upper Intercooler bracket, and began to trim the 24” hole out in the shroud. I traced along the shutter assembly as a guide. I cut the other issue at the fold, per the directions and measured 24” wide.


Next I had to install the upper Intercooler bracket for the new unit. It should be noted, this connected the bumper wing brackets, so they did a good job replicating the OEM upper IC bracket. Install was used by adding the rubber insulated bolts to the frame rails.

Next it was time to add the stock parts to the new IC. It’s definitely a quality looking piece.


Installation was tricky...by myself. The unit, like most German engineered parts, is very close tolerance. There was a little bit of a learning curve, but what I learned was the top section, as it breaches the rectangular hole you cut in the shroud, needs to be tilted forward so it slides up straight. My jack bared the weight while I made small adjustments back and forth. The intercooler can go just before the IC reaches the top. It’s easier to not try to get the lower bracket up with it. Once the intercooler is all the way up, the upper bracket bolts will allow it to hang while you button up everything from below. You also need to trim the bottom of the fan assembly so it’s flat.


This last picture I love. Look how the IC seats right up against the factory shrouding, getting that forced air at speed. In my experience, this was an advantage the stock IC has because it aids in the ability to recover quickly after heating up. This feature is now carried over to this larger Core. This was not the case in my previous aftermarket IC.
Up top, I had to make an adjustment on the oil cooler pipe. To move it from resting on the IC, I trimmed the top 3/4 inch off the rubber hose, to pull it up higher, and turned the mounting bracket. Voila.


I’m very happy overall. I did not want to use an intercooler which blocked my radiator or caused me to remove the shutter assembly. In Arizona, heat is always a factor, and I feel I got the best of both worlds with the unit.
Thanks!
Matt
Last edited:


