Show off your latest pics

Disclaimer: Links on this page pointing to Amazon, eBay and other sites may include affiliate code. If you click them and make a purchase, we may earn a small commission.

downforce137

FRF Addict
Joined
Jan 5, 2016
Posts
2,182
Reaction score
3,142
Location
In Diana
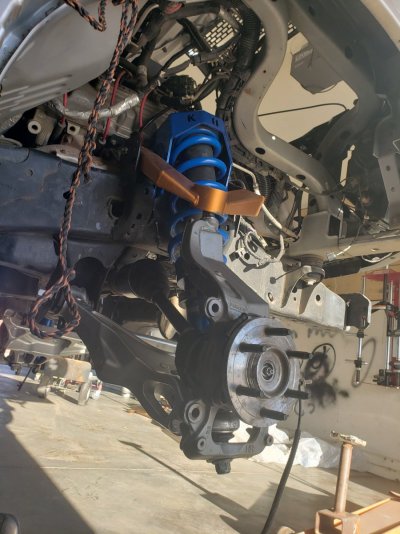
BTW, there's lots of room for getting a wrench on the D-side. The Gen 2 guys claim it a tight fit getting the 3 nuts off their buckets.... must be all the turbo stuff getting in the way, it's not an issue on a Gen 1truck.View attachment 474199
only the passenger side is a little rough because the battery tray and turbo inlet piping.. the driver side is a breeze
 

TomDirt

FRF Addict
Joined
Jan 3, 2022
Posts
3,843
Reaction score
11,035
Location
Hesperia CA
I've been delayed on the project for a couple days: the dog dug out under the chain link and it ended up in a very ugly fight with 2 of the neighbor's dogs.. Mine is a 5yo Husky male, the neighbor's are an adult male Doberman & a female Boxer. Luckily, the neighbor's and I have always worked out things in the past, and none of the 3 needed to be hospitalized.. But, the bottom fence line now has a pallet of concrete blocks to prevent another incident

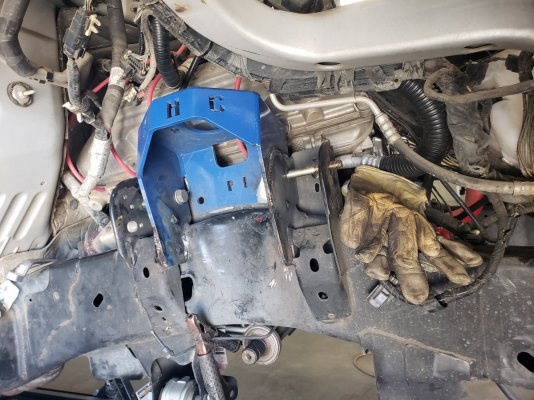
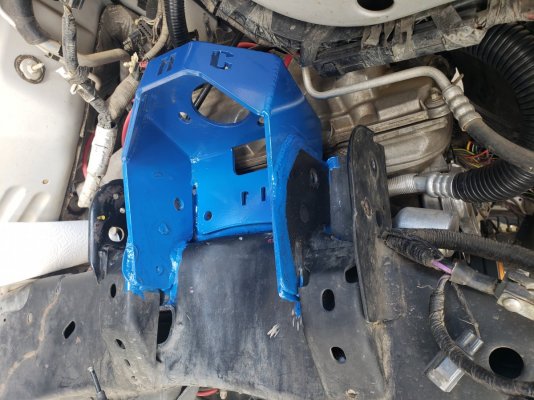
The D-side shock bucket is finally cleaned up & ready to weld. I had to grind down the bottom section & drill out the rear UCA hole to 3/4" in order to align with the factory hole. Because Raptor. The shank length isn't correct. Because KHC. But, my local off-road hardware shop will have the correct length on the shelf tomorrow, so I can proceed for now. 20241117_170142.jpg
 

TomDirt

FRF Addict
Joined
Jan 3, 2022
Posts
3,843
Reaction score
11,035
Location
Hesperia CA
Well, it isn't pretty, but it is done. There are sections where the oem bucket was sanded down so much (to stuff in the KHC part) that it's too thin to weld up to the thick KHC plate). Instead, I was able to rosette weld the 5 bolt holes, got plenty of wire at the junctions, (didn't set the garage on fire), and the 14mm screws still spin (IYKYK).
 

Attachments

  • 20241118_102935.jpg
    20241118_102935.jpg
    246.1 KB · Views: 25

TomDirt

FRF Addict
Joined
Jan 3, 2022
Posts
3,843
Reaction score
11,035
Location
Hesperia CA
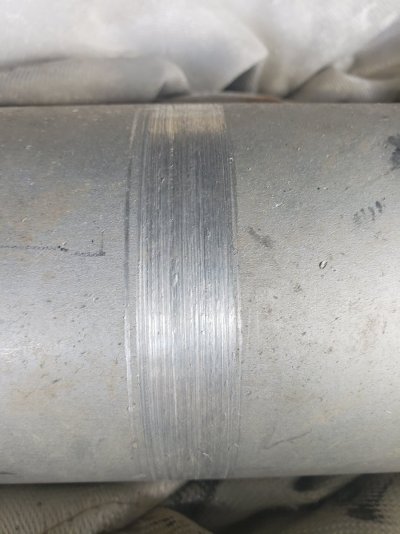
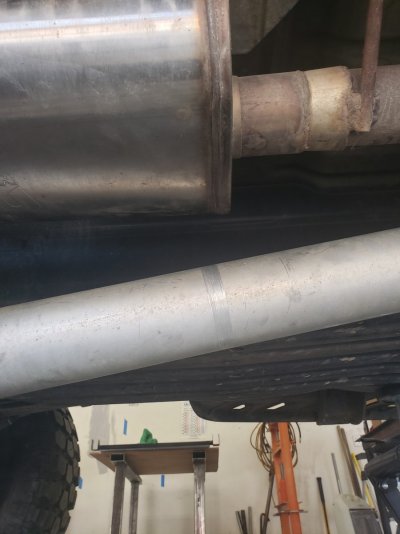
Driveshaft is back on. (I noticed the scraped section when I removed it). It's centered at 25.5" from the rear flange, and seems to be near the end of the (aftermarket) exhaust. Any opinions on if those scratches are from contact with the oem muffler; either it came loose, got bent somehow, or something else? There's no apparent damage to that stainless muffler, but it's a lot harder than the 6061 aluminum driveshaft so who knows.
 

Attachments

  • 20241127_100341.jpg
    20241127_100341.jpg
    163.5 KB · Views: 12
  • 20241127_101403.jpg
    20241127_101403.jpg
    117 KB · Views: 12

TomDirt

FRF Addict
Joined
Jan 3, 2022
Posts
3,843
Reaction score
11,035
Location
Hesperia CA
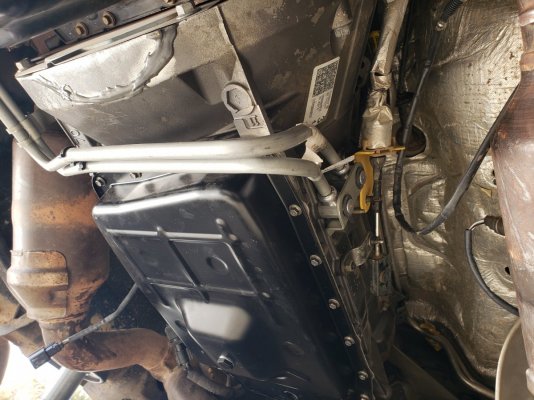
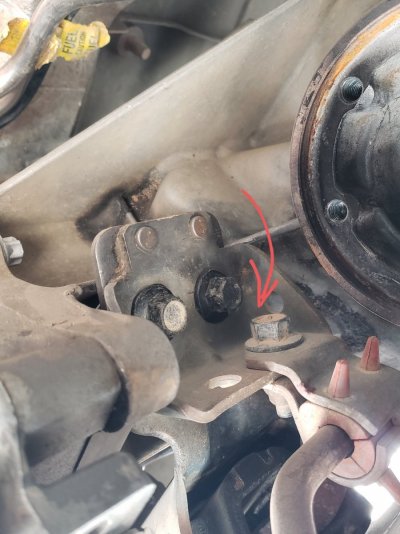
Little update. The new trans cooler lines are secured, the oem shift linkage cable & bracket (that yellow thing), is on, the 17 trans pan bolts are all torqued, original transmission crossmember was cleaned up, painted, and bolted back on. The most "fun" part is securing the (2) 15mm bolts that secure the D-side trans/exhaust bracket, because the rear one is so close to the transfer case output that you can only wiggle a high offset box end wrench in there, a ratchet & socket won't fit. The rebuilt power steering rack is back on. I've got a (new) lower steering shaft section, but the upper one is gonna stay after it gets cleaned up & repainted. The steering wheel is locked down to keep it from spinning, so replacing the upper shaft just isn't worth the risk.
 

Attachments

  • 20241215_140827.jpg
    20241215_140827.jpg
    230.1 KB · Views: 20
  • 20241215_141657.jpg
    20241215_141657.jpg
    170.9 KB · Views: 20
Top