FreightTerrain
FRF Addict
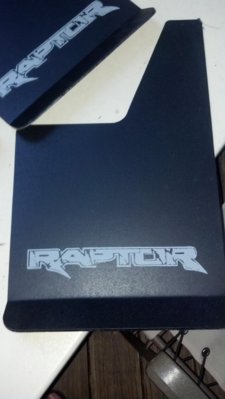
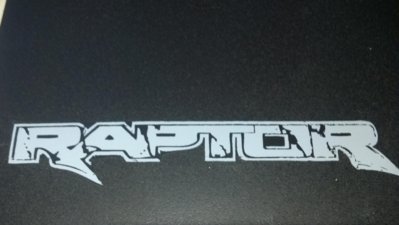
Installed my Proven Design Products (PDP) Contour Series mudflaps with the Fox logo this past weekend.
They look great, fit nice, quality is pretty solid, and the fox logo ties into the shocks pretty nicely.
They don't show this logo on their website, but if you email them they can set you up with it. Just make sure it's the right one because they also have the fox logo with the animal face on it too.
PICS & INSTALL TIPS!
I was tired of having the rockers CONSTANTLY dirty! The added track width the opening between the flares and running boards leaves a perfect spot for slinging all kinds of crap up the sides. I don't mind getting the truck dirty, but when I'm WANTING to make it dirty and romping offroad. If I'm just cruising on the street, I want it CLEAN!


On the rear's, there's already 3 bolts to hold the fender liner in that are PERFECT for mounting up the PDP's with NO drilling on your truck required!

Remove the 3 bolts, hold your flap up in place, and use a pin to imprint the flap from the back side of the holes. Drill the flap with a tiny drill bit. Use small drill bits or allen wrenches to make sure all your holes line up perfectly. If they do, then drill them out full size.

Once the one side is good to go, clamp the flap to the other side, and drill out the holes, this way its 100% symmetrical side to side.

LOOK, these do NOT interfere with departure angles! Hang low enough to keep extra slop off the truck, but high enough to clear offroading.

Laterally they kind of fall into where they have to go in order to hit all 3 OEM bolts. They're perfectly flush with the outside edge of the tread

Here you can see it bolted up using the OEM bolts on the rear.

Just enough to keep the tips 10x's cleaner, yet the flaps are stiff enough that even on the highway the air won't blow them back far enough to touch the tips and melt.


Up front it's a little trickier. There's no holes to use. On both the front and rears I wanted the flaps 12" from the ground (lowest point under the truck at the trans skid plate/cross member is 12"), so the bulge in the plastic wheel liner interferes with the flaps.

I held the flap in place, marked on the wheel liner where the inside edge sat. Removed the flap and measured from there to where the flare inside edge fell. I think it was 3 or 3.25". I then marked my flap to continue the contour cut on the inside edge by that much further down. Trimmed it with a sharp utility knife, and the flap now clears the inner fender liner bulge perfectly.

Since the front flaps just get self tappers, I used double sided tape on the inside edge of the flare, and the self tappers went on the outside edge of the flare, so the self taper wasn't going into the metal fender edge to potentially cause rust issues down the road.

Lining the fronts up was similar to the rears. 12" from the ground to the bottom of the flap, then laterally set to just cover the outside edge of the tread. I marked the flare with a center punch in 4 spots, drilled the holes, then marked the flare with a center punch through the flap lining up the holes, then drilled pilot holes, and then installed the flaps using #10 SS self tappers (didn't use the included screws with the flaps).
There was concern posted about the tires being close to the flaps when turned. Here's a pic this is as close as it gets, plenty of clearance


Here you can see the ground clearance. The flaps don't hang any lower than the lowest part of the truck.


looks like what i want. will you put mine on for me? i suck at shit like that. were the bottom of the back flaps 12" from the ground as well?


