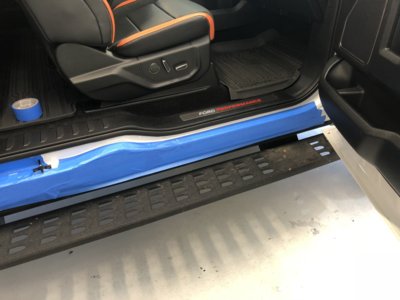
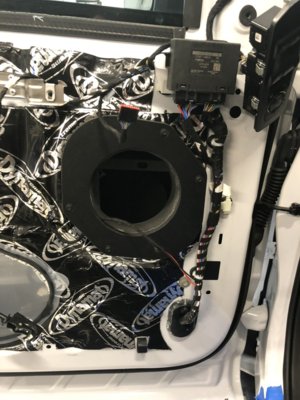
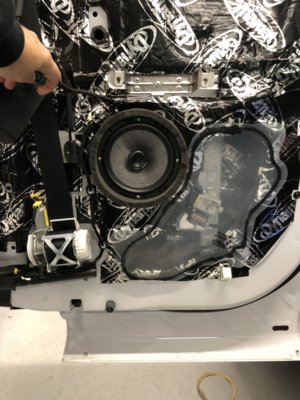
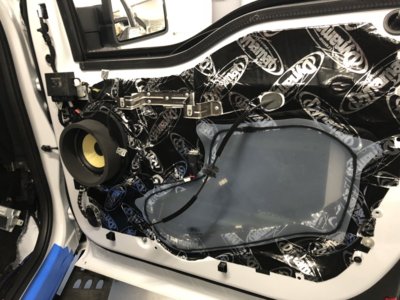
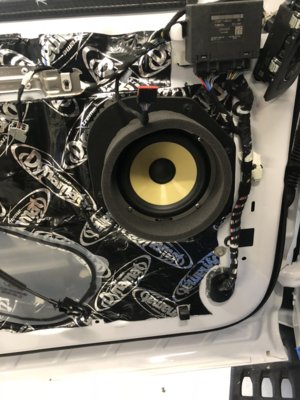
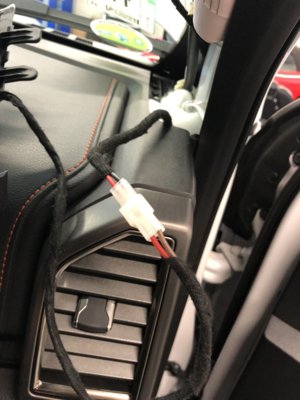
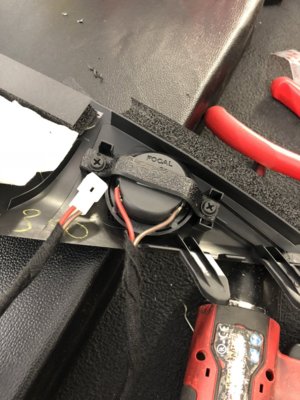
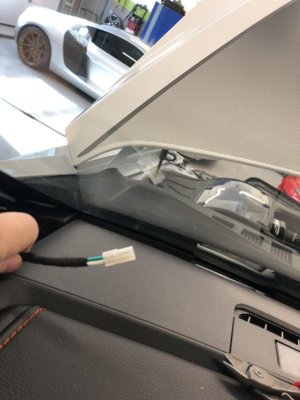
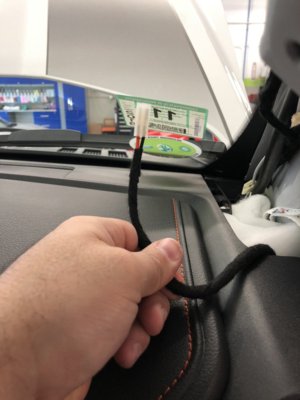
I just got my 2018 SuperCab back from the guys at Luxury Details in Southboro, MA.
Before I get started, I will say that if you need audio upgrades or other performance work in the Northeast, don't hesitate to call Matt at Luxury Details. They're car guys and have been doing this a long time. The owner (Matt) did all of the install work himself and was generous with the pictures. That put me at ease immediately.
These guys are true professionals, and will not cut corners. I'm very picky when it comes to hiring shops for custom work on my vehicles. Maybe I'm paranoid, but I always get worried that interior panels will never go back together the way they came off or just afraid of generally shoddy work that I'll have to live with. As a matter of fact, the interior probably went together better than the factory and I was blown away with the level of quality and detail.
Matt (owner) used to own a Raptor and has extensive experience with audio systems in F-150s. There wasn't any guessing here, he knew what to do and we just did it. He kept me updated with photos all along and made a great call on the equipment. I didn't go with the most expensive equipment, but I didn't skimp either.
Overall I got more than what I was expecting. The volume will get obscenely loud and has perfect clarity all the way up to max volume. The bass from the JL Audio Stealth Box will fill the cabin and hits hard with the right music. Trust me, if you are looking for a big upgrade over factory audio, this will be a great setup for you. Again, it is not super high-end, but the volume and clarity is the best I've had in all my years of playing around with car audio.
Walking into it, I had a budget of about $5000 for the equipment and install, which we did not quite meet. However, I think I had unrealistic expectations on the cost of equipment these days and ultimately ended up with better equipment than I had originally anticipated.
We ended up doing:
Equipment:
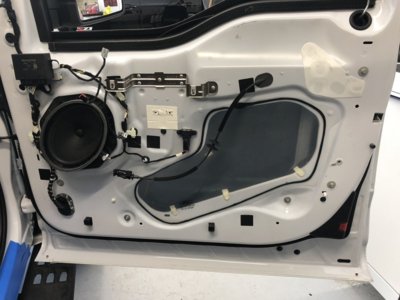
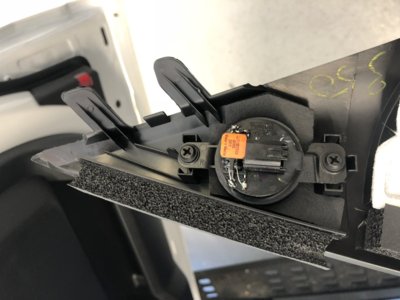
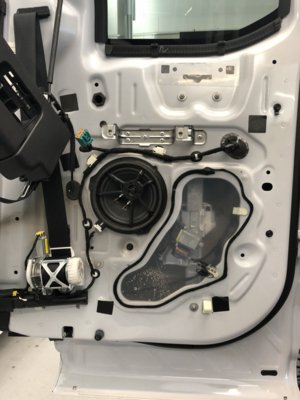
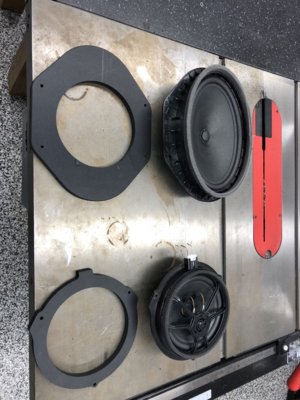
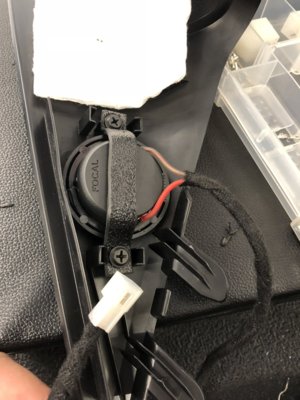
Front: 6.5" Focal ES165K Component Speakers
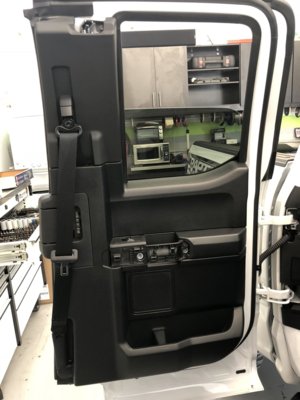
Rear Speakers: 6.5" Focal Access 165AC
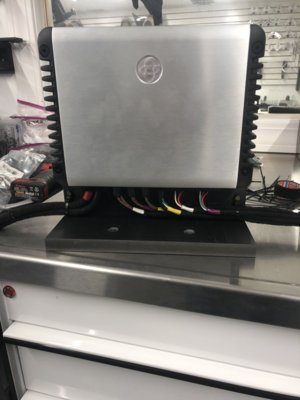
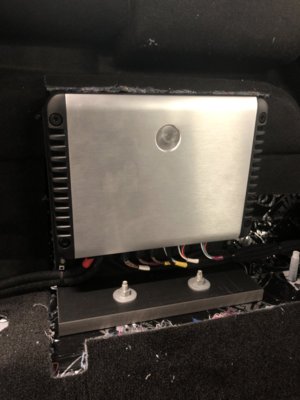
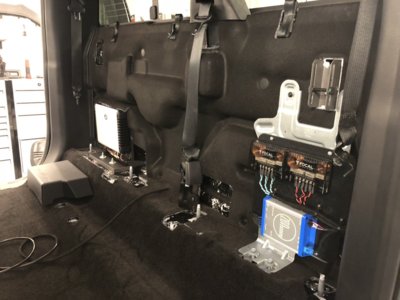
Amp: JL Audio HD900/5
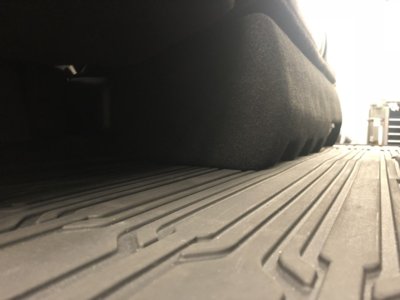
Sub: JL Audio 10TW3 Stealth Box
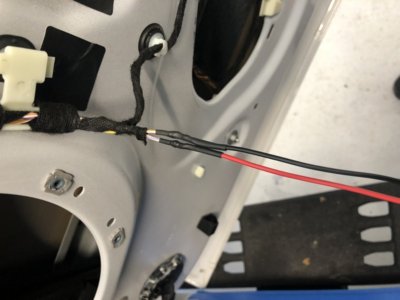
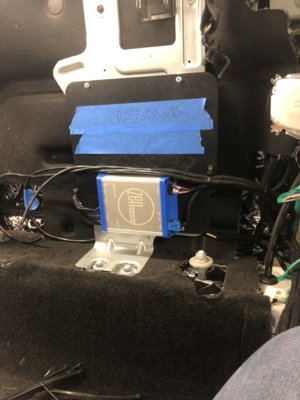
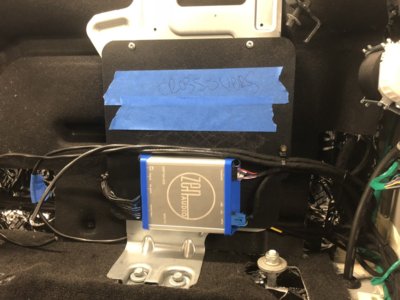
OEM Integration: NAV TV Integration Module for B&O Sound
Install Kit: JL Audio with 100A Stinger Circuit Breaker
Sound Deadening:
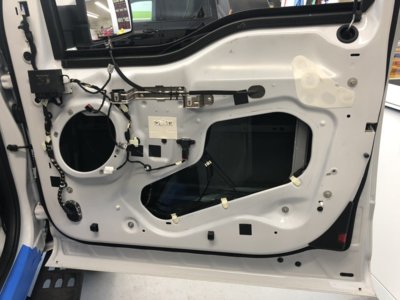
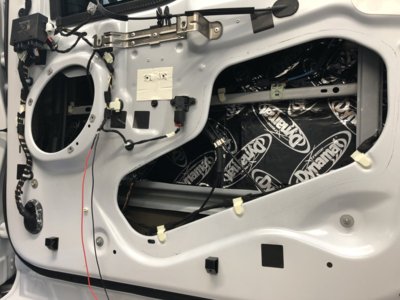
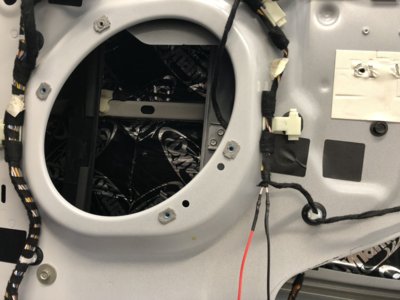
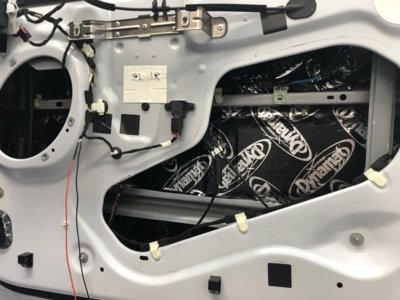
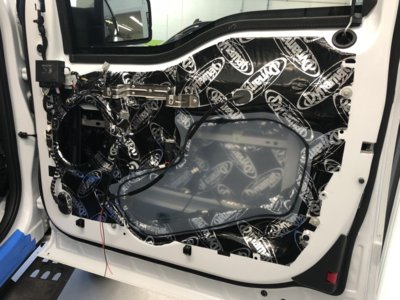
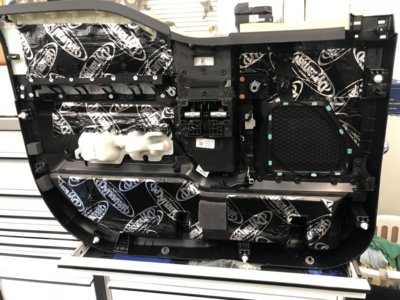
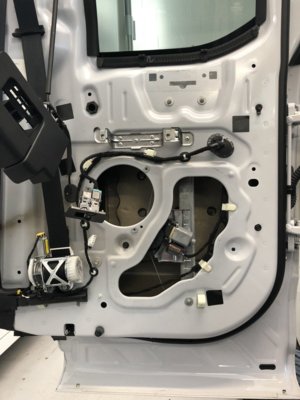
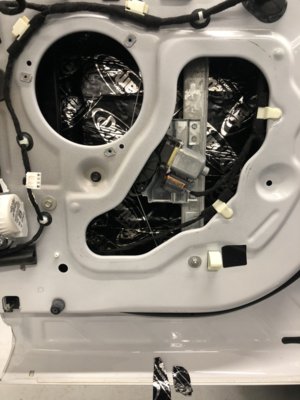
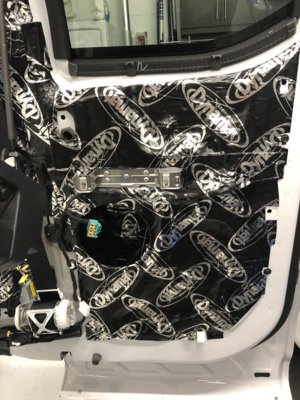
Dynamat Front and rear doors. Inside and out, including panels. Foam fast ring speaker surrounds.
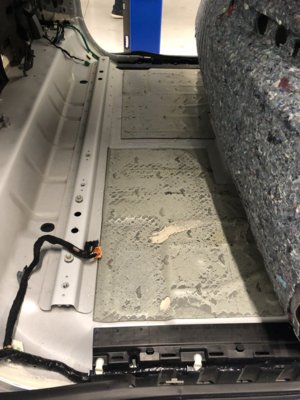
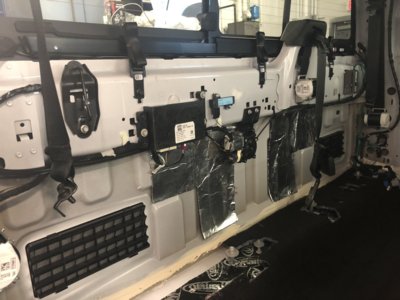
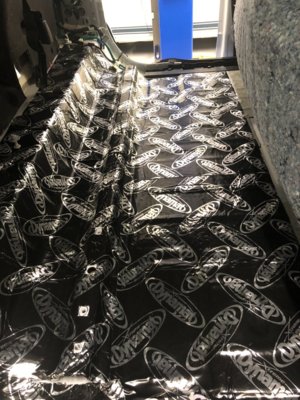
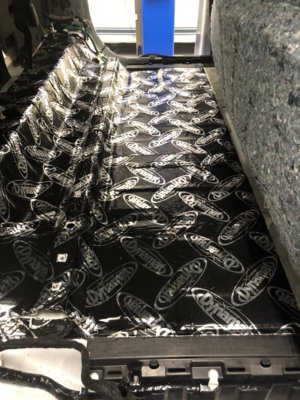
Dynamat on rear bulkhead and rear floor
PICS TO FOLLOW....
Last edited:


