G's Raptor

Disclaimer: Links on this page pointing to Amazon, eBay and other sites may include affiliate code. If you click them and make a purchase, we may earn a small commission.

BOJANGLES

<span style="color: red;"><b>Administrator</b></sp
Supporting Member
Joined
Jul 6, 2010
Posts
6,520
Reaction score
1,047
Location
Chihuahuan Desert (EPTX)
My favorite parts of this thread are the Why sections where you detail how and why you came to different product decisions. Very well thought out and it will be useful to others in the future. Bravo. This thread is Must-Subscribe material.

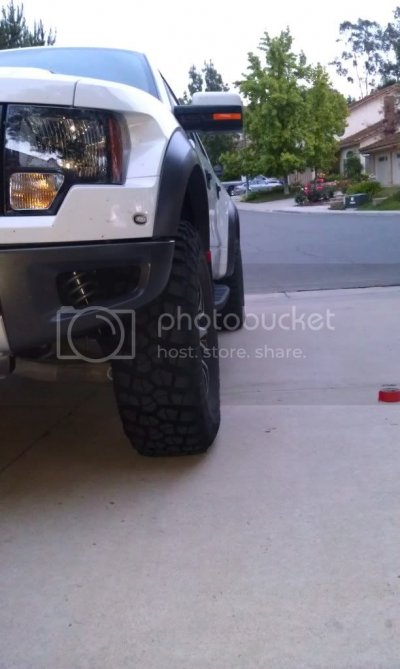
Coincidentally, I have 6 of the 37" BFG KM2s on order as we speak. Glad to hear you're liking them so far.
 
OP
OP
E63

E63

Full Access Member
Joined
Feb 7, 2012
Posts
473
Reaction score
325
Location
Poway, CA.
My favorite parts of this thread are the Why sections where you detail how and why you came to different product decisions. Very well thought out and it will be useful to others in the future. Bravo. This thread is Must-Subscribe material.

Coincidentally, I have 6 of the 37" BFG KM2s on order as we speak. Glad to hear you're liking them so far.

Thanks Ben,

I highly recommend you opt for the certificates (free replacement for roadside damage.) I already have gotten two flats on the KM2s One was small puncture in the sidewall the other between center tread blocks. Both were slow leakers discovered after I got home. One was repaired the other needed to be replaced, and that meant a long wait as these tires are always on back order.

I asked the tire techs about how well these tires are in comparison to others. He assured me that they were as good or better. Also threw this out at me. " A Kevlar vest doesn't protect well against a knife attack!" I didn't know that.

The leak in the center block was caused by a stick! not a nail. Likely happened while we were lost in some unused area doing a pre-run for recent desert heat, got off trail several times.
 
OP
OP
E63

E63

Full Access Member
Joined
Feb 7, 2012
Posts
473
Reaction score
325
Location
Poway, CA.
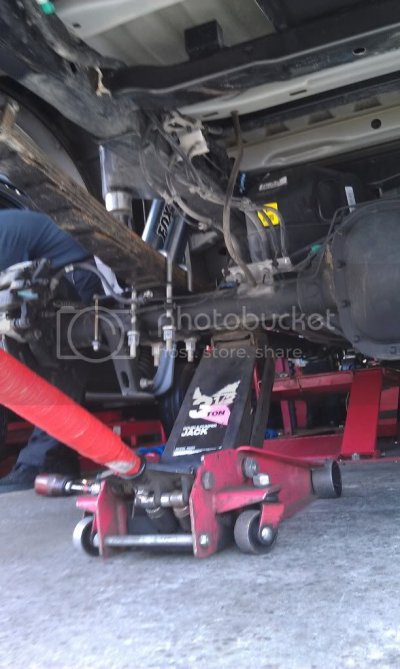
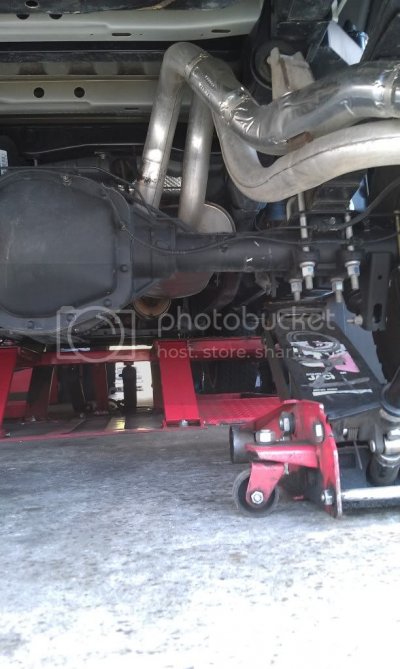
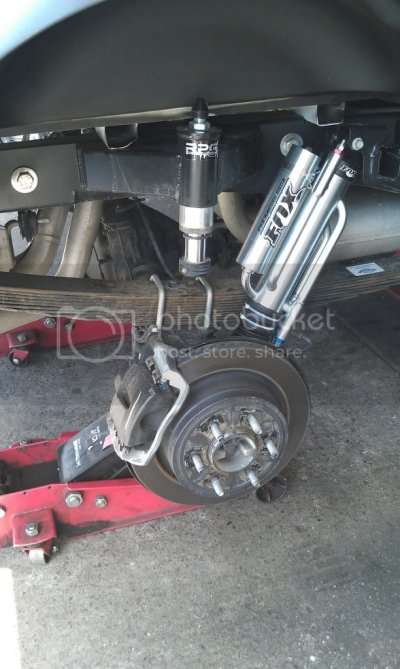
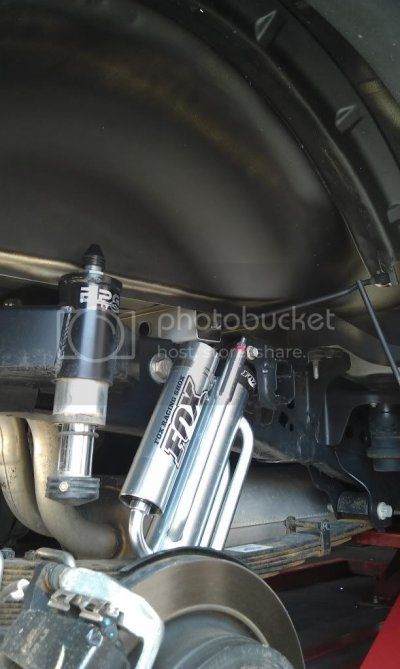
Undercoating Wheel Wells

So far the Rustoleum “Rust converter” spray paint on the axle is holding up pretty well, this was done over 3 months ago during the stage 3 install.
IMAG0564.jpg
IMAG0563.jpg

Had originally painted wheel wells with tires on and rear jacked up using 3M Undercoater, missed a few spots that I have since redone, but these pics were taken at the tire shop getting the new tires on
IMAG0567.jpg
http://i1266.photobucket.com/albums/jj521/gglazer/Fun Raptor Pics/IM

IMAG0565.jpg
 
OP
OP
E63

E63

Full Access Member
Joined
Feb 7, 2012
Posts
473
Reaction score
325
Location
Poway, CA.
Mud Flaps

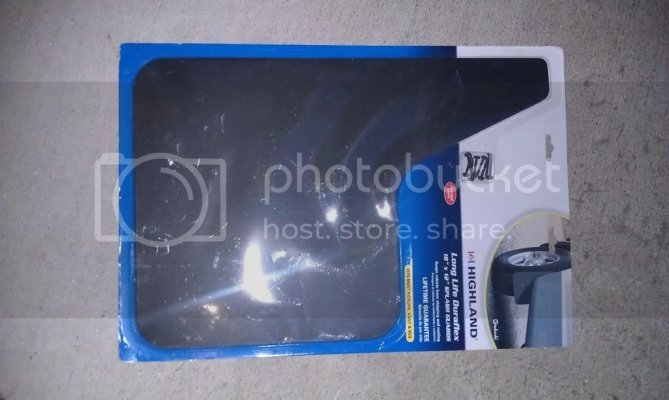
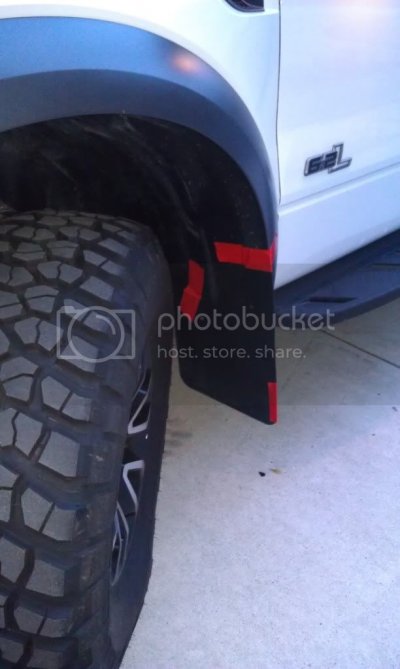
For me its mostly about function – not form, I prefer the look of the Raptor without mud flaps, but I also don’t like how the tires trash the sides of the truck with mud and stones. I actually spent a fair amount of time researching options before deciding to just go down to the local auto parts store and see what they had. For $11 I found these.

IMAG0623.jpg

Thought they were singles so I bought two. To my surprise there was a pair inside. I don’t intend to use on the rear wheels for several reasons so I have an extra after I tear these up.
1. Not much back there to get dirty
2. Not to concerned about damaging the tailgater riding my ass’s windshield
3. Limits the rooster tail when doing donuts, and I do love doin donuts.
First I used some 3M undercoating to protect the exposed lower fender where we did all the cutting and banging. I also touched up the rear wheel wells and put a second coat on them.
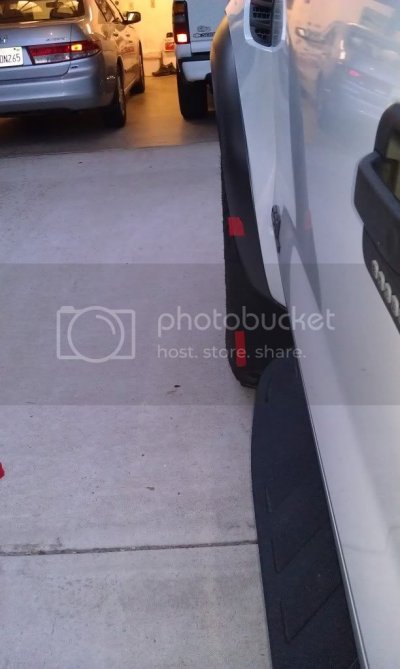
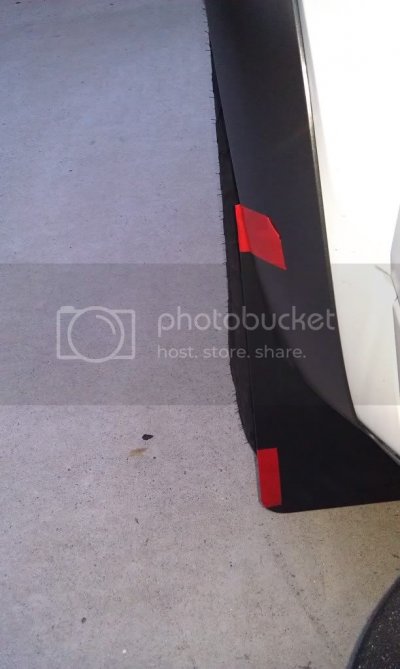
To line up the flap evenly at night with poor visibility I put some red tape on the sides – more for the pictures than my benefit.
IMAG0628.jpg
IMAG0629.jpg
IMAG0631.jpg

Invisible to the front
IMAG0630.jpg

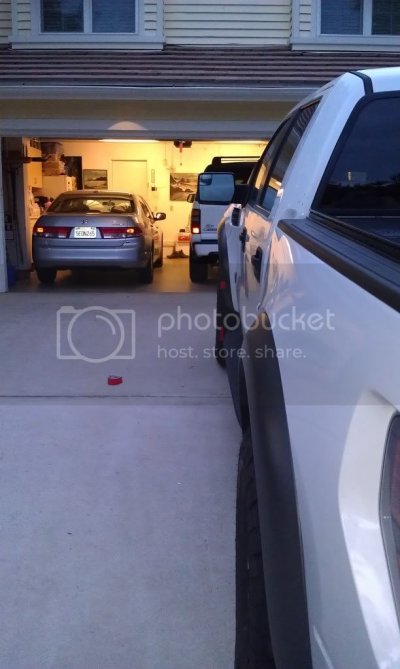
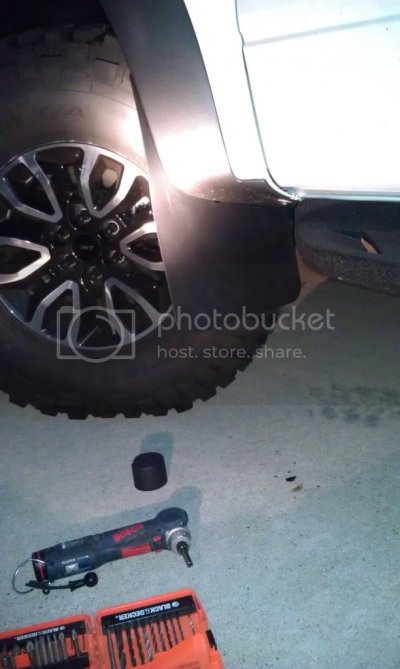
Once I had both sides temporarily taped I simply moved the truck and cranked the wheels, doesn’t matter much either way there is room.
IMAG0632.jpg

Simple drill and screw –easy and quick mod. What is especially interesting to me is that after going thru this procedure for the second time (as I had the flaps on with the old tires and before we modded both fenders.) I happened to line them up almost exactly in the same place. I ended up using the same holes except at the bottom due to the extensive changes.

IMAG0634.jpg

The Mud-flaps close up the small hole from the fender mod and suck the liner back about an inch. No more tire rubbing!
 

Wheela

Full Access Member
Joined
Mar 19, 2012
Posts
937
Reaction score
119
Location
KCMO
as said before, awesome write-ups, I too support mudflaps, love my PDP contours, one thing I would sugest with all the offroading you do is to cut ur exhaust and aim it downward from the muffler.
 
Last edited:

BOJANGLES

<span style="color: red;"><b>Administrator</b></sp
Supporting Member
Joined
Jul 6, 2010
Posts
6,520
Reaction score
1,047
Location
Chihuahuan Desert (EPTX)
Thanks Ben,

I highly recommend you opt for the certificates (free replacement for roadside damage.) I already have gotten two flats on the KM2s One was small puncture in the sidewall the other between center tread blocks. Both were slow leakers discovered after I got home. One was repaired the other needed to be replaced, and that meant a long wait as these tires are always on back order...

I bought them through my local 4 Wheel Parts, I went for what they referred to as a warranty... the price was 10% of the cost of each tire and it's good for full repair or replacement (he said they usually just replace them) of any tire until it has less than 50% tread left.... after that I can extend any tires warranty for like $40. It seemed like the right choice since the warranty for all 6 tires was about half the price of 1 tire.

Is what I'm describing the same thing as what you're referring to as "the certificates"...?
 
OP
OP
E63

E63

Full Access Member
Joined
Feb 7, 2012
Posts
473
Reaction score
325
Location
Poway, CA.
I bought them through my local 4 Wheel Parts, I went for what they referred to as a warranty... the price was 10% of the cost of each tire and it's good for full repair or replacement (he said they usually just replace them) of any tire until it has less than 50% tread left.... after that I can extend any tires warranty for like $40. It seemed like the right choice since the warranty for all 6 tires was about half the price of 1 tire.

Is what I'm describing the same thing as what you're referring to as "the certificates"...?

I think the "Certificates" is a Discount Tire term. They were about $63 per tire, so more like 16% and is free replacement as long as there is some minimal tread. Here is the exact verbiage:

How Am I Covered?
In the event one or more of your tires with certificates fail due to defect, or incurs road hazard damage that cannot be repaired, Discount Tire/America's Tire will replace it at no additional charge. Regardless of the number of miles you put on the tires, you will be covered for the life of the original tread down to 3/32" remaining, or 3 years from the date of purchase, whichever occurs first. We have offered certificates for over 30 years; they are unbeatable in the tire industry!


as said before, awesome write-ups, I too support mudflaps, love my PDP contours, one thing I would sugest with all the offroading you do is to cut ur exhaust and aim it downward from the muffler.

Thanks, I am actually very interested in doing exactly that, as it will be necessary if I am able to get a second 37" spare under the bed. Will be working on that problem this weekend.
 
OP
OP
E63

E63

Full Access Member
Joined
Feb 7, 2012
Posts
473
Reaction score
325
Location
Poway, CA.
Invisible Bug Screen

So far this has been the easiest mod to date, only tool you will need is your brain and even if it is only running on partial power (am I standing?) then you are good.
The original Invisible Bug Screen from magnificent (not really) El Centro California aka DBS D-Bug Screen find it here D-Bug Screen Auto Bug Screens for Ford, Chevy, Dodge, GMC, Emergency Vehices, Farm and Fleet, trucks, cars, models f150 ecoboost raptor and more! or D-Bug Screen Auto Bug Screens for Ford, Chevy, Dodge, GMC, Emergency Vehices, Farm and Fleet, trucks, cars, models f150 ecoboost raptor and more!
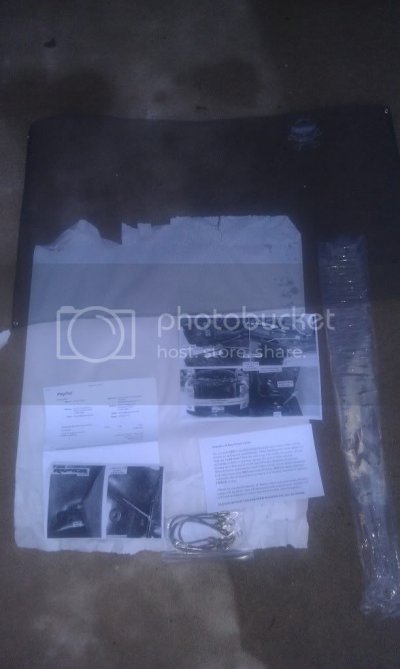
Part # 00045-000452012 cost is $19.95, Ca Sales Tax is 2.21 and Shipping is $8.50 = $30.66 2-3 delivery via Priority Mail
Here is the package, really don’t need to look at instructions or pics, just follow these
IMAG0673.jpg

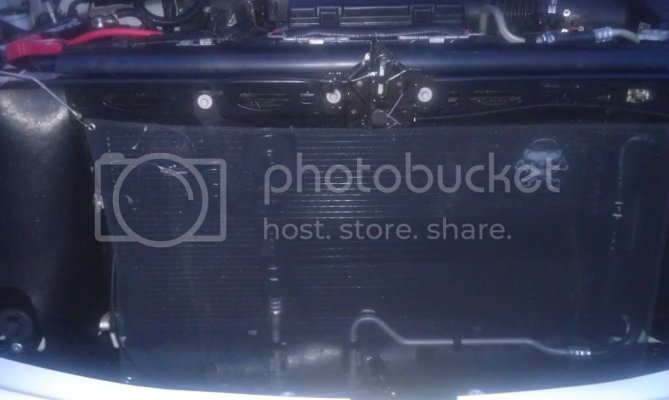
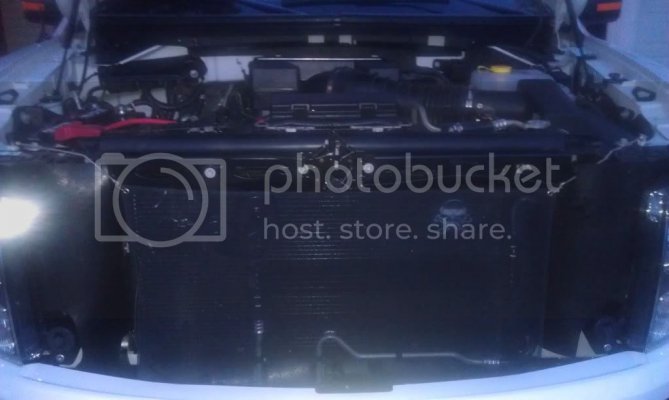
I wish I would have taken a picture of how filthy my front was after 1000 miles thru California’s central valley. As expected the radiator, Tranny Cooler, horns et al were filthy, covered in dead bug bodies. Anyway, look at yours, you get the idea. To protect this stuff and make cleaning easy the Bug Screen seems like a great idea. It installed in just a few minutes.

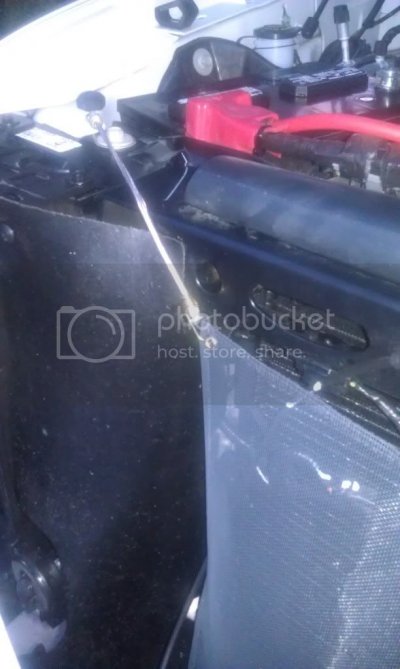
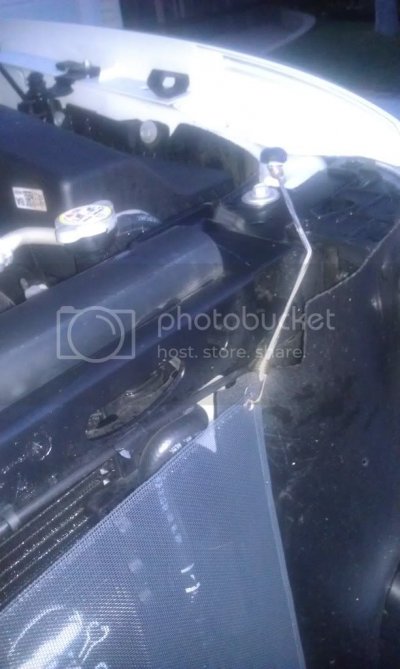
First Connect upper two, with graphic facing out:
IMAG0675.jpg
IMAG0676.jpg

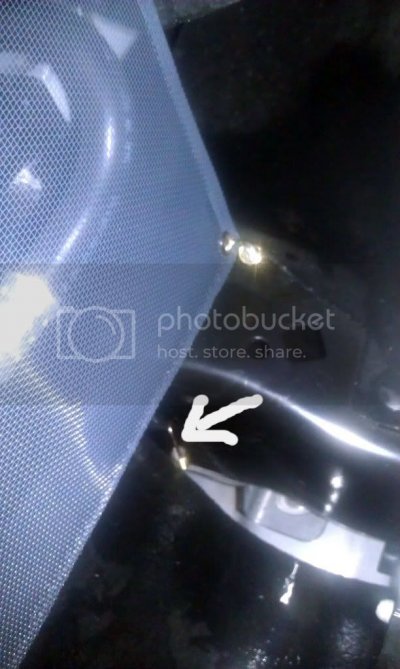
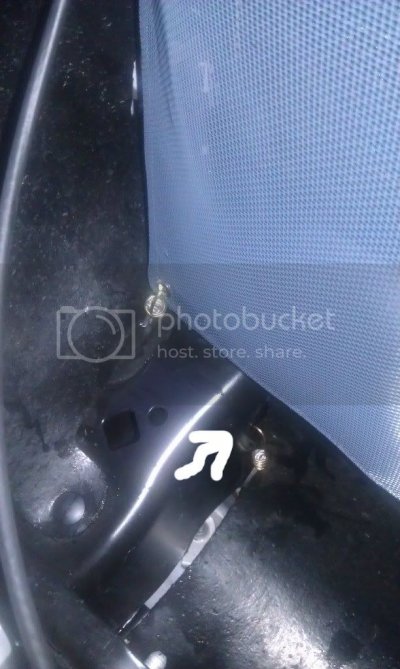
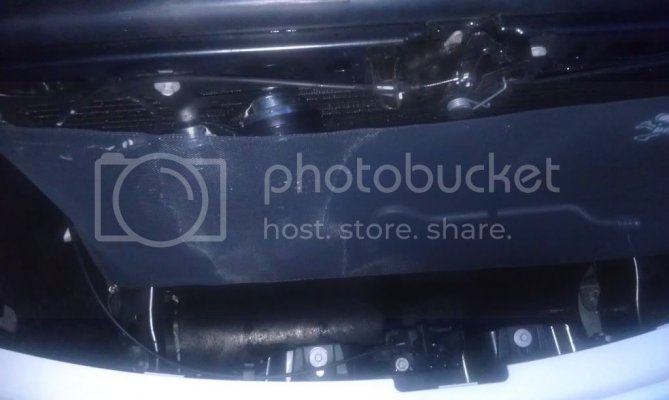
Then lower right, I fed bungy though the rubber shield first, then connected end to screen and was able to hand the other end across the front frame horn and attach to access hole in frame horn. – see white arrow.
IMAG0677.jpg

Here is look from underneath – I am using Dutch’s pic since I didn’t feel like getting dirty on this quick install.

DSC00039.jpg


The left lower for me was a little bit more difficult. I ended up doing it in reverse because I could not hand it back to myself. So I connected to same hole in front frame horn and passed it back over frame and under rubber shield to connect to screen.

IMAG0674.jpg
2 minute job without taking pictures not including cleaning the radiator et al before hand.

IMAG0679.jpg
IMAG0680.jpg
IMAG0682.jpg
 
OP
OP
E63

E63

Full Access Member
Joined
Feb 7, 2012
Posts
473
Reaction score
325
Location
Poway, CA.
Bed Cage Design - Part 1 Goals

To briefly recap, I had decided that I wanted to carry two 37” spares and wanted to figure out a way to do so while keeping my F-1 BaK-Flip, Bac-Box (*contents) and Bedrug.

I wanted to be able to securely take with me the following items:
  • 55 Cu Ft Nitrogen Tank, with Regulator and accessories
  • Backpack ready to go with 2.5 liters of Water, First Aid, Compass, Light Sticks, Jackets (Fleece and Shell), Leatherman Multi-tool, Flashlight, Hat, emergency Blankets, misc survival goodies.
  • Mexican Blanket, assort Towels, 2nd Windbreaker
  • Fire Extinguisher
  • Igloo Marine 48 Qt Cooler
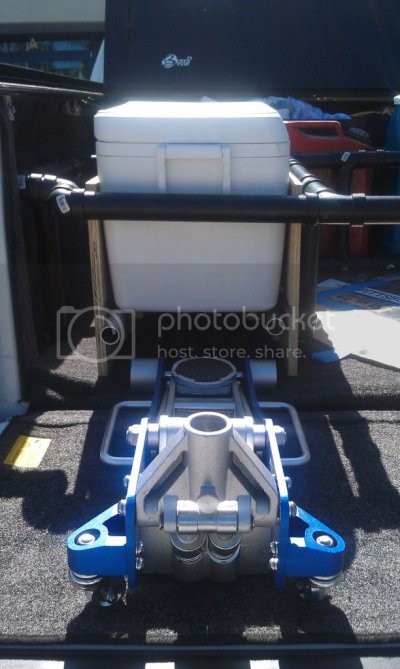
  • Pittsburgh 2 Ton Racing Jack
  • Reliance 7 Gal Water Tank
  • 5 Gal Gas Can
  • Shovel

I also do not want anything permanently affecting the ability of the pickup bed to be used as a Pickup Bed.
Because the 36 Gal Gas Tank is located on the Left (Driver’s Side) of the truck, I placed the heavier items on the Right. The 37” BFG M/T KM-2 with Stock Wheel weighs about 103Lbs and the 7 Gal Water Jug is also very heavy.

Design
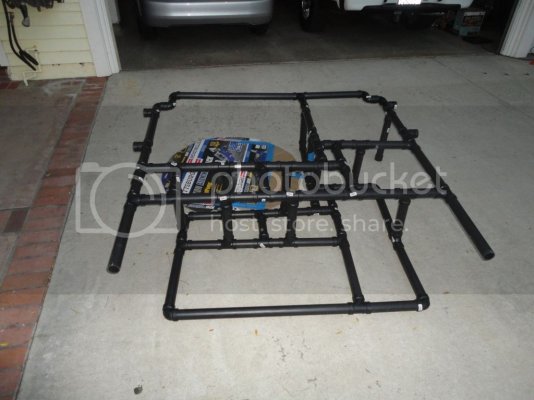
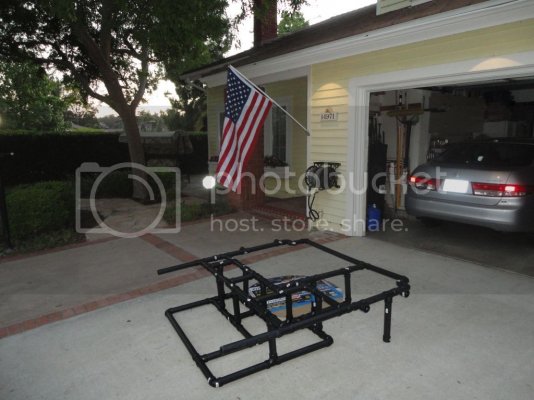
I originally considered building the structure out of aluminum Tubing and tried to draw it out, it just didn’t work real well, so I decided to make a model out of PVC. Well the amount of work to do that vs. building a stout version out of ABS was not that much more difficult, or so I thought at the time and I was curious if I could build it strong enough as a permanent solution.

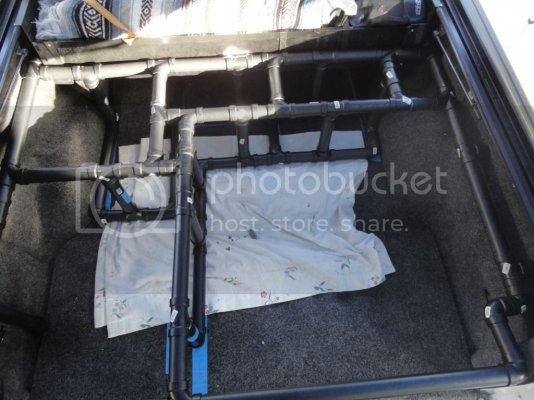
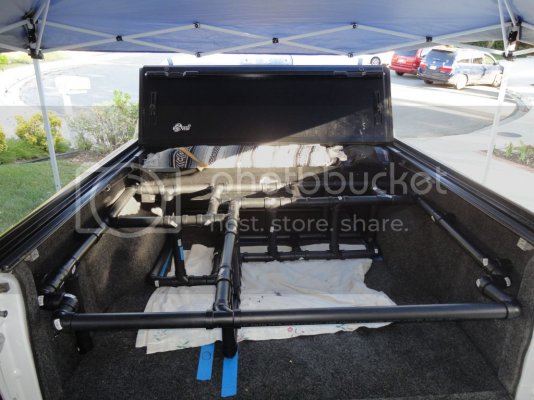
After a couple hours designing in the bed of the truck with actual components I figured out that the cooler if properly supported could sit on top of the jack and just clear the (inside) top of the F-1. The Water Jug if placed between the F-1 Rails also just touched the top of the F-1. So I go to bed with this unfinished drawing continuing to process in my brain thru the sleepless night.

So many different ideas!

Spent 10 hours constructing the ABS frame the next day, required 2 trips to Home Depot for more parts.
Description, #, Unit, Ext.​
coupling 2 0.74 1.48​
Trap Adaptors 6 1.94 11.64​
Sani-Tee 30 1.73 51.9​
Test Tee 6 4.55 27.3​
90 deg vent 14 1.39 19.46​
ABS Cement 1 4.27 4.27​
ss clamps 5 5 1.27 6.35​
10' 1.5" ABS 6 5.59 33.54​

Total 70 connectors and $155.94​

They don’t make a 4 way connector so you have to get creative.
The Test Tee’s are a 3 way connector where the middle part has a screw in, instead of glued. This allows the Trap Adaptor to screw in. I used these on the sides to adjust left to right to compress the cage once it is installed.
I used a Cardboard template of the 37” tire since my spare is currently a 35”, this ended up being a mistake as my template somehow came out to large which required a reconfiguration. This easily added 2 hours of work and another trip to the store. I did end up strengthening the design at this point by adding more up and down connections.

I had planned all along to pull one of my 37” tires off to calculate height of the cage as I wanted the top of the cage to equal the height of the tire. Well that is when I discovered my error. The take-away here is to have all your items there in your bed when you do the design.

Lifting a 103 Tire is somewhat awkward, especially if you don’t want to wear road dirt. Dropping the tire in at an angle to use the least amount of bed space is not worth breaking the cage or your back. I want to be able to easily slide out the tire onto the tailgate, so I gave up some space on the right. So be it. By doing this it turns out I didn’t have room to mount the Nitrogen Tank on the left side of the Cooler/Jack set up, so be it, in the Bak-Box it stays.

I not only drew the design on paper, I used 2” Blue tape to mask it off in the bed. This made it easier as I built the design.

Construction:
The hard part about doing this out of ABS is that the Sani-Tee 3 Way connector is “Y” shaped where one side is longer than the other as it relates to the middle.

The tip is to always have the connector pointing in one way when going L to R and the same thing going Front to Back.
For some strange reason, I decided to construct the top section first. If I were to do this again I would start on the bottom. I also delayed too far into the project putting the actual tire where I wanted it. Had I done this earlier I could have pre-cut all the uprights that would make the upper section easier.
The entire middle section of the upright portion mirrors the bottom section. So when cutting a piece from the top cut a matching piece for the bottom. Same thing on cross pieces, make sure they are exactly the same size. I used my compound miter saw, but any chop saw will do. By matching these sizes exactly it will make for an easier glue up.

Completely assemble your creation and make sure you are satisfied before gluing. It is possible to make changes, but depending on where it can be problematic.

Gluing
ABS Cement dries in less than 10 seconds, and is permanent in about 30 Seconds. Have a rubber mallet near by in case you make a mistake.
I took out sections and glued on flat surface.

Don’t glue any of the uprights until the very end. The goal is to have a complete Top and a separate complete bottom section glued up individually, then dry fit it once more before gluing together. I did the final assembly upside down so that the glue would not run out of the fittings as I attached the uprights to the bottom section first.

Be strategic when deciding what pieces to glue together, look for the longer straight pieces and make sure all the connectors line up by eyeballing it after each connector. Then connect the longer straight sections together as complete units. Be careful to not invert the 3 ways. It gets confusing because you often are working upside down and inverted, so easy on the booze. If you make a mistake just salvage what you can and chuck the rest.

I was fortunate I only wasted 2 connectors and had estimated the number of long tubes the first time correctly.
Keep in mind getting the unit in and out. I did not glue in the back pieces so it can collapse some to get in past the side rails.
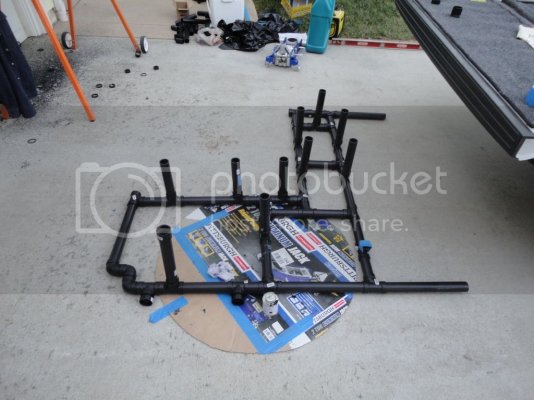
DSC02166.jpg

I was happy with the result, had my doubts if I was going to get it done before I lost daylight and energy to complete. I am challenge driven and this “Thing” was definitely challenging. It is super strong, and I can jump up and down on the core part, I would guess it could support over a 1000 pounds of evenly dispersed weight in the supported sections.
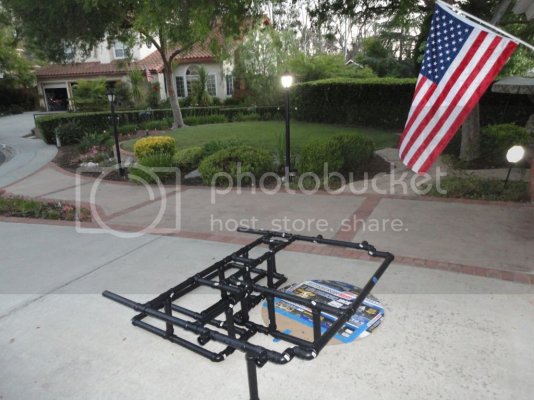
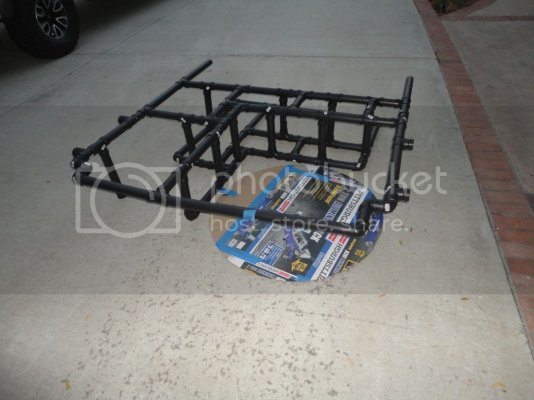
DSC02171.jpg
DSC02170.jpg
DSC02169.jpg
DSC02168.jpg
DSC02164.jpg
DSC02163.jpg
 
OP
OP
E63

E63

Full Access Member
Joined
Feb 7, 2012
Posts
473
Reaction score
325
Location
Poway, CA.
Bed Cage - Part 2

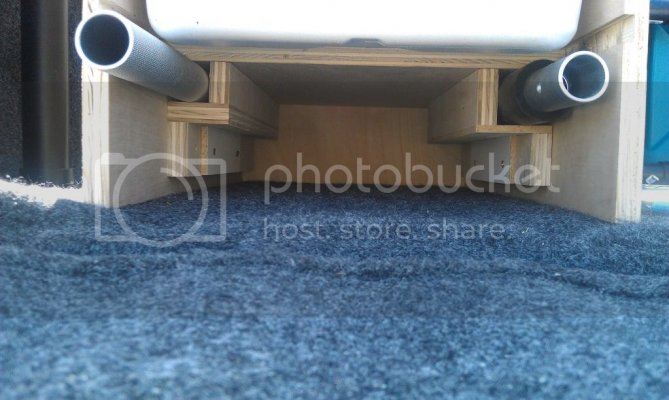
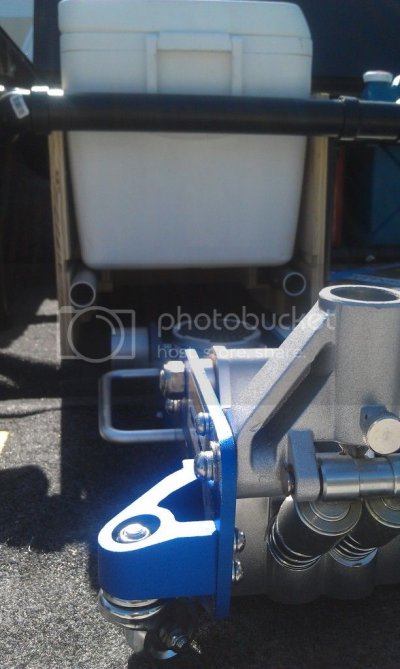
The Racing Jack and Cooler piece I wanted to be made of ¾” smooth both sides Plywood. I was limited in overall height so the one side of the cooler actually rests on the handle side of the Jack. Sides were built up to secure any side to side, and small pockets were custom fit for each piece of the handle. The Thicker one needed to use smaller shelf material to fit. Sides extend up to secure Ice Chest. I will use the hose clamps to attach to the cage.

IMAG0737.jpg
IMAG0736.jpg
IMAG0735.jpg
 
Top