Speeddeacon
Full Access Member
First let me give a big shout out to FRF members BigBlue and Loufish, who have done this install previously and have shared photos of their install on FRF. BigBlue also shared install tips with me so I had a good idea of the process going in. I’m posting this write up for any other FRF members who may desire the OEM look that I feel this install provides.
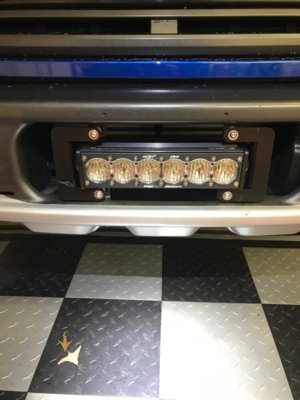
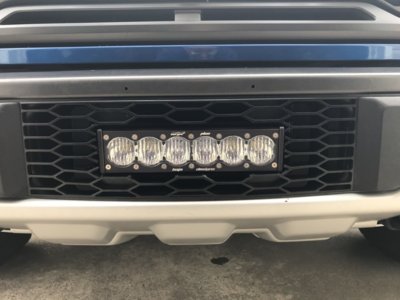
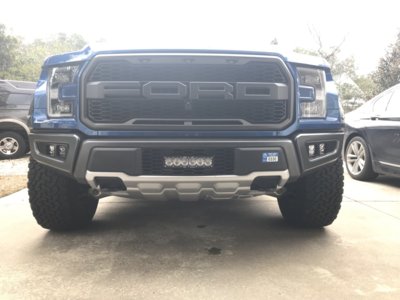
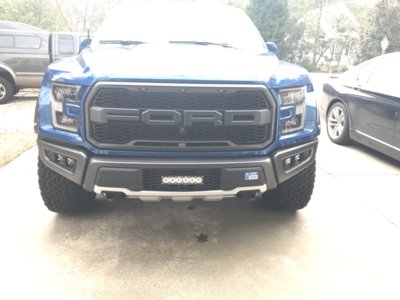
After living with my twin Baja Designs Squadron Pros in the fog pockets for a few months, I wasn’t really happy with the light dispersion with my particular setup. I had the wide cornering in the outside position and driving combo on the inside. This makes the most sense, but I found that due to the rearward taper of the bumper, light was being obstructed for the edges, particularly in the center. Compounding the problem was that the Ford Raptor Lights bezel that I use essentially place the lights inside a tunnel. I didn’t think it wouldn’t be a problem for the narrow beam pattern of the Spot lens though. I figured I could either ditch the very attractive finished look of the bezels and go with one of the standard mount or find a different solution for wide dispersion. That’s what lead me to the OnX6+ lower grill option. Fitted with their wide cornering lens and mounted in the straight edge, forward position of the front grill, it offers a good, non-obstructing location for a wide cornering setup. Since I want as much light as possible, I opted for the flush mounted location instead of the behind the grill for my install. All I had to do was order the parts and do the requisite install when they arrived.
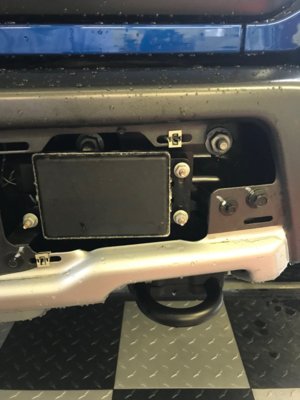
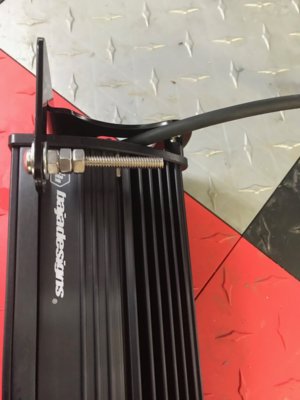
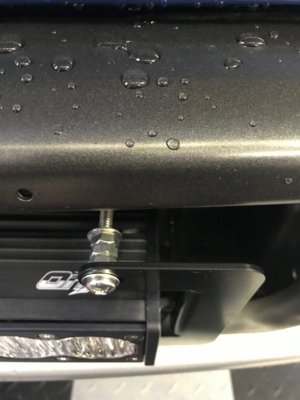
I appreciate Baja Designs quality, flexibility and end user serviceability. To me they are worth the premium they charge over competing brands. However they do add a significant “Raptor Tax.” What I mean by that is the unnecessary upcharge for the Raptor lower grill install "kit". The light itself has an MSRP of $429.95. It includes the light, hardware (including a general mounting bracket), some wiring and connectors. The OnX6+ specific Raptor Upfitter Harness is available with a MSRP of $13.95. So theoretically it should only cost $443.90 to be up and running. However, there is a specific mount that allows the light to mount directly into the brackets inside the lower grill (where the front license plate bracket mounts perhaps). That mount is not available individually, according to my dealer. For that, you have to purchase the Raptor specific kit, which includes the $14 harness and costs $629.95. That is $186.05 for two brackets. When I ordered the Raptor Kit, it came in two boxes. One had the OnX6+ and the other had the Raptor specific mounts, harness and the wide cornering lens I specified with my dealer. Baja Designs could easily swap the Raptor specific harness for the universal. $186.05 for two small steel brackets is, in my opinion, a significant “Raptor Tax.” I don’t appreciate it, but I paid it after all.
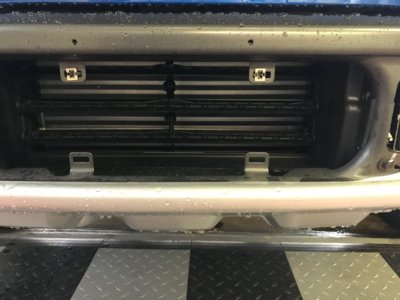
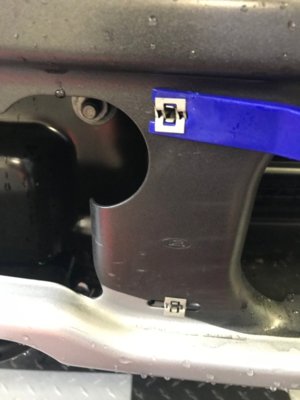
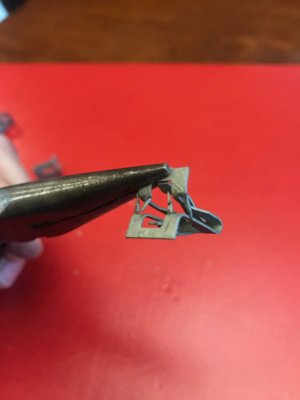
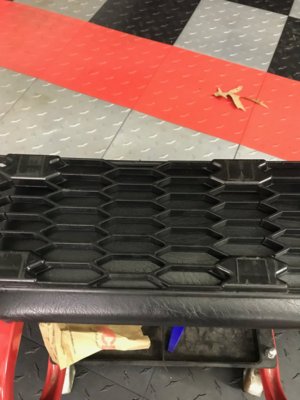
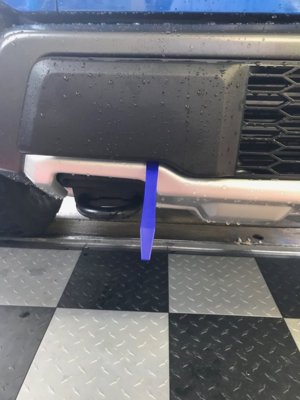
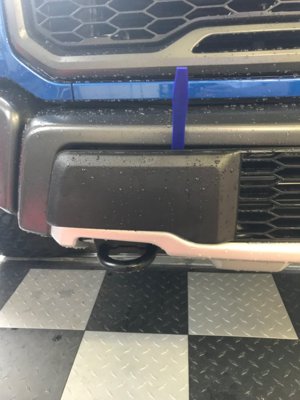
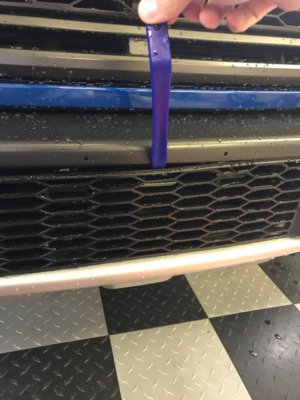
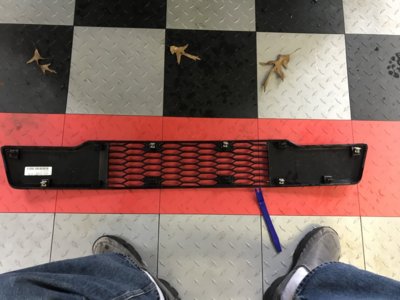
That gripe aside, let’s move on with the install, which is relatively straight forward. The first thing you have to do, whether you mount the light behind the grill or flush with it, is to remove said grill. It is held in place by 12 tabs with metal clips on them that fit into slots on the bumper. To get the grill off, you simply have to pry those clip shod tabs out of the slots. I used a plastic trim removal tool that I already had, but you could use just about anything that you can wedge in behind the trim and the bumper. If it is metal, however, cover it with tape to keep from scratching your bumper. I started in the bottom corner and worked my way around.


Last edited:


