You are using an out of date browser. It may not display this or other websites correctly.
You should upgrade or use an alternative browser.
You should upgrade or use an alternative browser.
GEN 2 Baja Designs S1 Flush Mount Install
- Thread starter surfnsocal
- Start date
Disclaimer: Links on this page pointing to Amazon, eBay and other sites may include affiliate code. If you click them and make a purchase, we may earn a small commission.
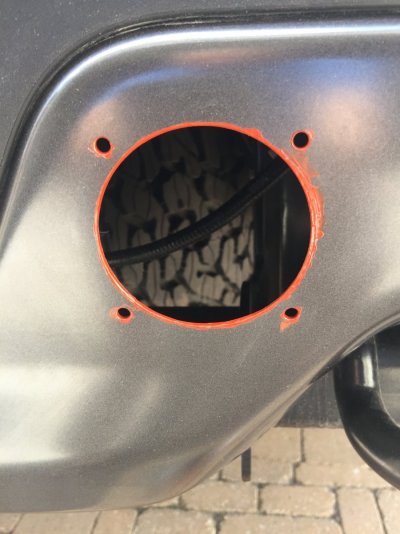
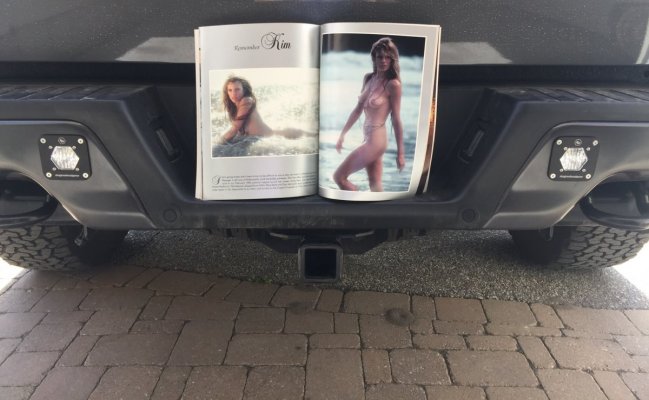
Planning the install of my S1s flush mounts in my rear bumper. I made some templates and thought some of you may need them. Just print the PDF.
Seriously I have to be the "slowest" person at getting things done....Christmas 2020 present finally installed today. Used your PDF which made it a snap. Did not like the BD cables that came with the kit so ordered this one to make the install a bit cleaner with two less connections....only going to wire to Aux switch. Installed them to use when camping and also to flash tailgaters.
https://www.4x4truckleds.com/crysta...rness-for-baja-designs-s1-s2-squadron-lights/

Now I know why I procrastinated so much....I hate running wires from front to rear of the truck. Got it done. Luckily I left an easy access wire to the #6 switch when I installed all my front BD lights (3rd pic). The harness from 4x4trucksled.com is nicely constructed. I am not a huge fan of butt connectors, but too lazy and too cold to change it out.
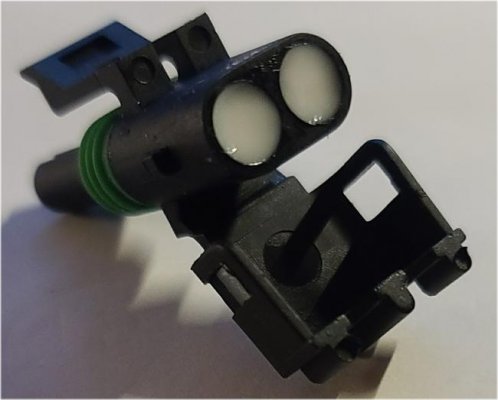
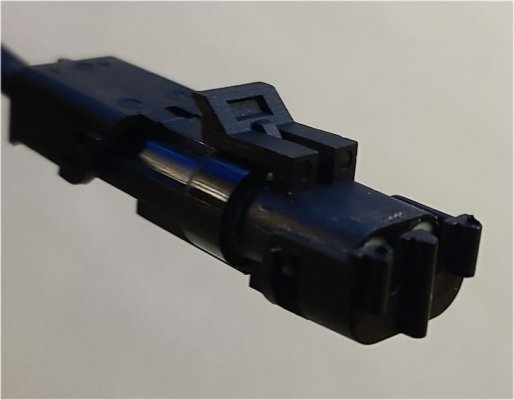
I did not want to connect to the reverse light, but did not want to give up the option in the future. So I took an extra male connector and filled in it caulking to make a plug that was water tight. Installed it in the female harness connector that you use to wire up the reverse light. If want to connect to reverse later, then cut a few tie wraps, pull the plug, run new wire to the reserve.
I read a review on 4x4trucksled.com on the harness that said it could have been a little longer....a couple of measurements showed it was close....so I connected the front first and then ran the rest of the cable down the outside of the passenger-side frame. White wire is the one I left for connection so did not have to mess with the small OEM wires but once.
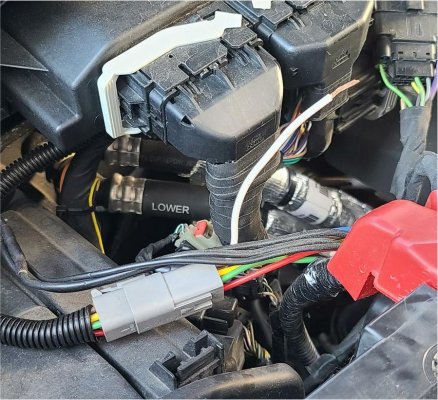
Here is it all connected in the front. Can see the ground connection on the left and then the harness that starts off directly down to the frame on the right. Now on my '17, I ran the wire to the reverse lights inside the frame....too lazy and cold on that too hence tie wraps to the outside of the frame this time around.
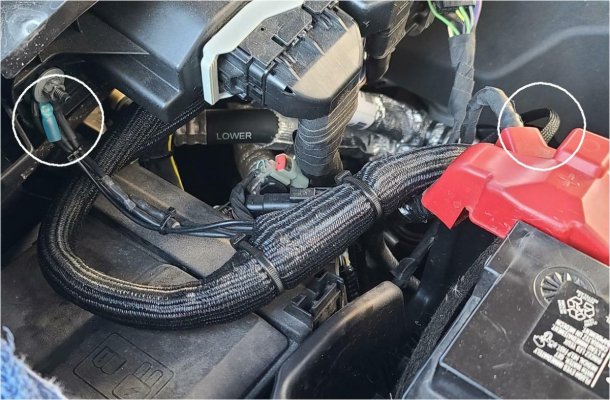
When got to the back, I had 3" of extra cable to the passenger side light. By time I put tie wraps on it was perfect. The cables to the driver side light was plenty long. I dropped the spare tire to make it easier to tie wrap everything up behind the bumper. Finally done with lights until get my next Raptor one day.
I did not want to connect to the reverse light, but did not want to give up the option in the future. So I took an extra male connector and filled in it caulking to make a plug that was water tight. Installed it in the female harness connector that you use to wire up the reverse light. If want to connect to reverse later, then cut a few tie wraps, pull the plug, run new wire to the reserve.


I read a review on 4x4trucksled.com on the harness that said it could have been a little longer....a couple of measurements showed it was close....so I connected the front first and then ran the rest of the cable down the outside of the passenger-side frame. White wire is the one I left for connection so did not have to mess with the small OEM wires but once.

Here is it all connected in the front. Can see the ground connection on the left and then the harness that starts off directly down to the frame on the right. Now on my '17, I ran the wire to the reverse lights inside the frame....too lazy and cold on that too hence tie wraps to the outside of the frame this time around.

When got to the back, I had 3" of extra cable to the passenger side light. By time I put tie wraps on it was perfect. The cables to the driver side light was plenty long. I dropped the spare tire to make it easier to tie wrap everything up behind the bumper. Finally done with lights until get my next Raptor one day.
vtwinjunkie
Active Member
I installed a pair of flush mounts S1's in the work/scene configuration. Installation was really easy. Took a lot of time positioning them.
One thing that is weird is BD's website says you can install these with a 1" hole saw. However in the directions, it reads 2.5" (accurate).
I decided to wire them to an AUX switch and not tap in to the reverse lights. There are some instances when I don't want them to come on (late night departures in residential neighborhoods, draws attention, etc.).
I'm really happy with how they turned out. The work/scene lens is REALLY bright (I can only imagine the Wide/Corner or Spot). Enough to help with backing up, hooking my trailer up, or running in the desert.
Curious, did you use the BD harness or some other. How is this holding up?
Similar threads
- Replies
- 2
- Views
- 691
- Replies
- 26
- Views
- 3K
- Replies
- 6
- Views
- 775
- Replies
- 2
- Views
- 808
- Replies
- 38
- Views
- 3K
Members online
- ZRTORCH
- Arizona Free
- mwaite09
- jp0319
- jAKe47
- DaveInMn
- ToadSmasher2K1
- Relentles0ne
- LaughingGnome
- pat247
- FJohnny
- Scottdip
- MDJAK
- smurfslayer
- cdawson14
- Mouth226
- efergus11
- cammac50
- Raptor812
- RamseyF
- Crow68
- shigman
- darkryder
- MORaptor
- MajorAR
- Frogger22
- MZRaptor72
- Canuck714
- Baja62
- Jmeo
- Pikser
- zacharyguyjordan
- RaceUV
- Oldfart
- Cobraman044
- EricM
- AZ35
- Jdselig
- mobob
- FreightTerrain
- SilverGen1
- dillard09
- HulkSmash23
- Kurtboyd
- Dan H
- Nacho226
- MKW1456
- BenBB
- Old-Raptor-guy
- AzRim
Total: 2,492 (members: 63, guests: 2,429)


