You are using an out of date browser. It may not display this or other websites correctly.
You should upgrade or use an alternative browser.
You should upgrade or use an alternative browser.
SitDown's Build
- Thread starter Sitdown
- Start date
Disclaimer: Links on this page pointing to Amazon, eBay and other sites may include affiliate code. If you click them and make a purchase, we may earn a small commission.
MotuMute
FRF Addict
Lookin damn good! 100 yds of wiring.... that may be enough
Is it obvious what's new under there, rear tires incl lol
No inside coating, just wanted to spray it with something and had a couple cans of this on hand. Heat shouldn't be a factor, may borrow a portion of the stock heat shield for around the turndown/spare tire.
No inside coating, just wanted to spray it with something and had a couple cans of this on hand. Heat shouldn't be a factor, may borrow a portion of the stock heat shield for around the turndown/spare tire.
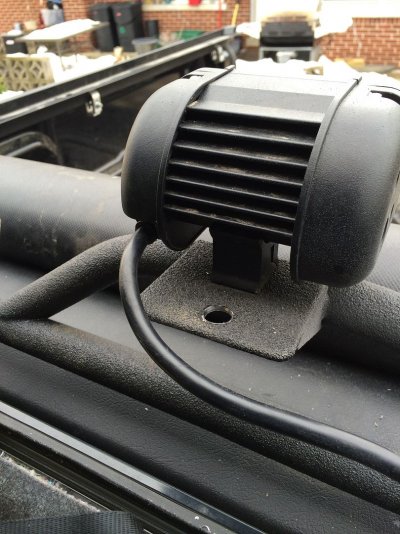
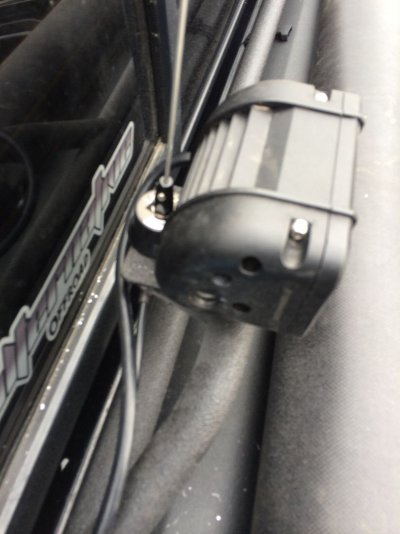
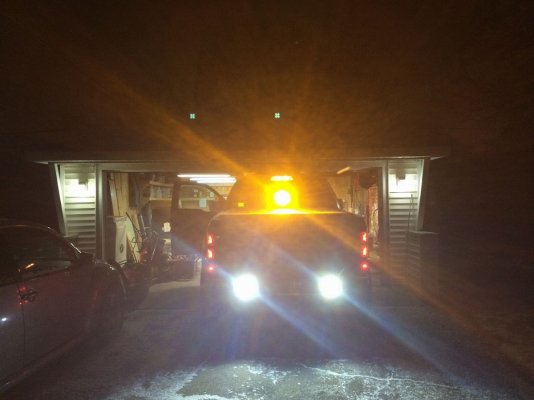
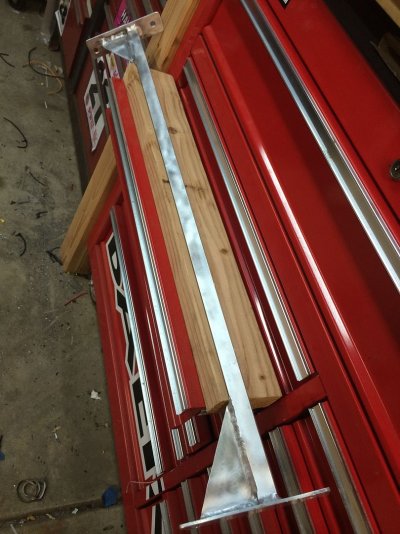
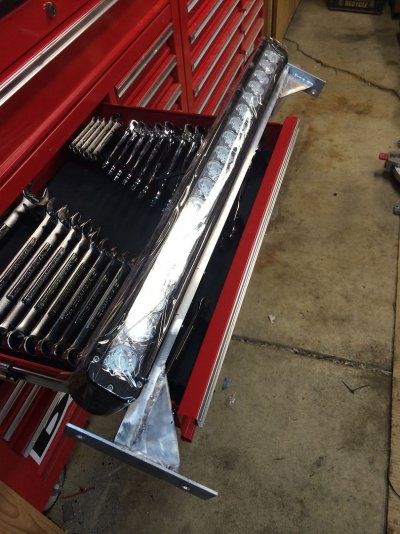
Been dreaming up rear amber solutions since snoball last year, finally put some ideas on the bender. Plan was to mount a 5” Amber Vx bar, leaving some room behind it for a future antenna hard mount. A crossbar here also added a convenient hook point for straps etc.
Lil dusty underneath the bedside plastics…
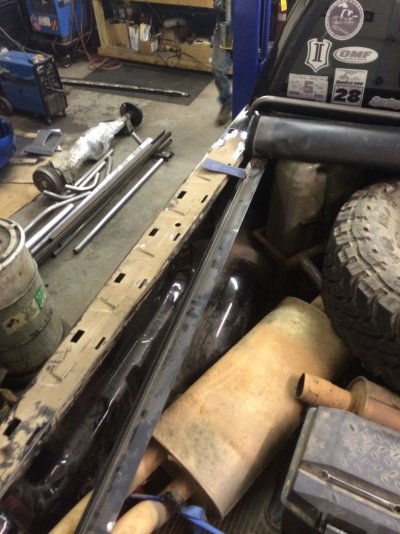
Wanted it as close to the cab as possible to allow tonneau to roll up all the way to access my rack mounted jugs. Thought there was more room inside the bed to access the hoop mount bolts, but turns out they would reside inside the bed/fender. Figuring it would be a pita reaching these with extensions etc, and each time I removed it, we decided to tack studs in.
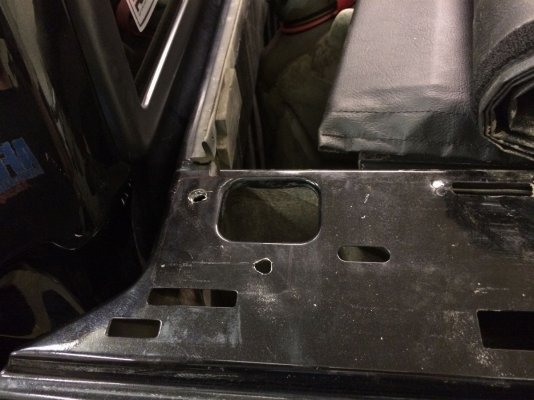
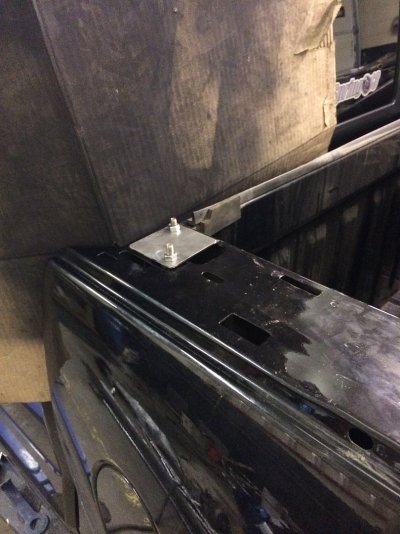
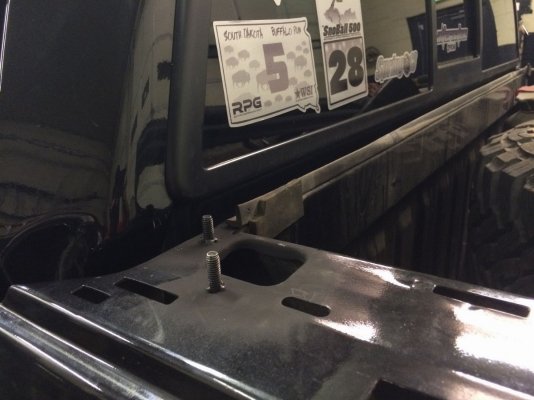
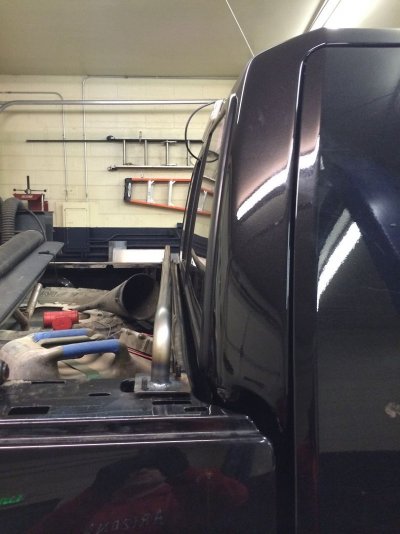
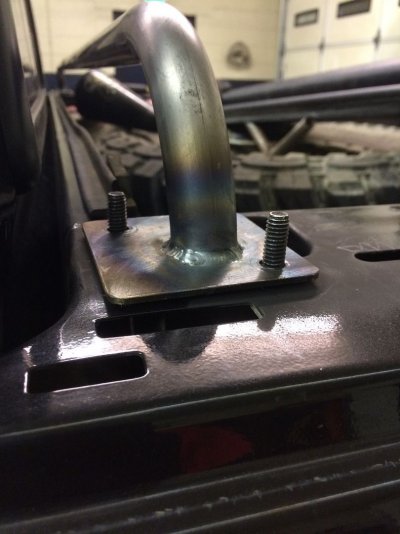
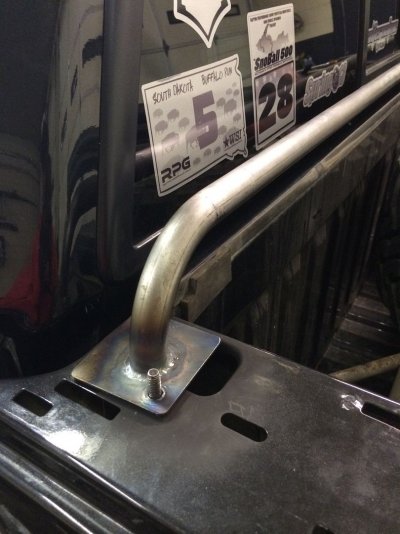
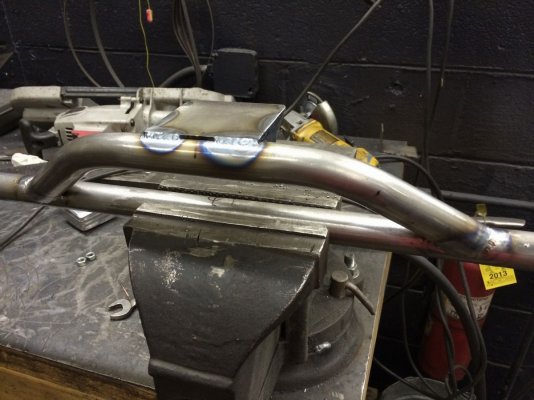
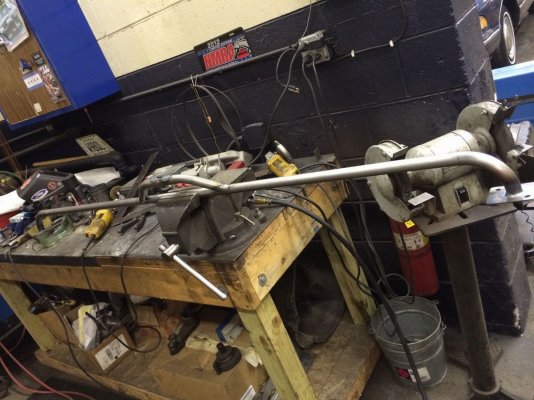
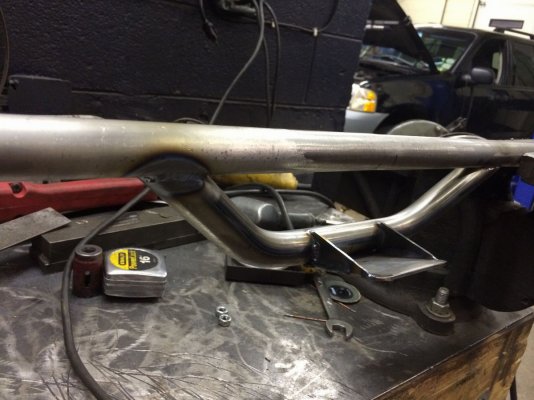
Was going to use a single tube for the light platform, but decided on a trapezoid for some additional rigidity, and pitched it out towards the rear to gain clearance from glass and curl over the tonneau.
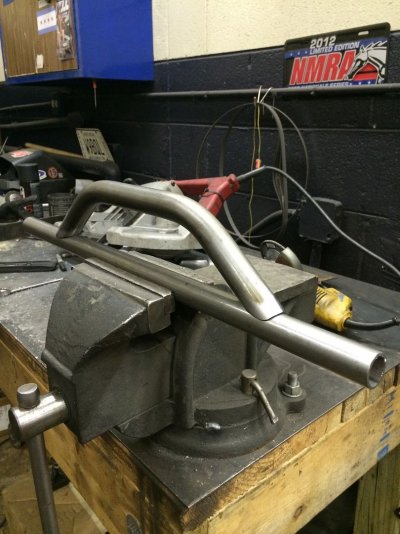
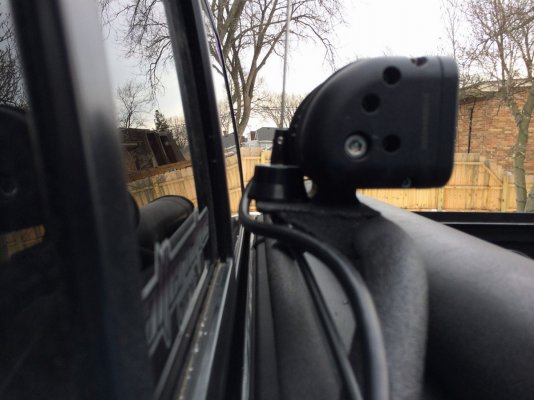
Still may run the wiring thru the tube and into the bedside. Here she is mounted up, light is a bit cockeyed in pic tho.
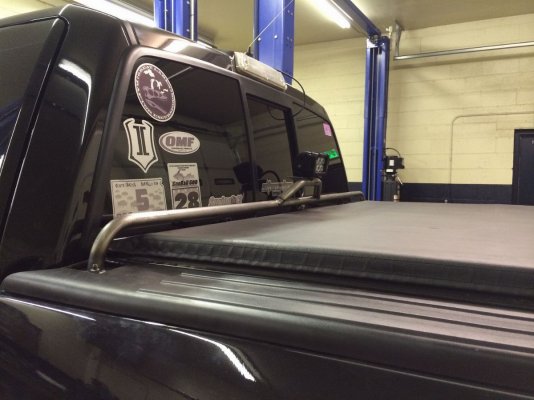
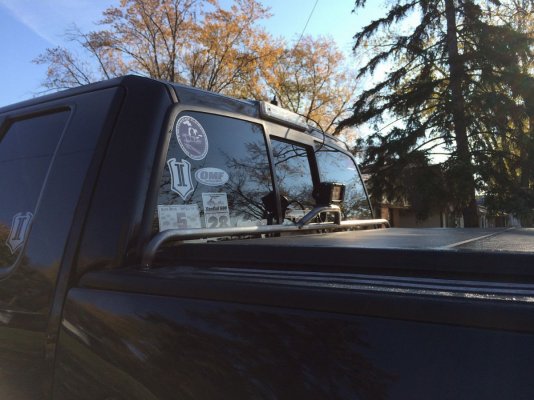
Given the bed scuffs on my cab, I left quite a bit of clearance from the platform to the rear glass. Can always lop a good portion of that off, but was hoping to possibly hard mount an antenna there in the future. Looking back from inside the cab, the light sits just slightly higher than my rear center headrest, so vision loss is pretty minimal.
Lil dusty underneath the bedside plastics…

Wanted it as close to the cab as possible to allow tonneau to roll up all the way to access my rack mounted jugs. Thought there was more room inside the bed to access the hoop mount bolts, but turns out they would reside inside the bed/fender. Figuring it would be a pita reaching these with extensions etc, and each time I removed it, we decided to tack studs in.


Was going to use a single tube for the light platform, but decided on a trapezoid for some additional rigidity, and pitched it out towards the rear to gain clearance from glass and curl over the tonneau.


Still may run the wiring thru the tube and into the bedside. Here she is mounted up, light is a bit cockeyed in pic tho.


Given the bed scuffs on my cab, I left quite a bit of clearance from the platform to the rear glass. Can always lop a good portion of that off, but was hoping to possibly hard mount an antenna there in the future. Looking back from inside the cab, the light sits just slightly higher than my rear center headrest, so vision loss is pretty minimal.
Last edited:
SVT N8
Full Access Member
Such an awesome build. You have some serious skill brother.
The serious skill lies in a buddies hands. All of the welding and non-hack fab work shown was him, if something is half ass it was likley me  .
.
 .
.With snoball approaching, I finally checked off a few items on my “Things I'll never finish list”
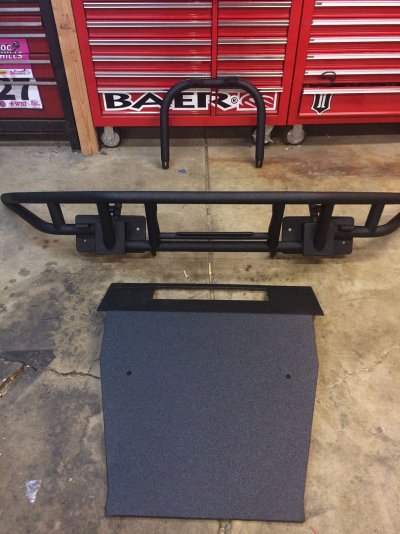
First priority was ending the 6mo ordeal building the bumpers lol and got them over to line-x. For the rear, we added another tube per side. My partial dovetail doesn’t look like it will pan out as planned, so these new tubes hide more of the undercarriage and the side bumper holes.
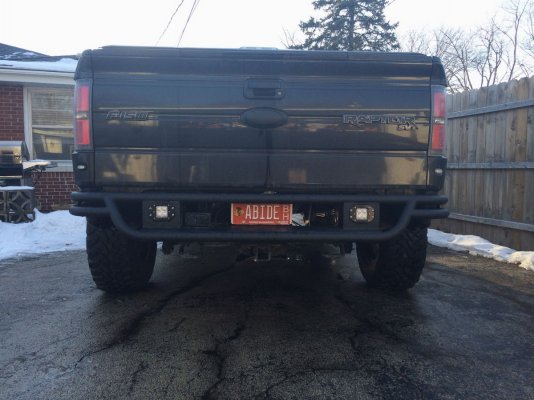
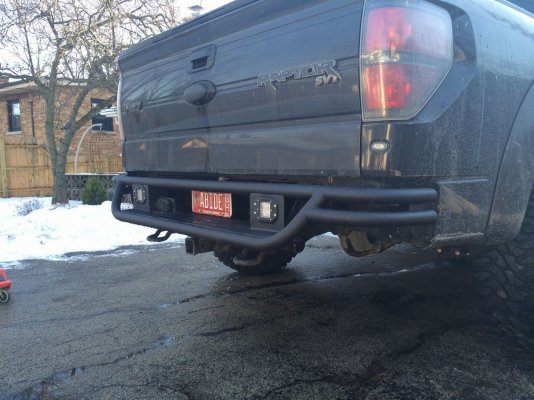
Added diffused Duallys back there too, its great having some real light backing up at night.
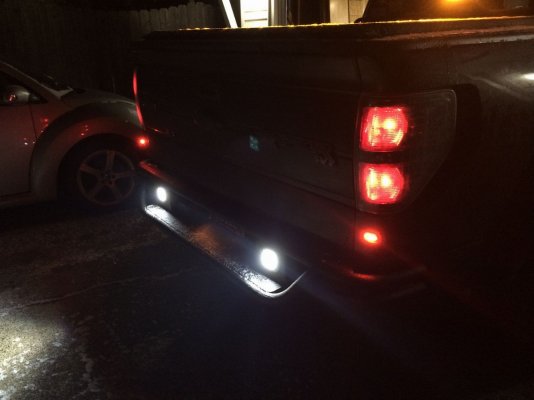
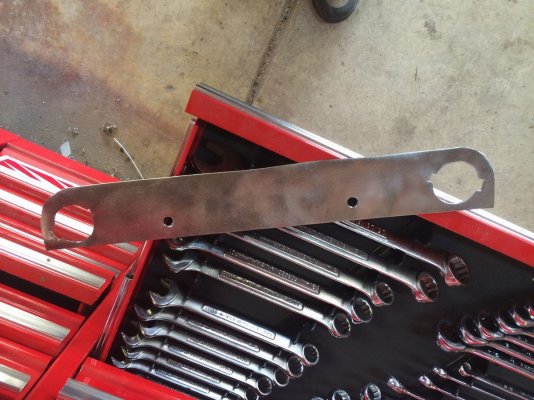
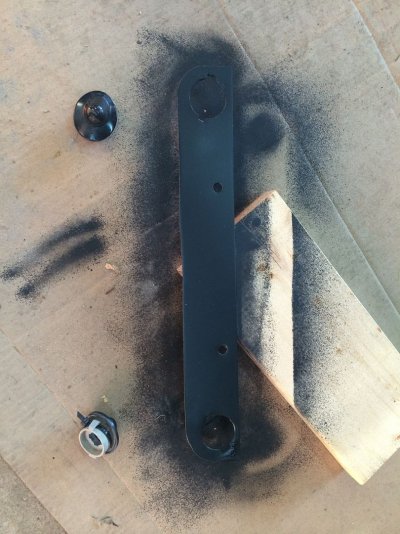
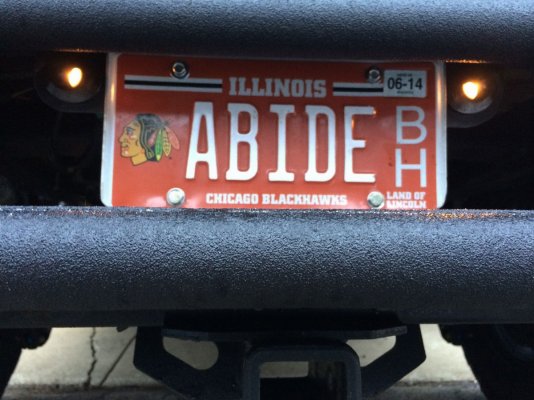
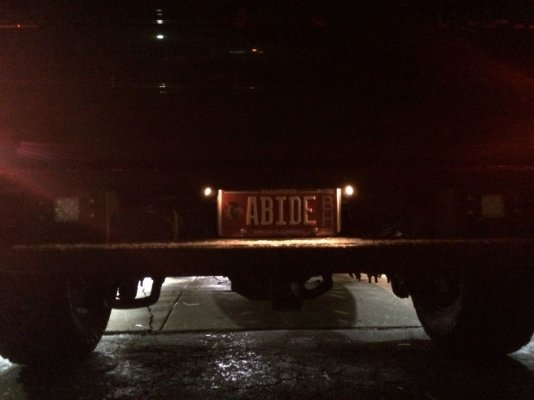
To stay on Johnny law’s good side… I made a small bracket that bolts to the license plate, and reuses the stock license plate light housings
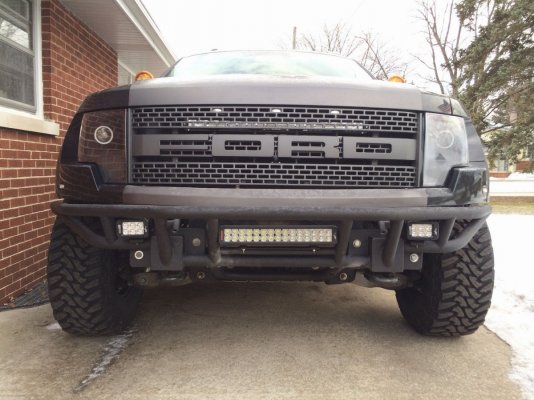
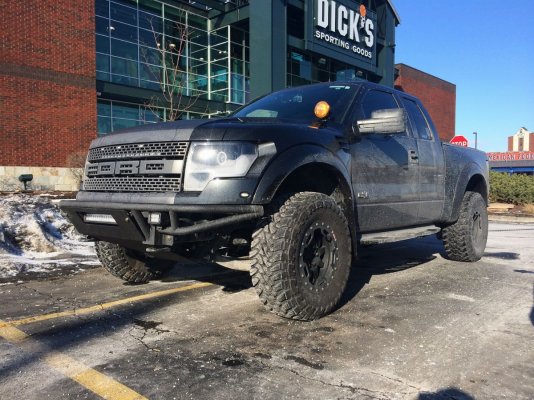
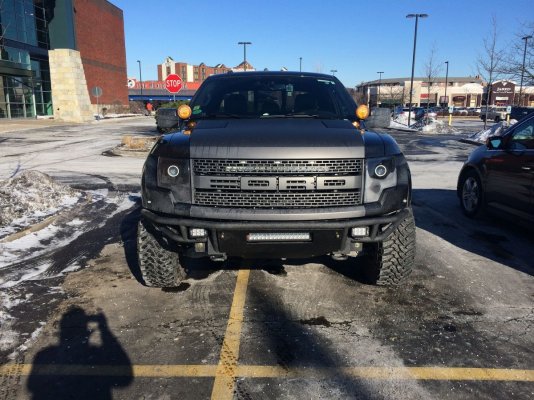
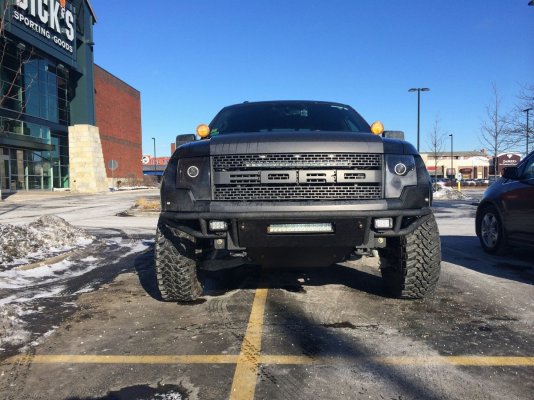
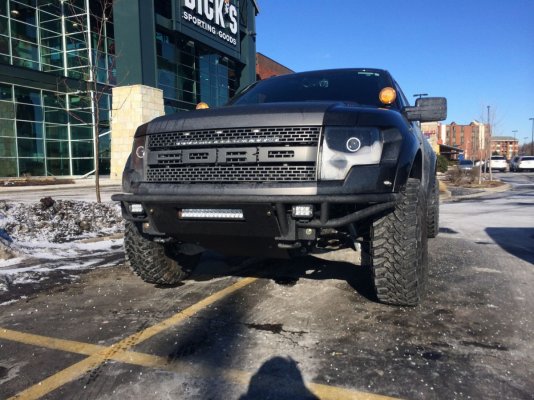
Finished off the front bumper as well, and coated it in premium Lx too. My 21” bar previously sat behind the 2 front tubes, so downsized to their 18” bar to get out of obstruction & more usable light. Light spread is quite improved since it’s no longer shrouded. Also added tabs for my 5” vX ambers and capped off the frame horn mounts. I have a new skid in the works to match the hood color, but trimmed down my current one and coated that too for the time being. Still need to make a brace for the sagging grill lip though
The rear hoop also got line-x’d, and wired up a fixed VHF antenna mount. I left room on the hoop mount for this, and just barely fit.
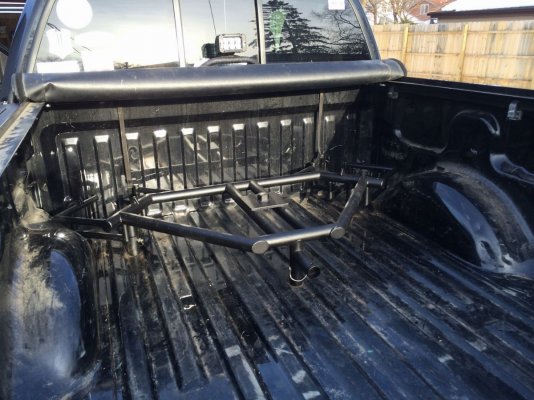
The night prior to snoball’13 we finished my rear bed rack, and 1yr later I finally coated it lol. Wasa shame to let it rust away, but got it blasted and powdercoated in a hammered finish, should have done this long ago. Added some fist grips to the toolbox, and upgraded my Foutz 1.5ton skid setup to a HF 2 ton/c4fabworks unit.
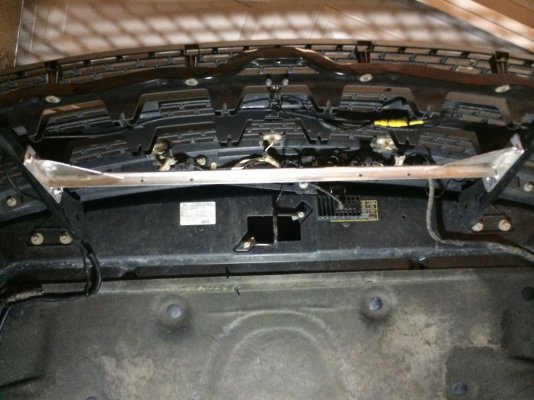
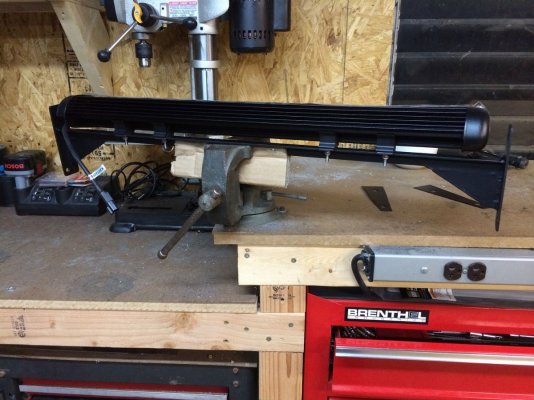
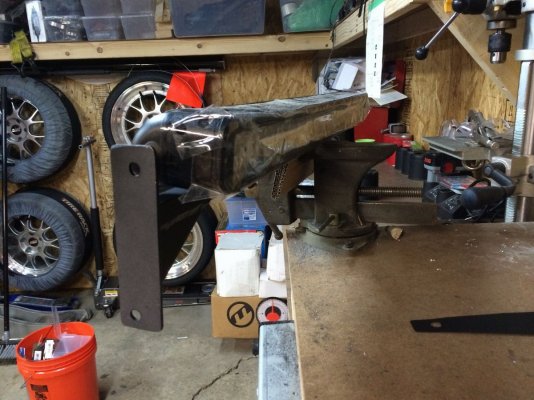
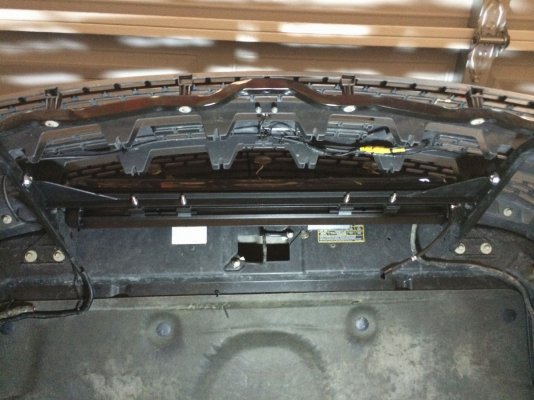
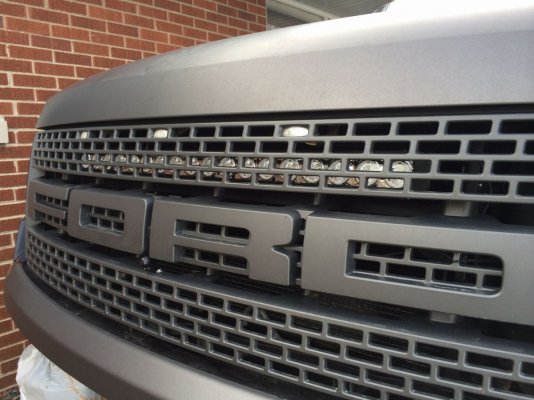
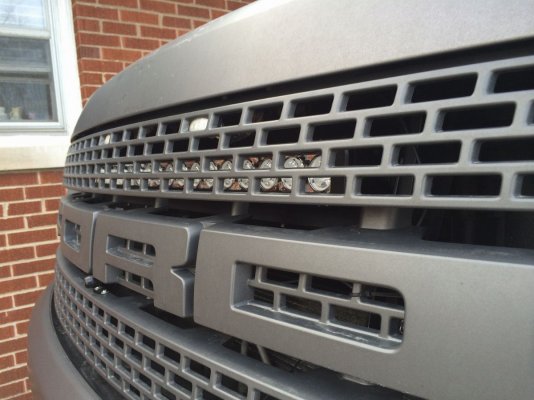
My 30” bar behind the grill looked great, but needed more fuction. So that came off in favor of another product of the far east, but quite an upgrade. Ironman’s Cree bar source, It’s a 30” as well and a very close copy to the vX evo prime lineup, sporting 10w Cree LEDs. With an 8* beam has much better throw and use than my prev 30* unit. I do highly commend the other maker on their mount solution, as making my own grill bracket was quite timely and not nearly as clean. These use the vX style, bottom or top mounts. Given the weight on the hood, made it in aluminum. 1/4" strips for side mounts and 1/8th inch L bracket (for rigidity and to hide the mount nuts) with some gusseting and lots of extra weld haha Color is pretty identical to my Xmitter xtreme, prev china bar was more yellow.
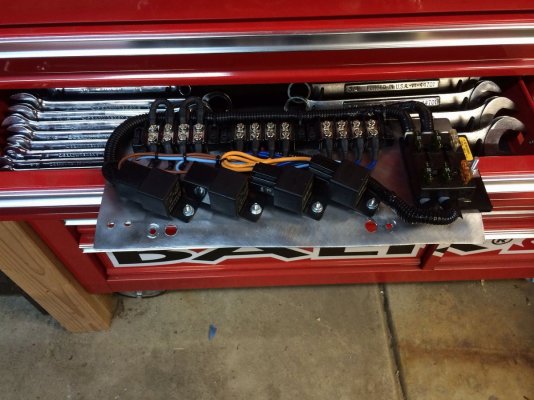
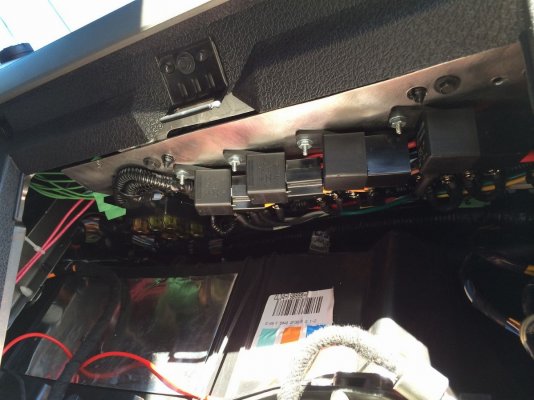
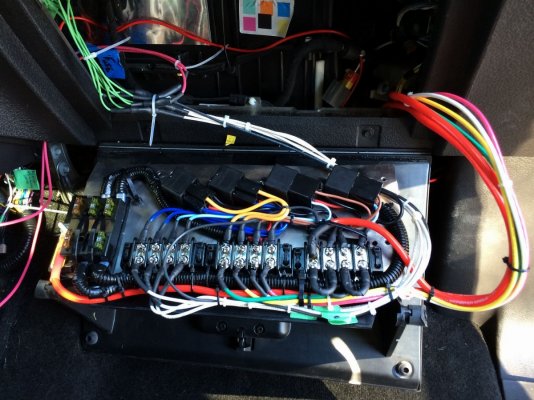
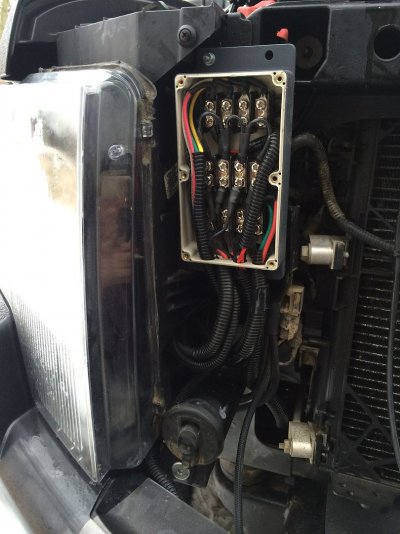
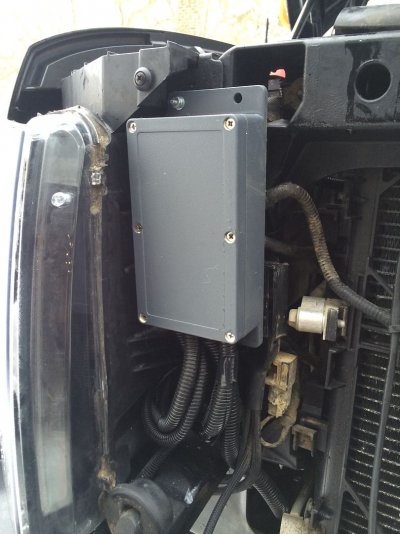
I added some additional upfitters, relay panel, and junction box recently. Just now got some time to better document the process:
http://www.fordraptorforum.com/f170/%A1m%E1s-factory-upfitters-easy-access-wiring-30527/
It’s in the FRF DIY contest right now, so if you like it, voice your vote

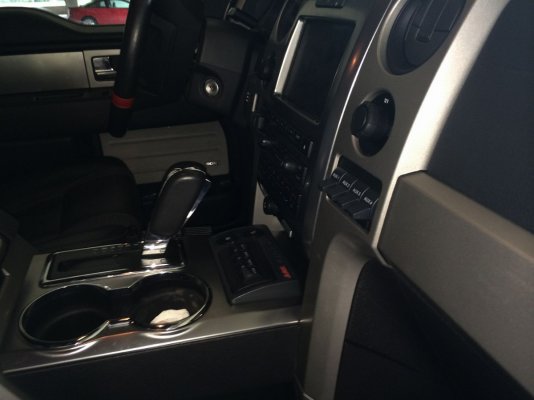
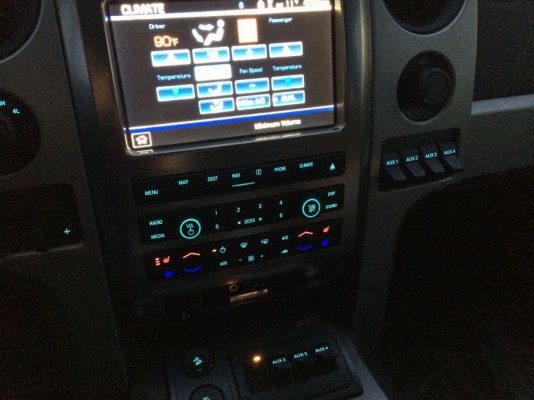
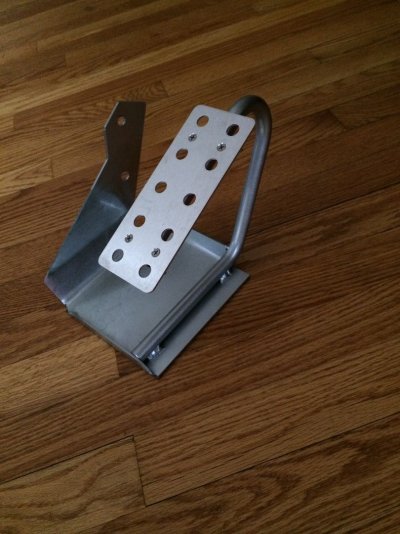
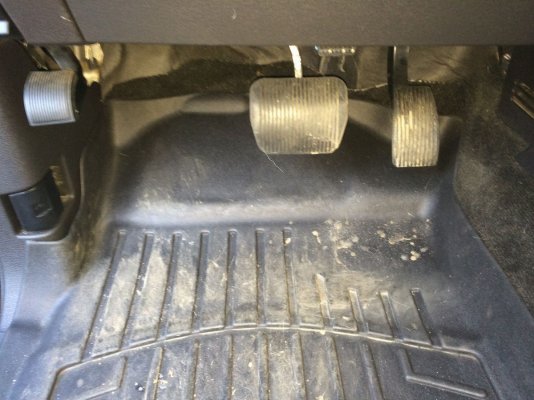
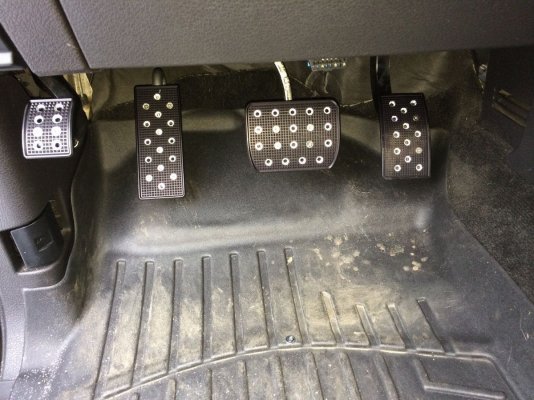
Ive wanted a deadpedal for a while now, and wound up going into full ricer mod mode again…Added matching pedals to the mix, really loving this extra pedal tho, plenty strong too.
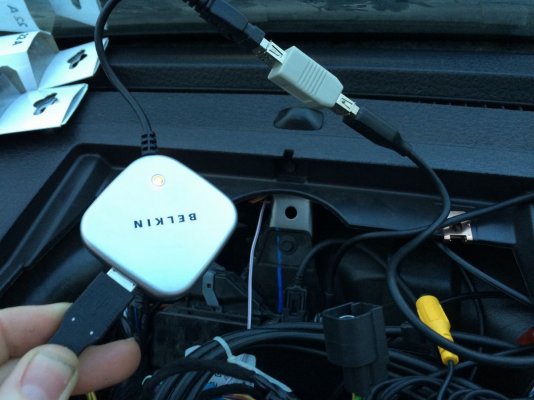
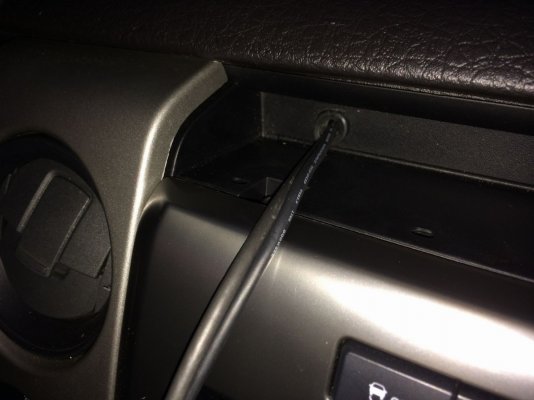
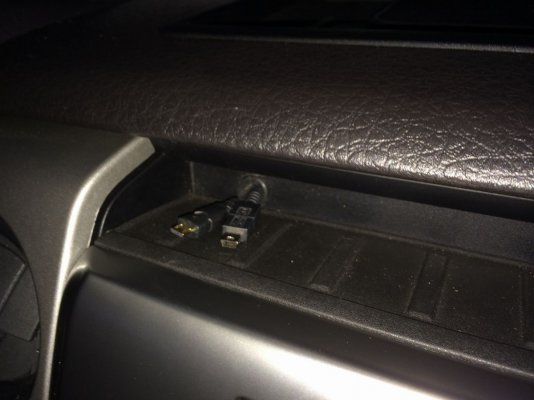
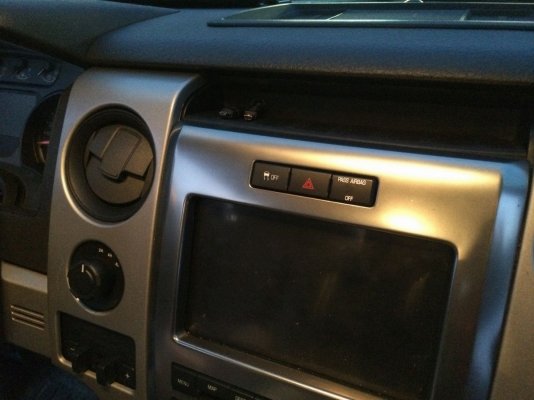
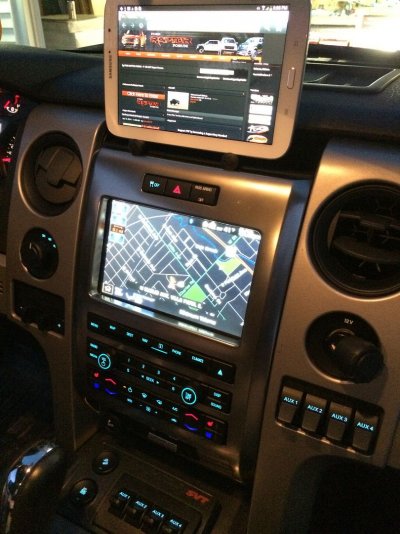
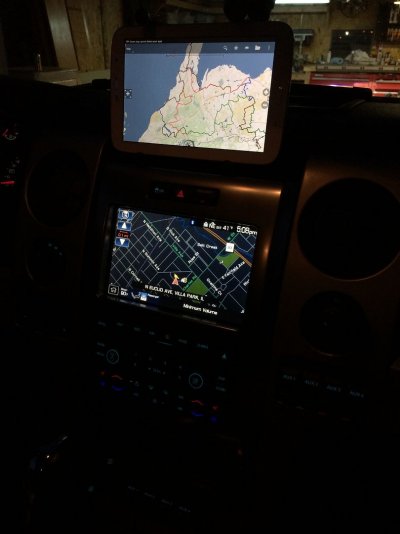
To get more permanent power for some in cab accessories (gopro/tablet/gps dongle), I picked up a usb hub for the under dash usb port. Not sure on charging efficiency there, but as long as it atleast maintains battery, it was a plus. Ran one line up the a-pillar and out at top of windshield to power my in-truck GoPro. Ran 2 more powers thru the shelf above the nav screen, powers for my Tablet (offroad Nav) and GPS dongle. FYI, the port back there is a MINI-female USB, so I needed a couple adapters.
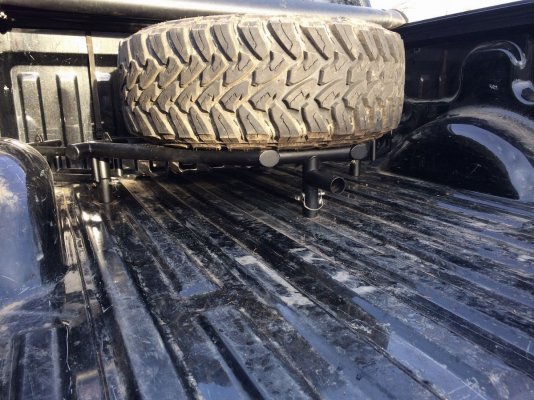
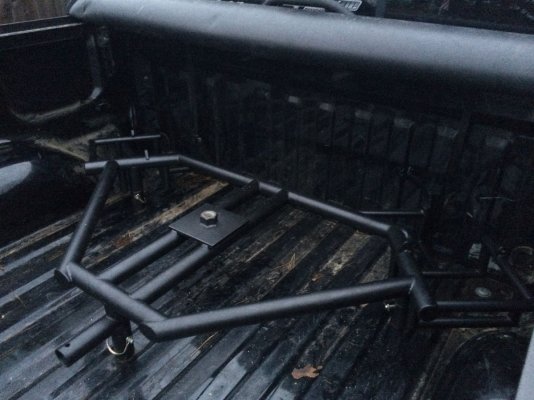
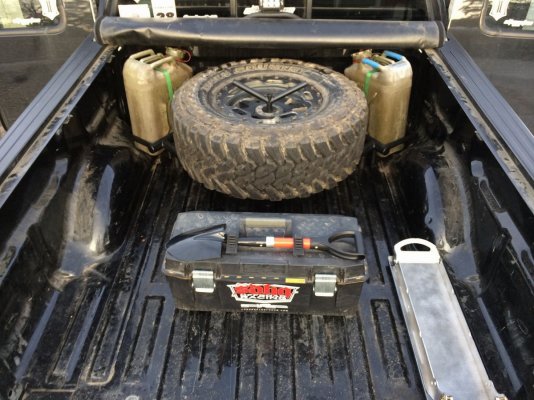
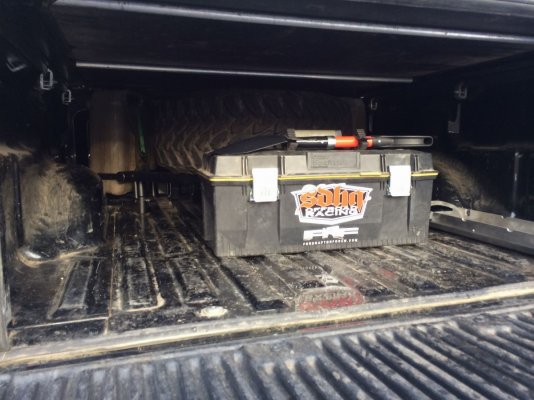
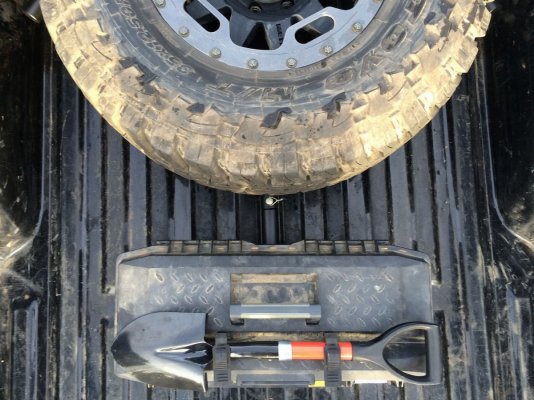
Lastly, I couldn’t find a clear answer to the question, ‘will a toyo fit in the stock spare location’?… got a chance to confirm, and yes it will, with some room to spare. Though the extra tire width looks to hurt clearance significantly, so only see this getting minimal duty when a 6th tire is needed.
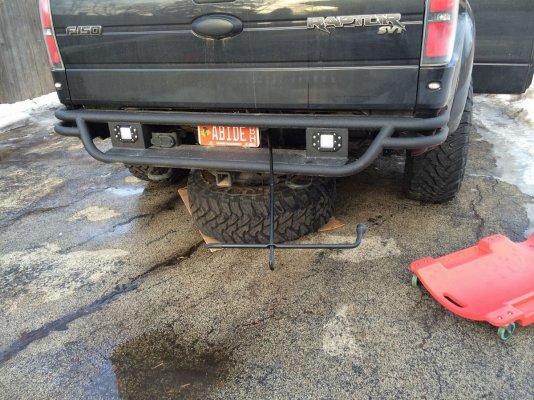
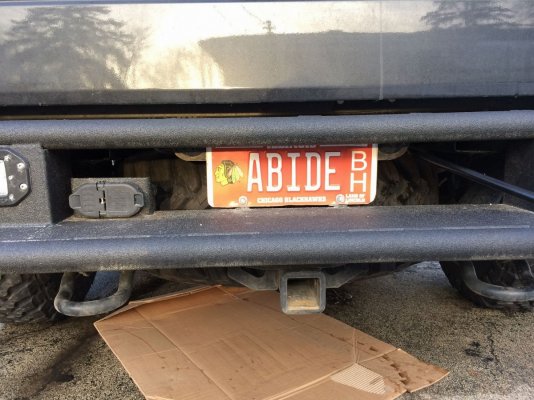
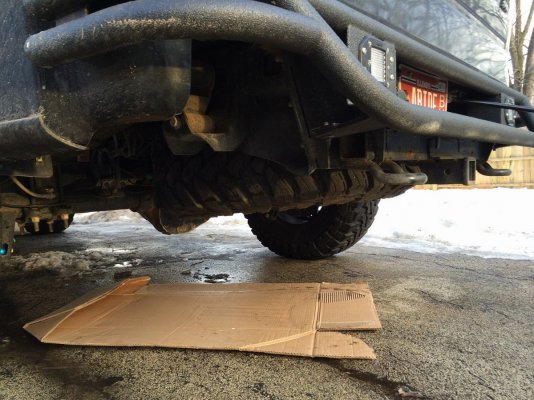
Hoping to take home some Icons at snoball next week , so stay tuned… ;
First priority was ending the 6mo ordeal building the bumpers lol and got them over to line-x. For the rear, we added another tube per side. My partial dovetail doesn’t look like it will pan out as planned, so these new tubes hide more of the undercarriage and the side bumper holes.


Added diffused Duallys back there too, its great having some real light backing up at night.

To stay on Johnny law’s good side… I made a small bracket that bolts to the license plate, and reuses the stock license plate light housings


Finished off the front bumper as well, and coated it in premium Lx too. My 21” bar previously sat behind the 2 front tubes, so downsized to their 18” bar to get out of obstruction & more usable light. Light spread is quite improved since it’s no longer shrouded. Also added tabs for my 5” vX ambers and capped off the frame horn mounts. I have a new skid in the works to match the hood color, but trimmed down my current one and coated that too for the time being. Still need to make a brace for the sagging grill lip though


The rear hoop also got line-x’d, and wired up a fixed VHF antenna mount. I left room on the hoop mount for this, and just barely fit.


The night prior to snoball’13 we finished my rear bed rack, and 1yr later I finally coated it lol. Wasa shame to let it rust away, but got it blasted and powdercoated in a hammered finish, should have done this long ago. Added some fist grips to the toolbox, and upgraded my Foutz 1.5ton skid setup to a HF 2 ton/c4fabworks unit.


My 30” bar behind the grill looked great, but needed more fuction. So that came off in favor of another product of the far east, but quite an upgrade. Ironman’s Cree bar source, It’s a 30” as well and a very close copy to the vX evo prime lineup, sporting 10w Cree LEDs. With an 8* beam has much better throw and use than my prev 30* unit. I do highly commend the other maker on their mount solution, as making my own grill bracket was quite timely and not nearly as clean. These use the vX style, bottom or top mounts. Given the weight on the hood, made it in aluminum. 1/4" strips for side mounts and 1/8th inch L bracket (for rigidity and to hide the mount nuts) with some gusseting and lots of extra weld haha Color is pretty identical to my Xmitter xtreme, prev china bar was more yellow.


I added some additional upfitters, relay panel, and junction box recently. Just now got some time to better document the process:
http://www.fordraptorforum.com/f170/%A1m%E1s-factory-upfitters-easy-access-wiring-30527/
It’s in the FRF DIY contest right now, so if you like it, voice your vote


Ive wanted a deadpedal for a while now, and wound up going into full ricer mod mode again…Added matching pedals to the mix, really loving this extra pedal tho, plenty strong too.


To get more permanent power for some in cab accessories (gopro/tablet/gps dongle), I picked up a usb hub for the under dash usb port. Not sure on charging efficiency there, but as long as it atleast maintains battery, it was a plus. Ran one line up the a-pillar and out at top of windshield to power my in-truck GoPro. Ran 2 more powers thru the shelf above the nav screen, powers for my Tablet (offroad Nav) and GPS dongle. FYI, the port back there is a MINI-female USB, so I needed a couple adapters.


Lastly, I couldn’t find a clear answer to the question, ‘will a toyo fit in the stock spare location’?… got a chance to confirm, and yes it will, with some room to spare. Though the extra tire width looks to hurt clearance significantly, so only see this getting minimal duty when a 6th tire is needed.


Hoping to take home some Icons at snoball next week
 , so stay tuned… ;
Last edited:
Looks good Tom! I miss our lunches. I feel like I'm missing out on so much cool you're doing!
DAMN!
You've been busy.lol
Everything looks great and I love the second bar added to the rear bumper, good call!
Let me know how the new LED bar works out, I love mine and yes making the bracket was a pain for sure.
You've been busy.lol
Everything looks great and I love the second bar added to the rear bumper, good call!
Let me know how the new LED bar works out, I love mine and yes making the bracket was a pain for sure.
Similar threads
- Replies
- 4
- Views
- 491
Staff online
-
Big BlueAdministrator
Members online
- Thamac15
- NJ2020
- Airmanrdb
- BoostedToy
- Sozzy12
- 8AV8
- HORN HIGH ACES
- Darkwhip
- hunz
- RaptorDrew
- full-race geoff
- intedinator
- damontitan
- MurderedOutSVT
- Eljefe21
- HOLLYWOOD 1
- RaptorND
- SAWraptor
- TTack
- MRaptor
- Hard R
- BajaChaser
- nealhoney
- Admin.RealTruck
- dblack
- rsbug
- Gsxrkllr
- taquitos
- Dirty Dust
- JAndreF321
- dillard09
- zacharyguyjordan
- joe cassidy
- Rustyseatbelt
- VA_Raptor
- HookEm10
- RCorsa
- Sharpie69
- JohnyPython
- Keshka
- Burt
- Hemkin57
- Qartveli
- bunkisland
- New recaros
- veritas
- RaptorFun
- Big Blue
- Edwin
- NickyF25
Total: 2,897 (members: 81, guests: 2,816)

