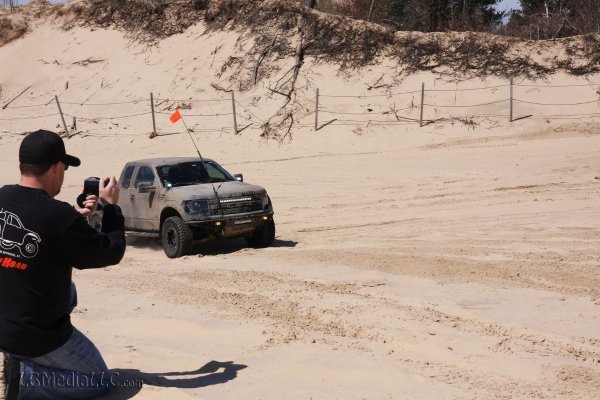
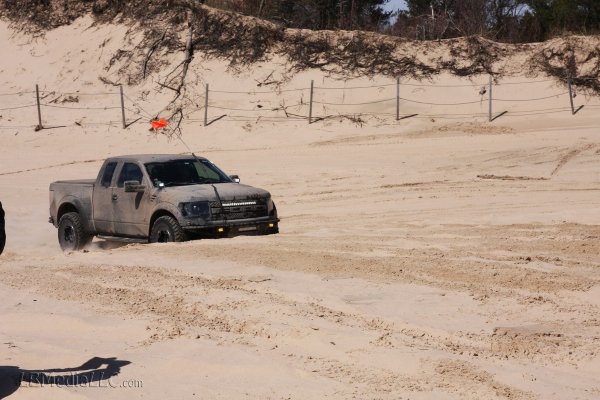
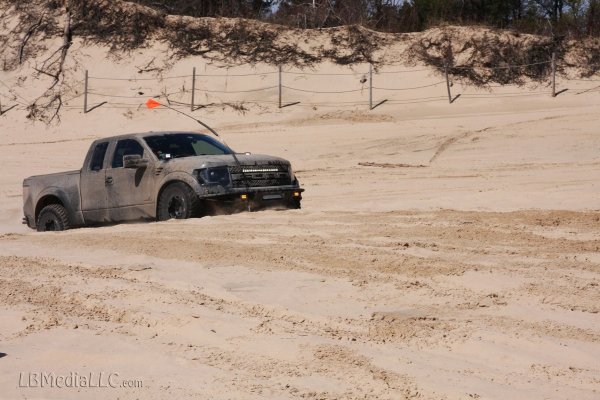
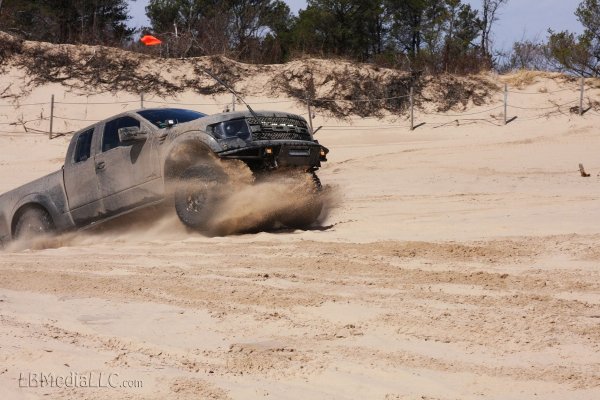
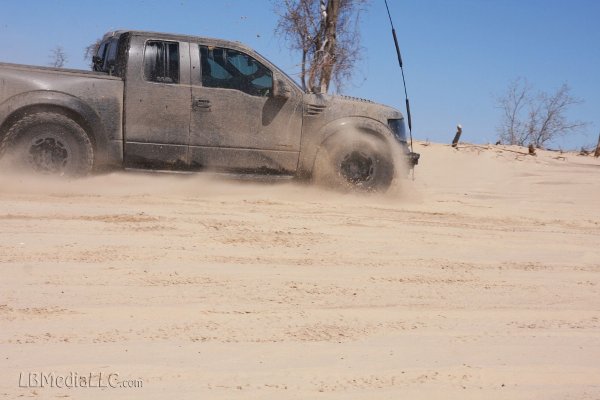
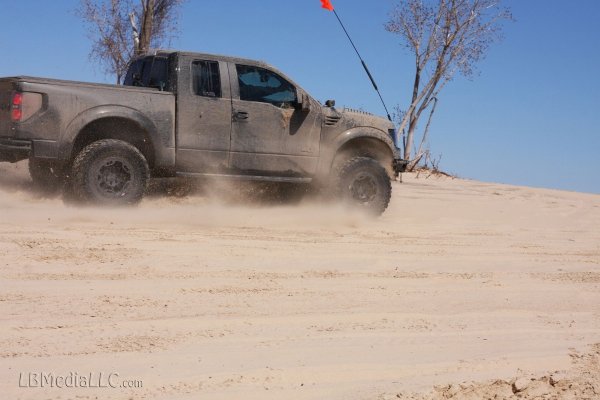
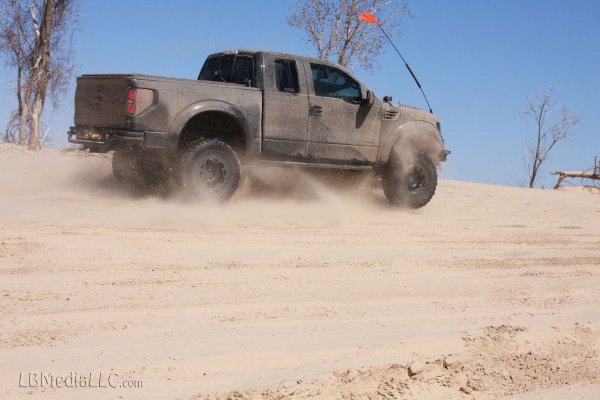
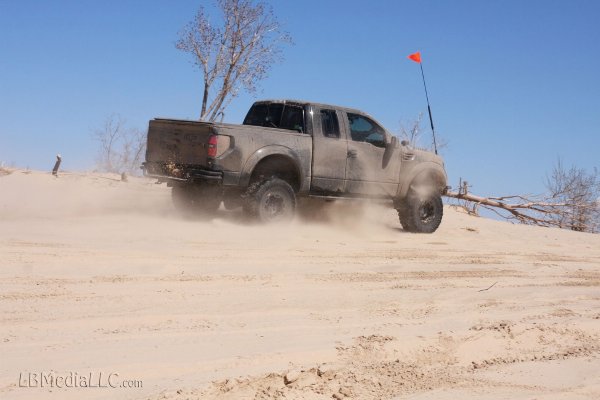
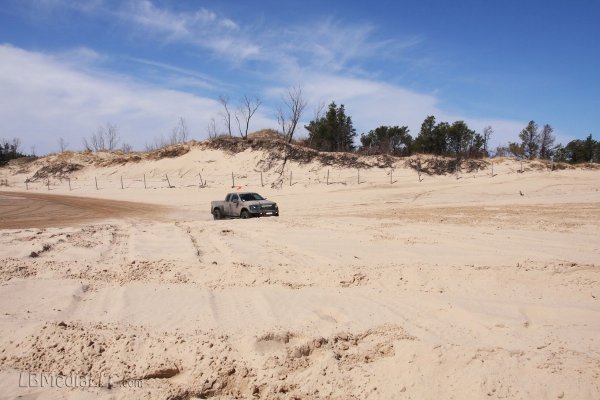
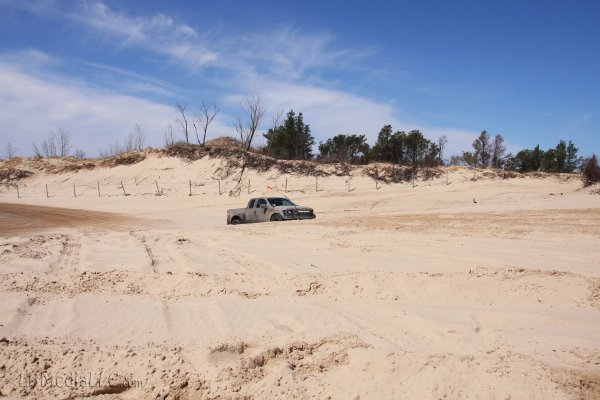
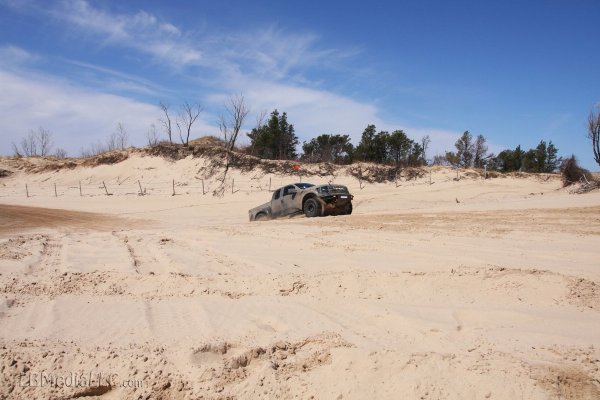
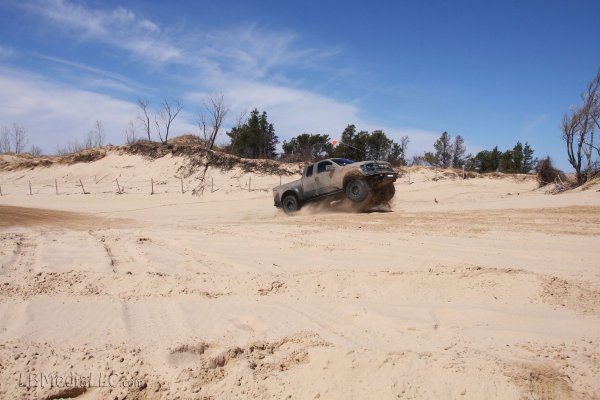
Added a few things since the Midwest thawed out (knock on wood that it's over)...
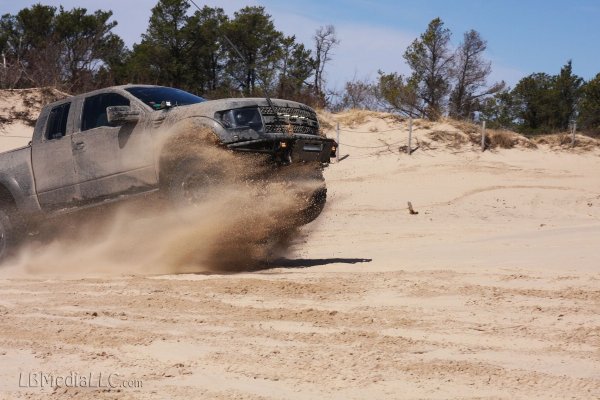
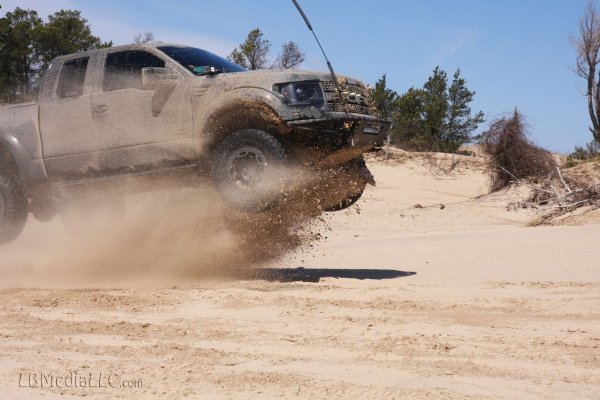
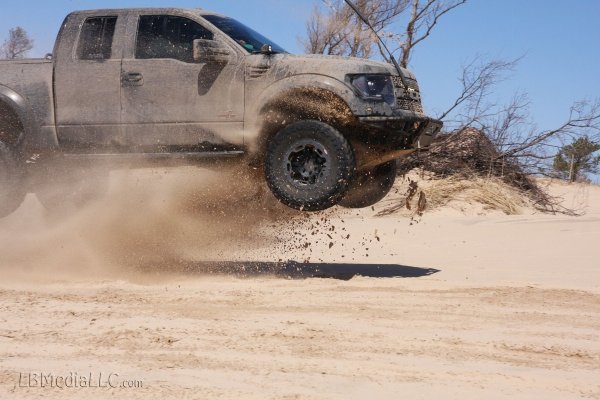
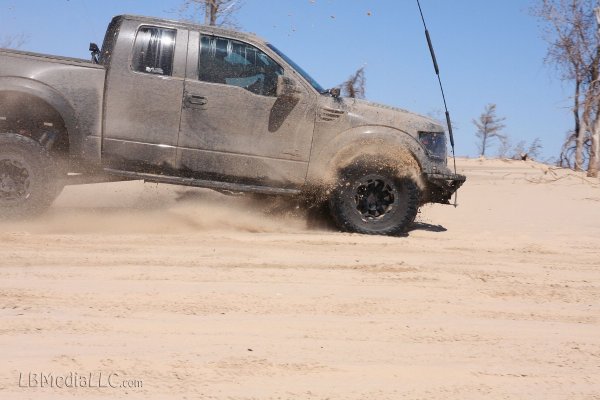
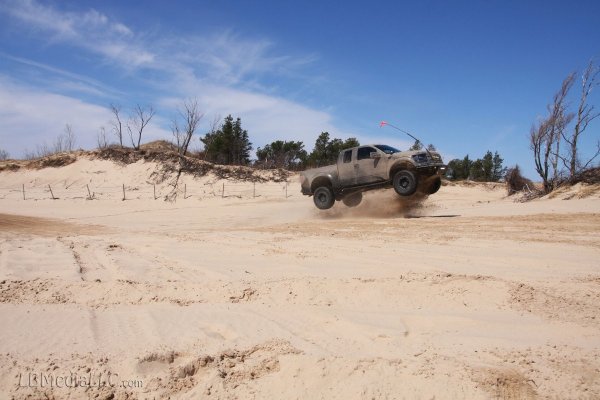
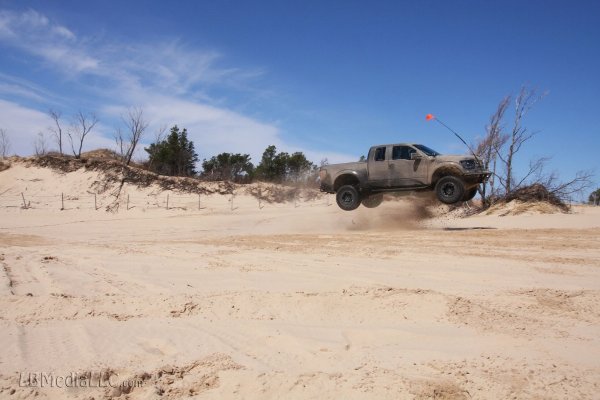
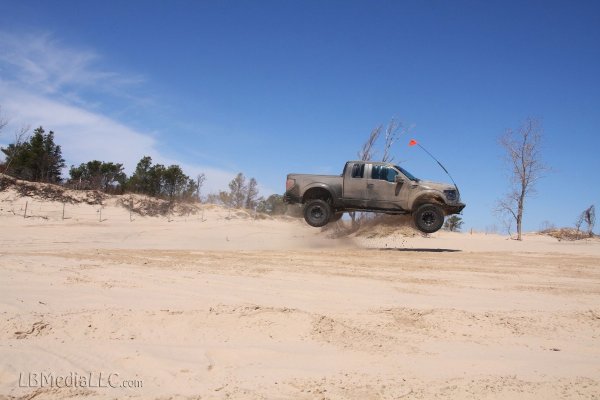
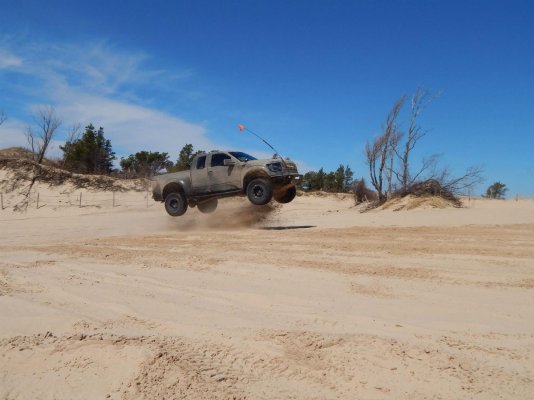
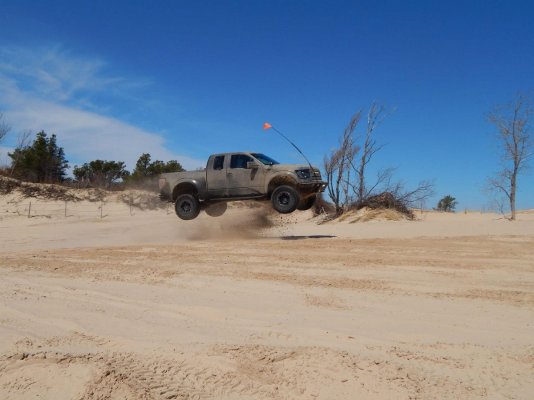
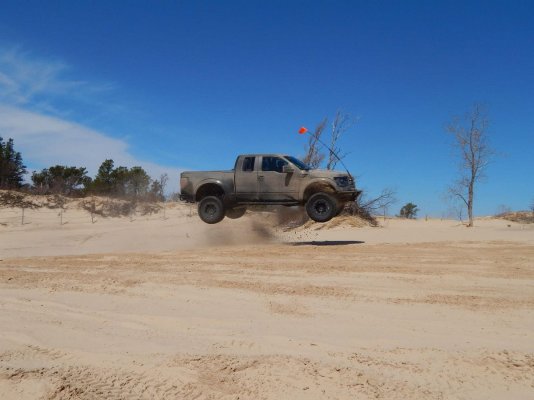
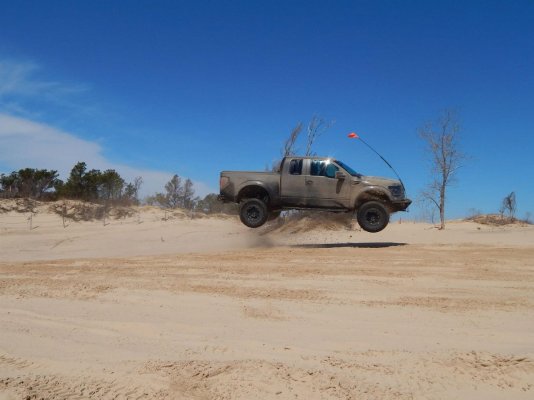
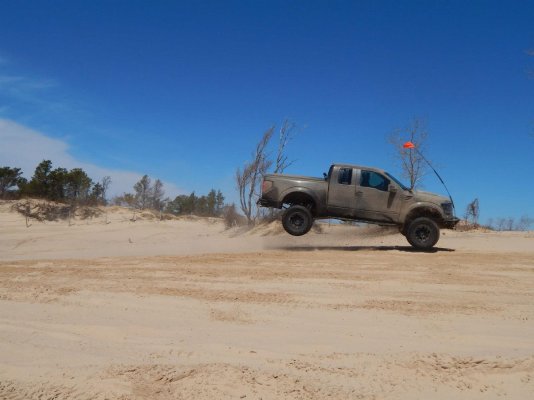
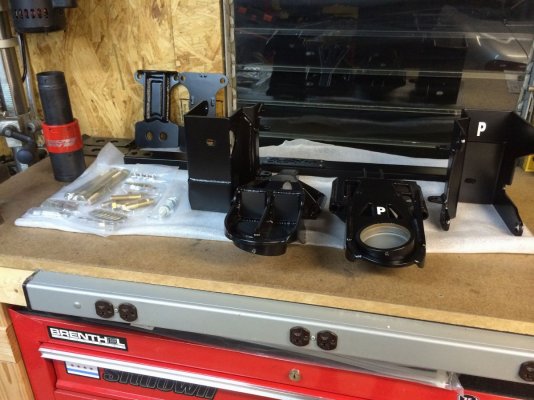
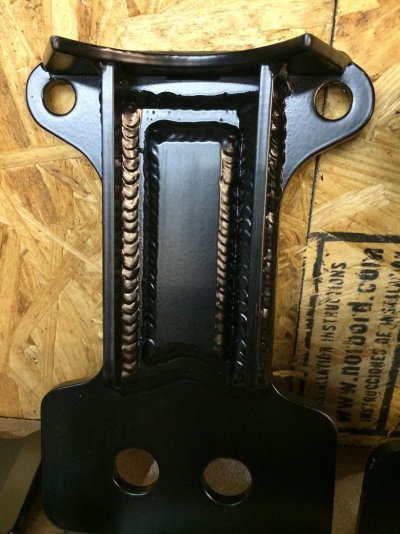
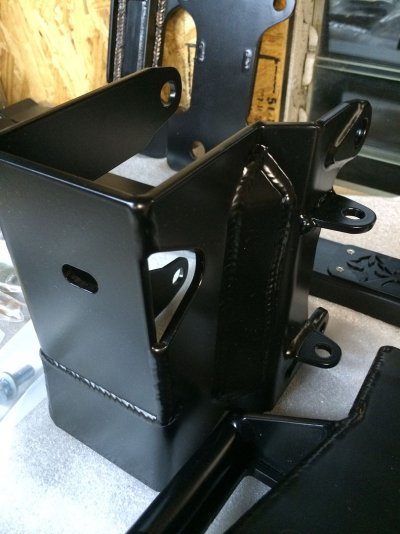
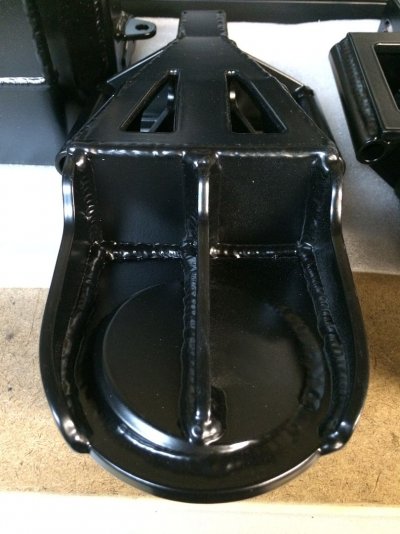
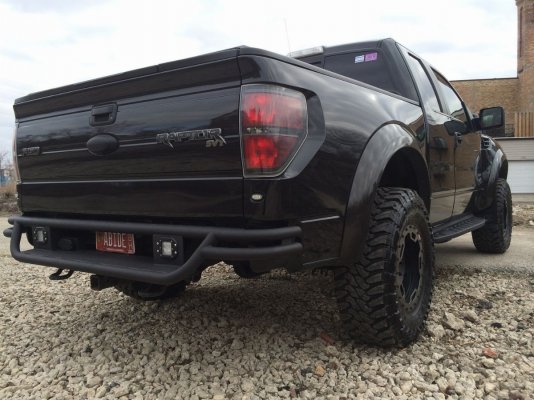
My scab saw quite a bit of duty in 2013, and absorbed some good blows along the way... Not expecting any less for 2014, decided it was time for some extra strength & insurance out back. Picked up SDHQ’s bump stop kit using Light Racing bumps. Have had the sdhq frame reinforcement pieces on the truck a while now, this still utilizes those, just bolts over them. Wow this thing is beefy.
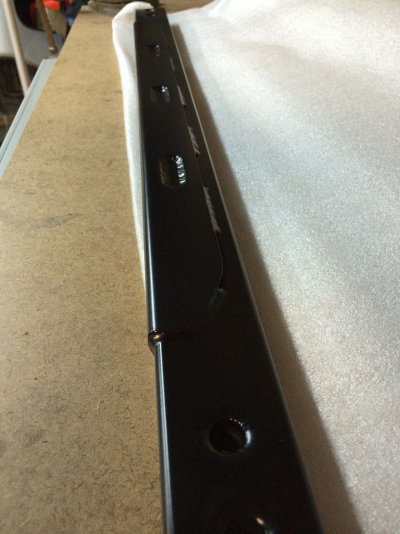
Not necessary, but for easier install I notched a portion of the bed pinch weld.
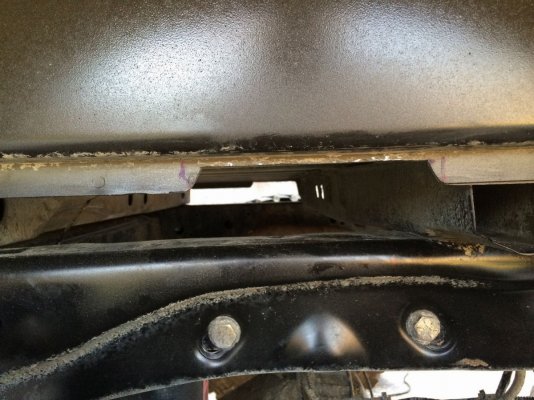
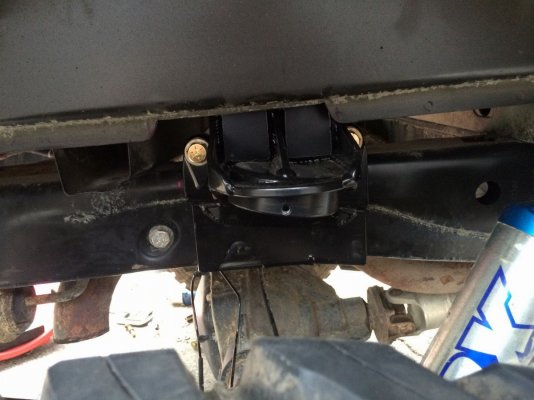
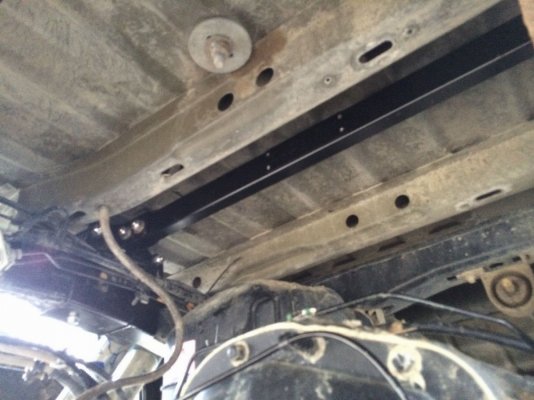
Quite glad I didn’t need to redo the exhaust, have a bit of room to spare too
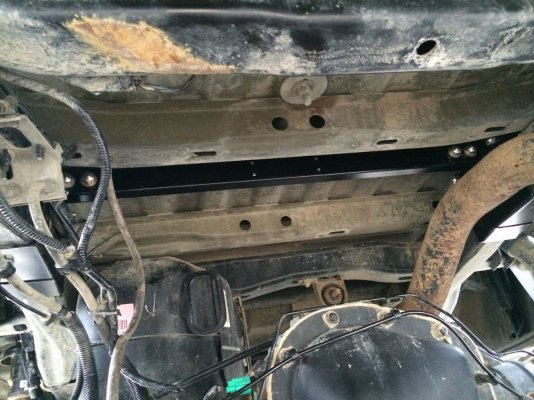
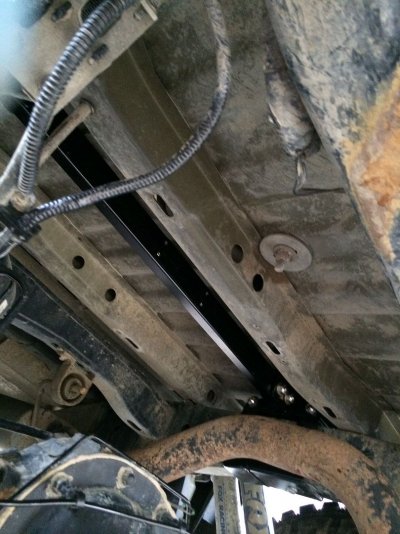
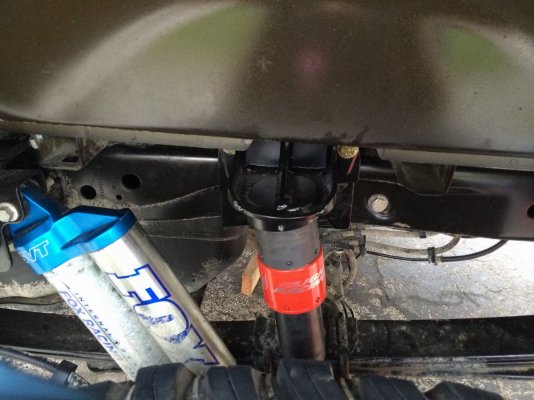
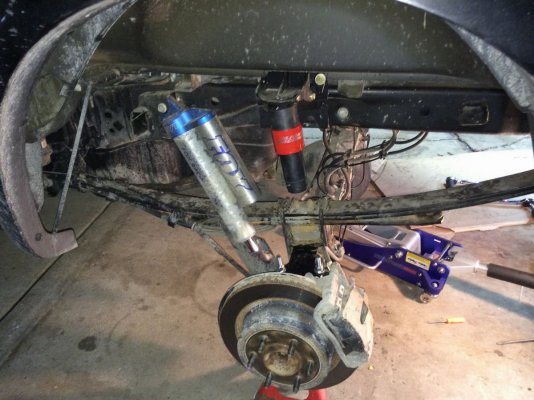
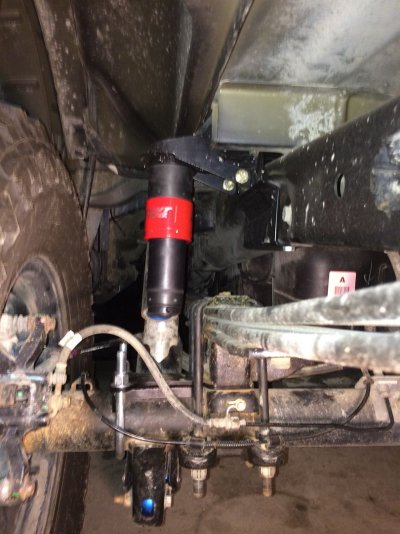
Pics
Install was pretty straightforward. Did it solo in about the same time it took a few of us to bolt in a different kit, even left the wheels on for most of the install. Heading to silver lake this weekend, so may actually get put to use soon.
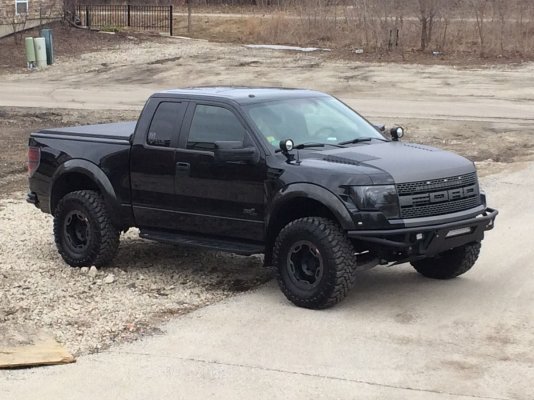
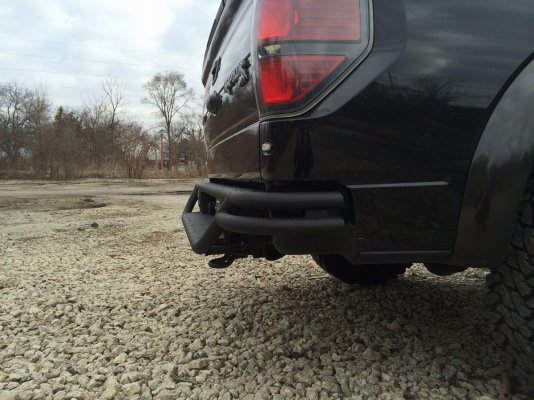
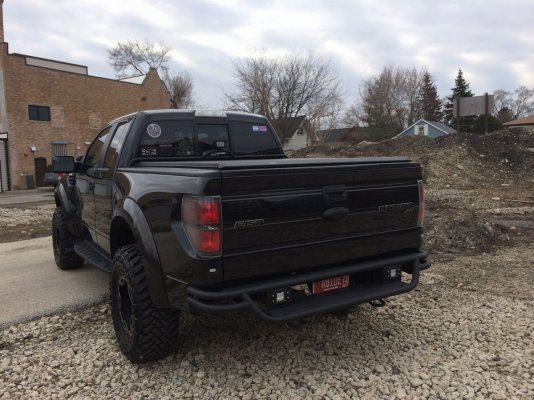
Got some more pics of the bumpers, still need to make a brace for the sagging lip and make another bend at lower skid
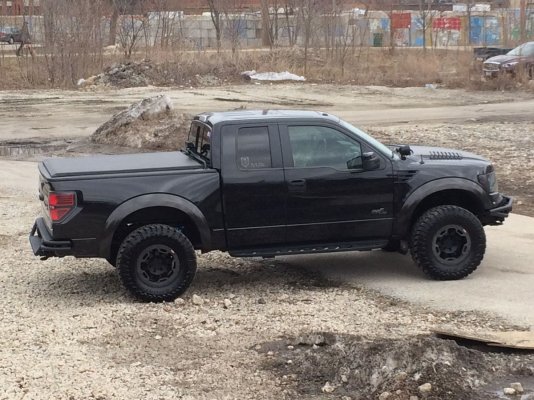
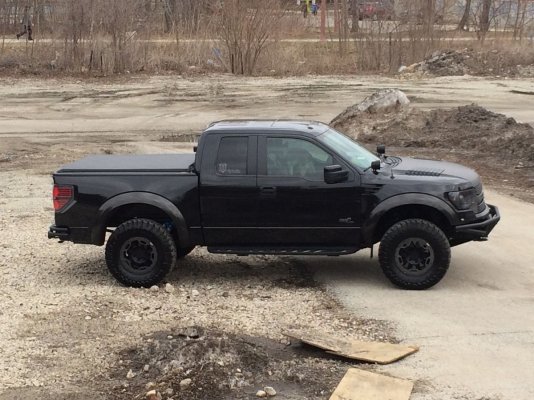
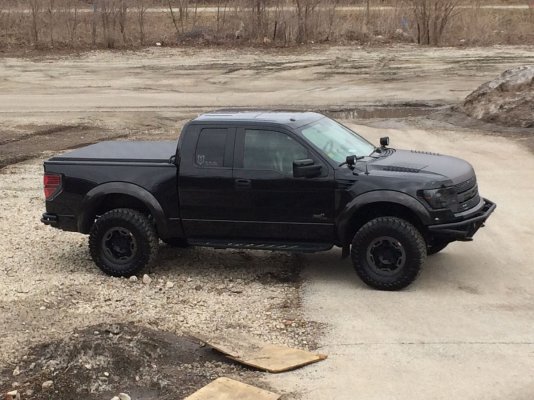
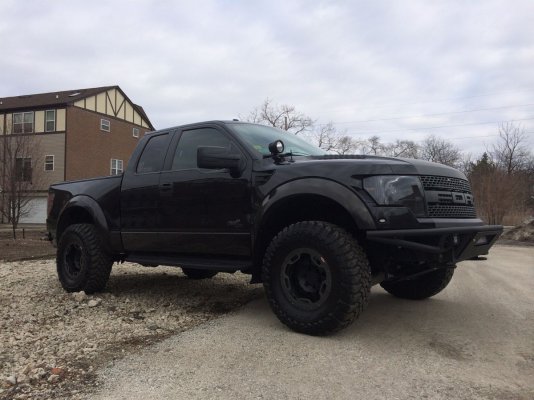
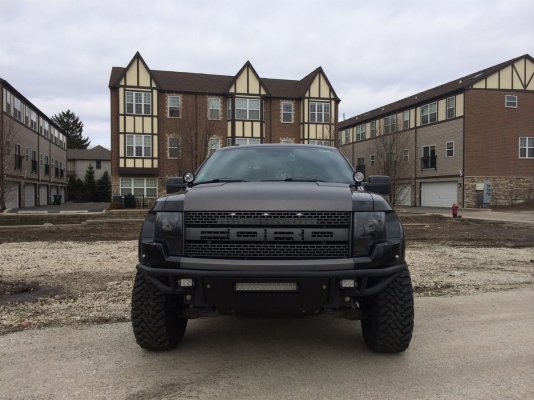
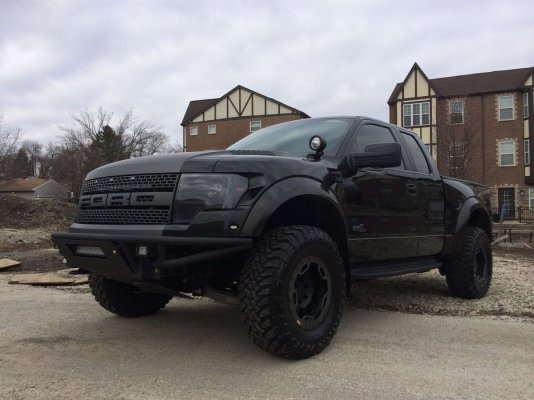
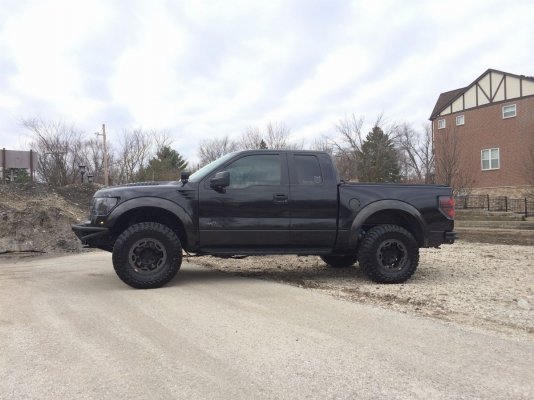
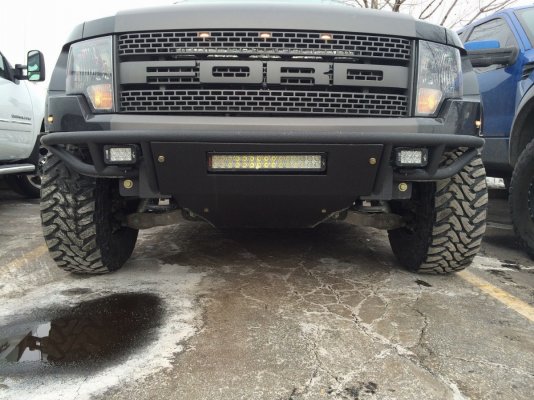
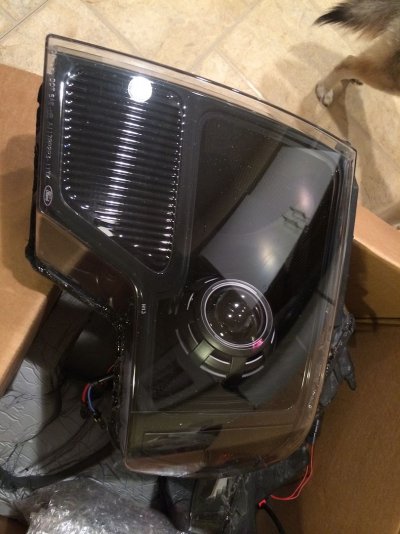
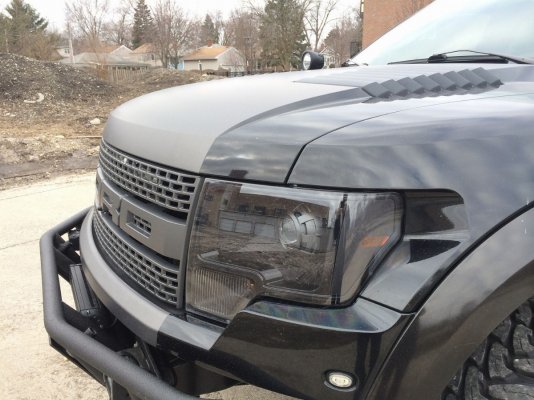
As many other retrofit guys have found, the flashy LED trinkets, halos, whiskers just don’t last or can’t take the abuse we put them through. Dawson was going to swap out the failed halos, but we opted to remove them altogether. Since they were apart, had the shrouds painted to match the raptor grill anthracite color. Gotta love his CS given what we do to the product
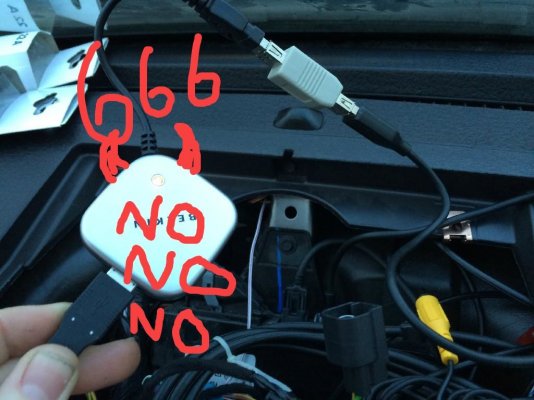
[UPDATE] Previously installed a USB splitter under the dash to power gopros/tablet/etc…. Well, It wound up torching 2 go pro batteries, and the power voltage wasn’t even accepted by the tablet to charge it. Was also getting sync errors and issues with Bluetooth as result. Since removing, all is back to normal, so FYI to all…
No to Nasty nate!!
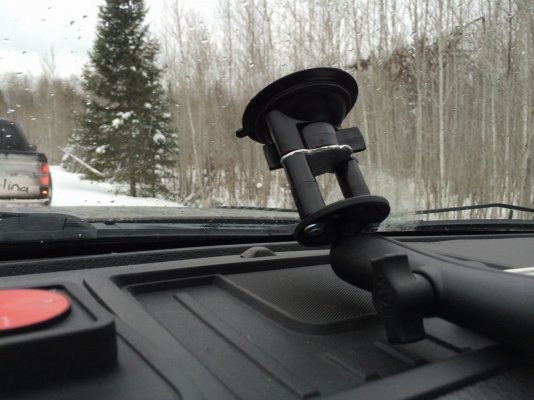
For those using tablets/ram mounts… I wanted to get the mount lower to block less windshield. If you ever bought a tv wallmount, you probably have 50 spare shims that came with the kit. These matched nicely, so I used a couple of those with a new backing plate (still need to paint) and longer screws. Paired with the longer ram mount worked well
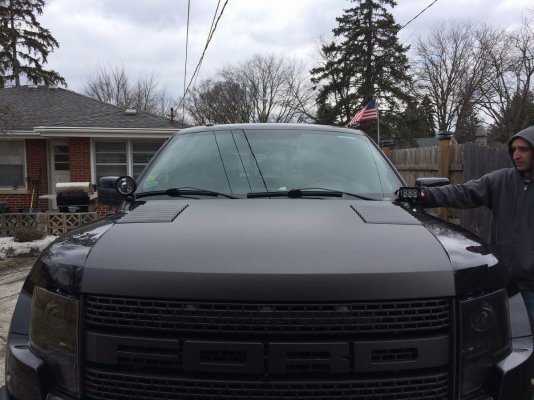
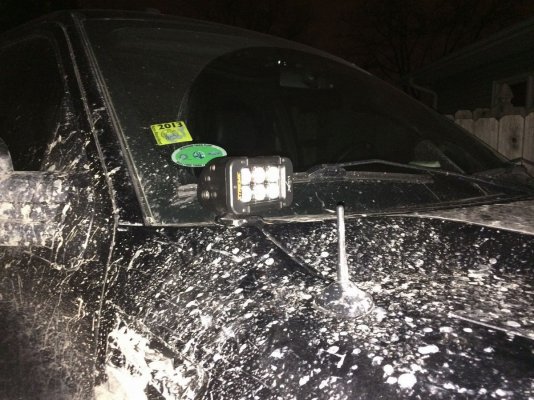
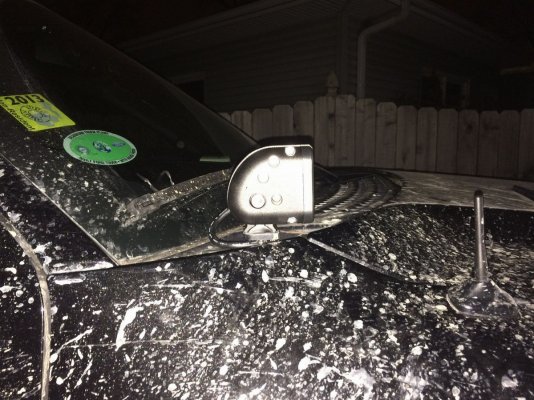
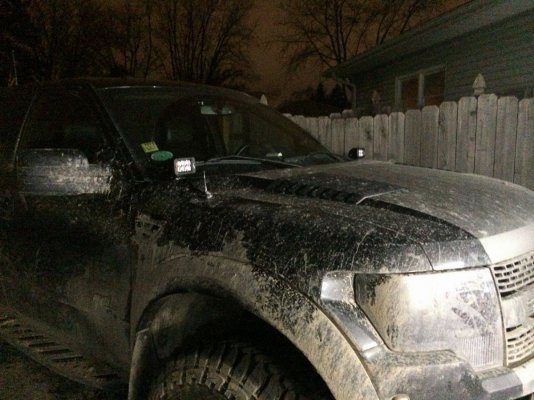
Been running light canons, which are incredible lights, but aesthetically It just wasn’t my favorite up on the hood. Tried out a pair of vX 5” bars in their place. Not completely sold on this look either, but have no output complaints with these 5w xmitters.
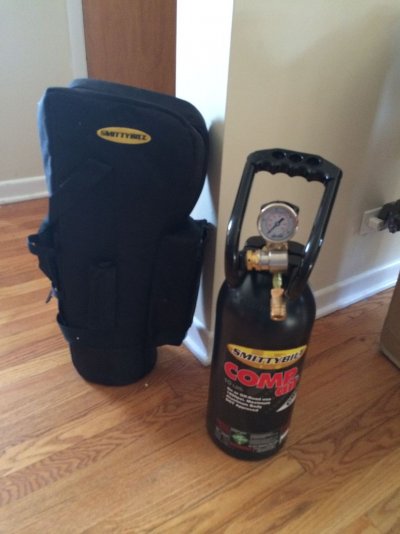
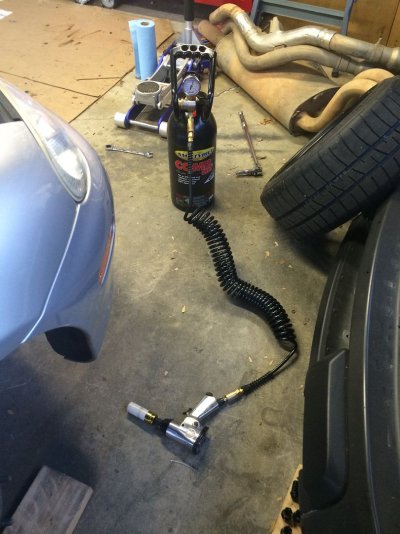
I was on the powertank vs DIY kit fence for a while. IRONMAN recently came across this from smittybuilt for ~cost of a DIY one, so decided to give it a shot. So far quite pleased with it, the padded bag is quite functional and makes it pretty versatile. I used it at the track last week and opted for it over my 4,000db oil-less compressor last night in the garage. Eventually plan to make a mount for it on my bedrack, but strapped down in back seat looks to work for now.
Have some Deaver +3's coming soon too, so more to come..
My scab saw quite a bit of duty in 2013, and absorbed some good blows along the way... Not expecting any less for 2014, decided it was time for some extra strength & insurance out back. Picked up SDHQ’s bump stop kit using Light Racing bumps. Have had the sdhq frame reinforcement pieces on the truck a while now, this still utilizes those, just bolts over them. Wow this thing is beefy.


Not necessary, but for easier install I notched a portion of the bed pinch weld.


Quite glad I didn’t need to redo the exhaust, have a bit of room to spare too


Pics
Install was pretty straightforward. Did it solo in about the same time it took a few of us to bolt in a different kit, even left the wheels on for most of the install. Heading to silver lake this weekend, so may actually get put to use soon.
Got some more pics of the bumpers, still need to make a brace for the sagging lip and make another bend at lower skid


As many other retrofit guys have found, the flashy LED trinkets, halos, whiskers just don’t last or can’t take the abuse we put them through. Dawson was going to swap out the failed halos, but we opted to remove them altogether. Since they were apart, had the shrouds painted to match the raptor grill anthracite color. Gotta love his CS given what we do to the product


[UPDATE] Previously installed a USB splitter under the dash to power gopros/tablet/etc…. Well, It wound up torching 2 go pro batteries, and the power voltage wasn’t even accepted by the tablet to charge it. Was also getting sync errors and issues with Bluetooth as result. Since removing, all is back to normal, so FYI to all…
No to Nasty nate!!

For those using tablets/ram mounts… I wanted to get the mount lower to block less windshield. If you ever bought a tv wallmount, you probably have 50 spare shims that came with the kit. These matched nicely, so I used a couple of those with a new backing plate (still need to paint) and longer screws. Paired with the longer ram mount worked well

Been running light canons, which are incredible lights, but aesthetically It just wasn’t my favorite up on the hood. Tried out a pair of vX 5” bars in their place. Not completely sold on this look either, but have no output complaints with these 5w xmitters.


I was on the powertank vs DIY kit fence for a while. IRONMAN recently came across this from smittybuilt for ~cost of a DIY one, so decided to give it a shot. So far quite pleased with it, the padded bag is quite functional and makes it pretty versatile. I used it at the track last week and opted for it over my 4,000db oil-less compressor last night in the garage. Eventually plan to make a mount for it on my bedrack, but strapped down in back seat looks to work for now.


Have some Deaver +3's coming soon too, so more to come..
Last edited:


