kenny_velos
Member
- Joined
- Apr 17, 2017
- Posts
- 10
- Reaction score
- 14
Dear Members,
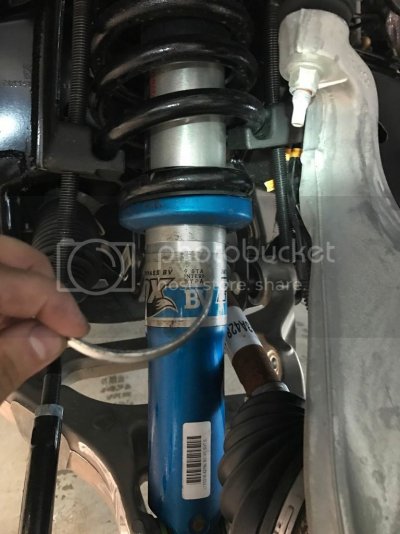
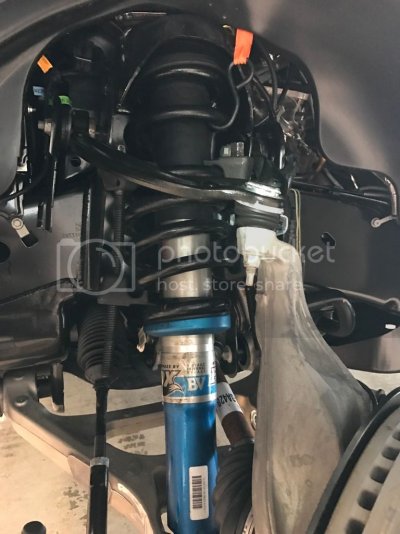
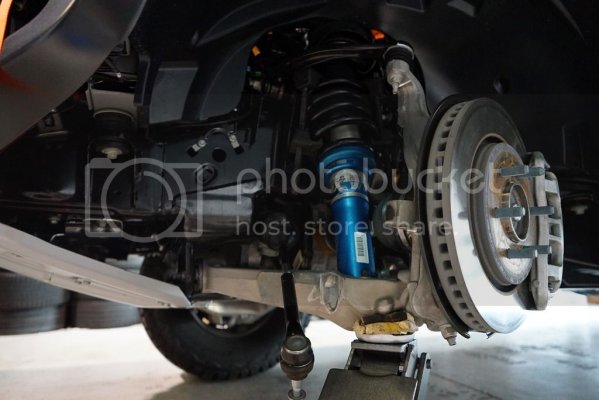
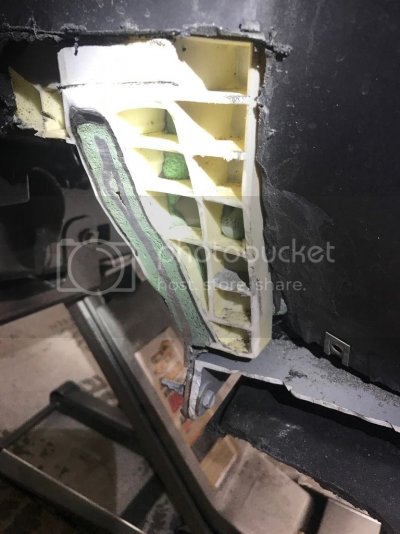
Wanted to update you on the RPG leveling kit. I was able to install it myself without having to remove the shock from the truck. Rented the spring compressors from Advance Auto parts and the rest of the tools needed are basic that most of us will have in the garage. here are some pics i snapped while i was at it.
Things I learned along the way were:
Be mindful of the position of the spring compressor. One side on the control arm has less room and on one side I managed to get the spring compressor stuck underneath the upper control arm. After that 45 minute delay i was able to get it back in place by using a pry bar and shifting the control arm just enough to get the top of the compressor unjammed.
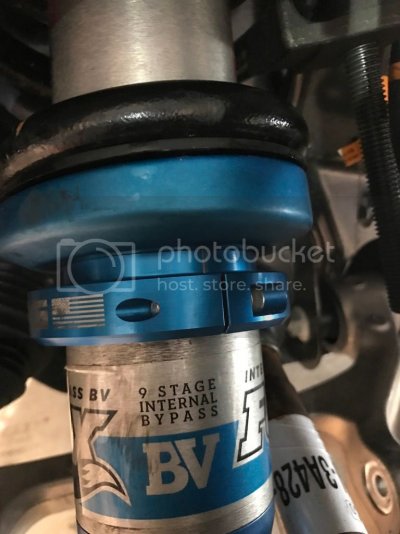
Using a rubber mallet to knock the perch upwards was simply not enough. I thought there might have been a set screw or something similar holding the stock perch up but no such thing. It was just on there! I ended up cutting a 2x4 about 8 inches long and using a 4lbs hammer to break it loose. After that it was easy to hit it up with my rubber one. The C clips fall right off. Also make sure you compressed the spring enough, it needs more than you think to fit in the RPG spacer. I had to reassemble the perch a few times and continue compressing a few times on my first side.
As per RPG it is normal to have a small gap on the spacer on either end just as long as they are sitting correctly. The torque spec on the allen bolts is only 50 INCH LBS. I however chose to use a little bit of blue loctite for peace of mind.
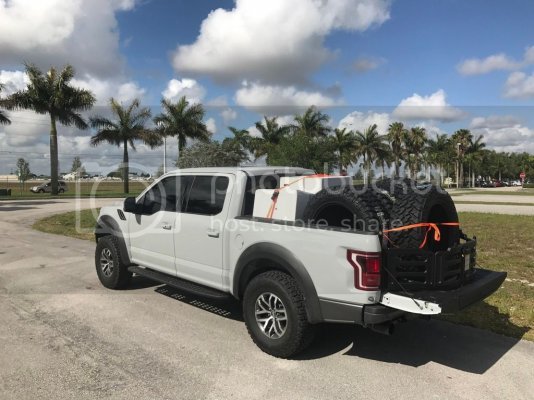
Next will be mounting my 37s..


