How To Replace seat heaters, cushions and upholstery

Disclaimer: Links on this page pointing to Amazon, eBay and other sites may include affiliate code. If you click them and make a purchase, we may earn a small commission.

B E N

FRF Addict
Joined
May 1, 2019
Posts
1,236
Reaction score
1,159
Location
Frederick, CO
You will need a set of sockets, torx bits, plastic panel removal tool, diagonal cut pliers, and hog ring pliers/rings.

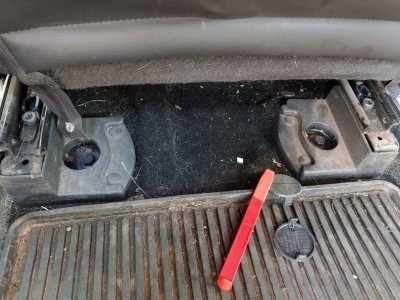
Step 1 remove the seats, there are 2 bolt covers, 4 bolts and the electrical connections.
0911200946.jpg
Use an interior trim tool to remove the bolt covers.
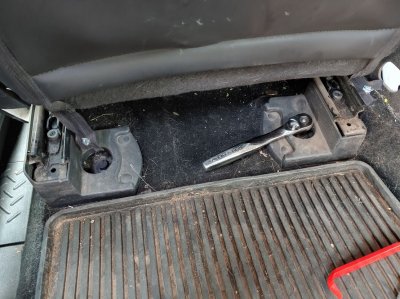
0911200948_HDR.jpg
Use a 6 point socket and ratchet for the bolts, I think they are 17mm but I don't remember for sure
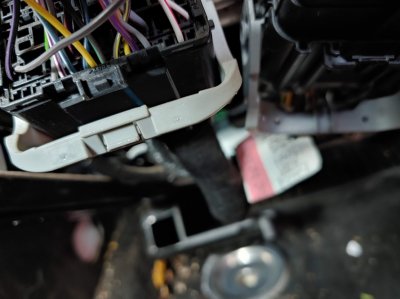
0911201000_HDR.jpg
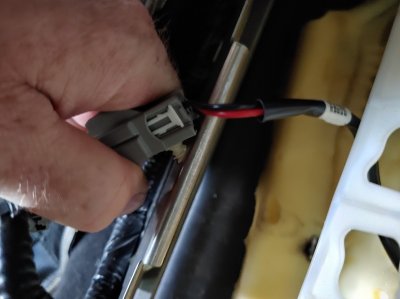
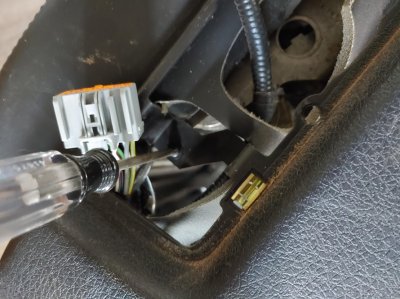
Under the front of the seat there are 2 electrical connections, they are easy to get to once the seat bolts are out. The grey levers just lift forward and the connection will seperate easily.

Remove the seat, take it somewhere easy to work on that is clean, I used my dining room. This is a great time to vacuum your truck out.
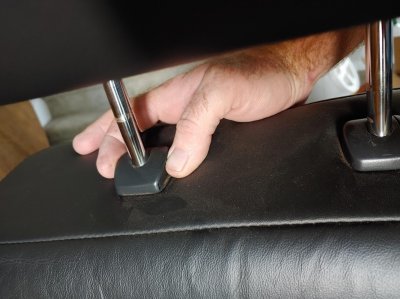
0911201013.jpg
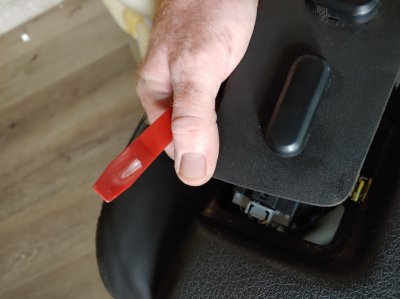
Remove the head rest. Along with the normal height adjustment button there is this sort of hidden button, push it in and the rest will slide right out.
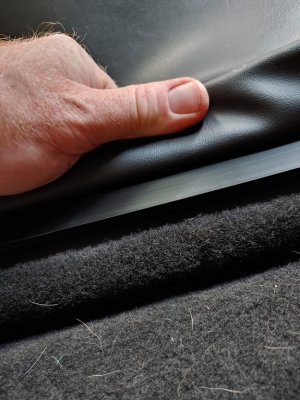
0911201013_HDR.jpg
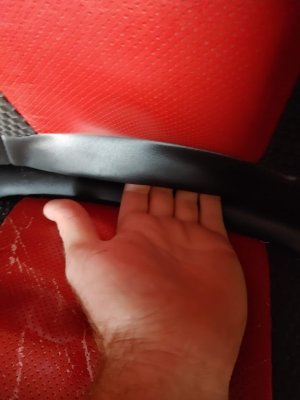
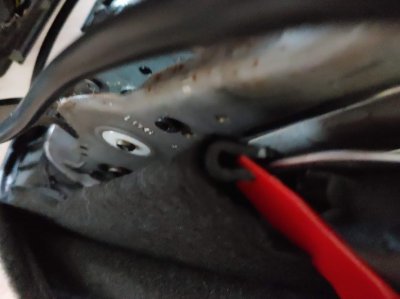
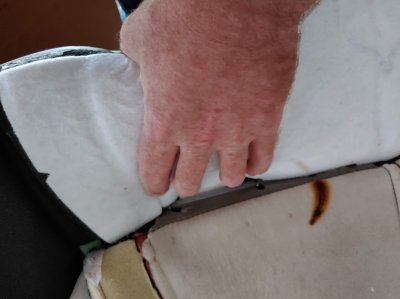
Start disassembly with the seat back, Unzip the zippers on the side. On the bottom back side of the seat back there is this clip, you simply pull it away separating the front and rear upholstery, it takes some hand strength.
 
Last edited:
OP
OP
B E N

B E N

FRF Addict
Joined
May 1, 2019
Posts
1,236
Reaction score
1,159
Location
Frederick, CO
0911201015.jpg
Once you have the clip undone you can pull the seat upholstery from the bottom of that clip through the front
0911201015a.jpg
Begin pulling the upholstery up in the front, it is attached by hook and loop. Be easy to start, make sure you are detaching the hook and loop not removing the hook and loop from the seat cushion. Once you have that started switch to the back of the seat.
0911201016.jpg
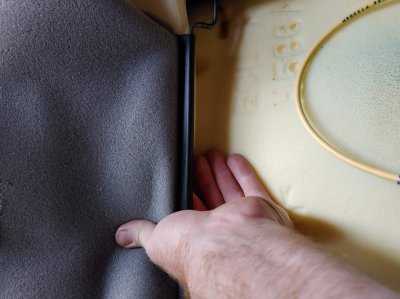
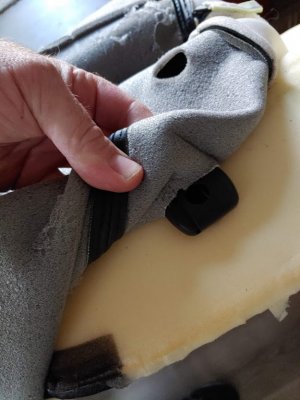
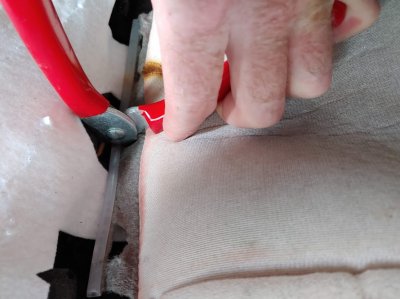
As you are pulling the seat back up you will come to this clip, its just a J shape over a wire, remove it and you can lift the seat back fully off the seat.
0911201017_HDR.jpg
When you get to the top of the seats you will have to slip the upholstery over the head rest slides, removing them is just like undoing a button on a shirt. 0911201018.jpg
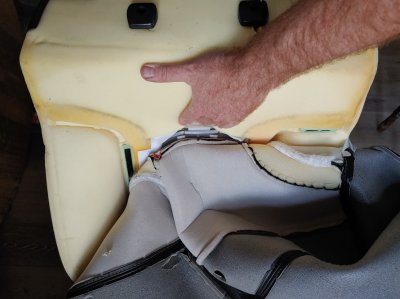
Once you are past that flip the seat cover forward, you will come to the first set of hog rings.
 
Last edited:
OP
OP
B E N

B E N

FRF Addict
Joined
May 1, 2019
Posts
1,236
Reaction score
1,159
Location
Frederick, CO
0911201019 (1).jpg
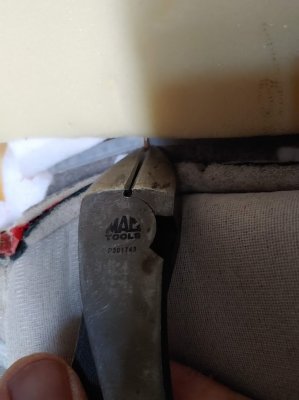
I have found it is best to use a set of diagonal cutters and just cut these, this is the least likely to cause damage. Hog rings are incredibly cheap, usually you will have to buy them in bulk.
0911201017.jpg
Next to the hog rings there are 2 more hook and loop sections, if you are saving the cushion be very careful removing these, they are easy to tear off. You should now be able to remove the seat back upholstery.0911201022a_HDR.jpg
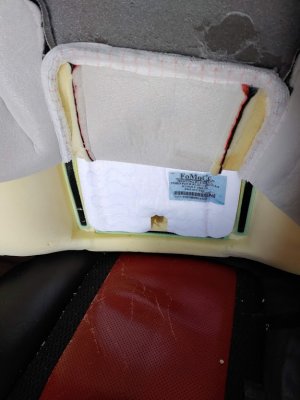
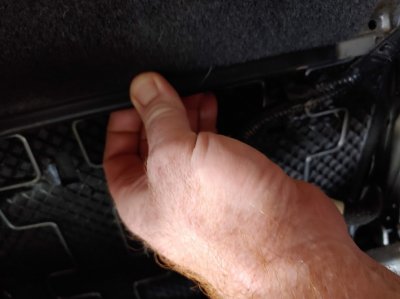
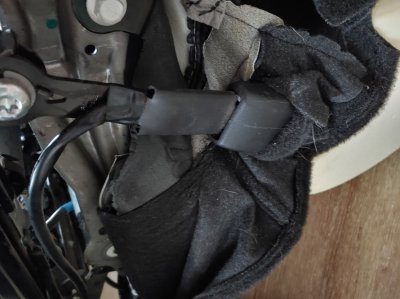
On the back side of the seat look for this clip. Pull the Christmas tree clip through so you have room to work and disconnect.
0911201030.jpg
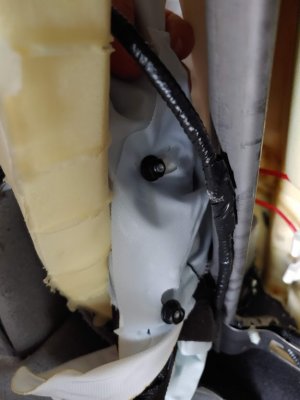
Next start removing the airbag module, these 2 10mm nuts hold it in place. 0911201031.jpg
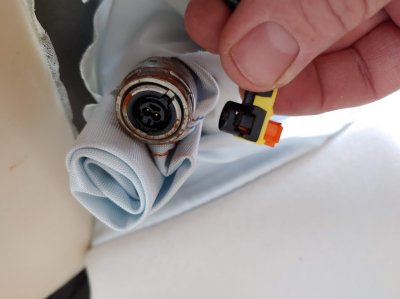
This electrical connector can be removed by sliding the orange tab out then it just pops off.
You are now able to remove the seat foam and the back disassembly is complete.
 
Last edited:
OP
OP
B E N

B E N

FRF Addict
Joined
May 1, 2019
Posts
1,236
Reaction score
1,159
Location
Frederick, CO
Seat bottom disassembly
0911201045.jpg
Start by removing the rear J clip.
0911201046_HDR.jpg
Then remove the side J clips and work the upholstery up and over the seat belt.
0911201048.jpg
On the control panel side start by removing the control panel from the seat side cover, use the trim tool it is clipped in place and will take a little prying. Disconnect the electrical connectors and set the control panel to the side.
0911201051.jpg
Remove the trim panel screws, set the trim panel off to the side. 0911201047.jpg
Remove the last J clip, if you have trouble with this one use your trim tool to push it away from the wire.
 
Last edited:
OP
OP
B E N

B E N

FRF Addict
Joined
May 1, 2019
Posts
1,236
Reaction score
1,159
Location
Frederick, CO
Seat upholstery continued 0911201054.jpg
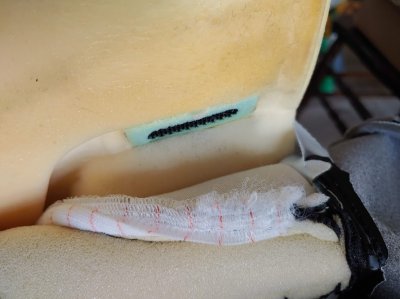
Start lifting the upholstery from back to front, at the front there will be 3 more hog rings to remove. Here you can see the seat heater trace burn marks, this is pretty good confirmation the heat elements need replaced.

0911201105.jpg

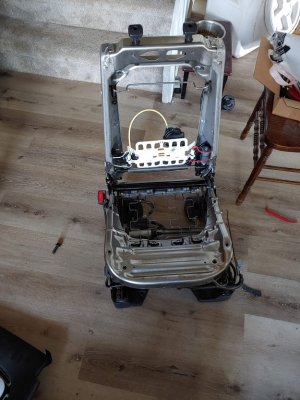
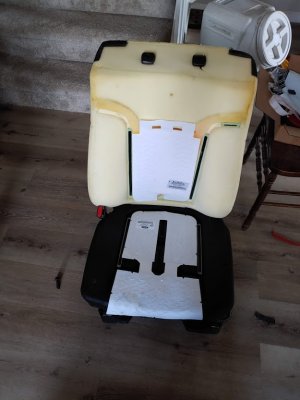
You can now remove the foam, your seat will look like this

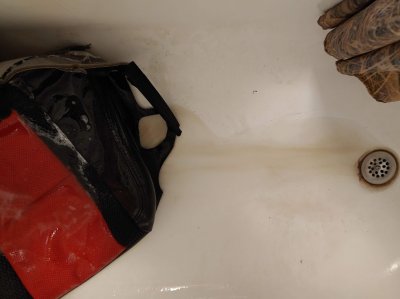
All of the upholstery should be removed from the seats now, next thing I did was wash the upholstery with some fairly aggressive cleaner, it was nasty. 0911201108.jpg

Now clean your bathtub.
0911201056.jpg
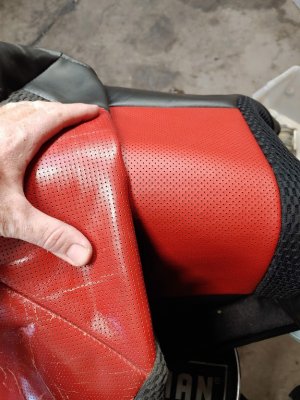
Dirty vs clean. You can see the dirty stuff is still real shiny, where the clean stuff looks almost new. If you do this step make sure to condition the leather after you get the seat reinstalled.
 
Last edited:
OP
OP
B E N

B E N

FRF Addict
Joined
May 1, 2019
Posts
1,236
Reaction score
1,159
Location
Frederick, CO
Replacing the seat heaters
0911201023.jpg
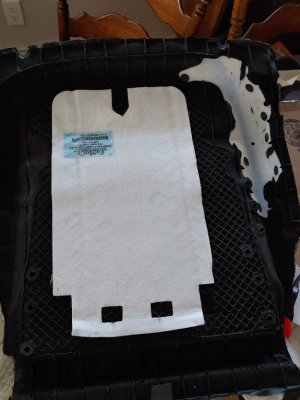
If you are saving your cushion be very careful with this step, its easy to pull foam up with the adhesive. I remove the heater from the adhesive instead, the new seat heater will stick to it fine. Install is really easy, just peal off the adhesive covers and put the new elements where the old ones were.
0911201121.jpg
If all you are doing is the heating elements you can go on to reassembly now
 
Last edited:
OP
OP
B E N

B E N

FRF Addict
Joined
May 1, 2019
Posts
1,236
Reaction score
1,159
Location
Frederick, CO
Seat cushions
0911201059a_HDR.jpg 0911201059b_HDR.jpg
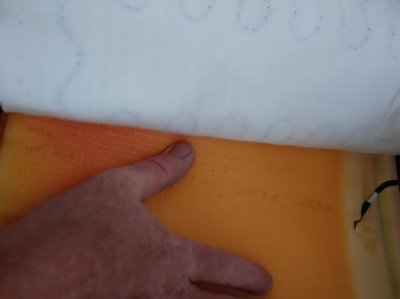
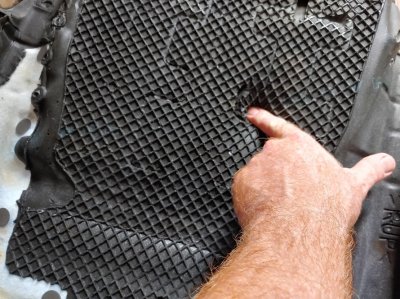
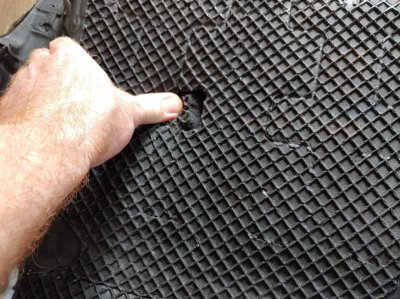
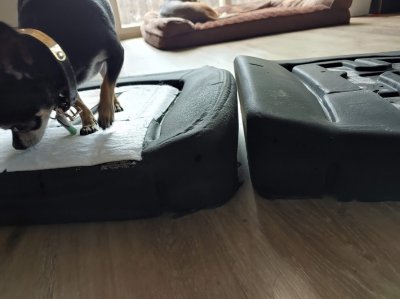
I knew my trucks seat cushions were not up to ***** so I ordered a replacement bottom. You can see in these photos where the suspension has been cutting into the foam.
0911201100_HDR.jpg
And in this photo you can see how much the foam has really degraded.
For me it was a no brainer to replace the bottom, I did not do the top. I could only get replacement cushion for trucks with ventilated seats, maybe I will add this feature one day.
0911201158.jpg
In order to help the longevity as best I could I took the old seat heater element from the seat back and used a very small amount of spray 77 to attach the element to the bottom where it rides on the springs. This should spread the force from the springs out and protect the foam. You don't want to get crazy with the adhesive, things need to be able to move around a little.
 
Last edited:
OP
OP
B E N

B E N

FRF Addict
Joined
May 1, 2019
Posts
1,236
Reaction score
1,159
Location
Frederick, CO
Reassembly
0911201437.jpg
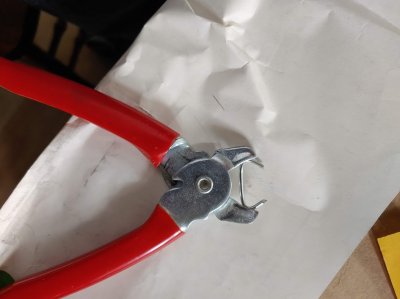
These are hog ring pliers, they have a groove to hold the ring and are spring loaded to keep tension on it, they make this job many times easier. 0911201438.jpg
Simply use the hog ring pliers to ramrod the two wires together and give them a squeeze to crimp the rings, takes seconds to get the pro quality job.


Other than the hog rings reassembly is just the opposite of assembly. If someone get stuck or needs help post here, but this really is an easy job. Between the new seat bottom and seat heaters my truck is much nicer on long trips. This is easily the best $200 I could have spent on the truck.

You should be able to do your first seat in around 4 hours. I can do one of these in under an hour if I am not taking pictures or ******** around.

It is my opinion that using the genuine ford seat heater assemblies is a better route to go than aftermarket. They are already the correct shape/size and have the correct terminals on them. Aftermarkets are cheaper and can do the job, but it just isn't worth the "savings" to me.

I was unable to find Molten Orange leather dye, if I can find some I will do a tutorial on how to fix the cracking in the seat bottoms that is really common. The upholstery is all currently available through tasca if you have a part that needs to be replaced. I suggest doing both bottom and top at the same time to keep things matching.

Even though this is a gen 1 truck the gen 2 seats are very similar. Ford has been using this same seat construction since at least the 90's. You Could do any modern ford seat using this guide and get through it just fine.
 
Last edited:

CoronaRaptor

FRF Addict
Joined
Dec 17, 2012
Posts
28,961
Reaction score
31,191
Location
CANADA
Nice write up, I did my heater on the drivers side a couple years back, should of replaced the bottom leather at that time, need to get it replaced now as it has a small rip in the side. I didn't have to remove the seat to do the bottom heater, but definitely to do what you are doing. Guess I will find some french fries and dog hair next time, lol.
 

BenBB

FRF Supporting Member
Supporting Member
Joined
Apr 21, 2016
Posts
1,819
Reaction score
2,491
Location
Lots of different places
Awesome writeup, I really need to do both seat cushions on mine. Previous owner clearly had a ****** wife haha! Mine has cooled/heated seats though so hopefully that will simplify the process a little not having to deal with an element and adhesive.
 
Top