Rebuilding a 6.2 Engine

Disclaimer: Links on this page pointing to Amazon, eBay and other sites may include affiliate code. If you click them and make a purchase, we may earn a small commission.

OP
OP
PD1744

PD1744

Full Access Member
Joined
Jan 21, 2020
Posts
291
Reaction score
600
Location
SC
Picked up the engine from the machine shop over the weekend. It's been a long time yes, but again I really wasn't rushing them and told them to take their time. They took it pretty literally. When I checked in last week, he realized he still hadn't knocked the block work out yet, so he was very apologetic and jumped on it right away. Just got lost in the shuffle. No big deal. My goal was to get it to my dads shop and get the block mounted to the stand, however I failed on the latter part as the stand wasn't quite compatible with the back of the engine and will require a little bit of modification. So I had to bail as I ran out of time and didn't get any pictures taken or anything.

My itemized receipt isn't in front of me right now, but I'll try to give you the breakdown best I can:

Block Work
sleeve one cylinder $150
machine block $100

polish crank $40

Head work w/ valve job $250
valve job on second head $50

Sub total $590
Tax $41.30
TOTAL $631.30

Also this morning just ordered:

Oil Squirter Block Off's from Livernois $79.99 + 21.16 Shipping = $101.15

Melling pickup and standard oil pump from Rock Auto $37.79 + 99.79 - $6.88 (discount) + $10.99 shipping + $9.92 tax = $151.61

Running Total

Previous Subtotal $3702.35
Refund for Rods (-$608.55)
Est. Machine shop (-$1000)
Act. Machine shop $631.30
Livernois $101.15
Rock Auto $151.61
Total $2977.86

Hopefully all of the big ticket expenses are behind me. Should have a clear-ish picture of what a project like this would run.

Oh also gave $40 for the engine stand on FB marketplace. Plan to sell for the same when I'm finished.

Items of note
- Machine work came in significantly lower than estimated
- Originally we did not discuss a full valve job on the 2nd cylinder head. They where just supposed to pull vacuum on it to check it, but they ended up doing it anyway. Since we didn't discuss it up front, he only charged me $50 for the work on the 2nd head
- They also replaced all of the valve seals already, so I have don't have to do that now, but also I have some that I don't need. I got some nice Fel-Pro ones off wholesaler closeout, which means I didn't pay a lot for them ($22), but also the window to return them is closed. No big deal.
- @CoronaRaptor will be happy to hear that after the block came out of the washer, it already looked really good, but they even offered to shoot it with some fresh black paint for me before bagging it up. Win!

Hopefully this weekend, I can begin assembly. I think it depends how quickly the squirter plugs get to me. Here we go!
 
Last edited:
OP
OP
PD1744

PD1744

Full Access Member
Joined
Jan 21, 2020
Posts
291
Reaction score
600
Location
SC
Squirter plugs got here on time, so I began assembly Saturday morning. My goal was go get the rotating assembly dropped in. And everything was going good.... Till it wasn't. Let's go.

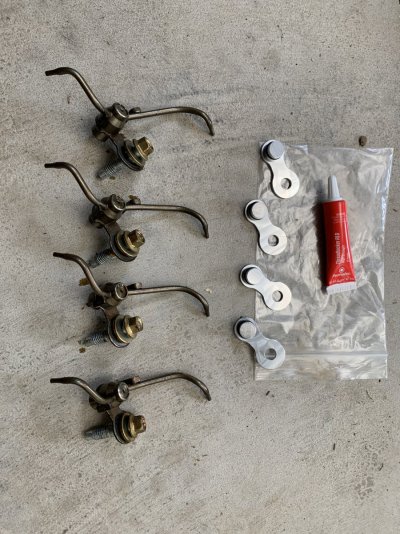
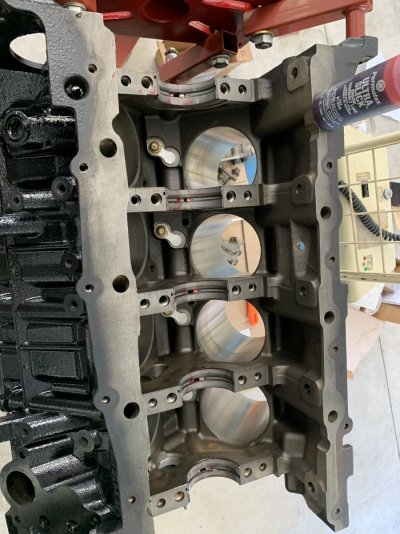
Block offs:

IMG_7118.JPG

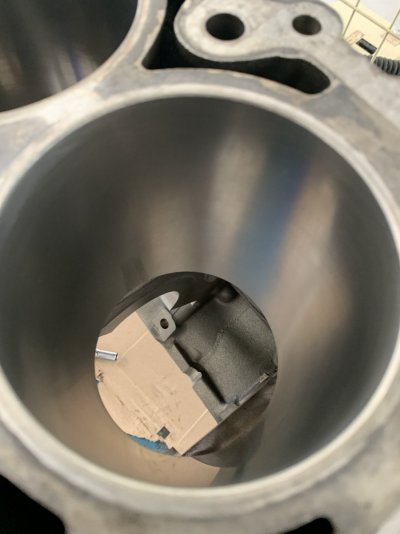
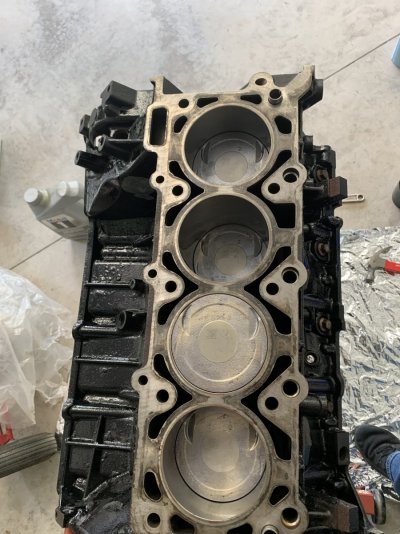
Freshly Honed Cylinder Walls:

IMG_7119.JPG

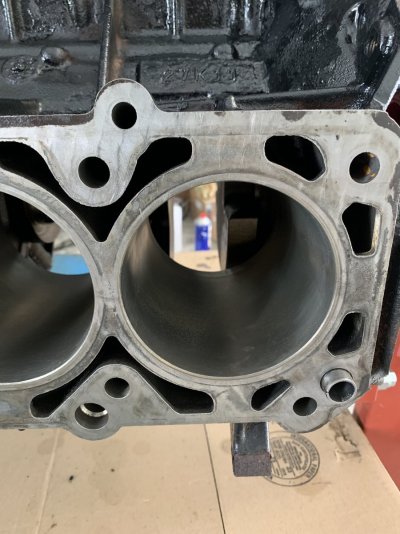
Here's a look at #8:

IMG_7124.JPG

Honestly could never tell it was sleeved if you didn't know to look for it.

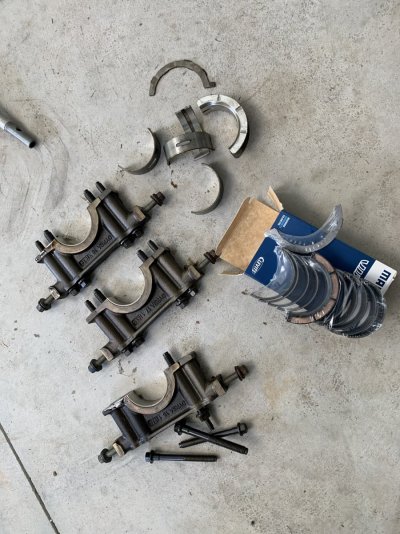
Main bearings:

IMG_7121.JPG

Block off plugs and main bearings installed:

IMG_7122.JPG

I grabbed both this Permatex Ultra Slick and some and Sta-Lube assembly lube from the parts store.

Looks like you can only attach 5 files at time so continued in next post.
 
OP
OP
PD1744

PD1744

Full Access Member
Joined
Jan 21, 2020
Posts
291
Reaction score
600
Location
SC
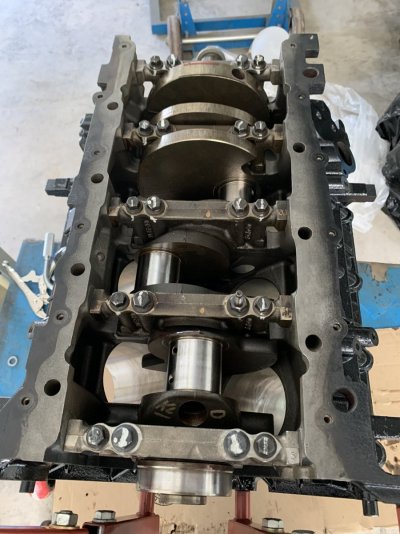
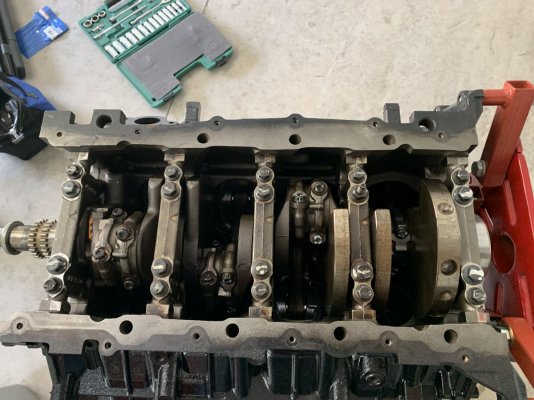
Crank dropped in and main caps torqued down:

IMG_7123.JPG

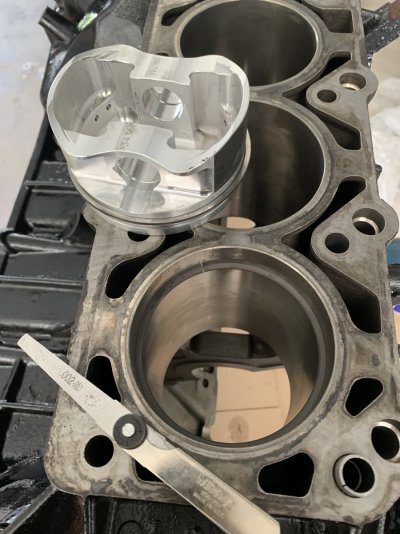
Checking ring end gap:

IMG_7120.JPG

Okay, so complete honesty here. I was not able to find a good way to get my hands on a ring grinder short of buying a not very cheap tool that I probably would never use again. So my plan was to check the gaps and then figure out how to deal with them if I needed to file them back. Turns out the gaps where actually a little larger than Manley specs, but I believe they were well within OEM spec. So I rolled with it.

Piston assembly:

IMG_7125.JPG

IMG_7126.JPG

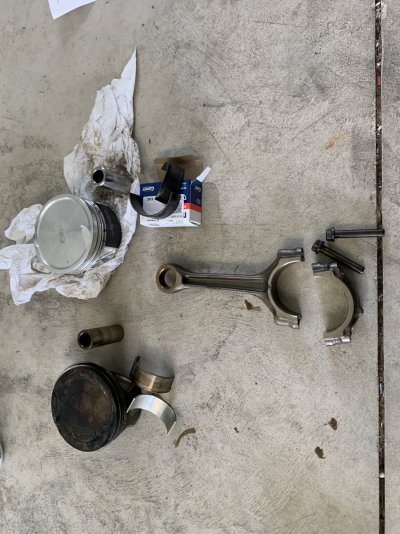
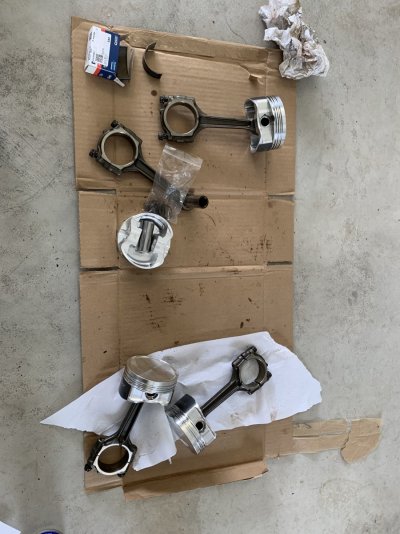
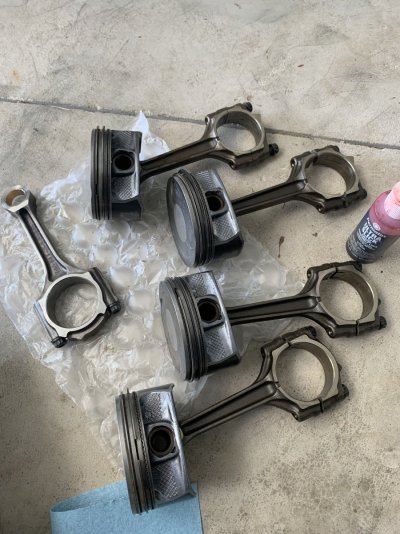
And right about here is where the shit went sideways... So the plan was to run stock rods with the Manley pistons. Turns our the wrist pins are not compatible. The pin diameter was way too sloppy in the rod bore. About 16 thousands worth of play. I halted immediately. No way in hell this was going to work.

So, I'm attempting to send the Manley pistons and rings back. Would be a healthy chunk of change back in my pocket once again (to the tune of about $900), but also changes the entire landscape of the build. Ordered an OEM piston, pin and rings this morning from Tasca. Now I've also gotta yank those squirter plugs back out which, if you noticed above, get red Loctited into position. Thankfully it looks like I can pull them back out without removing the crank. Good times.

Running Total

Previous Subtotal $2977.86
Refund for Pistons (-$703.99) Pending
Refund for Rings (-$182.99) Pending
Tasca $80.97
Total $2171.85

Almost back on budget!

I did spend some time measureing bores and mic'ing journals and what not, just to check them up against the spec. No plastigage or anything. But mainly just a sanity check as I honestly don't know what I would do if I came across something way out. But the pin to bore fit at the piston was just way out. Spec is 1 to 7 thou and we were at 16.
 
OP
OP
PD1744

PD1744

Full Access Member
Joined
Jan 21, 2020
Posts
291
Reaction score
600
Location
SC
Parts arrived while I was away on vacation a couple of weeks ago so I got to get back to this last Saturday for a bit. I also needed to order some some wrist pin retaining clips, but couldn't find the OEM part. Found some that would work from Summit that costs $2 for a set but $11 to ship them. Eff me. Then also later realized that I needed one additional one because when I disassembled the pistons, I shot one to God knows where in the shop. Found them on the Walmart website with a little cheaper shipping.

Put the squirters back in. Anybody needs block-offs, holler at your boy.

IMG_7238.JPG

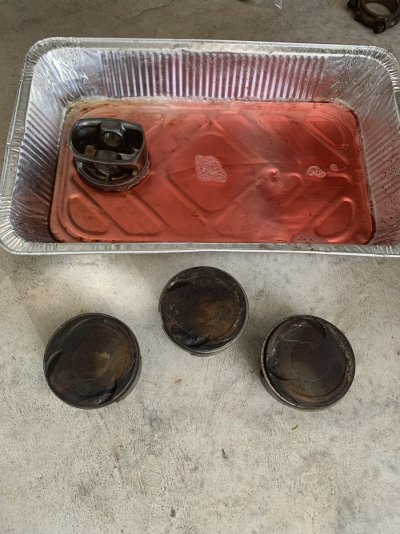
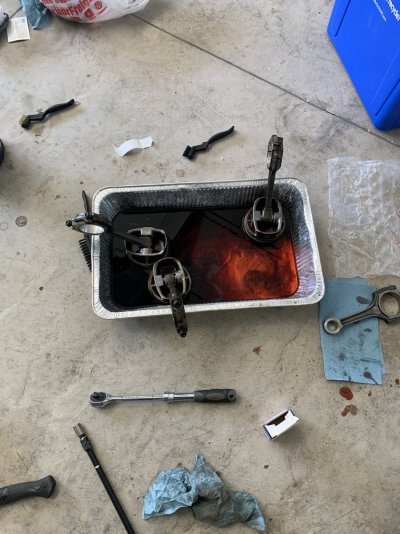
Most of my morning was spent cleaning:

IMG_7239.JPG

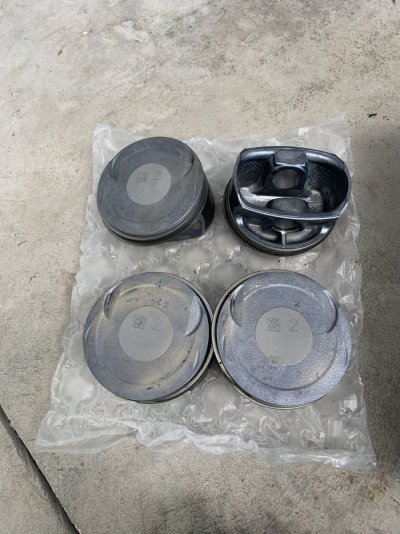
I wished I would have done this sooner as I realized this engine was built with Grade 2 Pistons. I ordered a grade 1 because it was the cheapest. Don't think it'll make a difference as the sleeve was sized to the Manley piston. On that same note though, while these guys are cast, they seem to be really high quality. Good fit and finish, coated skirts and top ring groove, and really wish I would have weighed them because they don't feel any heavier than the Manley's in the hand. All cleaned up:

IMG_7240.JPG

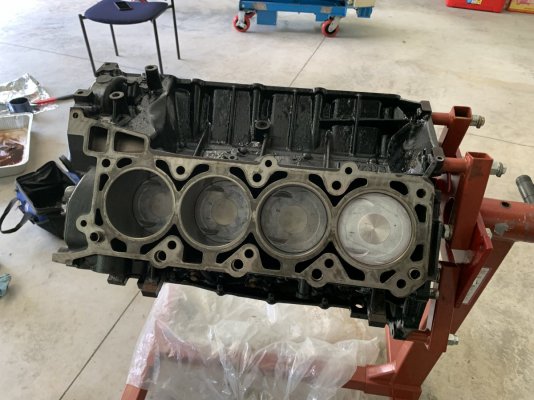
Bank one assembled:

IMG_7241.JPG

I've now got a 3.1 L inline 4 gents:

IMG_7242.JPG
 
OP
OP
PD1744

PD1744

Full Access Member
Joined
Jan 21, 2020
Posts
291
Reaction score
600
Location
SC
Worlds slowest engine build progressed a little over the long weekend.

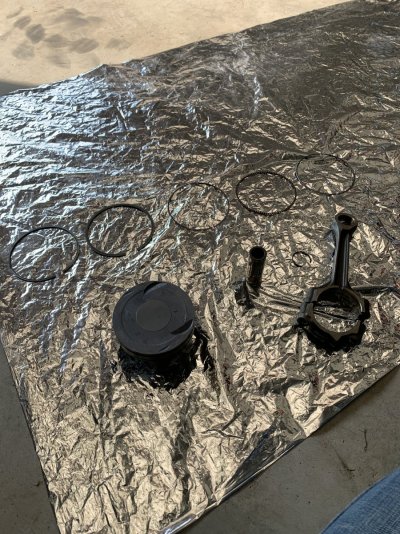
Disassemble, clean, re-assemble bank 2:

IMG_7278.JPG

IMG_7279.JPG

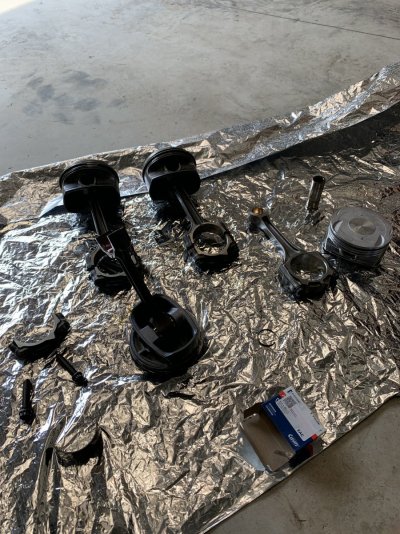
If you've never seen how to split a fracture split connecting rod before, it's incredibly satisfyingView attachment IMG_7280.MOV:

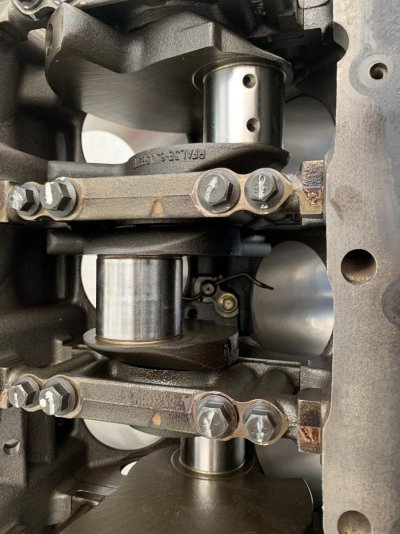
Rod caps torqued. So Ford does a final torque angle instead of a torque value. Not really a fan of this. I believe it's a 3 step - 15 ft-lb then 32 ft-lb and finally 135°.

IMG_7281.JPG

Bank 2 placed with it's shiny new grade one piston. Also, item of note, the connecting rod casting looked different than the ones that come in the engine. They must have changed them at some point.

IMG_7282.JPG

Till next time. Hopefully the bottom will be buttoned up the next time I get out there.
 

Canuck714

FRF Addict
Joined
Jun 11, 2012
Posts
1,195
Reaction score
994
Location
San Antonio TX
What is the piston skirt clearance now that you have cleaned up (Machined material off) the bores and re-used worn pistons?
Also, did you number the slugs as they came out so they can go back in the same holes?

Z
 
OP
OP
PD1744

PD1744

Full Access Member
Joined
Jan 21, 2020
Posts
291
Reaction score
600
Location
SC
What is the piston skirt clearance now that you have cleaned up (Machined material off) the bores and re-used worn pistons?
Also, did you number the slugs as they came out so they can go back in the same holes?

Z
Piston to skirt clearance = Not sure. Likely slightly more than before. I didn't record clearances, just checked them against the tolerances. But yes, everything was marked and went back to it's original home.
 

CoronaRaptor

FRF Addict
Joined
Dec 17, 2012
Posts
28,961
Reaction score
31,190
Location
CANADA
Worlds slowest engine build progressed a little over the long weekend.

Disassemble, clean, re-assemble bank 2:

View attachment 312450

View attachment 312451

If you've never seen how to split a fracture split connecting rod before, it's incredibly satisfyingView attachment 312453:

Rod caps torqued. So Ford does a final torque angle instead of a torque value. Not really a fan of this. I believe it's a 3 step - 15 ft-lb then 32 ft-lb and finally 135°.

View attachment 312454

Bank 2 placed with it's shiny new grade one piston. Also, item of note, the connecting rod casting looked different than the ones that come in the engine. They must have changed them at some point.

View attachment 312455

Till next time. Hopefully the bottom will be buttoned up the next time I get out there.
This may be a really dumb question: how do you know which way the pistons are suppose to be installed? The larger valve indentations are all facing toward the front, can they only be installed that way or could somebody **** it up and put them 180 the other way and face the rear? Just curious.
 
OP
OP
PD1744

PD1744

Full Access Member
Joined
Jan 21, 2020
Posts
291
Reaction score
600
Location
SC
This may be a really dumb question: how do you know which way the pistons are suppose to be installed? The larger valve indentations are all facing toward the front, can they only be installed that way or could somebody **** it up and put them 180 the other way and face the rear? Just curious.

It's a good question actually. They can most definitely be put in wrong. I made sure to mark not only where it came from, but the orientation as they came out. Because not only do the pistons need to face a particular way, but the rods do as well as they are not symmetrical. For this engine with stock pistons, it's not so bad as you can see, all of the valve reliefs face toward the front, but also the pistons are etched with arrows on the face as well, so you don't mess it up. Hope that helps.
 
Top