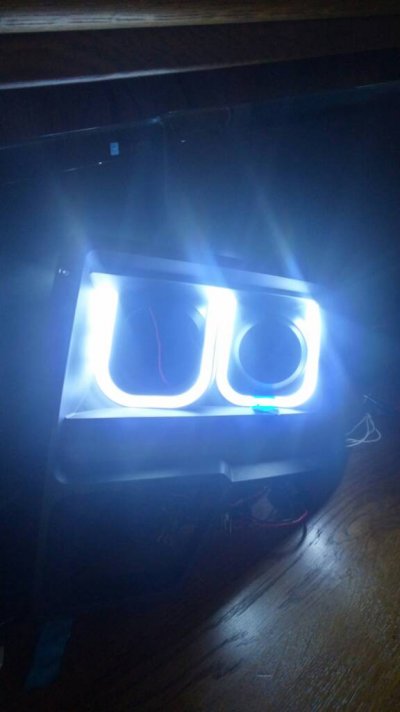
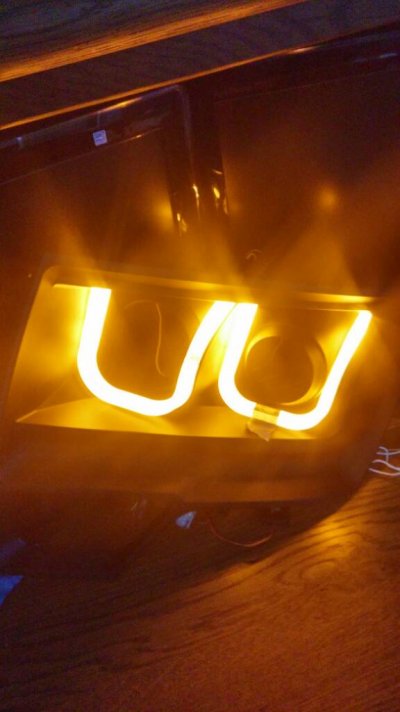
Okay, so I just finished up some studying for finals and figured I'd do some work to night.
Tonight I am doing a little more experimentation with the brackets. Basically I am testing a few days to mount them until the piece of aluminum comes in. Luckily, there are 4 holes in the projector cut off shield plate that will be perfect. The .032" aluminum plate I have on the way will work perfect. 4 screws will secure it to the plate and three screws will secure the plate to the headlight frame. All these will have loc tite and lock washers applied to them to assure they won't come loose during spirited Offroad driving.
Pics below
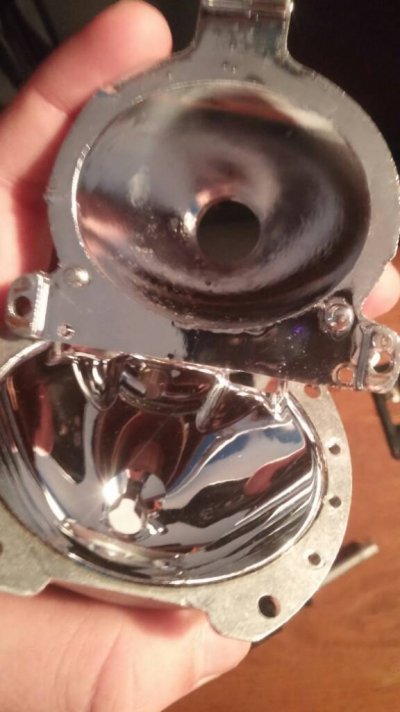
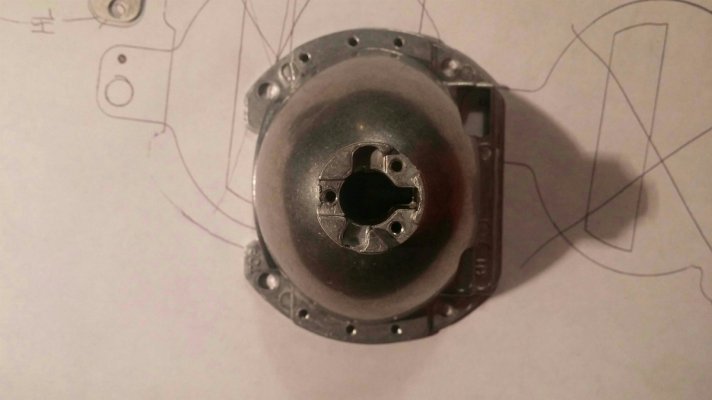
Drawing of the stock projector plate from anzo. The 3 holes I drew arrows to are where they will mount to the headlight. The 4 holes in the middle are where the screws will attach the projector to the bracket I'm going to fab up. The bigger outline is the Morimoto projector cut off shield. It is aligned in the exact position of the middle of the anzo projector and the 3 mounting holes. This way, the projector will be in the exact same location. All the bracket has to do is clear the reflector bowl of the back of the Morimoto projector.
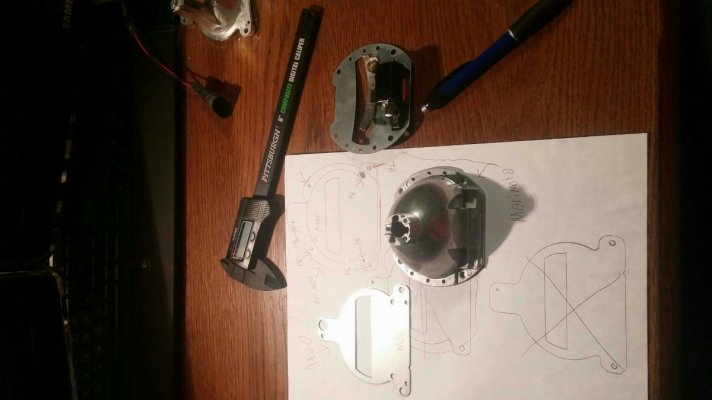
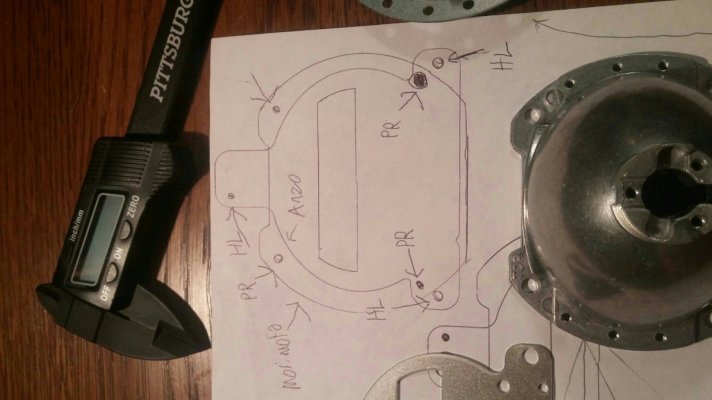
Imagine the plate looking like the outer perimeter of the Morimoto reflector bowl and the anzo cut off shield except with the egg shape reflector bowl cut out so you place the mount around it.
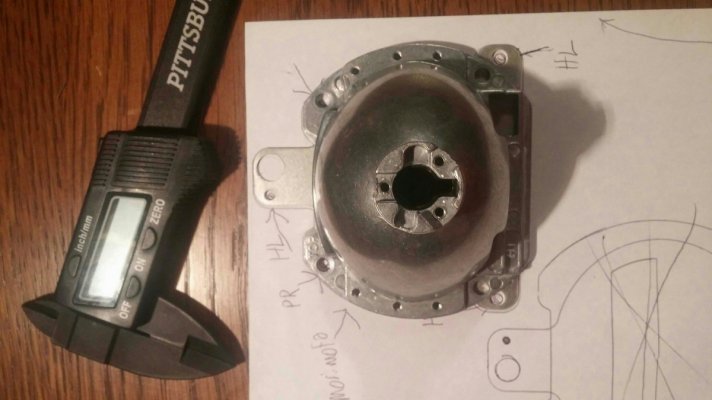
I still need to figure out how to get a perfect drawing of the back of the reflector bowl on paper so I will know how to cut the aluminum sheets for the brackets
Tomorrow:
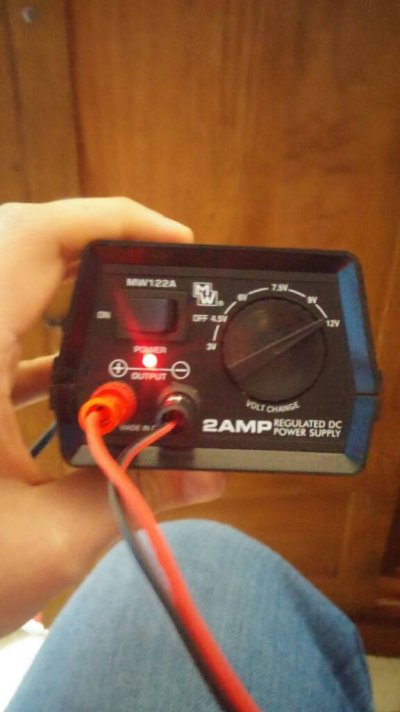
12V power supply comes in!!! This will allow me to perform tests on all the wiring without leaving the comfort of my work area inside the house. The only thing I'll have to do outside is build a wiring harness to align the projectors and test fit a few things.
Things you should do before sealing your headlights up:
-use 12v power supply to trigger bi-xenon solenoid 30-40 times to assure it doesn't stick.
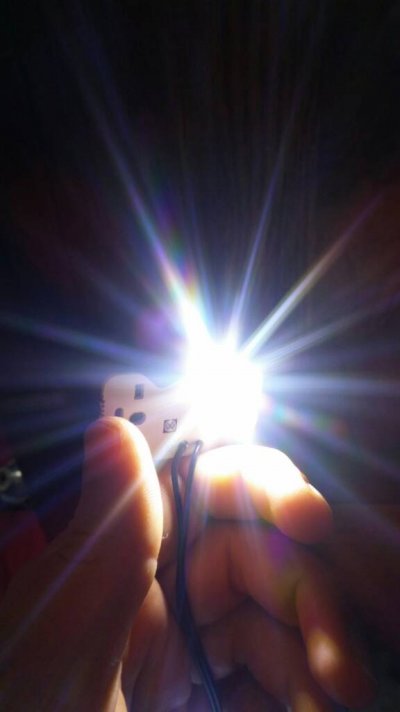
-test all switchbacks, halos, LED strips and all of your wiring to assure it works properly
-route all your wiring to make it easy to get to so you can pull it out of the headlight, slide it through rubber grommets and assure the headlight will seal tightly
I still am undecided what I want to do with this side of the headlight. I'll proably end up with 3 switchback led strips running vertical and making them light up sequentially when the turn signal is on.
Once I get ahold of rigid duallies, I'll do the necessary trimming on the headlight housing to make them fit where the high beam is now and then they're off to be painted by a good friend of mine. They will be painted ebony black to match my paint.
I think I'm going to make a quick trip to Wal-Mart and pick up a cardboard box to use to open headlights from now on. Unfortunately, my oven is almost too small for these giant headlights. Luckily, the cardboard box method is simple. Cut a hole in the side, use Styrofoam to raise the headlight from the box floor about 2 inches, place the headlight lens down in the box on the Styrofoam, and finally, cut a hole in the side of the box and use a heat gun to heat up the headlight. Close the box to trap the heat. Leave it in for about 16 minutes, take it out and remove the lens from the headlight. Simple.
I'll be cycling the bi-xenon solenoid tomorrow to check it and make sure it doesn't stick. Also, I'll be doing some more tests with the switchbacks for the U-Bars to make 100% sure they'll work the way I hoped. (Almost 99% sure they will though)
Stay tuned everyone!!
Sent from my VS985 4G using Tapatalk


