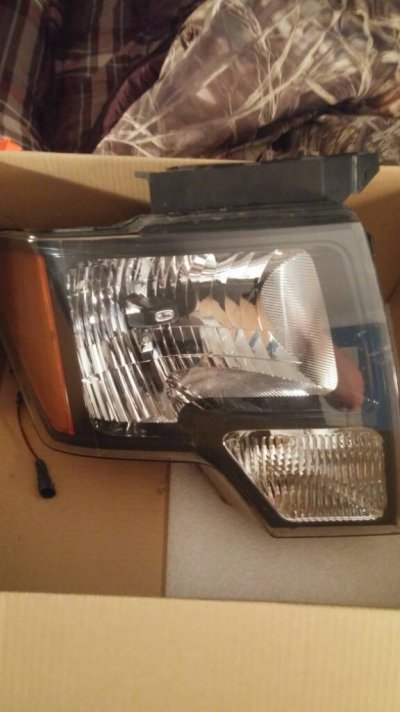
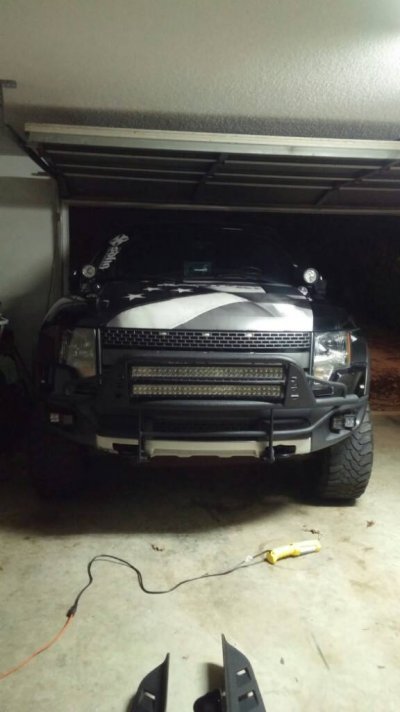
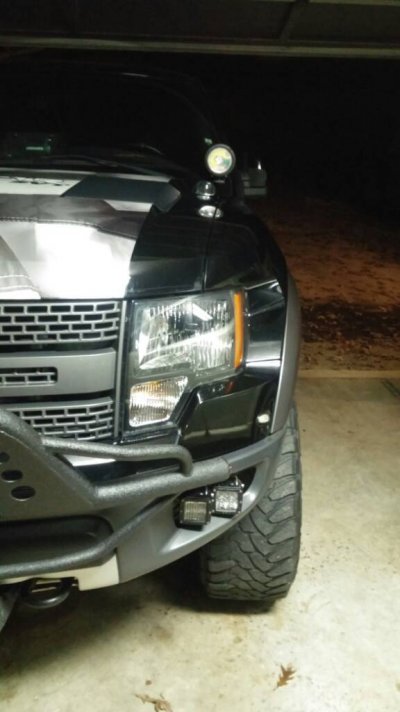
Headlights are apart!!
Instructions to bake open :
1. Clean the headlight lenses. I used GooGone - Window Cleaner - and finished off with alcohol to remove everything and leave a very dry surface. (you don't want to bake any sediment on the lenses. It will be there for good)
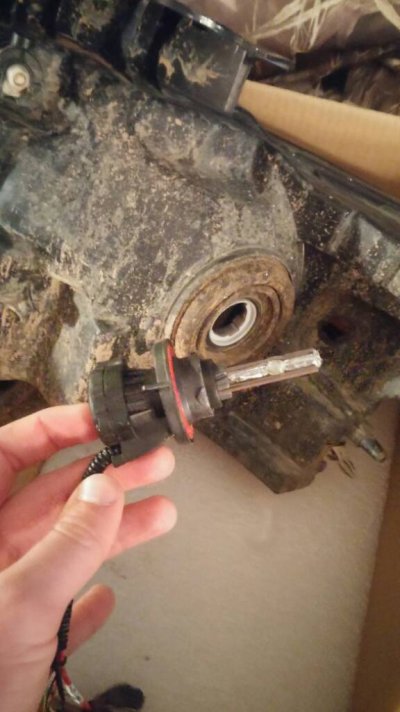
2. Remove as many parts as possible. Bulbs, wires, rubber grommets, etc.
3. Preheat oven at 275°
4. Unclip the clips around the perimeter of the headlight. (don't touch the lenses)
5. Put on mechanic's gloves and place in oven. They will expand a tiny bit so allow for it (mine did a little bit)
6. After 7 minutes, remove headlight from oven.
7. Start prying the lens off of the housing with a flat head. Don't worry if you bend the housing, once you heat it up after you're done on the inside, you'll be able to bend the plastic back.
8. The black housing piece (below) is attached to the lens. It will come with the lens when you pull it off. Remove 4 Phillips screws and the the bezel comes off
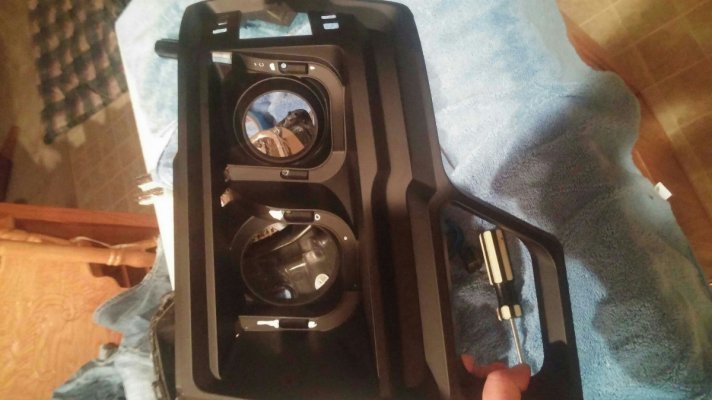
Inside of the headlight
Once the lens is off and the bezel out of the way, you can remove the mount for the projector and high beam. On the bottom of the piece, you'll see two pop tabs. Click those in and lift up. On the top, the adjustment screw basically sits against the back of the housing. Turn it, it adjusts the piece. Slide the mount towards the outside of the headlight.
The tabs are the white pieces
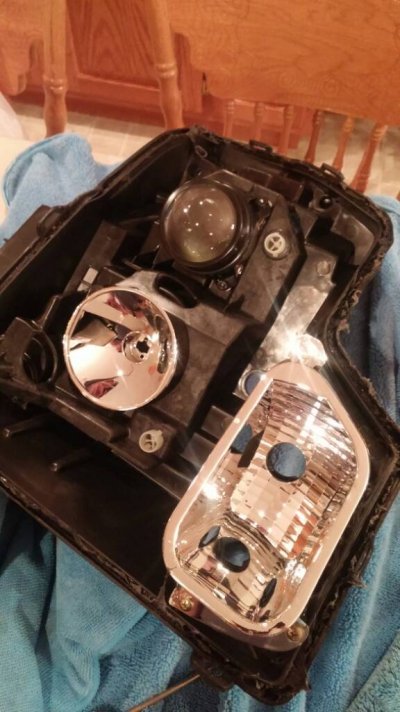
Grab like this and slide this way
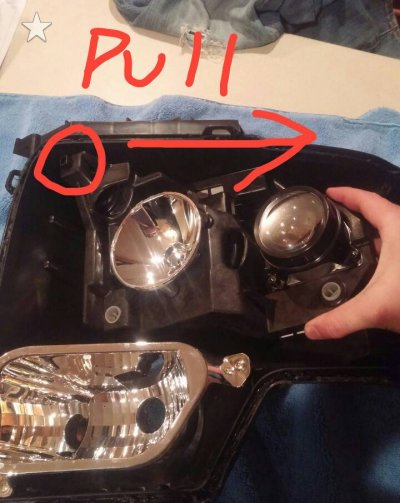
Once that's out, you'll see the projector is held in by 3 screws. It will be very easy to mount a mini H1 lucky for me.
Basically, the Mini H1 has a threaded mounting shaft on the back. Since this projector mounts with 3 screws, all I'll have to do is make a mount with 3 legs and a base in the middle with a hole in the middle. Simple simple simple. I just have to make sure it's the same depth. There's not much room around the projector lens up front. I'd recommend getting it closer to the front of the headlight to add a bit more side lighting.
Anyway, here is the bracket I'm talking about. Notice the lines going up to the flat piece. Those run from the projector mounting screws to a piece where the Mini H1 will screw in. No cutting required!!
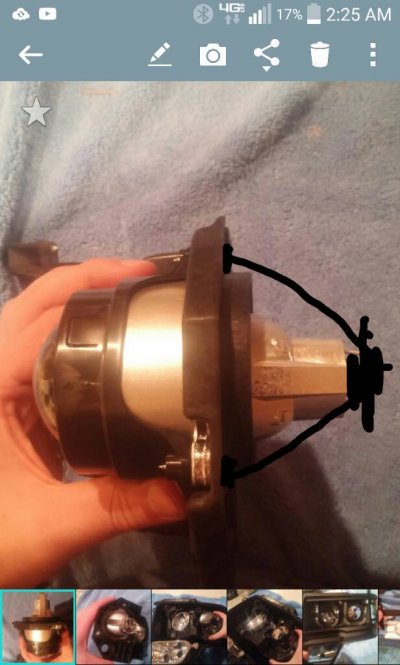
Back of the anzo projector
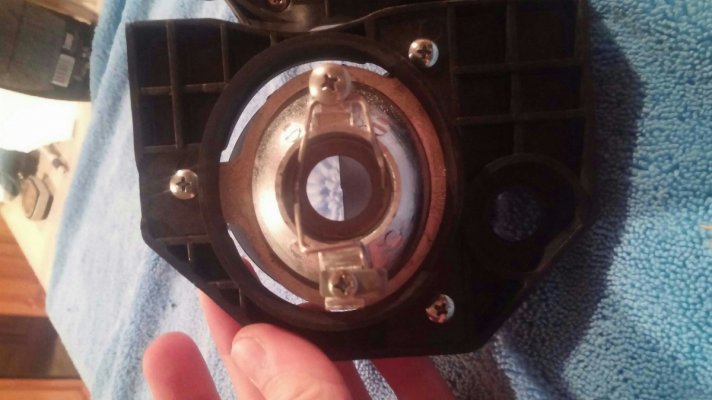
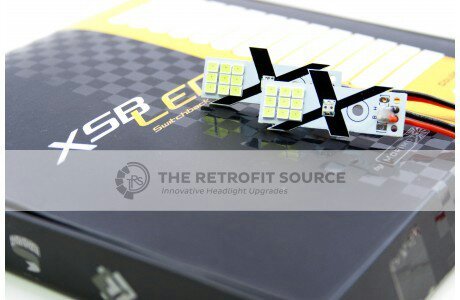
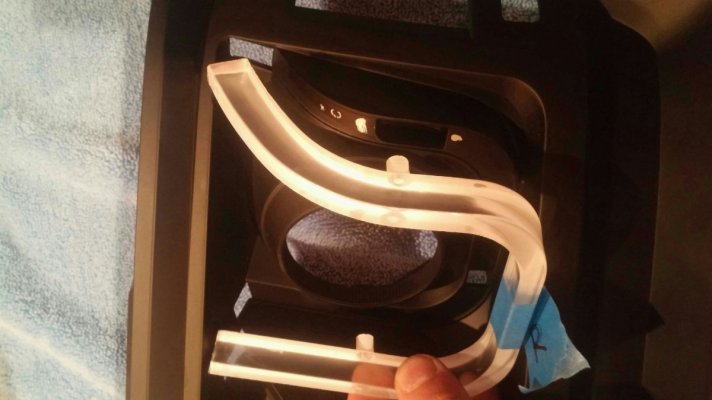
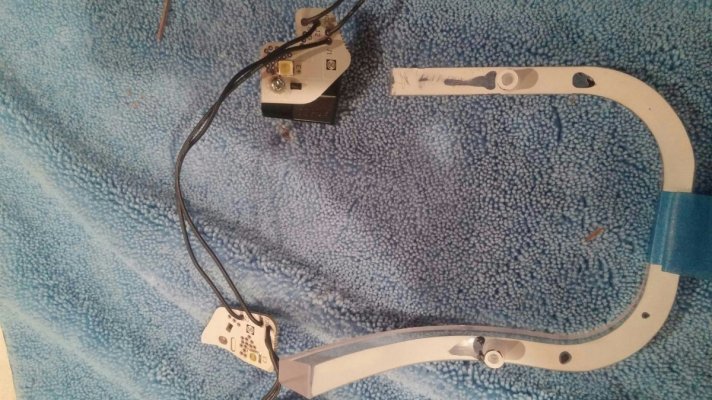
Next - U bars. Making them switchback. I was hoping they would be clear all the way through but they've actually got white paint or something on the back. Hopefully I'm able to remove it with a polishing wheel on my dremel. The stock leds are on top of the U bars behind the bezel.
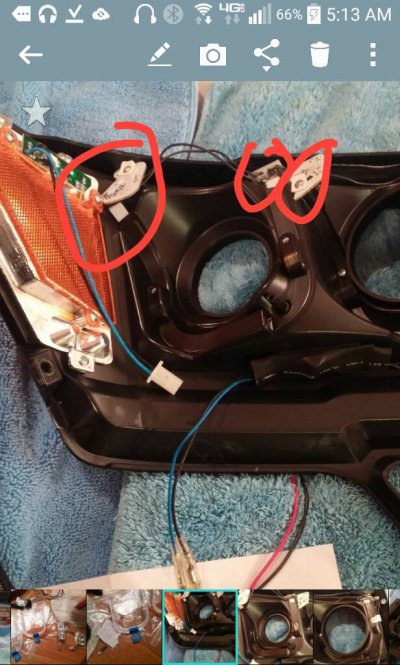
See the circuit boards? There are 2 per bar.
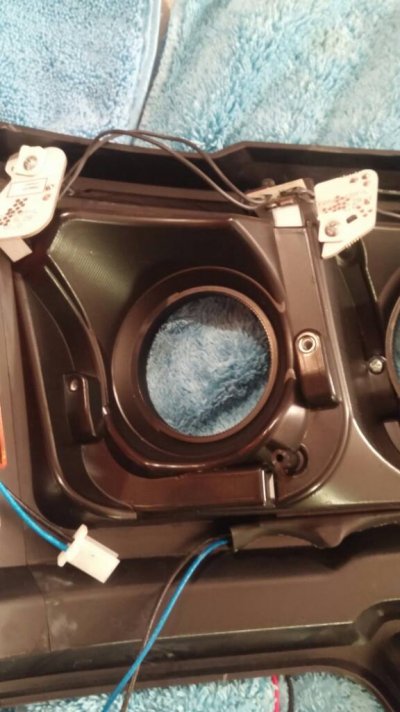
Here's what the U bar looks like taken out of the headlight.
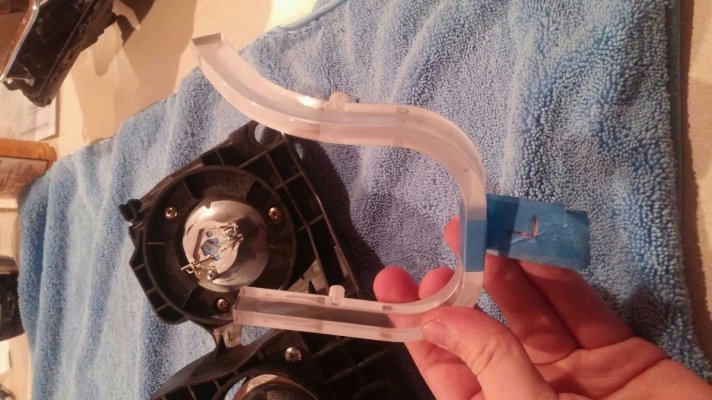
Here's the paint I need to remove. The new led strips will mount under the U bars. Hopefully they'll be twice as bright. The stock ones in the headlights are already very bright.
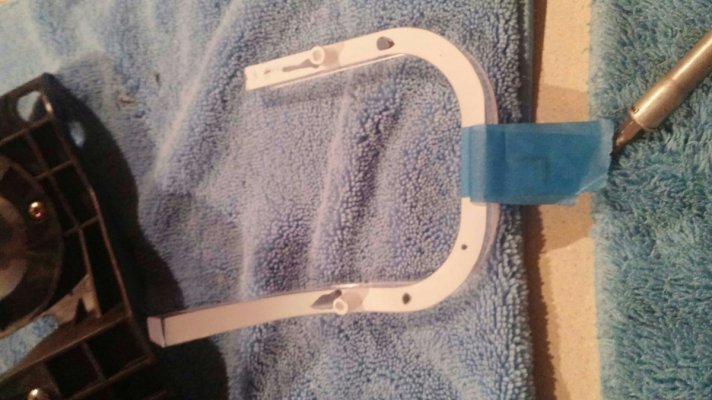
Where the LED strips are going. Behind these U bars.
Stock LED chips for illuminating the U bars
Time to start ordering parts!
Sent from my VS985 4G using Tapatalk


