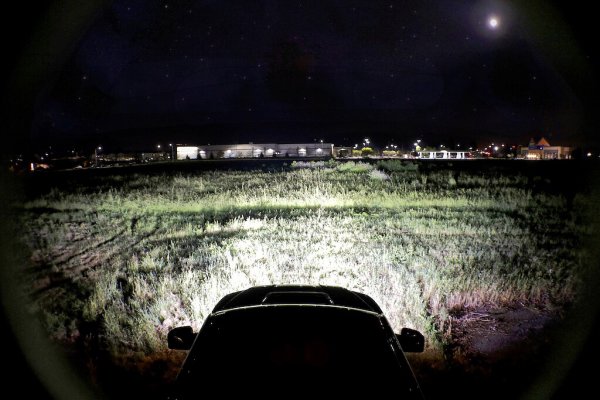
Thank you for all the comments! Quite a bit has happened since I last posted.
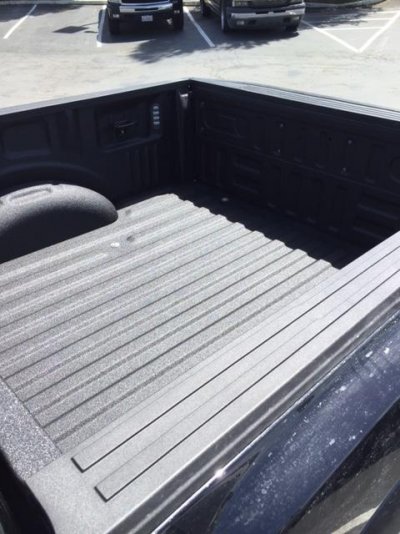
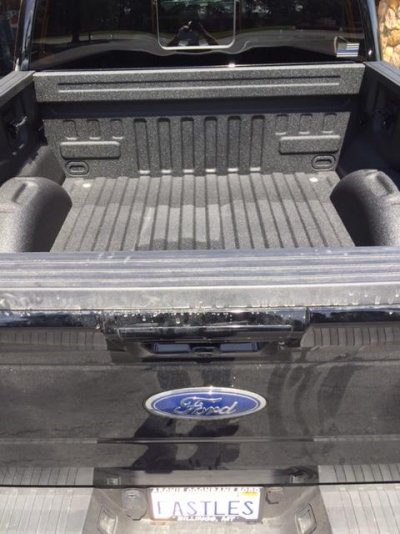
First off I got the truck bed Line-X'd with Premium (Standard + UV layer). I think it looks much nicer now and will hold up much better. I already had scratches and a few gouges in the aluminum bed from hauling a refrigerator and a few other items here and there.
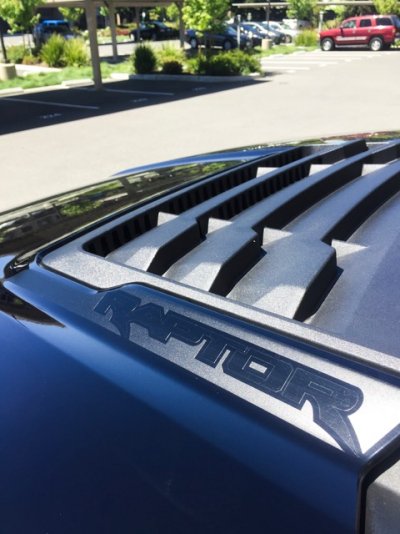
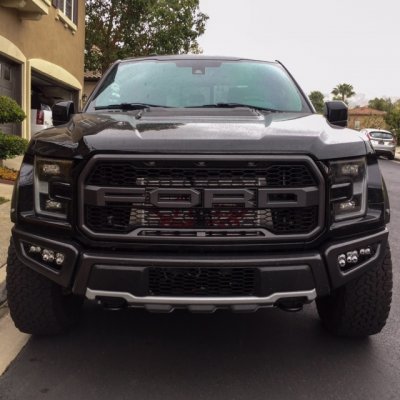
Small thing after that. I got the RappyGraphics decals and stuck them on. I really like how subtle they are. Black on black for everything with this truck. Goes well with the black American flags on the fenders. Adds some decent HP too.
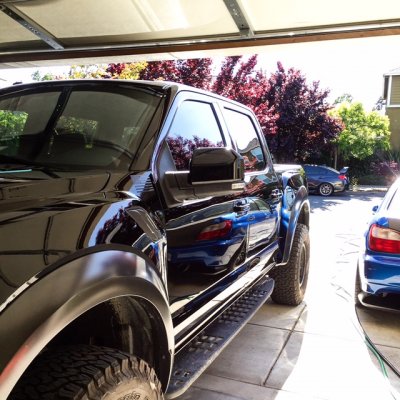
Also used the Ammo NYC stuff and gave my truck a nice wash and wax. It needed it.
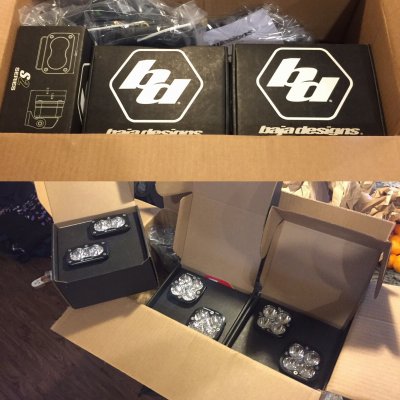
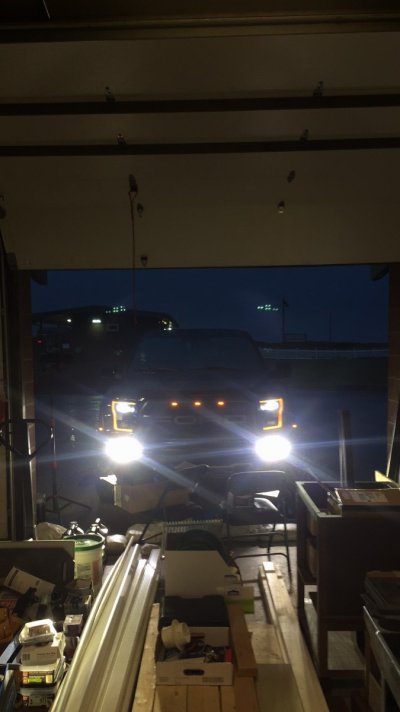
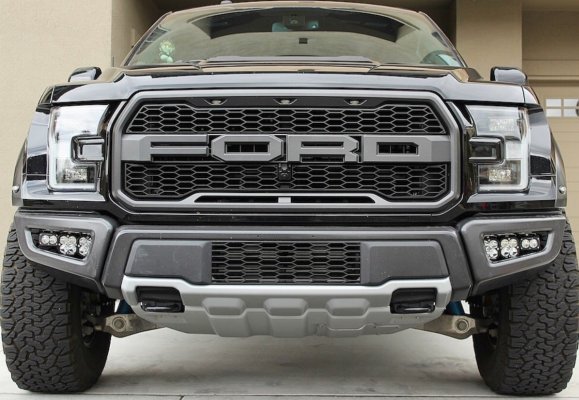
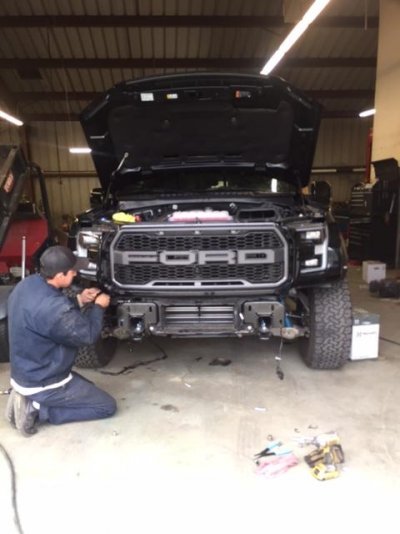
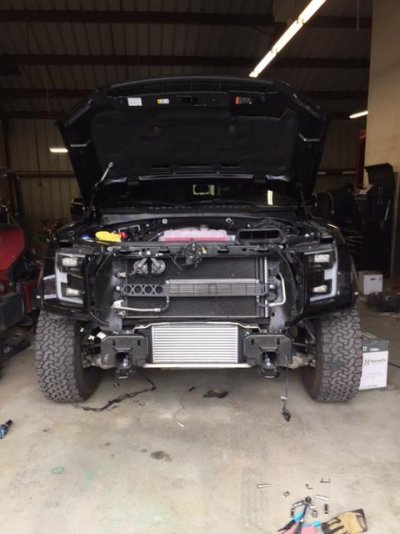
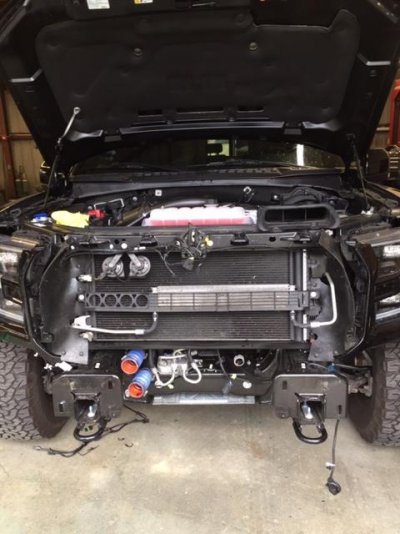
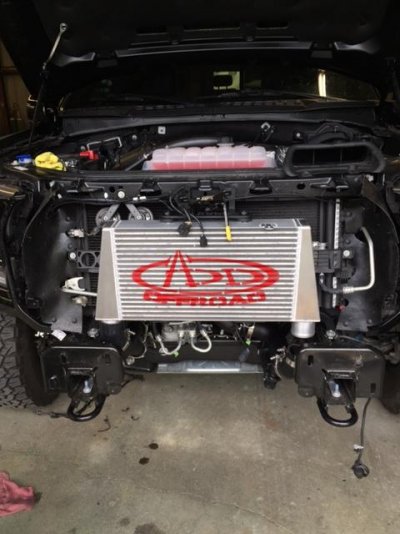
Next, I went back home and buddy cleared out some of his shop and we installed the ADD Intercooler Relocation kit. The install was honestly not difficult. We took our time, went slow, and it was about 6 hours from the first bolt off to the last one on. We also took the bumper off (Not needed normally) because I was also trying to installed the Warn ZEON 10-S Platinum. It didn't fit by literally about an inch. It was making contact with the intercooler charge piping. So I got the Warn VR10-S instead. That will be going in this weekend. Keeping the stock bumper. The install would have taken about an hour and a half to two hours less if we had not dealt with the bumper and my Baja Designs lights.
As far as performance, I do notice the truck is much "peppier" and responsive. It honestly has made a difference. The BOV drains to natural atmosphere now, so the noise from that is much more prominent. I didn't like it at first, but it's actually grown on me. Plus I think it looks badass behind the grille and makes room for the winch.
Sorry for the ****** photos. iPhone shots during install. Much better photos to come.
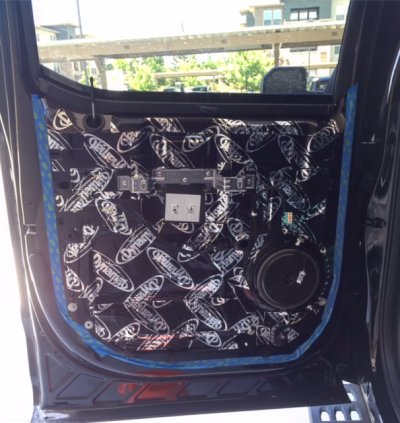
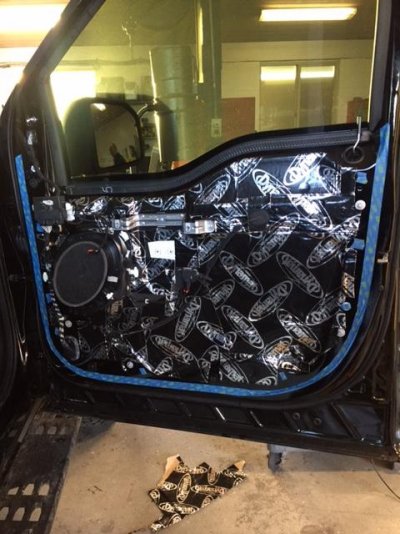
Finally for now, I finished up the doors with 100% coverage of Dynamat. I understand 30-50% coverage is fine, but I wanted to go above and beyond. These are pictures from the rear driver door and the front passenger door. But you get the picture. All doors look like this. It was about 1.85 sheets per door. I was literally running out of space to put more Dynamat. It's on the outer and inner skin of the doors. I will later back this with SecondSkin Overkill Pro. But for now the doors are good. I'm moving onto the roof. Putting Dynamat on that, and topping it with SecondSkin MegaZorbe under the headliner. I'll combine the headliner removal with the installation of the VHF antenna and cable routing. After that I'll coat the rear wall with Dynamat and OverKill Pro and eventually get to the floors (But also add a blast blanket to go with the armor going in the doors)
Some have asked about the LLumar Safety and Security tint on the windows. It's 8mil thick, and not advertised as an auto glass. It's meant for buildings such as embassies, windows in buildings subject to possible Hurricanes, ect. But it can be used on auto glass. Just have to find the right installer to work with you. I'm extremely happy with the results. It was backed with LLumar tint to match the rear windows. The Safety and Security film only comes in clear. So I placed that on all of the windows but I also wanted to tint the front windows to match the back three. I don't like sharing costs, but I will in this case since it seems many are interested. My tint guy bought a roll of it just enough to do my truck with some left over. That cost me $350. Then it was about $660 in labor for the rest. My out the door cost was $1,010. That included:
Windshield - LLumar Air Blue 80 film.
Front passenger windows - LLumar Safety and Security film (8mil), LLumar 20% tint.
Rear passenger windows - LLumar Safety and Security film (8mil)
Rear truck window and slider - LLumar Safety and Security film (8mil)
A fair price in my opinion. All work was done in one day and the truck looks great. If you wanted to follow my Instagram (M4NKIND) I have a video going over the tint that I posted as well as a shit ton of truck photos, and just cool shit.. Shameless plug.
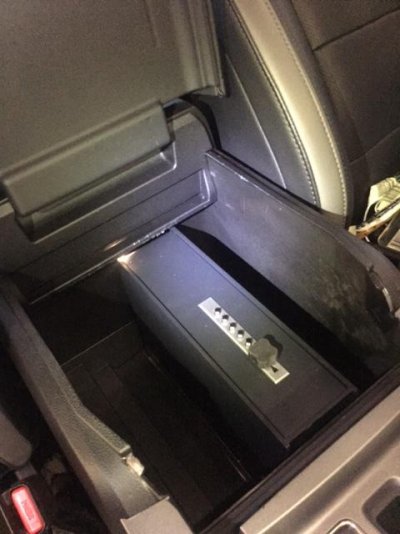
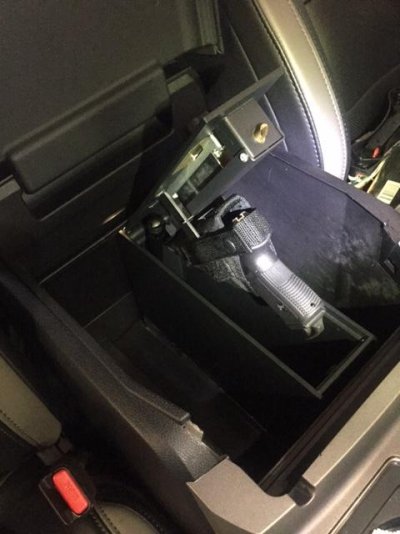
Also, almost forgot. I installed my FAS1 Safe. 5 bolts down through the center console. Angle Iron on the side of the safe actually makes it too wide to ever remove from the console. So even if you were able to somehow back out the bolts, you would have needed to bring an angle grinder to take off the angle iron on either side of the safe, or hack up my entire center console. Good luck.
I have to do a little trimming of the shelf so it will fit back in the console. Shouldn't be an issue.
Anyway. Warn winch is going on this weekend. Stay tuned!
