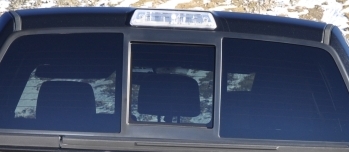
I 'Smoked' my Third Brake Light.

Disclaimer: Links on this page pointing to Amazon, eBay and other sites may include affiliate code. If you click them and make a purchase, we may earn a small commission.

Badrap

FRF Addict
Joined
Jun 20, 2011
Posts
1,358
Reaction score
344
Location
Haslet, Texas
Just to let you guys know, if you really "smoke" or burn the LED's like mine did, it is a $446 part after warranty! Labor not included. Crap! Reminds me of the '05 when the instrument cluster lights went out and it was going to to be $1100 plus for that.
Thankfully I am still under warranty.
 

Raptor Retrofit

HID Specialist
Supporting Vendor
Supporting Member
Joined
Jul 22, 2010
Posts
1,970
Reaction score
1,178
Location
NY
What are you guy's useing for "paint" ?

You should be using Nightshades. Its pretty much impossible to mess up.
 

CineSLR

Roaming Shutterbug
Joined
Mar 17, 2011
Posts
1,547
Reaction score
455
Location
New Orleans, LA
Check the first post...

i-bTxxQmZ-M.jpg

Its model window tint, same stuff I used to do my mirror reflectors. I didn't clear it and after a few thousand highway miles with a few trips to the no-touch wash there are a couple spots around the edges that could use a touch up. Would be fine w/o clear if they weren't on a leading edge of the truck.
 

BOJANGLES

<span style="color: red;"><b>Administrator</b></sp
Supporting Member
Joined
Jul 6, 2010
Posts
6,520
Reaction score
1,047
Location
Chihuahuan Desert (EPTX)
Talonted and RaptorSCrew's came out great. I've been meaning to do this for about a year now. Every vehicle part I've ever painted or rattlecanned thus far has turned out really nice, I've had good luck with little driveway paint "mods" like this.... I need to get this done.
 

Phyguy

FRF Addict
Joined
Jun 13, 2011
Posts
2,361
Reaction score
845
Location
Denver, CO
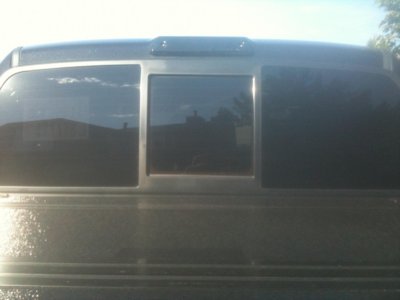
Before and after.

Thanks for the idea!

MDU
 

Attachments

  • before.jpg
    before.jpg
    38.7 KB · Views: 155
  • photo.jpg
    photo.jpg
    96.7 KB · Views: 87

Big Blue

Administrator
Staff member
Admin
Supporting Member
Joined
Aug 1, 2011
Posts
4,273
Reaction score
7,598
Location
USA
They also make the paint in RED, if anyone is interested.

Its also a good idea to throw a few coats of clear coat after the tint coat. :peace:
 

Viper

Full Access Member
Joined
Feb 16, 2011
Posts
231
Reaction score
2
Location
Vermont
Why wouldn't you apply the paint to the INSIDE surface of the light?
Just a thought.

Probably cause it's such a PIA to get inside the light. BTW I've just done the reflector portion of this mod and the third light is up for this weekend.
 

Raptor Retrofit

HID Specialist
Supporting Vendor
Supporting Member
Joined
Jul 22, 2010
Posts
1,970
Reaction score
1,178
Location
NY
Yeah all the instructions say to apply to the outside but they dont say why. I think I read somewhere that if its applied to the inside it wont let light through.
 
OP
OP
verytalonted

verytalonted

Full Access Member
Joined
Dec 8, 2010
Posts
460
Reaction score
298
Location
San Angelo, TX
I am glad everyone liked my "mod".

And just remeber the tint paint is VERY brittle so after you 'tint' it make sure it looks the way you like it to. If you don't like it, because of runs in the paint or whatever, now is the time to start over (before the clear coat).

Heck I screwed up the first time on mine (I went too thick too quickly, and it ran) Took it inside and scrapped the tint off with a rough kitchen sponge (wife loved it, lol) and let it dry, then started over.

I think i went with around three coats of tint and three coats of clear.

Between my first try screw up and the three coats, I killed the can of tint.

And I painted the outside.

Let me know if anybody has any more questions on this.

Best of luck!
 
Top