Be sure to take the old antenna to an authorized electronics recycling center.
You are using an out of date browser. It may not display this or other websites correctly.
You should upgrade or use an alternative browser.
You should upgrade or use an alternative browser.
How To DIY Stubby Install
- Thread starter Raptizzle
- Start date
Disclaimer: Links on this page pointing to Amazon, eBay and other sites may include affiliate code. If you click them and make a purchase, we may earn a small commission.
Hole Shot
FRF Addict
I'd rather keep it to spank people with T.A.R.D.S. (trump acceptance rejection disorder) great how to
Sent from my iPhone using Tapatalk
Sent from my iPhone using Tapatalk
bstoner59
does it come in shmedium?
A. Is JL 3 years old?
B. Only one silver bullet? Seems like a 3 bullet job at least
C. Most importantly...is your KDAY reception better with the Stubby?
Sent from my iPhone using Tapatalk
B. Only one silver bullet? Seems like a 3 bullet job at least
C. Most importantly...is your KDAY reception better with the Stubby?
Sent from my iPhone using Tapatalk
A. Is JL 3 years old?
B. Only one silver bullet? Seems like a 3 bullet job at least
C. Most importantly...is your KDAY reception better with the Stubby?
Sent from my iPhone using Tapatalk
A - I think so, he left some crayons in the packaging which was a great little bonus
B - I failed to mention the 6 I had prior just build up the courage to attemp this install
C - I've only jammed out to 94.7 so far and it works perfectly
Raven13
FRF Addict
First off, thanks for the detailed how to thread. All the other threads weren't so informative as yours. My only question is will it fit my Chupacabre antenna topper? I need it to ward off evil spirits!
So here's what I would do for the voodoo chupacabre... I'd grab some painters tape, zip ties, bubble gum and a coors light. Wrap the antenna in the painters tape for a test fit. Once you get it fitted up remove the painters tape and generously coat the tip of your stubby with bubble gum. Immediately apply Mr. Chupacabre. Once dry, wrap a zip tie around the base of the Mr. Chupacabre because you don't want to lose him especially if you're driving a gen 2 in baja mode. Once fully installed, pour the coors light all over the top of Mr. Chupacabre as a sacred blessing. Hope that helps.
Raven13
FRF Addict
So here's what I would do for the voodoo chupacabre... I'd grab some painters tape, zip ties, bubble gum and a coors light. Wrap the antenna in the painters tape for a test fit. Once you get it fitted up remove the painters tape and generously coat the tip of your stubby with bubble gum. Immediately apply Mr. Chupacabre. Once dry, wrap a zip tie around the base of the Mr. Chupacabre because you don't want to lose him especially if you're driving a gen 2 in baja mode. Once fully installed, pour the coors light all over the top of Mr. Chupacabre as a sacred blessing. Hope that helps.
Thanks!! That why I love this forum, so much info on stuff I'd never figure out on my own!
Ironhorse07
FRF Addict
Thank you for this concise, detailed and well written step-by-step of this installation. This has given me the courage to order one of these and attempt this daunting mod myself. Will try to post pics if I am successful and not too physically and emotionally spent.
The Mav
FRF Addict
- Joined
- Jul 22, 2016
- Posts
- 1,547
- Reaction score
- 766
After scouring the net for instructions on how to properly install a craven speed stubby antenna, my search came up short. Thanks to the great members of FRF and some knowledgeable techs at the various ford dealerships, I set off on my adventure to tackle this job in my driveway with a few basic tools.
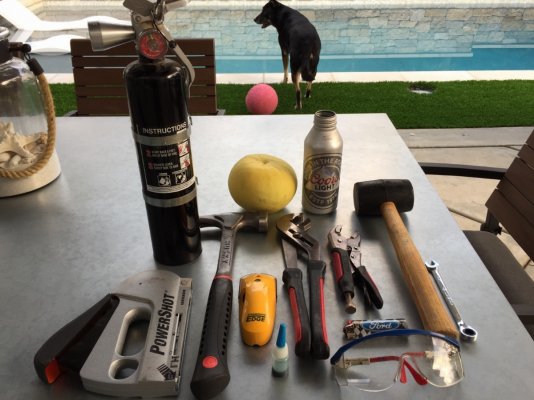
Here is a detailed list of needed items:
-Stud finder
-Safety glasses
-Rubber mallet
-Grapefruit
-Lighter
-Hammer
-Vice grips
-Chanel locks
-Fire extinguisher
-3/8" wrench
-Staple Gun
-Locktite
-Silver bullet (most important)
So with my killer set of tools, I set out to install this marvel of engineering known as the craven stubby antenna.
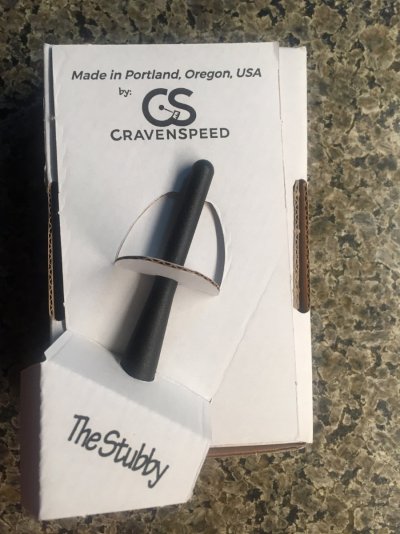
Let's take a deeper look at the product for a second:
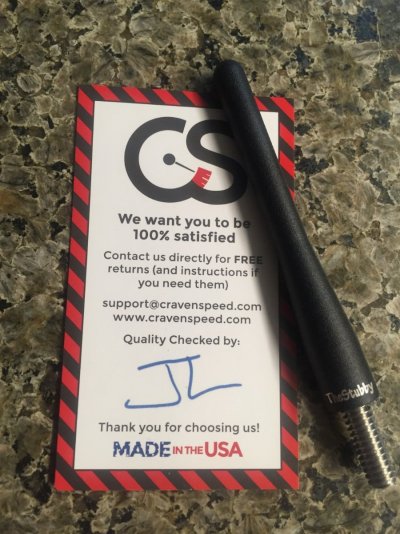
Strict quality control at the craven factory. Thanks JL for making sure my stubby was flawless
Now time to install this bitch...
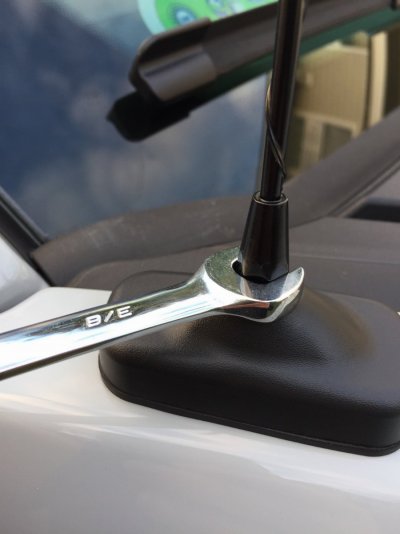
With safety googles on, I proceeded to hammer the stock antenna to loosen the threads with the rubber mallet. It wasn't enough so I then proceeded to heat it with my lighter and use a real hammer for the remaining loosening. Once the threads have given way, I used the channel locks and vice grips simultaneously to loosen it further. Didn't work so I busted out the trusted stud finder. Once I found the weak point, I used the 3/8" wrench for the final loosening of the stock unit. Reference pic:
Phew.... the hard part is done. Slammed the CL tall boy and proceeded with the install.
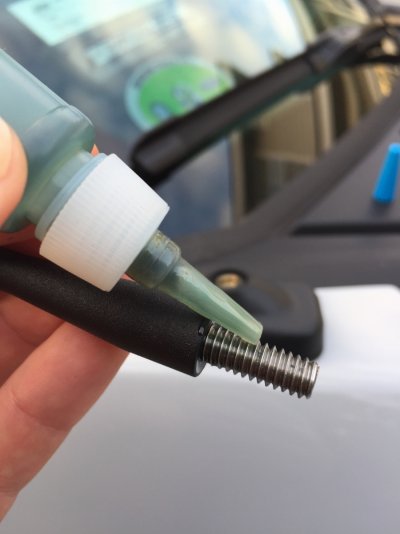
I coated the threading on the stubby with some old crusty locktite I had.
You see in the hood, you never know who's gonna walk off with your stubby. Now here's where the grapefruit comes in. I place the grapefruit on the hood every night as a peace offering. Works every time and I somehow wake up to my stubby still intact but the grapefruit is gone so I know it works.
Hopefully this helps some of ya'll that are hesitant to do this yourself. It's not as hard as it looks.
I have @Aaron coming over in a couple weeks to recalibrate my sync 3 module to communicate properly with the stubby. He may be able to elaborate further on those steps in the meantime.
I'm only quoting this so people on the second page can view this very informative How-To article.
Thank you for this concise, detailed and well written step-by-step of this installation. This has given me the courage to order one of these and attempt this daunting mod myself. Will try to post pics if I am successful and not too physically and emotionally spent.
Just take your time and go step by step. You know the saying, measure once, cut twice. Go for that approach and you're golden like a Korean spa shower.
Similar threads
- Replies
- 0
- Views
- 426
- Replies
- 17
- Views
- 2K
- Replies
- 1
- Views
- 1K
- Replies
- 33
- Views
- 7K
Members online
- roostinyfz
- MrVeteran51248
- BayouRaptor23
- nealhoney
- Alamoraptor
- SVT-SourCream
- wraptor
- Keith88
- OrangemanOtto
- Finlay150
- BigVol
- kocher93
- turboturbo
- Oldfart
- Raptor2018
- sah1118
- ActionJaxon
- mcastle4
- MurderedOutSVT
- jk47
- Arwhd23
- Jred2255
- BroncoAZ
- matt_47_
- Siyx
- Reaper308
- lanakila
- Sozzy12
- greatone99
- dvm
- fraptorR
- MackFord
- Doc_RR
- 10SpdsOfFury
- JDMCTR00
- 720r
- RaptornEMC
- Psirus7
- New recaros
- Skubik
- MORaptor1
- Bozz
- TRMNLracing
- Raptor Harris
- Campbellsoutlaw
- fordfreek
- ToadSmasher2K1
- amwells51
- Sage
- xturdfergusonx
Total: 3,077 (members: 73, guests: 3,004)
Forum statistics
Latest posts
-
-
-
-
‘24 Raptor — Graphics, keep or delete?
- Latest: BaseModelRaptor


