Custom Rocker Switches

Disclaimer: Links on this page pointing to Amazon, eBay and other sites may include affiliate code. If you click them and make a purchase, we may earn a small commission.

Rookie

Supporting Vendor
Supporting Vendor
Joined
Dec 16, 2012
Posts
9,760
Reaction score
3,594
Location
Fort Wayne, IN
I think we are saying the same thing. I've got a total of 8 wires that run from the top to the fuse block behind my glovebox. The power and ground are split amongst all the switches right there by the overhead sunglasses holder.

Kind of. It looks like you have 6 grounds, 6 hots, and 6 accessory wires coming off the switches. Where as if you bring one hot up and jump from pole to pole with maybe one or two inch pieces of wire and do the same thing with the ground you will only have one hot, one ground, and then your six accessory wires all the way to the switches.
 

CrownOffroad

FRF Supporting Member
Supporting Member
Joined
Apr 9, 2012
Posts
1,025
Reaction score
638
Location
San Diego, CA
Instead of going switch to switch with power and ground, I have six 4 or 5" wires that come off of my single ground and single hot wire. That picture doesn't show the 12 wires coming off the two hot/ground wires. Hope that makes sense.
 

Rookie

Supporting Vendor
Supporting Vendor
Joined
Dec 16, 2012
Posts
9,760
Reaction score
3,594
Location
Fort Wayne, IN
Instead of going switch to switch with power and ground, I have six 4 or 5" wires that come off of my single ground and single hot wire. That picture doesn't show the 12 wires coming off the two hot/ground wires. Hope that makes sense.


Makes sense. I was just curious if there was a reason you went that route. It looks like with that switch assembly you have more room behind the switches vs something like mine.
 
OP
OP
srs

srs

Full Access Member
Joined
Aug 9, 2012
Posts
688
Reaction score
1,030
Location
Tomball, TX
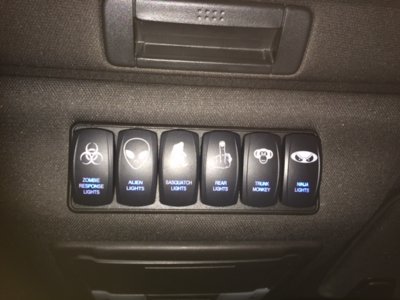
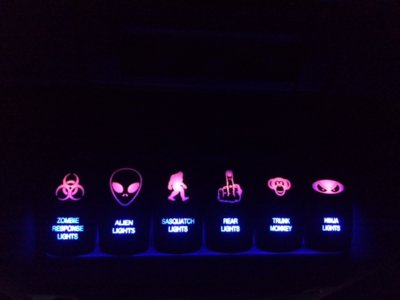
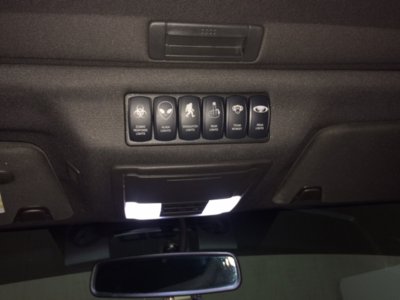
Done! Thank you Rookie! They came out great.
 

Attachments

  • IMG_2654.JPG
    IMG_2654.JPG
    119.3 KB · Views: 102
  • IMG_2655.JPG
    IMG_2655.JPG
    63.2 KB · Views: 71
  • IMG_2659.JPG
    IMG_2659.JPG
    59.4 KB · Views: 75
  • IMG_2661.JPG
    IMG_2661.JPG
    85.9 KB · Views: 64

Rookie

Supporting Vendor
Supporting Vendor
Joined
Dec 16, 2012
Posts
9,760
Reaction score
3,594
Location
Fort Wayne, IN
Looks good. I might end up switching to dual light switches down the road. It'd be nice to see the labels at night. I'm used to it now but sometimes feeling for the switch isn't the easiest.
 
OP
OP
srs

srs

Full Access Member
Joined
Aug 9, 2012
Posts
688
Reaction score
1,030
Location
Tomball, TX
Yes, when on the red lights up. You can get lower or upper independent with several choices in colors. Good quality switches.
 
Last edited:

The Macf

FRF Addict
Joined
Sep 17, 2012
Posts
6,844
Reaction score
3,927
Location
Vegas
Is the SPOD just plug and play? Wire that to the battery? What is the amp rating?

Google works:

•12 position terminal block for accessory attachment
•6 Bosch style cube style relays (SPST 40amp) (plug-in style)
•6 ATO style automotive fuses 3 15 amp and 3 30 amp supplied
•6 Diodes to protect sensitive accessories such as LED lights from "field collapse"
•Inline 50amp manual resetting circuit breaker
•8 gauge power leads with crimped and soldered terminal for connection to the battery
•Integrated LVCO (Low-Voltage-Cut-Off) circuit that detects the battery voltage and will cut-off at 10.6VDC and cuts-back in at 12.4VDC so there is enough juice to start your vehicle in case you left an accessory on!!!
•Fuse for LVCO which can be removed to bypass the LVCO
 
Last edited:

Rookie

Supporting Vendor
Supporting Vendor
Joined
Dec 16, 2012
Posts
9,760
Reaction score
3,594
Location
Fort Wayne, IN
It's plug and play. Mount the switches, mount the source, connect the harness to the two, connect the source to the battery, and then connect accessories to the source. All done.
 

CrownOffroad

FRF Supporting Member
Supporting Member
Joined
Apr 9, 2012
Posts
1,025
Reaction score
638
Location
San Diego, CA
The SPOD setup like @Rookie mentioned is a pretty simple and straight forward install. It's designed for minimal wiring for the user to hook up. All of the electrical components are already wired inside the box and is a huge time/physical space saver. But it's a bit $$$.
 
Top