I did this project about a month ago but wanted to see how it would hold up over time and thus the delayed report.
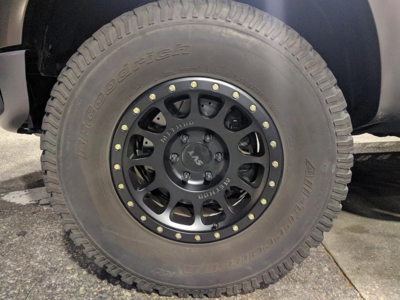
In a nutshell, I hated the center caps provided by Method for the NV's and did not want to pay what I think is a high amount for some aluminum ones. After I did my wheel swap I elected to keep the center caps off until I could figure something out later. I ran them like this for about 6 months before deciding that I needed to cover them up.
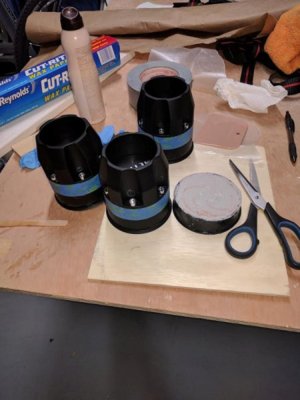
I analyzed the cap for awhile and thought I hack it up and glue two pieces together but my plan was not working out like I wanted. I tried the cuts using my compound miter but the lip on the center cap caused me to cut at an angle. My plan at this point changed and I decided to make them a flush mount and cut again with another angled cut but more square than the one before.
I bought some resin and fiberglass cloth and started trying to create a top for the open cap. The glass wasn't adhering like I wanted it to and the job was somewhat sloppy so I waited for the epoxy to cure a bit and then broke it all off. Not wanting to be deterred I cleaned up the piece and tried again with the same unfortunate results.
At this point I was a bit frustrated and sought an alternative approach. Keep in mind I am trying to be as cheap as possible otherwise I would have been better off buying the aluminum caps.
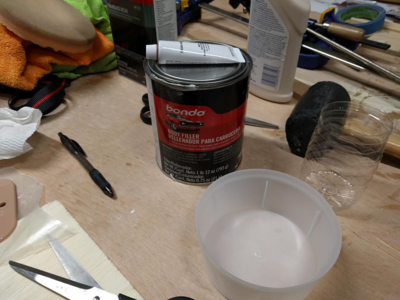
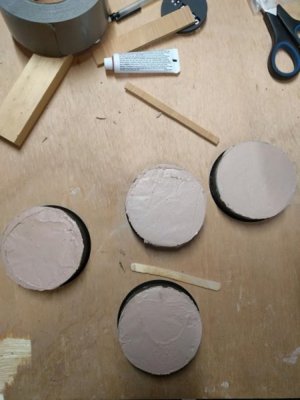
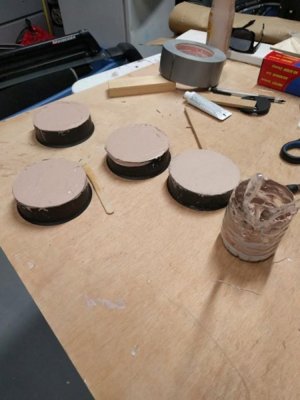
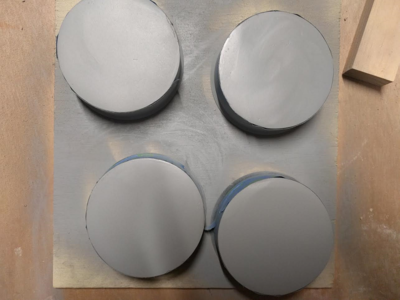
My next attempted solution was with bondo. I'll spare you all the minute details but it went something like this: take wax paper and duct tape it to the top > flip cap over and fill with ~1" of bondo > let dry > sand > apply more bondo > sand > apply more bondo > sand > paint > seal.
I did this on the first center cap and thought I had some pretty good results. By this point I had already purchased a tabletop band saw for a different project so I used that saw with much greater precision on the other caps. After those were cut I repeated the same process. I used a matte black spray paint and the look was spot on. I wanted to make them a bit more unique and cut a ****** stencil of the SVT logo to give it some flair. I used a box cutter so the stencil came out crappy. After the caps were done I was an idiot and didn't read the spray can and mistakenly applied a glossy clear coat instead of a matte one.
I let them dry overnight and installed them the next morning. What I found was that the cap that I cut crooked was flush for half the circumference and then recessed for the remainder. I also had some separation on one of the caps where the bondo met the plastic cap which caused some cracking. The other two fit perfectly and have held up fine so far.
Total cost was to me was $10 since I already had the paint and tools around. I would definitely do this again but would make sure I had a better saw for the initial cuts. My bandsaw worked great but the height adjustment was a tad too small which required 3 total runs per cap. I am a cheap ass and these have served their purpose so far.


Last edited:

