t_j's build thread

Disclaimer: Links on this page pointing to Amazon, eBay and other sites may include affiliate code. If you click them and make a purchase, we may earn a small commission.

OP
OP
t_j

t_j

FRF Addict
Joined
Sep 10, 2013
Posts
2,753
Reaction score
2,310
Location
Chicago, IL
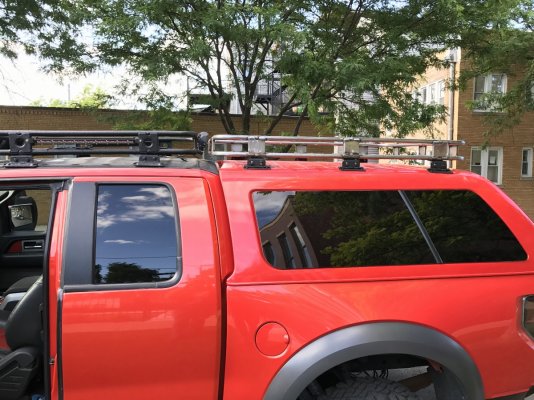
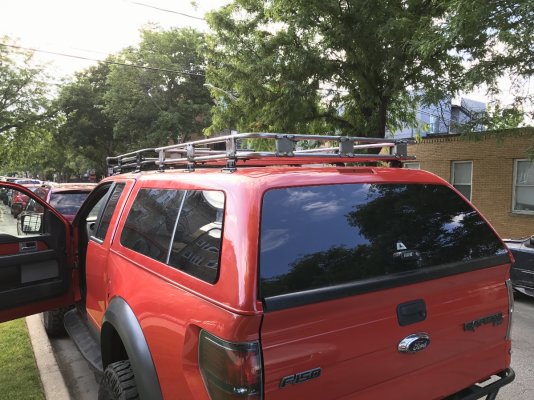
Main part of the rack for the cap is done, need need to cut and bend some tabs for lights and antenna NMO mount.

XOc03zo.jpg

y9ZUI6g.jpg

szfHsI1.jpg

Qu7lTsJ.jpg

Welding was so much nicer with the new Millermatic 252 we got at the shop last week.
 

scarrjack

FRF Addict
Joined
Jan 9, 2014
Posts
1,244
Reaction score
801
Location
The Park, Alberta
Hey Tom, I haven't been on here much lately but your truck is looking awesome. Any more details on doing your dovetail? I have a new rear bumper to install and then do the dovetail.
 
OP
OP
t_j

t_j

FRF Addict
Joined
Sep 10, 2013
Posts
2,753
Reaction score
2,310
Location
Chicago, IL
Hey Tom, I haven't been on here much lately but your truck is looking awesome. Any more details on doing your dovetail? I have a new rear bumper to install and then do the dovetail.

Where have you been hiding? Pretty easy grab yourself some 1/4" PTE tape (no sticky residue like masking tape will leave) and use it to mark out your lines, take a cut of wheel and have at it. You'll want 3 or 4 brand new cut off wheels for the depth. Cutting through the bottom corners of the bed you'll want to slowly section it and cut it in small bits. Then use a flap wheel to take off any burs. Finish with some edge trim.

Tape: https://www.amazon.ca/Gold-Kapton-Tape-Polyamide-High/dp/B004QVPBIU/


Got the rack up and test fit to the cap yesterday, next up tab some light mounts and an nmo mount for an antenna. Then on to paint and the internal support cage in the cap.

rbCvtsA.jpg

VCMaXzv.jpg
 

Otis857

Full Access Member
Joined
Aug 13, 2014
Posts
800
Reaction score
517
Location
Glendale, az
Here is a picture of the mount:
31be3d9be181e149f9eaf561dc08fc7b.jpg


Toolbox update:

The passenger side box did not survive the last rallycross event so it was time to make them a little stronger! I added an exoskeleton frame to the front of the box. I will be adding one to the rear as well and possibly creating a couple of bars to link them across the bed giving me kind of a in bed basket for random shit.


814fcf6c258c754860068d2c6cb7cf22.jpg

fde2a796293acfdde6c0bebc44d7ee47.jpg

c504e07d82d063521c333d9fe0c4fcdd.jpg

Once the back frames are done I will probably take them and have the linex'd.

Thanks T_J. I'll keep that in mind if I have a problem. I mounted my box back a little farther towards the tailgate. Its seated up against the upright with a layer of closed cell foam in between for vibration & rattle control. I think I will make an angle iron bracket to tie the top of the box in to the upright at the top to firm it up that much more. A couple of questions;

1. The bolt going into the upright at about the halfway point of the bedside, is that for a bed brace?

2. The tie down system next to the tool box in the bottom pic, looks to be a clip in set up w/adjustable location D rings? Who makes that?
 

Otis857

Full Access Member
Joined
Aug 13, 2014
Posts
800
Reaction score
517
Location
Glendale, az
TJ, just went through your build thread. Great fab skills!! I love your rear bumper build and the high mount receiver idea. I bought a used RPG rear bumper w/reciever and plan to dovetail soon. I may steal your design to mount the receiver above the bottom tube. Nice work!
 
Top