Stainless Brake Line Install (HOW TO?)

Disclaimer: Links on this page pointing to Amazon, eBay and other sites may include affiliate code. If you click them and make a purchase, we may earn a small commission.

just Mike

Full Access Member
Joined
Nov 4, 2014
Posts
205
Reaction score
152
Location
Colorado
Plenty of threads on here from folks that have swapped. Famously zero instructions come with all of the kits. I've been searching quite a bit and haven't found a thread containing a step-by-step install yet. And I am about to throw up from all the horrible youtube videos that claim to address the subject.

Anybody have a step-by-step for installing new lines on a 2014? Specifically installing SDHQ SS lines on a 2014 SCREW that's not had much done in the area concerned.

Any help is appreciated.

Mike
 

bigrig

Full Access Member
Joined
May 21, 2013
Posts
695
Reaction score
1,929
Location
San Jose, CA
I did a set on a 2012 that was relatively straight forward. It should only involve removing the old lines and replacing them then doing a bleed. The only part that got us hung up for a minute were the lines that mount from the bracket under the bed to the rear end. It seemed like we didn't have enough brake line to get them to fit. But loosening the bracket allowed us to move it around and get it in place.

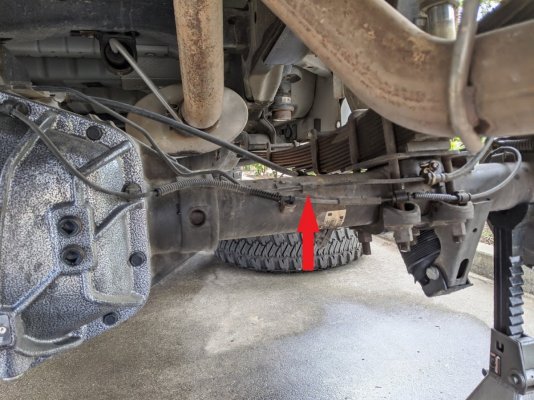
The fact that you have a 2014, you may run into an issue with the rear brake lines where some light fabrication is required. I have a 2013 with this issue. If you look at the picture below, you will see a rubber hose that turns into a hard line. That hard line needs to be cut and flared to include a brake line nut which would attach to your new SS brake line.
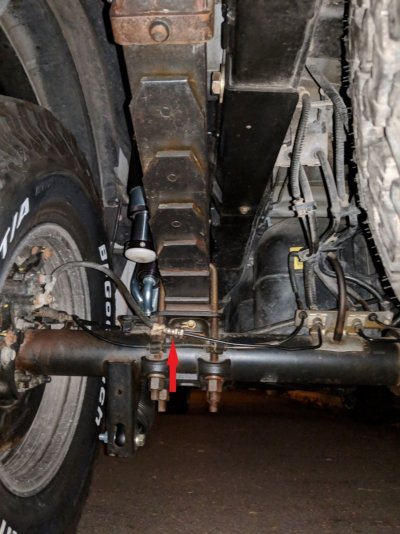
1.jpg

The tools I bought to do this is a tube cutter, flare tool and deburring tool from Eastwood. You could probably substitute the deburring tool with a drill counter sink or a file and you could substitute the cutter with a hacksaw if you aren't interested in purchasing the tools. The flare tool should be able to create a double flare since that is what is on our trucks and it is a stronger flare.

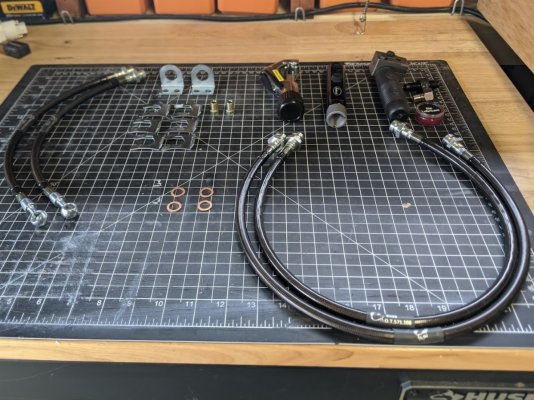
I purchased a set of Crown lines with the extra hard line nut from Rick@FreedomMotorsports. He took good care to research the line and find the right nut to go into the Crown lines.
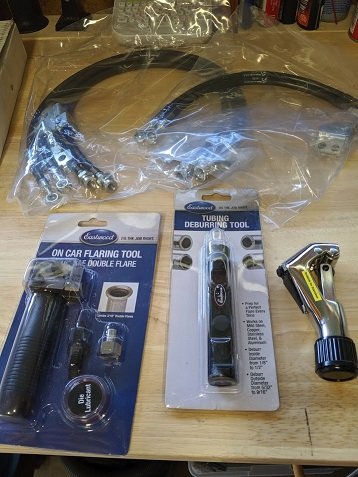
2.jpg

The brake bleeding process is the way you would do any car. Start from the wheel farthest from the master cylinder and work your way to the closest. While it is totally not necessary if you have a friend to pump the brake, I prefer to use a pressure brake bleeder. I have one from Schwaben which I like but it requires an adapter since it was made for European cars.

I haven't gotten into this project yet (it has been too hot to work on the truck lately) but when I get around to it I will take pictures along the way.

And just to clarify, you should only need to do all this extra stuff if you have a hard line which transforms into a rubber hose on the rear brake lines. If you are in the majority though you should just have to replace what is currently there with your new lines.

Hope this helps!
 

Riddick

Full Access Member
Joined
Dec 1, 2015
Posts
291
Reaction score
191
Location
Texas
The line that runs from the wheel cylinders to the hard brake line on the axle is not replace on the ‘14. Just the lines from the frame to the axle. I called SDHQ and inquired about this. They said there is not enough flex to warrant the replacement. All you’ll have is four lines. Two for the front and two for the back. Pretty straight forward as mentioned by @bigrig. No special tools on mine.
 

bigrig

Full Access Member
Joined
May 21, 2013
Posts
695
Reaction score
1,929
Location
San Jose, CA
The line that runs from the wheel cylinders to the hard brake line on the axle is not replace on the ‘14. Just the lines from the frame to the axle. I called SDHQ and inquired about this. They said there is not enough flex to warrant the replacement. All you’ll have is four lines. Two for the front and two for the back. Pretty straight forward as mentioned by @bigrig. No special tools on mine.

I felt having all the lines replaced was less to do about flex and more to do about pedal feel and durability over the lifetime of the hoses.

Leaving the rubber hose in just the last segment of the brake lines leaves an area in the system that could now be exposed to more pressure since the rest of the hoses and hard lines won't expand.

The rubber hose hard line at the end will presumably wear out before the other SS lines too. So a plan to replace it, even if it is with a stock version of the hose, should probably happen sometime in the future.
 
OP
OP
just Mike

just Mike

Full Access Member
Joined
Nov 4, 2014
Posts
205
Reaction score
152
Location
Colorado
Thanks for the info. I'll admit I need to do some more crawling around under the truck. As Riddick said, I did only get the four pieces of line. So I'll avoid replacing the wheel end bits in the rear.
 
OP
OP
just Mike

just Mike

Full Access Member
Joined
Nov 4, 2014
Posts
205
Reaction score
152
Location
Colorado
Finally [thought it was] time to swap lines. I’m doing pads and rotors, and figured why not get it all done at once.

Speed Bleeders from Russel/ Edelbrock were a no-brained before getting started.

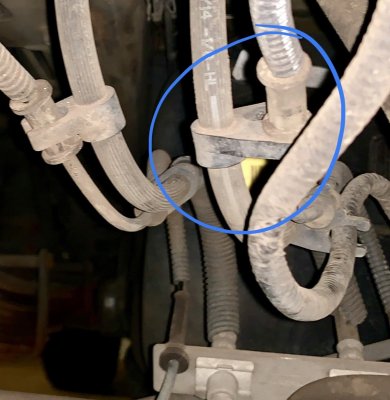
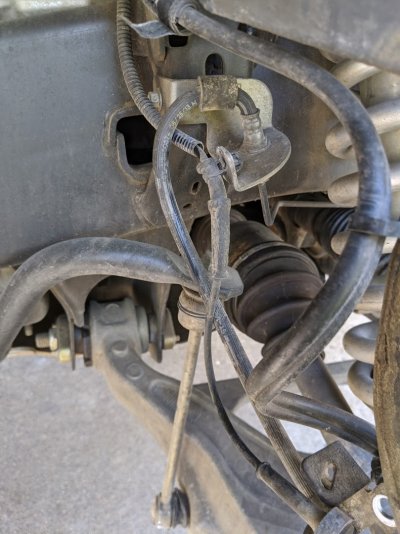
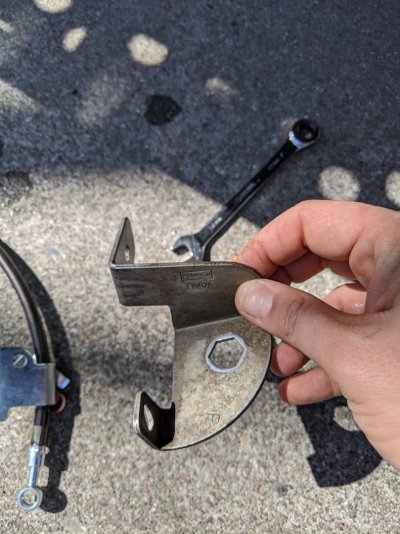
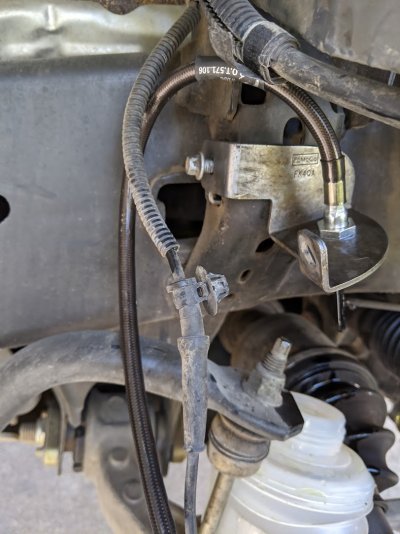
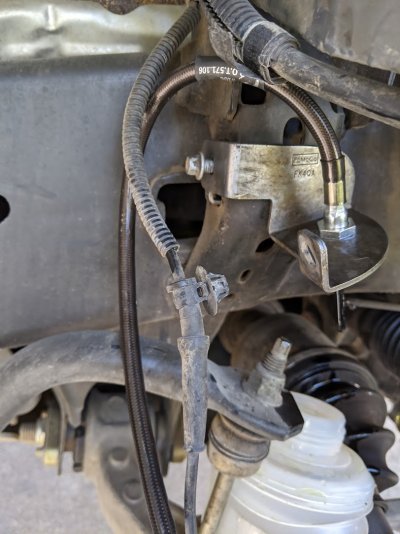
But, just as I applied wrench to brake line, I noticed the big bracket/ line organizer thing that seems to be permanently attached to the factory brake line I was about to remove. This stopped me in my tracks, so I ended up just doing the pads and rotors tonight.

What is everyone doing about this bracket/clamp/hose-manager thing?

C0C7603D-3AAF-4983-9C13-2A24BC19A0B5.jpeg
 

siooss

Full Access Member
Joined
Dec 29, 2012
Posts
326
Reaction score
614
Location
Florida
I took a small hack saw and cut a slit along the bottom of the hose clamp thingy, parallel to the hose. Then widened/spread the slit apart and slipped on the new crown performance flexible hose I bought. Just pry it open on one end of slit and they pop on with a little bit of muscle. I know this is old thread, but putting info out there anyway.
 
R

Rick@FreedomMotorsports

Guest
We don't sell SDHQ products anymore but they don't offer a 6 piece kit for the 13.5' to 14' raptors, even if you ask. We do and supply the hardware needed. All you need to do is do the cut/flare like Mike mentioned. We offer for the same price between stock length up to 3" longer. We highly recommend getting the SS lines at least 2" longer and 3" longer in the rear. SS lines are more rigid and don't bend like the rubber lines do so the extra length makes it easier.

I personally used plastic wire loom and zip ties on the rear lines to keep them together but with enough slack to allow them to slide. I did +4" on mine in the rear because I am running the ICON RXT System that provides you more travel.
 

bigrig

Full Access Member
Joined
May 21, 2013
Posts
695
Reaction score
1,929
Location
San Jose, CA
Following up on this old thread because I finally got to this project last weekend.

First off, all the parts/hardware that Rick@FreedomMotorsports provided worked really well for getting my 2013 Raptor into stainless steel brake lines.

There are some things I would note to anyone who is considering doing this with their 2013.5-2014 Raptor, whose lines require cutting:
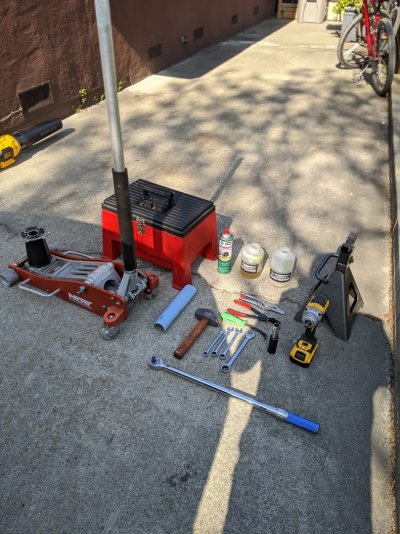
  • Get all the right tools before starting. As I mentioned in the post above, a tube cutter, flare tool and deburring tool make the job possible/easier.
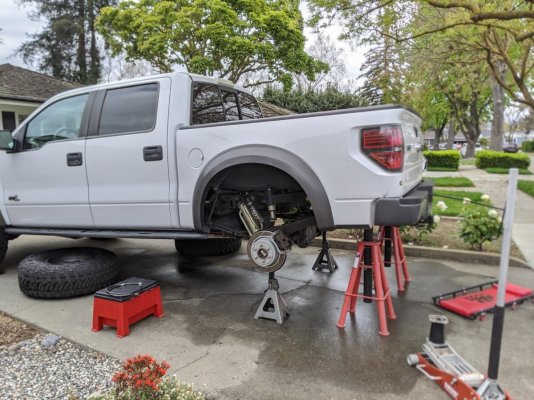
  • Jack the truck up as high as you can get it and remove the spare. This will give enough room to move around and sit under the truck.
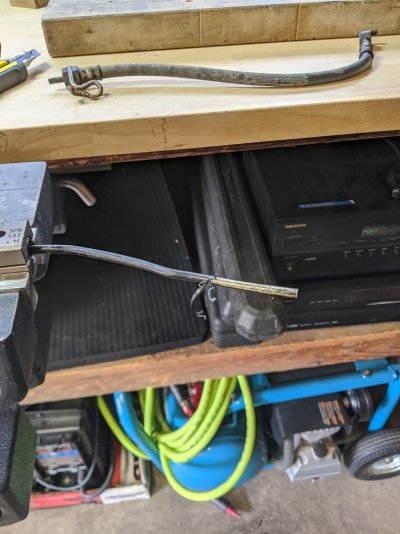
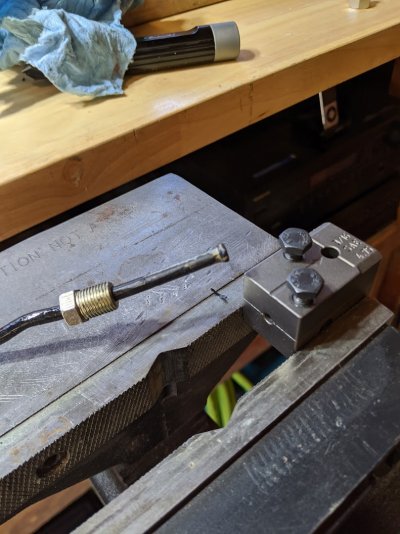
  • Take the rear hard lines completely off of the truck before cutting/flaring them.
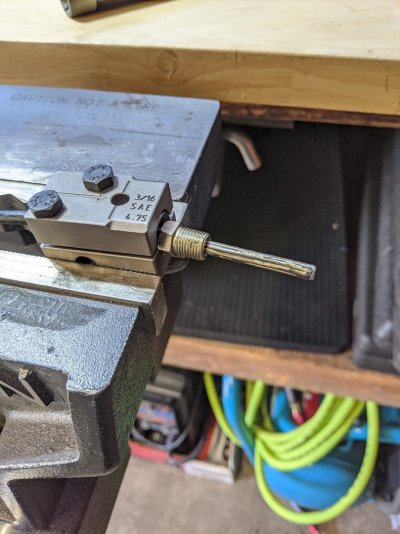
  • Mount the flaring tool in a vice rather than using the hand held option.
  • The hard lines are covered with a rubber coating. I had to scrape it off to get the fittings to fit.
  • Don't forget to put the fitting on BEFORE you flare the tube. :confused:
  • Loosening the brake line bracket that mounts to the frame, right under the bed, makes the lines easier to connect.

I started with this:

01.jpg


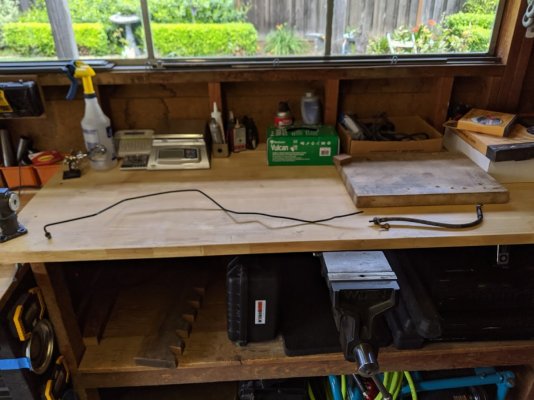
And this...

02.jpg

Jack high and remove spare:

03.jpg


This clip can be bent back so you can remove the hard line:

04.jpg


Cut hard line:

05.jpg


Removing the rubber around the hard line so the fitting would fit:

06.jpg


Testing to make sure the fitting fit:

07.jpg


Add the flare. Don't forget to put on the fitting first!

08.jpg

I think if I had to do it over again, I may have gone with bending new stainless steel hard lines rather than reusing the existing ones; For the only reason I am not sure if my current lines are now susceptible to rust with the rubber coating gone. I painted them before installation but I am still unsure if that may be a weak link down the road.

Also, one note I would mention for all Gen1 Raptors when doing the
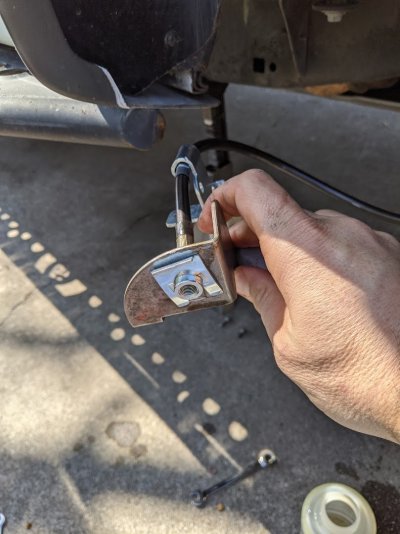
front lines is to remove the bracket attached to the frame after loosening the brake line. It will make fitment and getting the retainer clip on much easier:

09.jpg

10.jpg

11.jpg

12.jpg
12.jpg

With the new lines, the pedal feel is better. This installation is more involved on the 13.5-14 models but it isn't anything too severe. I would recommend it to anyone. Thanks Rick@FreedomMotorsports for setting me up with all the right parts!
 
Last edited:
Top