SitDown's Build

Disclaimer: Links on this page pointing to Amazon, eBay and other sites may include affiliate code. If you click them and make a purchase, we may earn a small commission.

Sitdown

FRF Supporting Member
Supporting Member
Joined
Oct 28, 2012
Posts
1,617
Reaction score
1,521
Location
Suburbia, IL
Been working on new bumpers for some time now, which should be finished soon... so thought I’d start a build thread as well

Current (03/16):

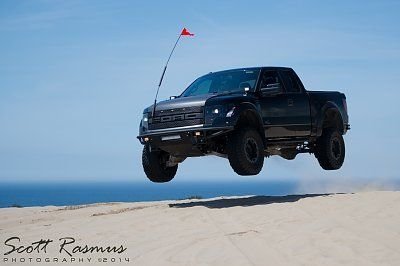
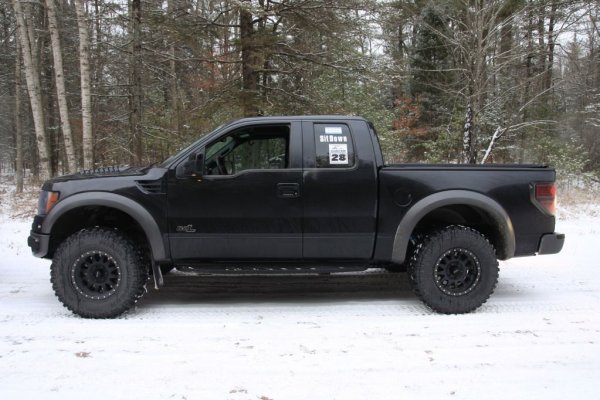
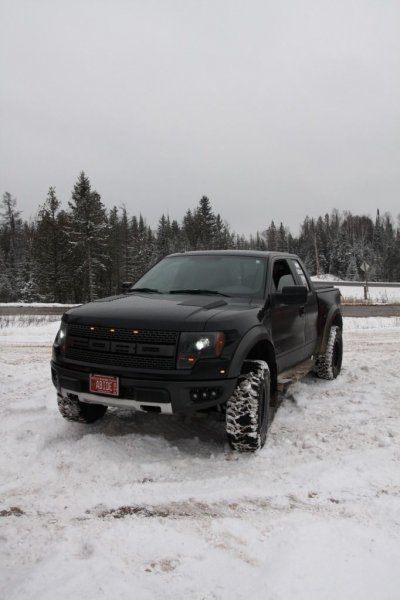
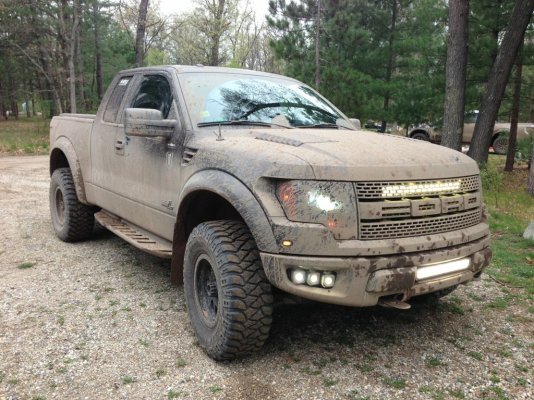
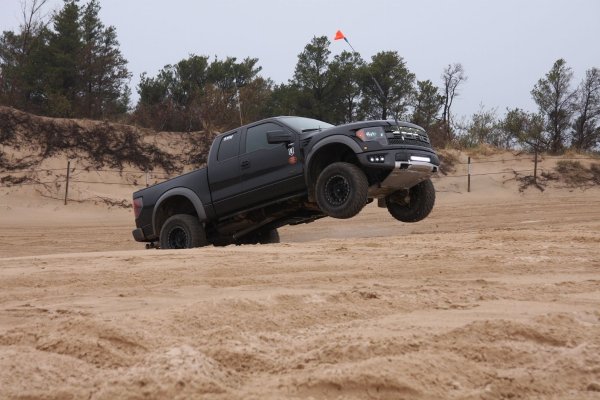
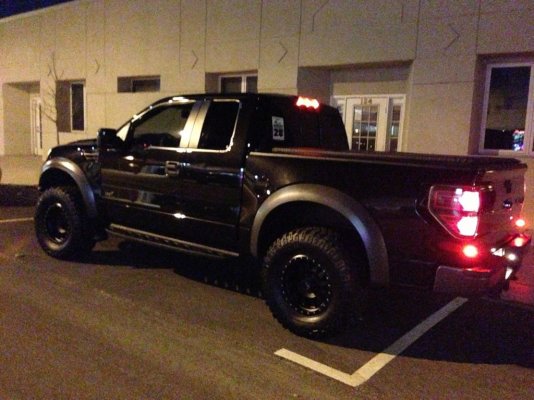
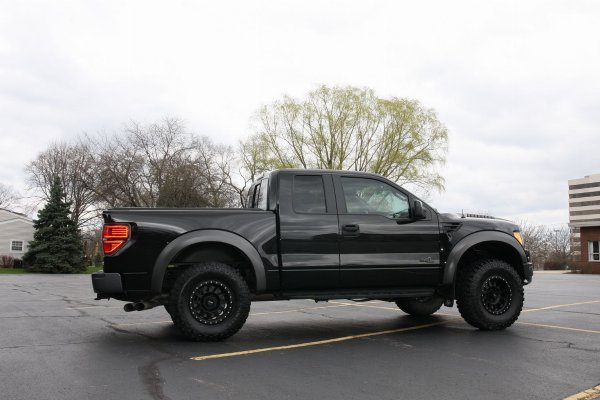
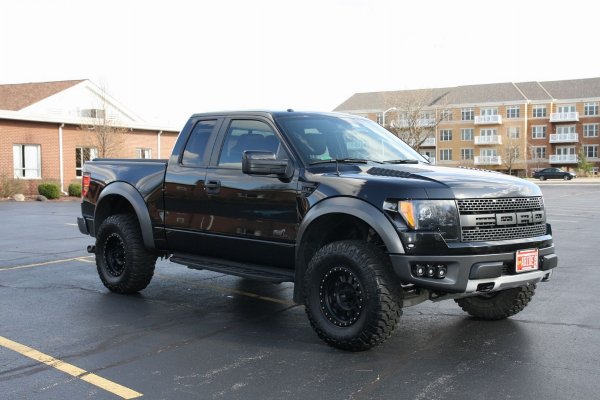
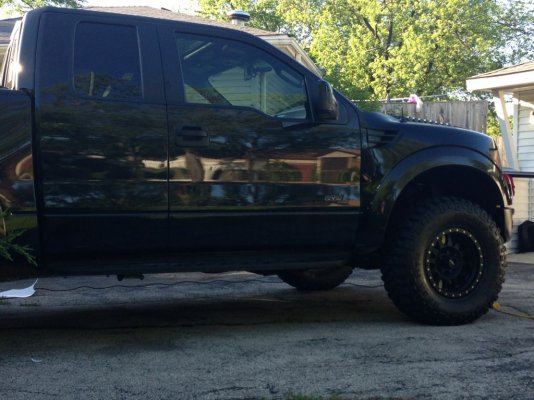
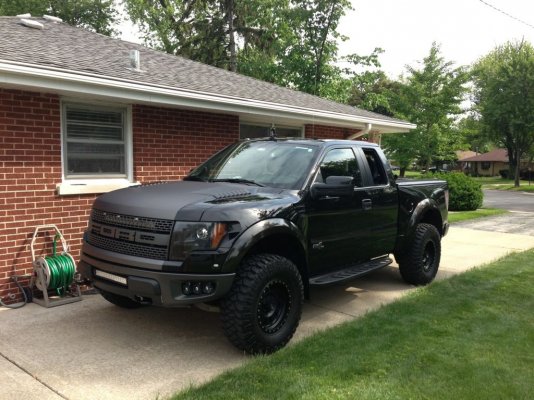
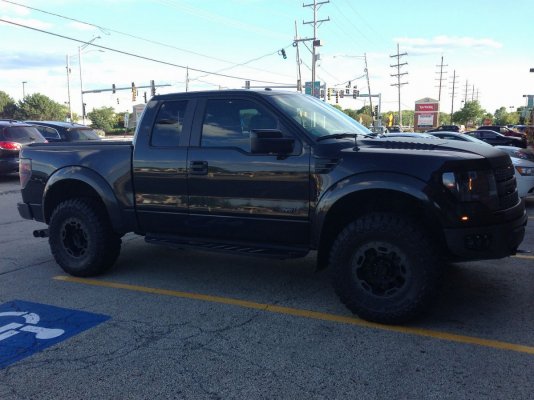
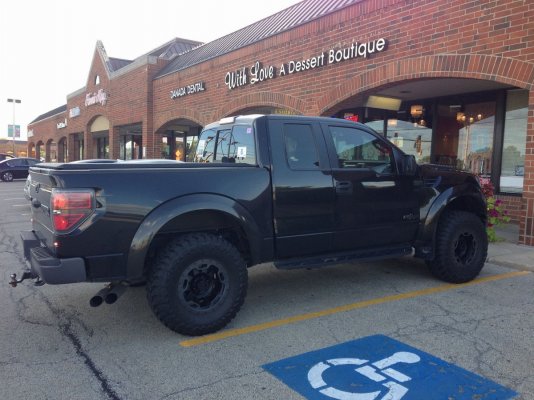
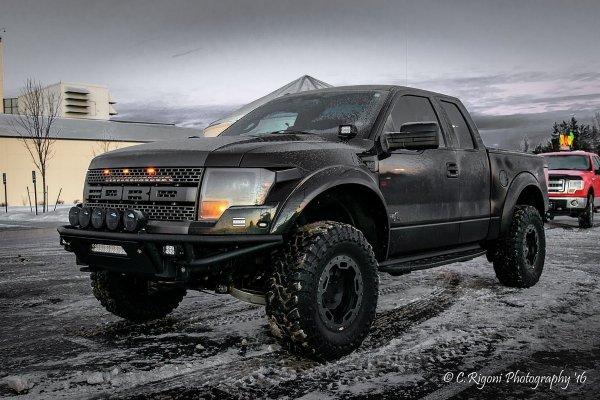
2012 Scab

'14 Screw Fox Takeoffs
Deaver +3s (powdercoated)
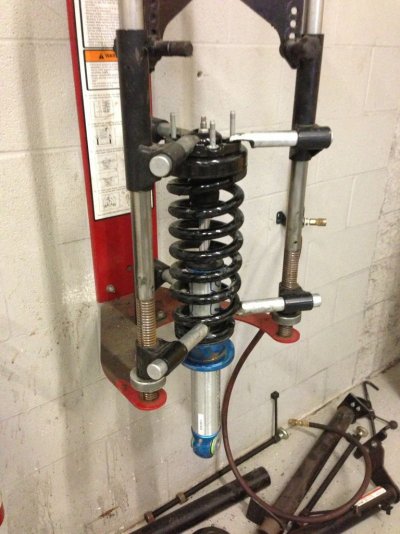
Geiser Bro Coils
SDHQ Bump Stop
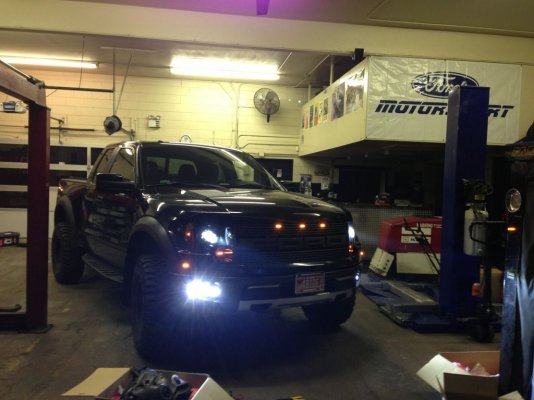
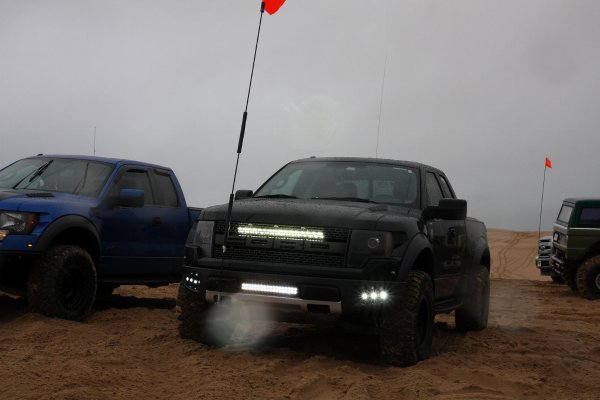
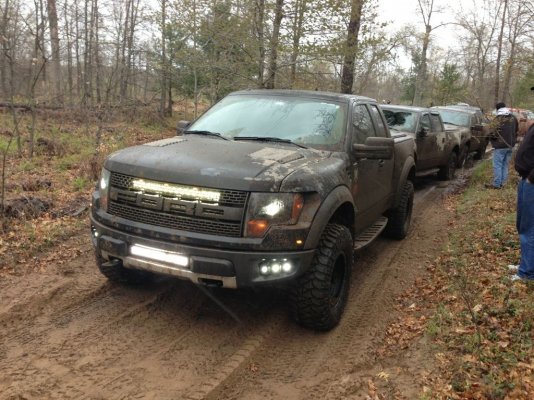
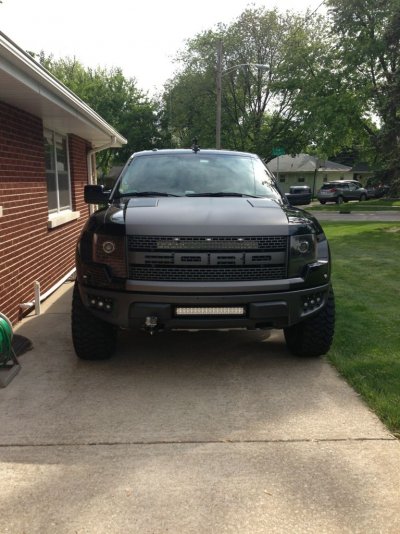
Homebrew Bumpers
Homebrew Bed Rack & Rear Hoop
Homebrew 3” Exhaust
Fiberwerx Fenders
WSI Partridge Tail
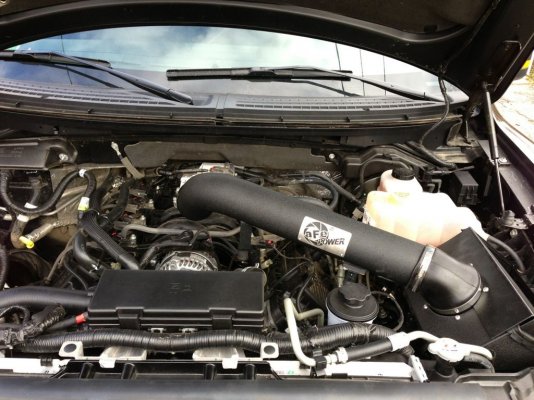
5Star & SVC Tunes / Volant CAI
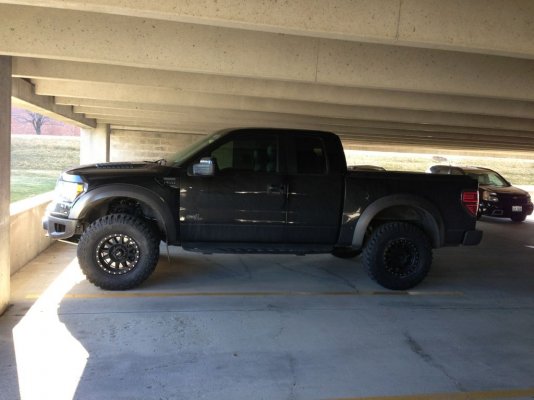
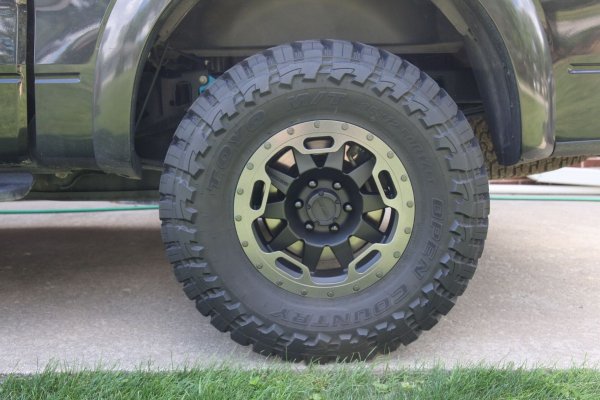
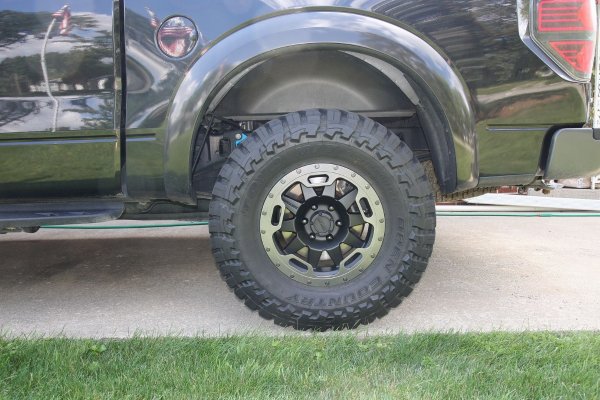
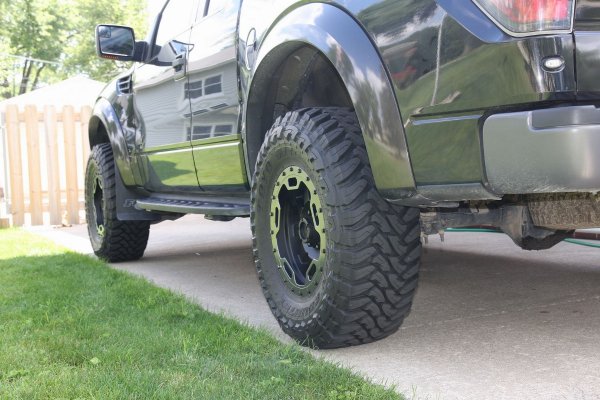
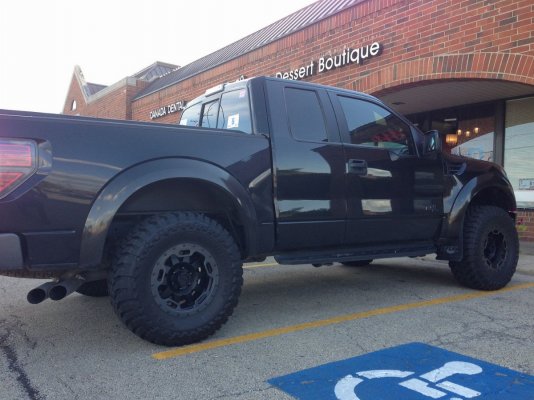
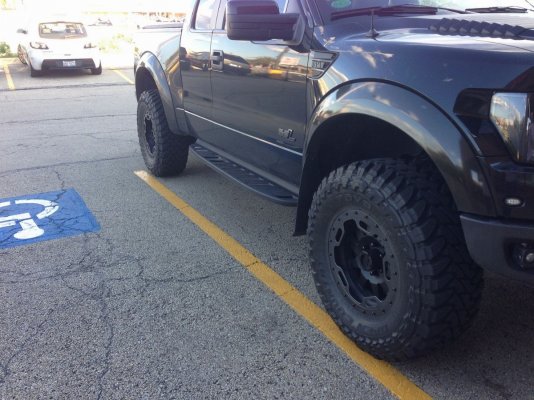
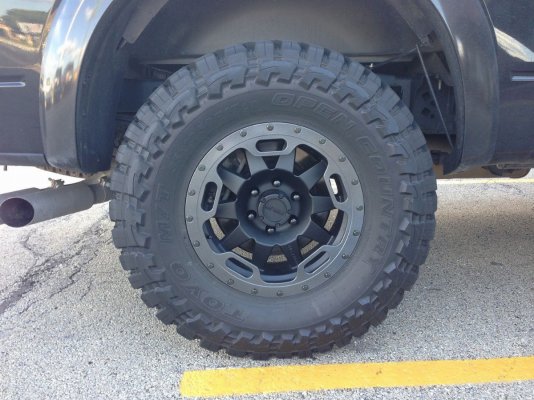
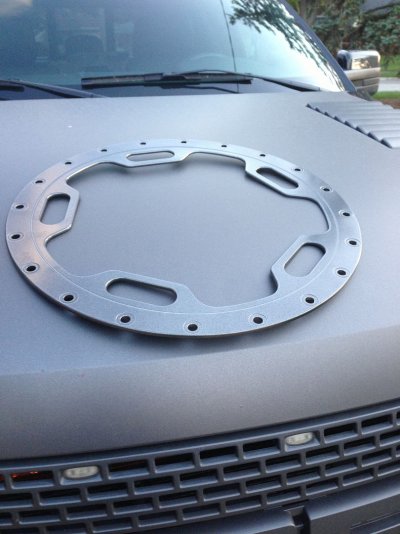
Method Standards / Toyo 35’s / Custom OMF Rings / Vince’s Flush Billet Caps
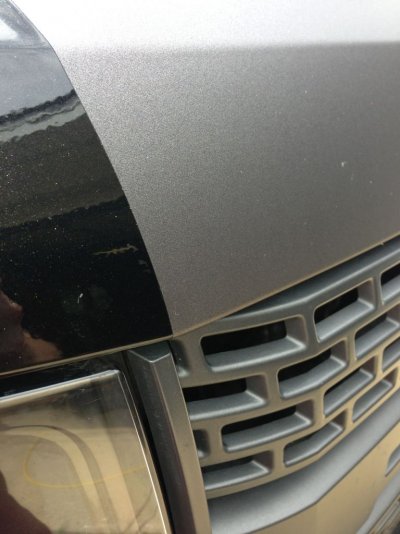
Anthracite Grey hood & Metallic Black fender wrap
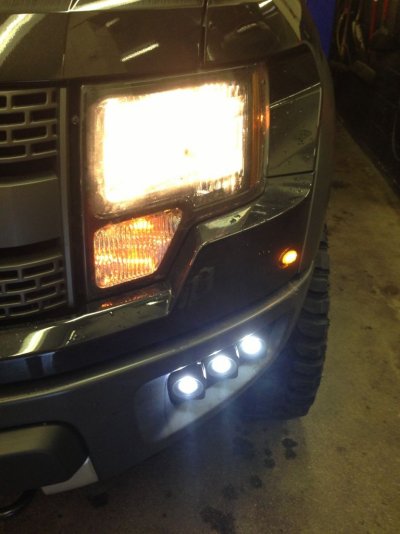
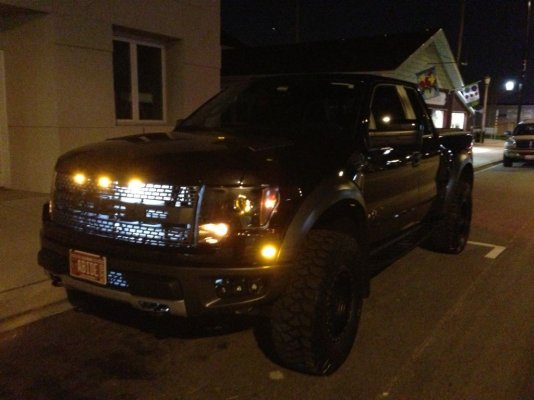
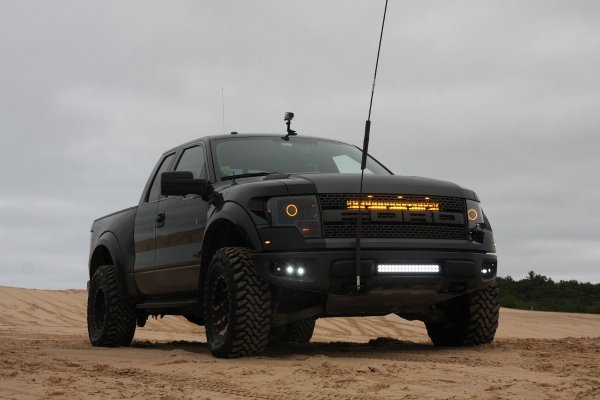
Raptor Retrofit FX-R 50w HID Projectors
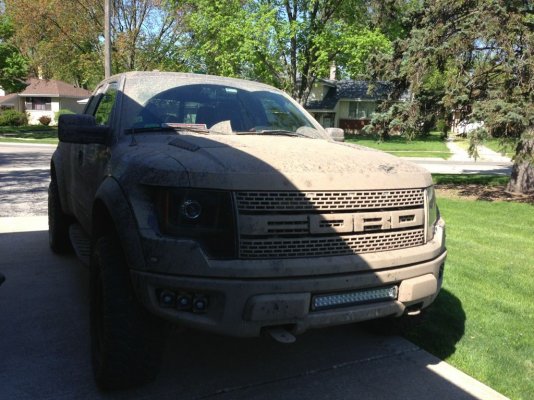
Vision X Xmitter Extreme 18” Bar
Vision X Xmitter Extreme 5” Bars w/ AltOffroad Hood Mounts
Vision X Xmitter 5” Amber Bars (Front & Rear)
Vision X Light Canon Pods
RSI’s 30” Cree Bar (vX evo prime knockoff)
Rigid Diffused Duallys (rear bumper)
NAVTV/Allsync & Icom 5201
And a whole lotta wire and switches…
1669288093330703_7130054979872715330_o_zpskjnmzi2s.jpg

_822050477835197_7660618433991152529_o_zps4281932b.jpg

SAR_2570_zpsmj2gil0h.jpg


*****************************************************


Day1
1-4323-4D22-B48E-81D729027AB7-392-0000003F9FAA2736.jpg
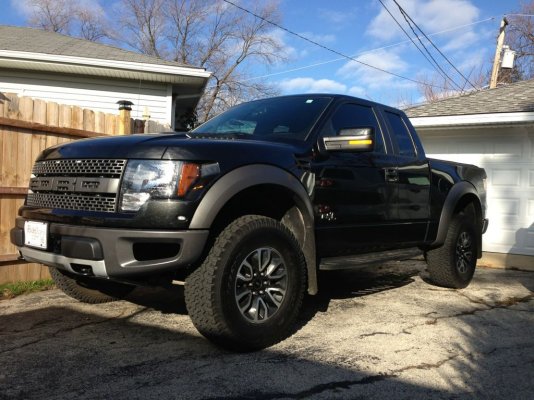
Like most others, had parts on order before I took possession of the truck, the usual progression:
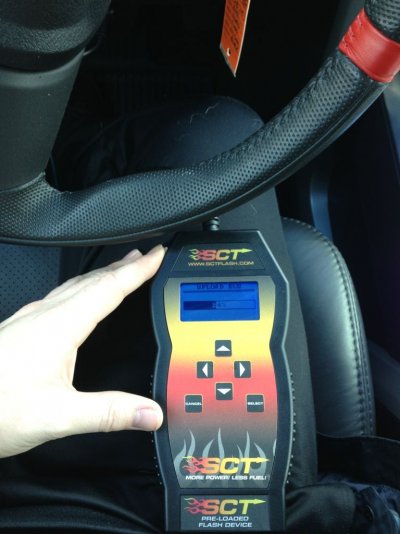
5star Tune
aFe CAI
Methods Double Standards & Mickey Thompson MTZs
Mid Perch

5star
8-A3C9-412C-BE74-A68406FCB543-392-0000004056BE862A.jpg

Never gonna look like this again...
F-BF4B-4FCF-AAFA-713C23F5B96C-392-0000003FD1908012.jpg

Perch
D-1A82-4839-8EA9-A2700828E830-392-0000003FF9236AF1.jpg
MTZs n Method DS
-AEC5-45AF-AF6A-F2536A59A6D5-3736-00000288A9955EC9.jpg

04514579-CACB-4DBD-AA1C-B6270F0E3CF7-174-000000BEB1452A48_zpsa9c58665.jpg


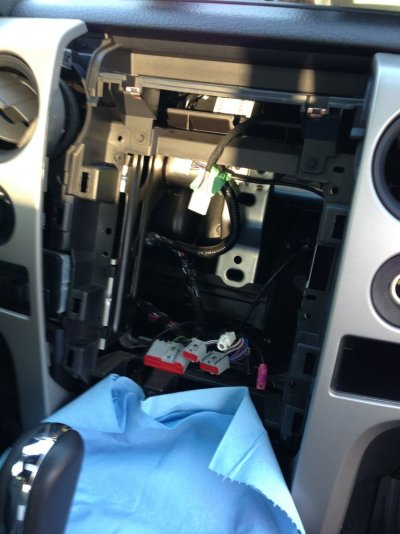
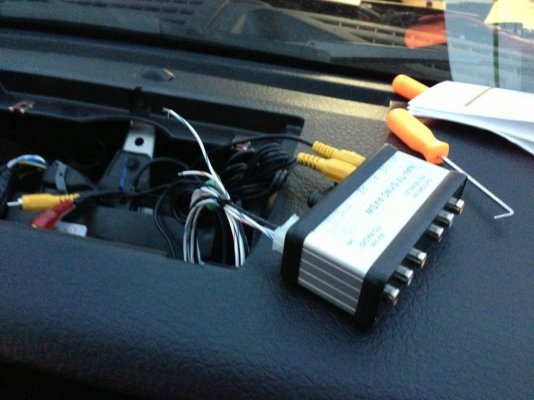
Wanting a front camera and liking the lockout rear camera feature, I picked up a NAVTV & Allsync. Lil nerve racking tearing open my week old truck. Despite some write-ups I was able to get the center stack out without removing the driver side dash bezels
-E487-413D-8309-A28B6BC21665-7433-00000511B8354A5D.jpg

-6221-41D8-9B69-0A186516A283-7433-00000511DDE0746D.jpg

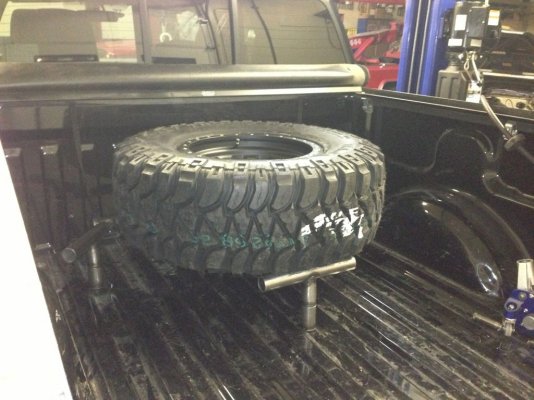
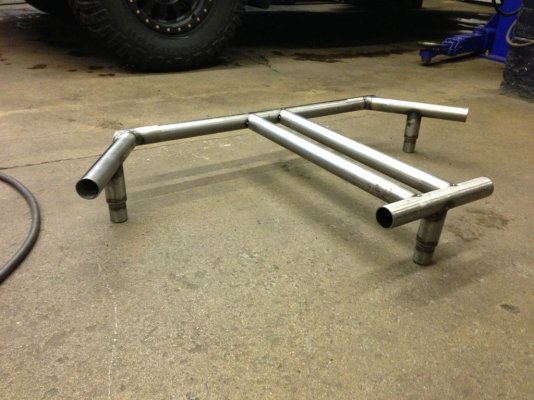
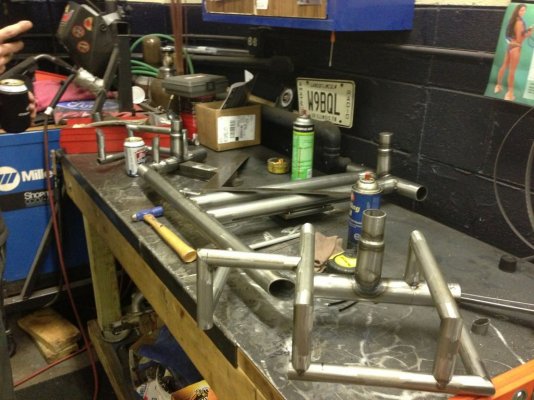
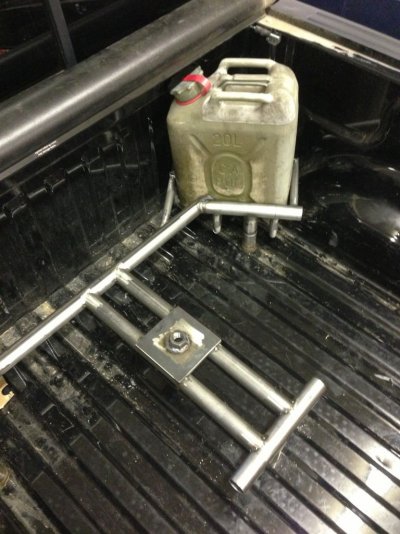
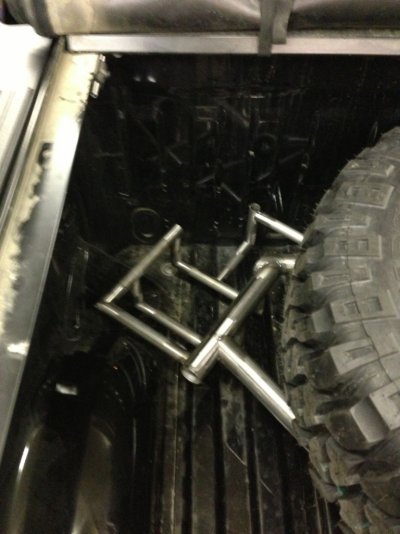
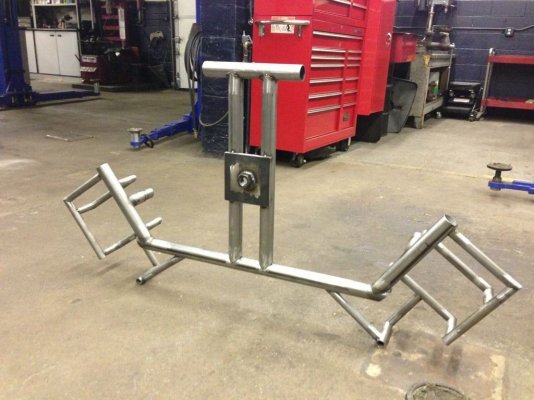
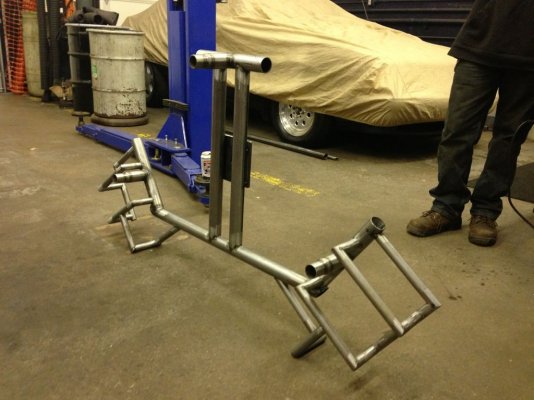
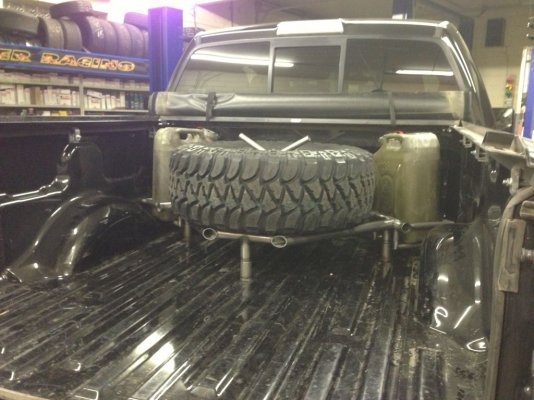
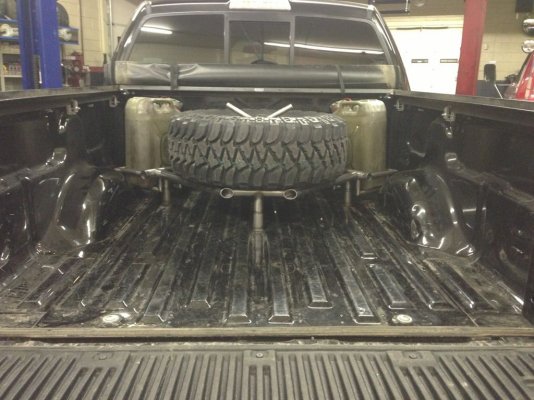
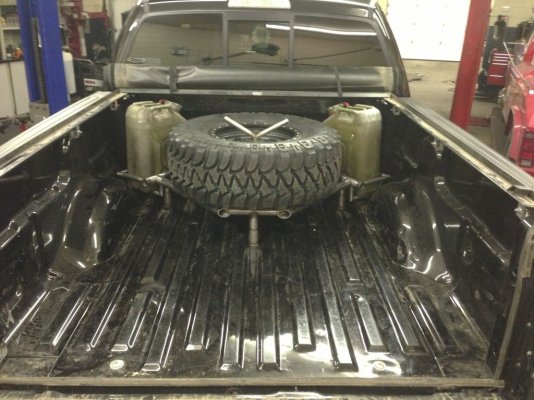
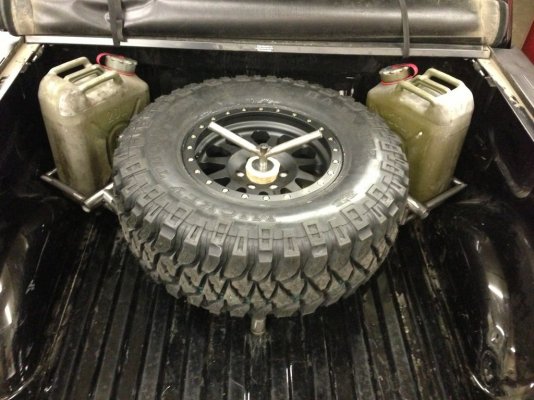
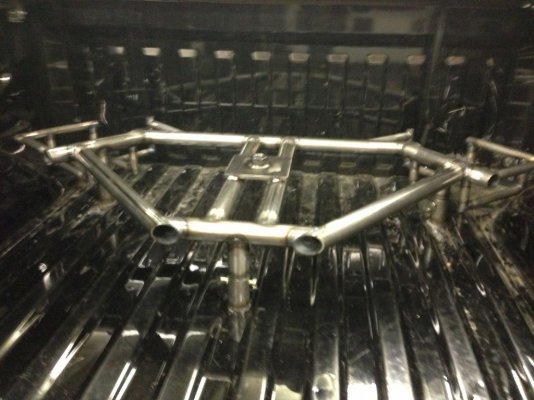
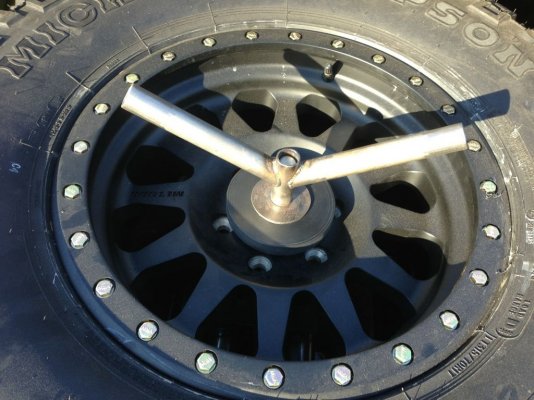
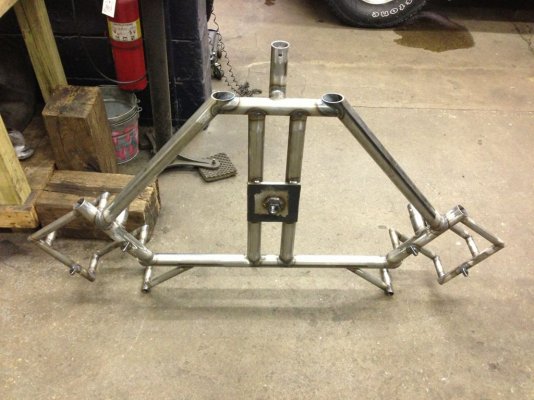
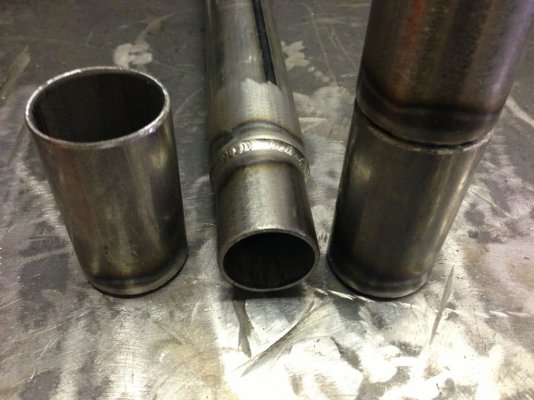
In prep for the 2013 Snoball 500, I solicited a friend to help build a race rack. Wanted it to be quick and easy to remove by myself, fit under my tonneau, and accommodate space for day to day misc items.

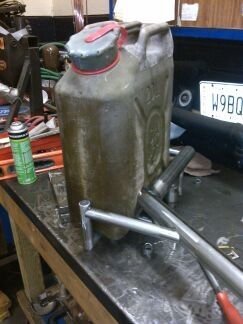
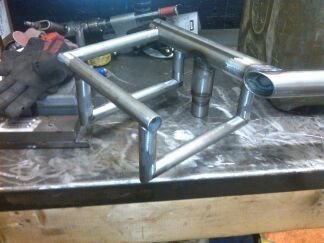
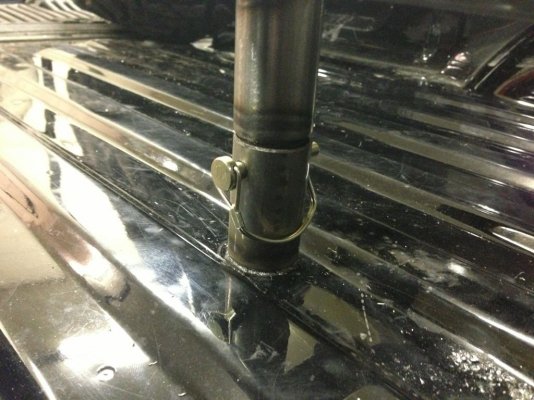
It uses quick release style, slip fit bed connections. Raised up from the bed, I can accommodate lumber, hockey sticks, etc. underneath. Both scepter fuel jug holders used up the wasted corner space at the cab end of the bed. The fuel door side took some pretty meticulous angles to get right, with some super tight clearances. The front mounted toolbox also sports a slip on quick release connection, to make room for larger bed items. It holds much of the bulky recovery and repair essentials, including an aluminum floor jack.
4-D7BC-49C3-8D22-868582468519-936-0000009A8A1515DA.jpg

3-0B6B-4A39-89B0-36EB66110DA4-936-0000009A9A7B7142.jpg

F-08F5-47A2-8968-6D5B592A26E2-936-0000009A27F55605.jpg

9-315A-4D59-8512-1AA966430650-936-0000009A38FB5953.jpg


3-1FD2-4A55-AF47-FA18465FB993-495-0000004FCBD8F124.jpg


6-0503-4A55-8ECE-5391B7E16BFE-936-0000009A7B7598A0.jpg

8-E3BD-4C29-A2B1-F77CD72BEA5E-495-0000004F936AC696.jpg

-9ACE-4C6E-B926-61F2198E88B4-2033-00000170939FCF7F.jpg


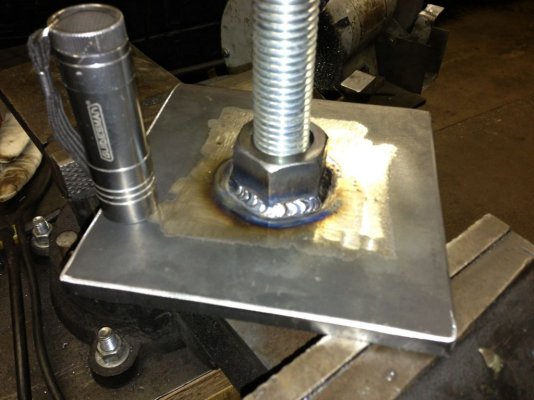
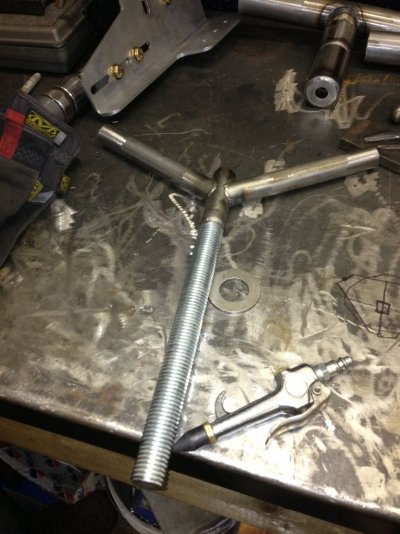
Beefy y bar, and even beefier plate...
B-3E67-40BA-9F85-DD05ADD79A73-495-0000004E5D61DD17.jpg

-5684-4319-8D4D-7F72BB24AF20-2033-0000017034888E64.jpg

Mocking up cans
6-3E7A-49E0-AAE1-6AC93332548D-881-0000017B6DF0C988.jpg

2-9B63-4F6A-80E9-527A026704D7-881-0000017AD42D2B11.jpg

C-2D13-41A1-A063-4E641C9EA3B8-881-0000017AB3094851.jpg

B-CDD2-42EC-A342-E060441AA6A5-881-0000017A73A64CE5.jpg

3-5BC8-40A0-B1AB-85BCD315AB12-847-000001150C3A09D3.jpg

D-2AB7-4CB5-872E-1A0046BC2F9D-847-000001146AEE2118.jpg

0-BEE2-4317-9DC3-3F8536D14C1D-847-000001142241F4FF.jpg


0-5DCF-455C-ADCA-A07C76FB66D8-847-00000115875645B6.jpg

2-BF42-4F6F-8A21-C84E01CA6689-847-0000011579DA36FA.jpg

6-A709-4F2A-AE0C-3E3CB23557EF-847-00000115732633F3.jpg

5-6241-4467-A3D5-B8CDA419F4C3-847-000001151C90DABA.jpg

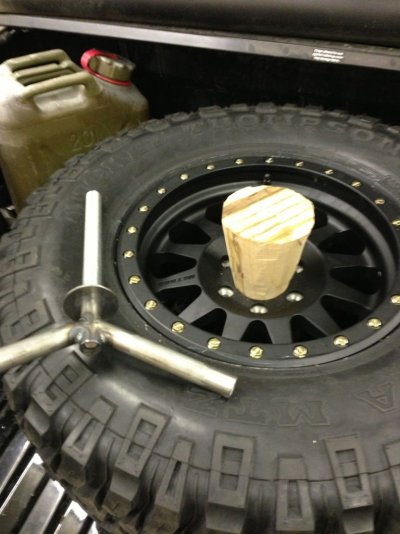
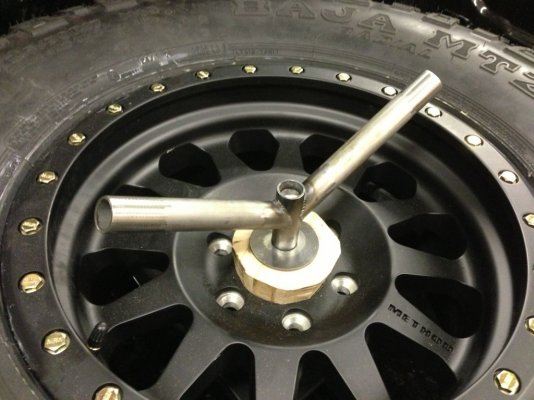
Was short on time before snoball and still had not sourced my block of poly, so made the next best thing… “Made of Wood, Real Sturdy!!"
5-0506-459F-847E-D93ADE472E56-847-000001140AA5143C.jpg

D-C663-45CF-AACA-E85EF9E7F511-847-00000115153AB7E8.jpg

-1C94-43EE-8497-383EDB74811F-2412-000001B1F2488610.jpg

-8C83-4C02-9E13-C2794067E761-2412-000001B2000C592F.jpg


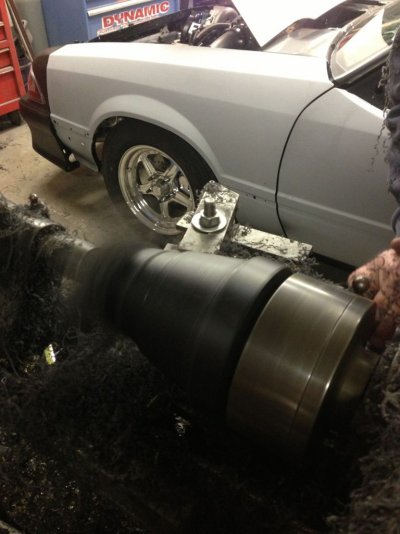
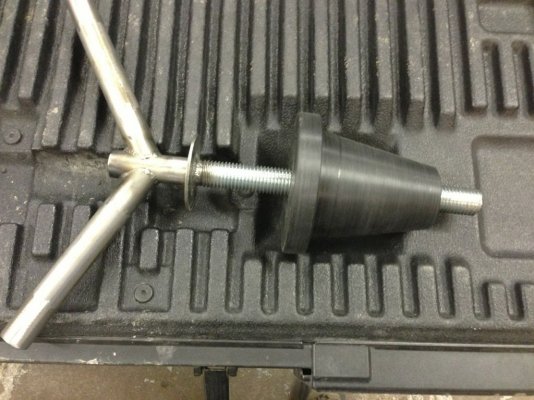
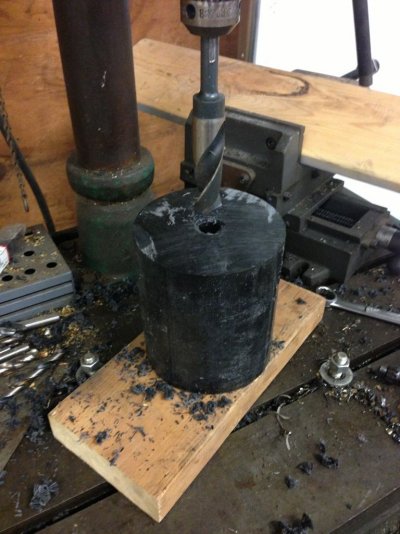
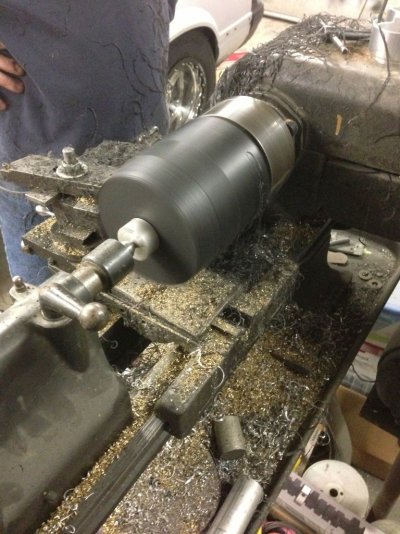
Finally sourced material for my y-bar chock… if anyone is looking to build one, ebay “Delrin Rod”. Drilled her out and onto the lathe… Woulda been much easier ordering tiregate’s version, but this is much beefier.
479-C4B09D02A4AE-3523-000002A44D10DADA_zpsafe57f97.jpg


6F6-B6486B528059-3523-000002A4852477FC_zpsee6efd0c.jpg

5D7-23F3920416B3-3523-000002A49DAB7EC7_zpsaa91a2e4.jpg


43F-5C1A5C1A9A77-3523-000002A4D84CA0BA_zpsc54f3ebe.jpg


28F-0E18D5F0A978-3523-000002A5A9365E9D_zpsc4e5b78a.jpg

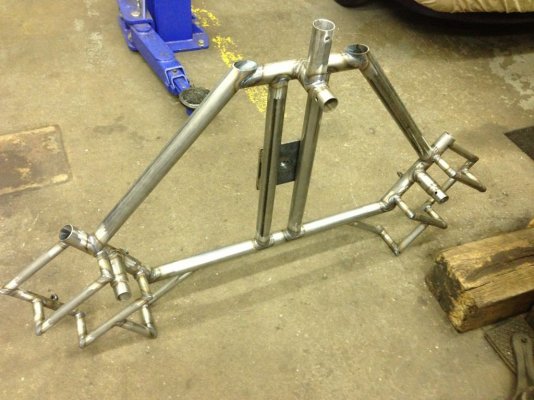
Added another slip fit connection off the front to mount my toolbox
77F-1C66B8EB85C2-3523-000002A4E9CA4FA0_zps2ea784e9.jpg

EAD-21E07E42DDDC-3523-000002A51B55CC8E_zps8f8324bd.jpg

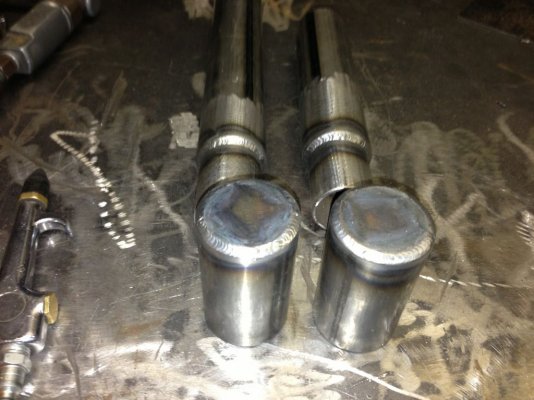
Since then we've capped off the tube ends and the rack has served me well over several runs and lots of abuse.... My alum floorjack fits inside the toolbox perfectly with the other recovery gear. Considering moving that elsewhere in the bed though, and add my hi lift jack to somewhere along the bedside.

An impromptu trip to the drive-in was the perfect removal test, had everything out transformed into a bed lounger in short time.
 
Last edited:
OP
OP
Sitdown

Sitdown

FRF Supporting Member
Supporting Member
Joined
Oct 28, 2012
Posts
1,617
Reaction score
1,521
Location
Suburbia, IL
Next up were M&R 6 foglight set, and then a set of Dawson’s HID projectors

M&R 6 Pack
-D19B-484C-8438-02F418317F6C-2033-000001710333B263.jpg

Dawsons
2-F3AB-4A20-B3A8-E52CBFFE5956-847-000001148799F5AF.jpg


Snoball was a great success, but now I knew many other upgrades were essential for future trips

40D_01242013131.jpg

40D_01242013289.jpg
Pics


My first Raptor event raffle winner, Volant intake. Great idea, worst CS I’ve dealt with ever probably lol

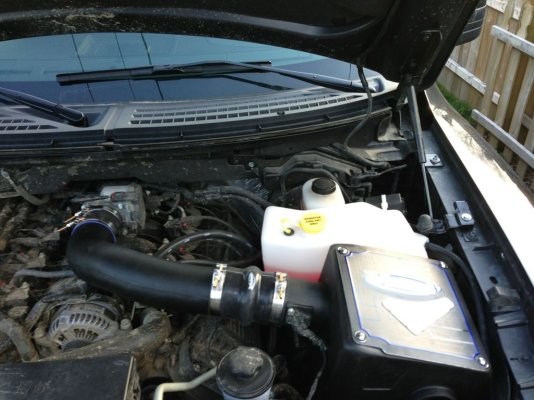
First bracket wasn’t even close, second required some chopping
89D-87D0D5C5C2EA-1437-00000114D56AE154_zpsbeb505d7.jpg

FA7-71A941B2C5E2-1437-000001150014515A_zps49be9b20.jpg

667-6F74296008C8-1437-000001153FA89D93_zps12687b03.jpg

Had to elongate some more holes and rig up another bracket for the hood switch, but all in finally. Decided to swap out the worm drive bands for t-bolt clamps
EE7-B3FDD88EE3D7-1437-00000115784DBAF8_zpsf8e84f13.jpg


Saw many DIYs on hood light setups, but knowing id have 6hrs into it changing thisn, the sdhq klit really made sense. Great unit, went in under 10 minutes.
D7F-4CE5D995805B-1437-0000011583403573_zps20b6124b.jpg

Just remember to turn it off
A0CE-EBA61038FFEC-336-00000039697F4932_zps9a4c296c.jpg


So decided a radio upgrade was in order too, ICOM 5201 mobile unit. Much needed upgrade after misleading a group of stray trucks on snoball bc I was out of reach with my wouxun. Like others, mounted on the side of the center console, beside the seat.

Pics
Pics


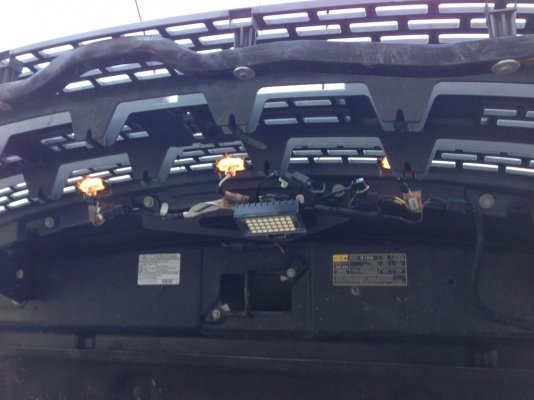
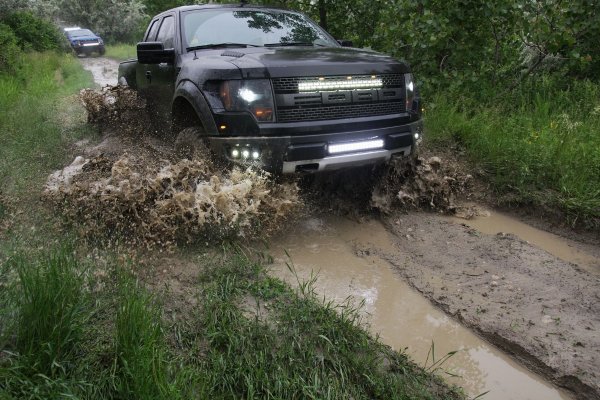
With the upcoming spring13, I picked up a 21” Vision X Xmitter Extreme from James. It would fit perfectly in the new bumper I was planning, but also work in the interim within the stock bumper. Wow, what a punch this little light packs! Also installed a 30” M&R behind the grill

9AB3-DC1C78E1456E-174-000000BECA3F40CE_zpsd64e8c95.jpg

Spring13017_zps307aa423.jpg

8BAA-ACD3B495E222-174-0000000AA4EB99D2_zpsbb1cb3ed.jpg

Spring13018_zps9abe343f.jpg

Spring13294_zps95874854.jpg

A05B-8F36FD149484-174-0000000B0FD564F5_zpsadef4d96.jpg

Offroad_06022013647_zpse3e2e3d3.jpg


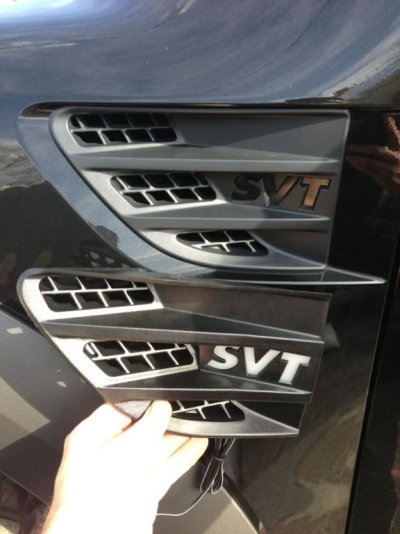
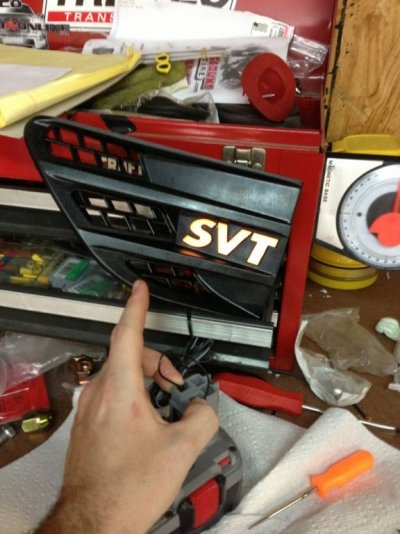
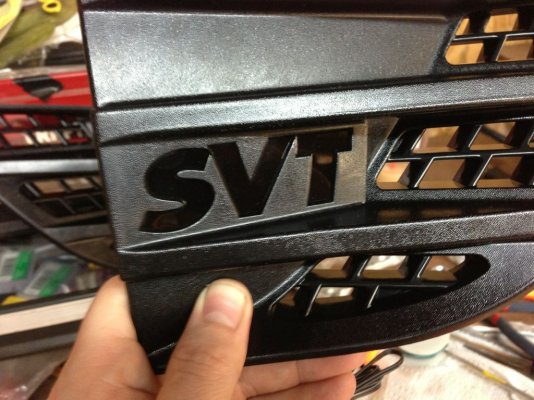
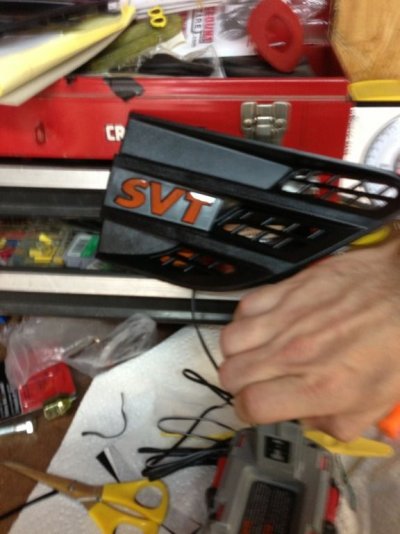
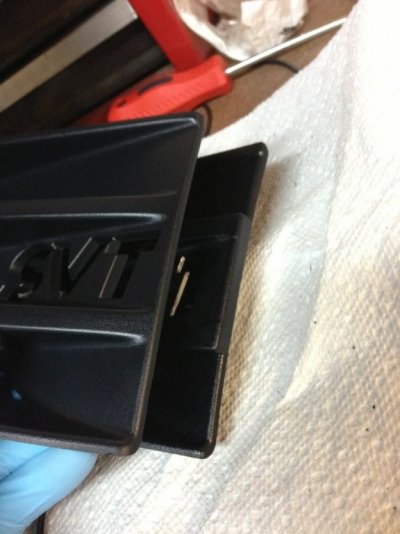
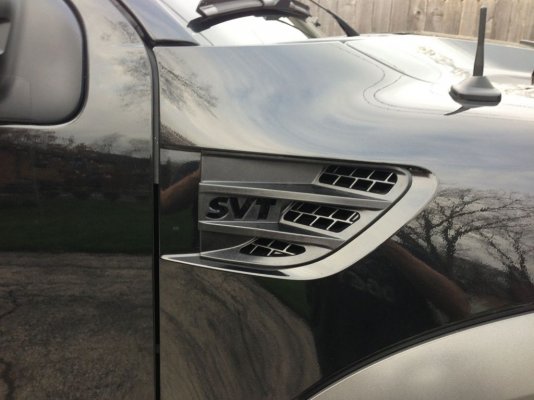
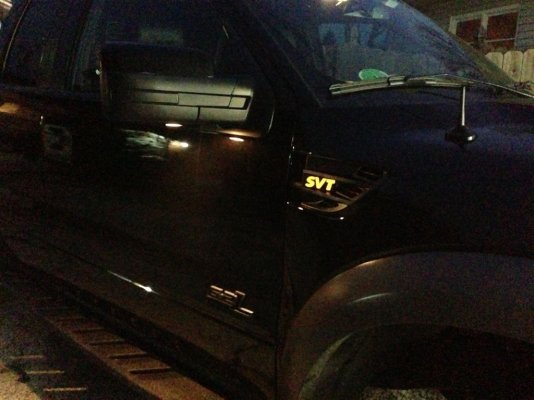
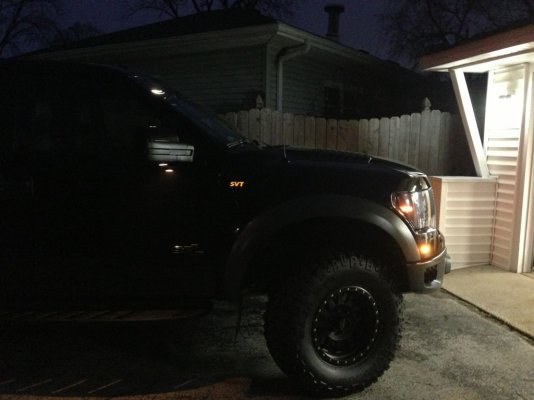
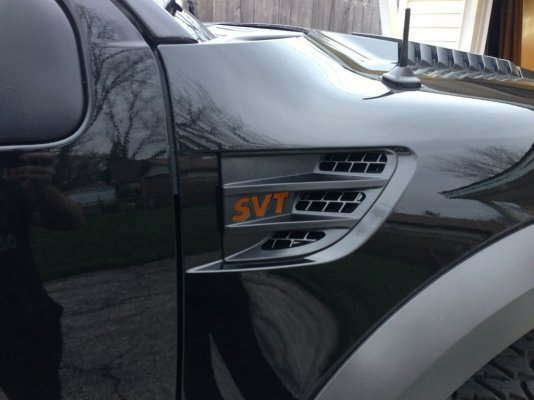
Reading all the EL tape threads and knowingly aware of the recon problems I rolled the dice on their SVT Fender LEDs. Decided to use a tinted Gel sheet to match the paint, and turned out good. Tapped into the front amber sidemarkers, going on several months strong w/o issue

94C8-931DE290CA82-109-00000004446091D7_zps3c63b25b.jpg
A29C-2FF99B5238D0-109-000000015A06144B_zps081fdf59.jpg
9C92-B50733D4142F-109-00000000F853000D_zps671e20f4.jpg
9F8F-2751AB855591-109-00000000F0DE98DC_zpsfe6522db.jpg
AD9E-820BC722B461-109-00000000D79EBDDA_zps7b56a5cf.jpg
B30F-DD5AD285A77A-109-00000000CB941210_zps9c7bc85b.jpg
9391-AC767B1F984E-109-00000000C2AF06F4_zps30567282.jpg
94A0-F47D3418D17A-109-00000000A99F4C5E_zps1d3f83f4.jpg
AFDB-EB5F27A67E5D-109-0000000087DECF60_zps95612a1d.jpg
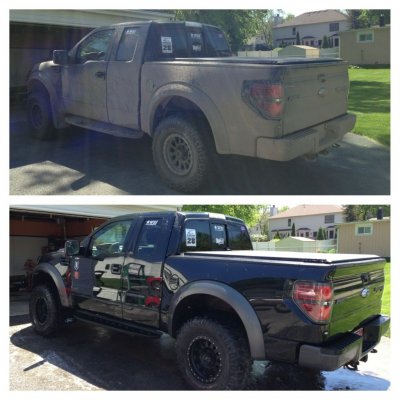
Having been quite dinged up from snoball and many local outings, had my local detailer do a round of opticoat. Wow, truck looked better than the day it was new

983F-44F2729BE716-174-000000BE8092E483_zpsddc8c644.jpg

85F8-035FF5C9F23C-336-0000003960265C18_zps99f87f4a.jpg

04252013_canon40d008_zpsfe3c13b1.jpg

04252013_canon40d027_zps86cc6b2d.jpg


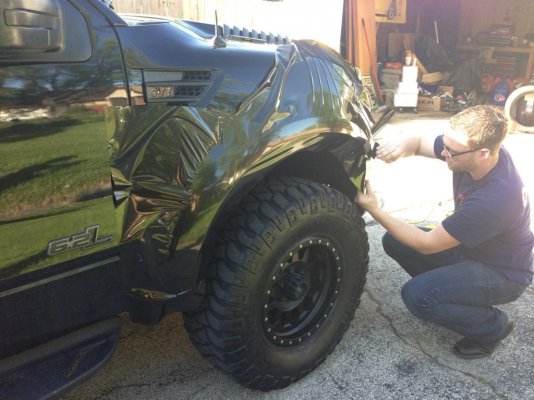
After seeing the many hood wraps out there, decided to do one of my own. We found a metallic anthracite grey that is a near perfect match to the grill color. Wound up doing the hood in this, as well as the Fred mustache. Buddy had a mettlic black on hand too, so decided to trial the fenders as well. Color isn’t perfect, but turned out nicely.

5E6-6AC6BF485820-2555-00000230E62A6E8C_zps299d6a23.jpg
440-3F14A9EA8269-2555-0000022C3EF80D46_zps73481939.jpg
D76-A3C1AA8D87AF-2555-00000230358974AF_zps955d09f3.jpg
B21-EA339366BF37-2555-000002308B05F729_zps0fa859e4.jpg
15C-1DC4495A5E83-2555-0000022C2CD9247E_zps64bcc5a7.jpg

A friend was interested in my RR HIDs, so decided to reach out to Dawson for another set, this go around fully blacked out 50w FX-Rs with halo’s. With the Xmitter on, the 30” was pretty unnoticeable, so decided to put that light to fulltime amber duty. Nothing too sophisticated here, a peice of amber acrylic and zip ties

canon40d_07262013085_zpsc97c3198.jpg

Also decided change was in order, and sold my Method Double standards & MTZs… In their place came Method standards and Toyo OC MT’s. I had been working with OMF on set of rings and hardware for me, really wanting the blk/anthracite combo with blk hardware. Everything turned out great though, even have a second set in the works.

silverlakeampaug13_canon40d251_zps731d3a47.jpg
silverlakeampaug13_canon40d252_zps62800ee1.jpg
silverlakeampaug13_canon40d263_zpsda757411.jpg
08052013_iphone023_zpsa6ce8997.jpg
08052013_iphone025_zpsbd9d6c06.jpg
08052013_iphone026_zpsed300aa5.jpg
08052013_iphone030_zps5d597885.jpg
08052013_iphone027_zps2cd55e4f.jpg

Pretty good match
iphonepic_backup_080220135679_zpsde4a049d.jpg

Just recently acquired some flush billet caps from vince, looking forward to slapping these on when I rotate soon.
9366-4532E6C7B8AE-767-0000007E126FC562_zps6d40a238.jpg

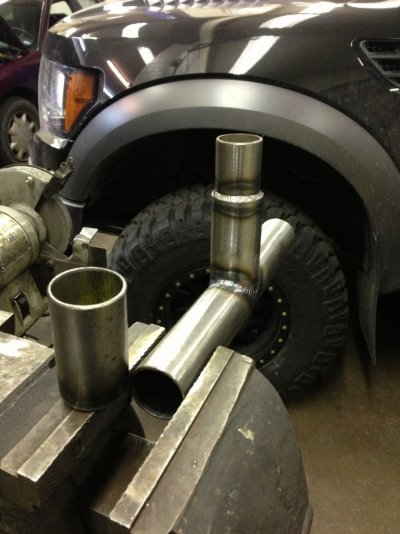
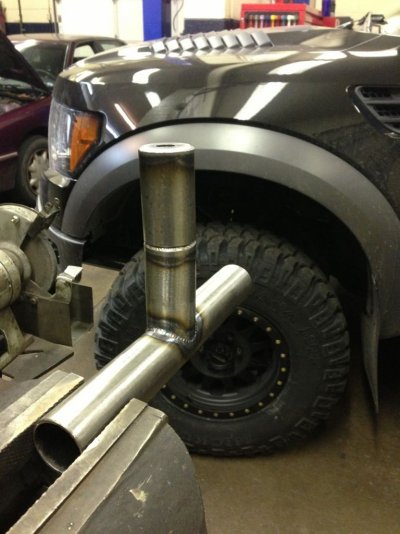
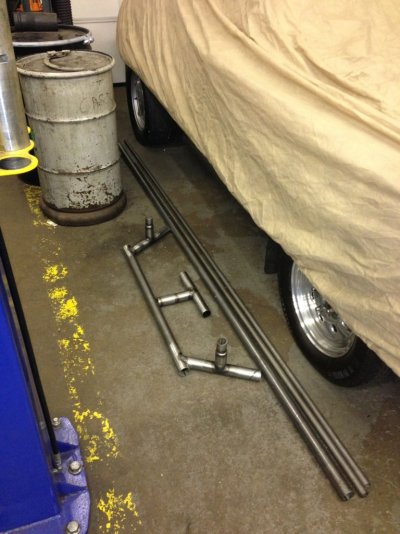
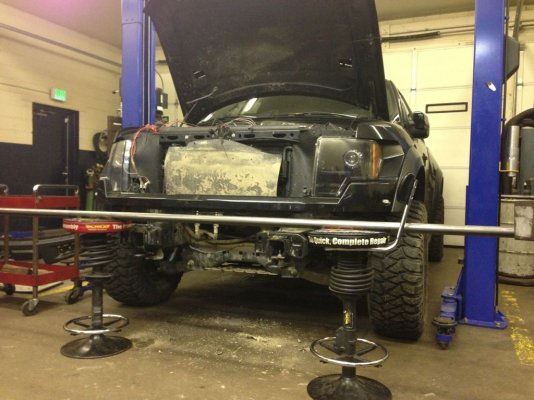
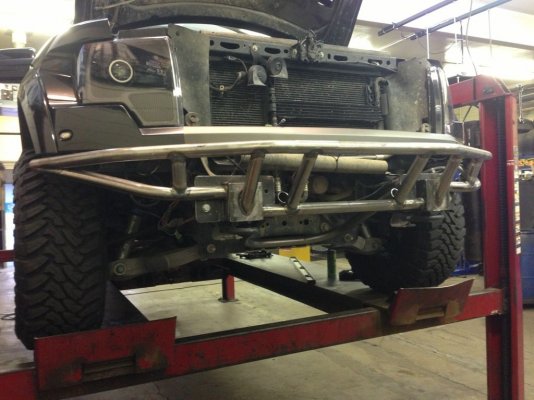
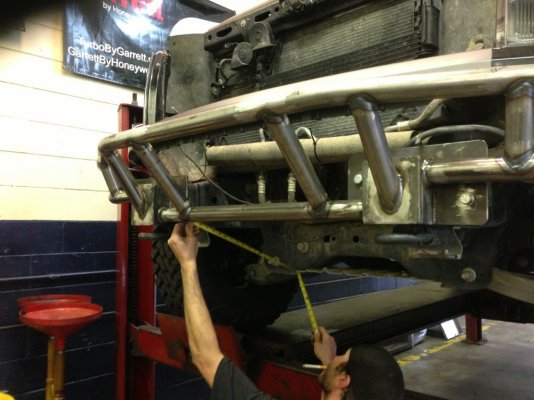
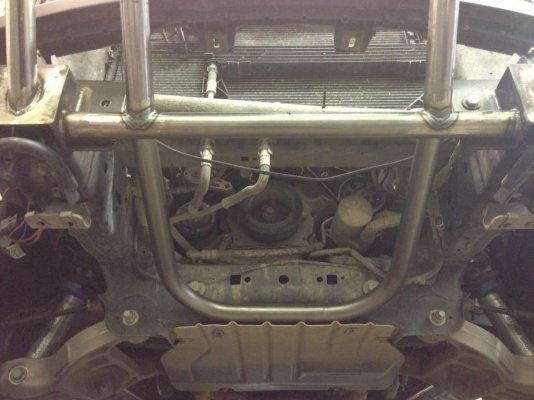
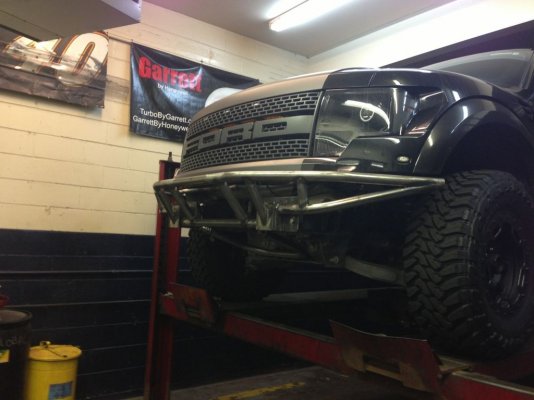
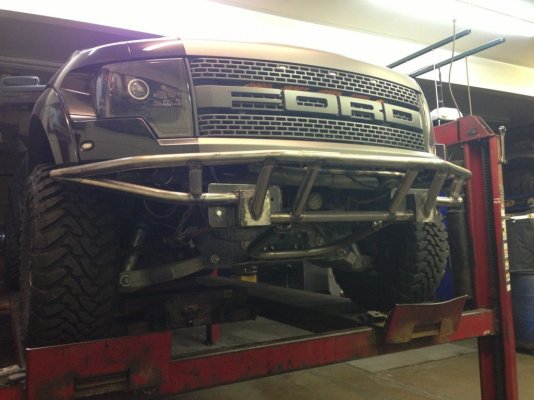
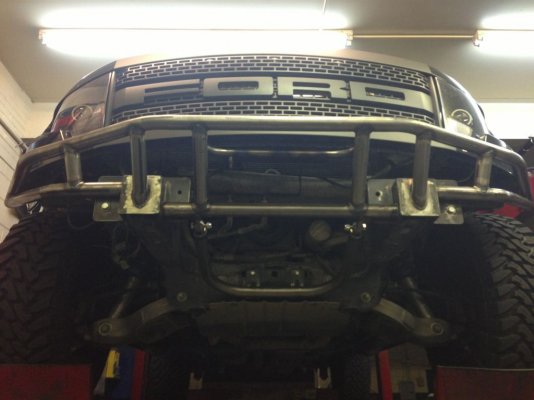
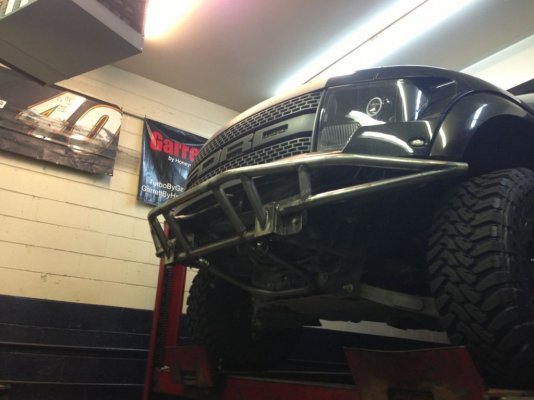
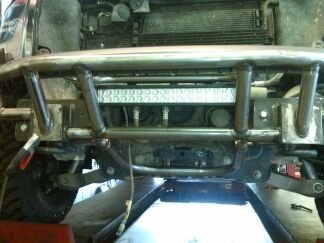
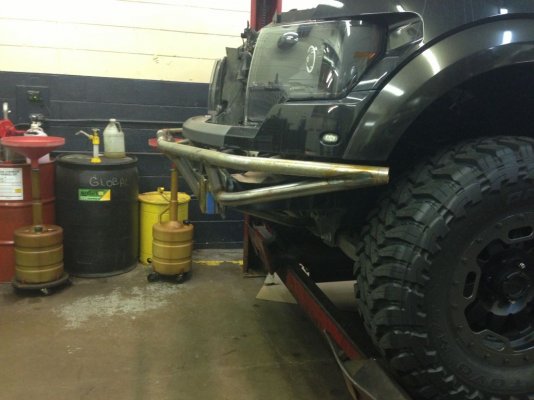
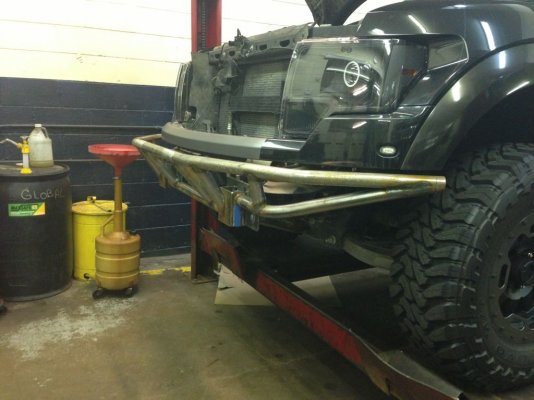
There are so many great bumper offerings out there, but my buddy who made the racerack wanted to put his new bender to work. Many bar napkin drawings, then CAD renderings, and cases of old style later we finally began progressing. Sort of took a hybrid of a few styles out there currently with some new touches. A whoooooole lotta work making these, the money vendors are asking are well worth the hours spent lol
0B0-56AF15501B11-1437-0000011497356B48_zps621ad5fe.jpg
973-D3463215E225-1276-000000BB8318D01C_zps48769769.jpg
E79-4B0C9FDDBF24-1289-000000BE6D044B1E_zpsb6d1630a.jpg
DD9-EAEA398A1294-1276-000000BBA181652F_zps08f7d0e3.jpg
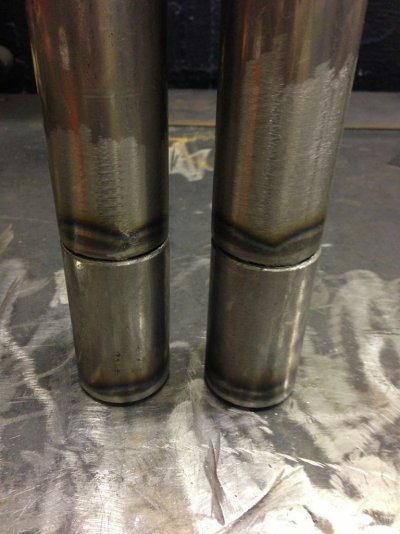
Was going to do a easy access fold down skid, so we sourced some doorbar swing out hinges. Later Decided on a 1 piece skid now, so its just going to function and an easy to remove connection, may resurrect that idea later.
9C10-092335D456F7-707-00000086DE1A6CB8_zps6eab0fc7.jpg
AFE6-F8DFA69BE64D-707-00000086C65A8BD0_zps7528bd6e.jpg
99E9-47C026F61FA4-707-00000086FA5B6289_zps83eced01.jpg
BFF0-02D5942D7C28-707-00000086E424CCE2_zpsa0de81e2.jpg
4CA-A379089E00F1-1289-000000BEAE918D71_zps52686281.jpg
 
Last edited:
OP
OP
Sitdown

Sitdown

FRF Supporting Member
Supporting Member
Joined
Oct 28, 2012
Posts
1,617
Reaction score
1,521
Location
Suburbia, IL
Bumper is mostly is 1.75" ms, and the rack 1.5". These were really our test run doing these, would love to do the next round all in chromoly

Haven't decided yet how far back we're going to cut...is just past mid way through the flare safe? Around where we stopped the weld?

93E8-9BAD880757A0-903-000000A968189444_zps8a074b07.jpg

BC92-D74F330B8C14-903-000000A971EA06A2_zps001078d1.jpg

Still may add a smaller hoop on the front, like the add venom has, or one on top


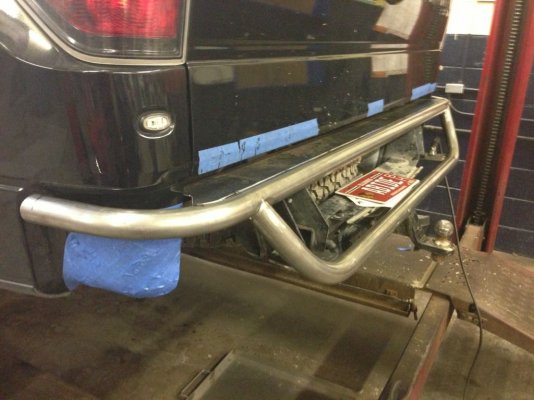
Some rear bumper shots in process. Im keeping the stock hitch assy in play, going to box around the stock mounts and stick flush mounted rigids in that area. Side tubes still need to be cut down some, base will be sheetmetal with the back/tire side exposed. Plan to relocate the trailer plug in that area and rig the stock plate lights in there in some fashion

8009-EE225805B374-903-000000A9854EAF59_zps4ee5dc8c.jpg

Considering some other options for the dovetail, and tapering up just the rear section but don't think its going to turn out how i had planned. Really trying to keep it able to go back to stock if need be...
 
Last edited:
MTUH3

FRF Addict
Joined
Jul 18, 2011
Posts
1,754
Reaction score
772
Location
Plymouth, MI
Great job on the front bumper. Very close to the design I have been kicking around in my head. Great build
 

Macman

FRF Addict
Joined
Jan 1, 2012
Posts
2,194
Reaction score
642
Location
Halifax, NS
Truck is looking awesome man, Big fan of all of it, those rings look awesome on the methods!
 
Top