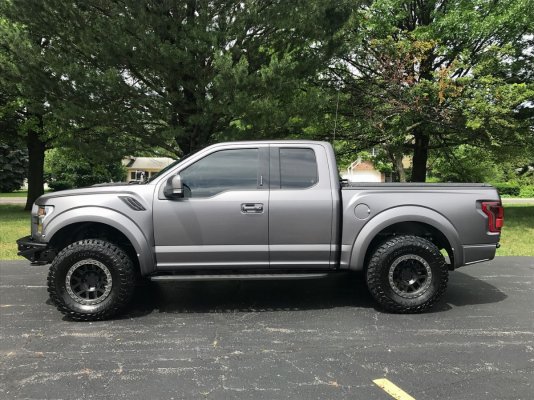
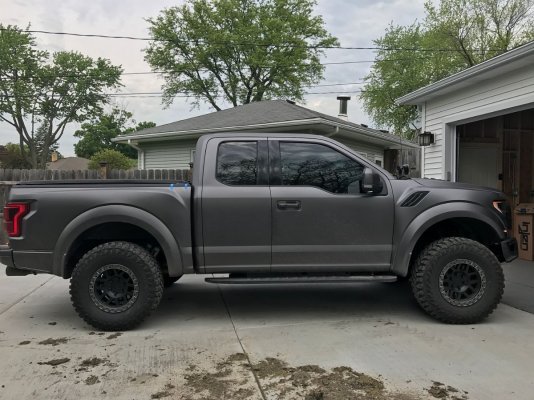
Had some time to get more pics of progress over last few months...
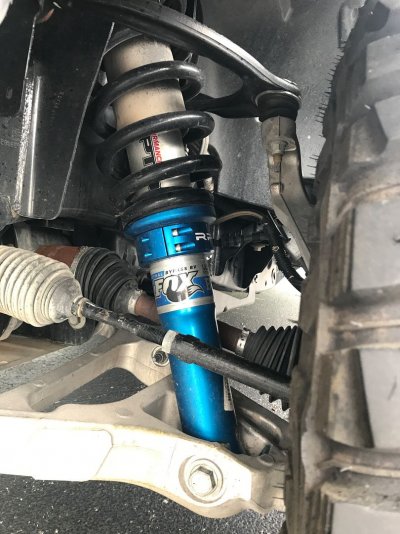
RPG collars
I measured mine in the same spot Before & After, flat concrete with slight grade towards driver (left). Measured a few times usually within 1/8th inch…
……………… Stock .......... RPG 1.5………. RPG 3.0 (stock bumper)
LF ......... 40.250 ......... 41.250*……..42.125*……….
RF ......... 40.500 ......... 41.500*……..42.500*……….
LR ......... 42.125
RR ......... 42.250
Overall…
1.5” Collars net ~1.00-1.25”, Slightly less than the MidPerch on the Gen1. Rears sit ~1” higher still.
3.0” Collars net ~2.25”
*Initial measurements were with 50+lbs in tires, current at 38lbs (so can likely add 1/8th or ¼” to Collar #s)
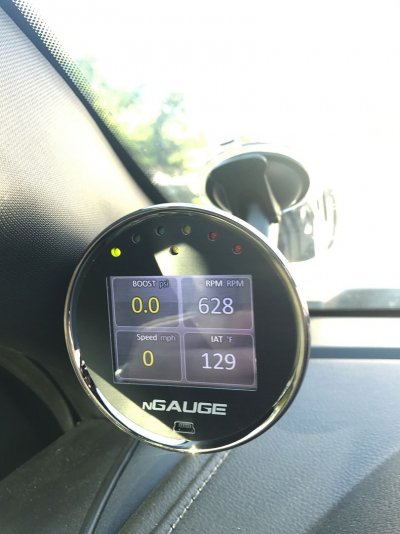
 5 Star Tunes & HPT nGuage
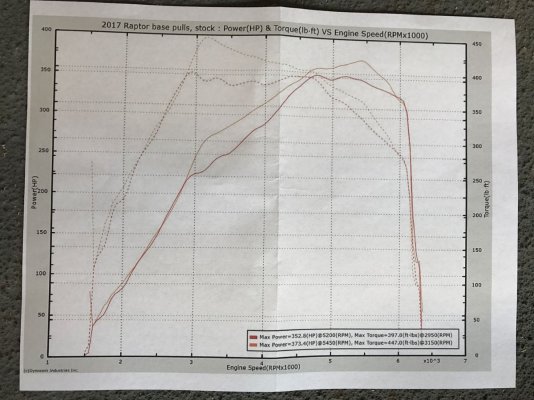
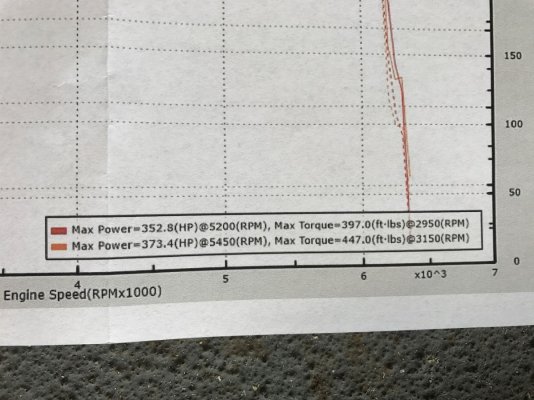
Been patiently awaiting SCT to offer the remote tunes, but got anxious and jumped on the first batch of the HPTuner offering, nGuage and (6) 5Star tune files. Been running them about a month and half now. Im a big fan of the nGuage, data logging and tune files super easy to load via micro SD card. 93Perf tune really woke the truck up a bit. More power, Shifts firmed up and Drive-by-wire lag improved. All that said, hope the later revisions see more improvement on all these fronts, especially power which looks to be well under the #s they saw. Have been in touch to review files, but verdict is yet to be reached
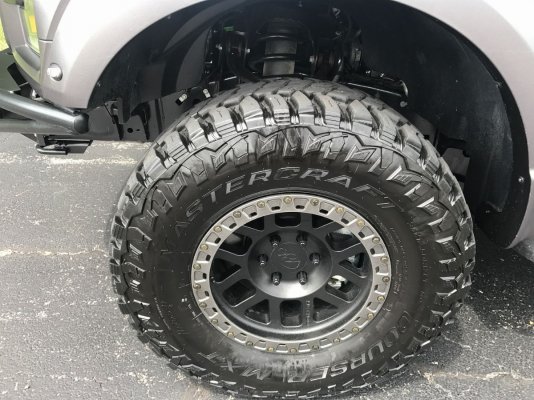
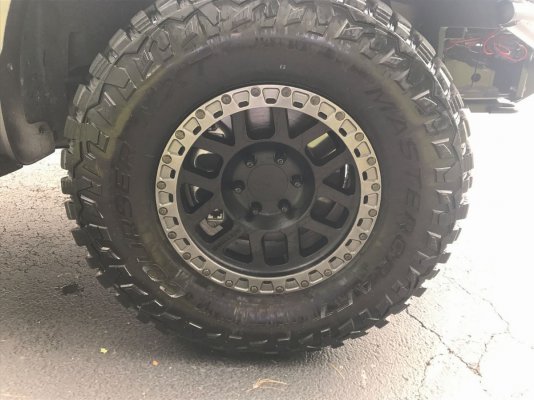
KB’esque OMF Rings
Saw these rings on KenBlocks Fifteen52 Forged wheels. Was a big fan, just not of the $1300ea tag. OMF has made me several sets of bash rings over the years, so had these made up to replace my Phase6 Rings. They really turned out awesome, and drain holes are incredible…4+yrs of puddling water in wheels, no more!
 RearHoop
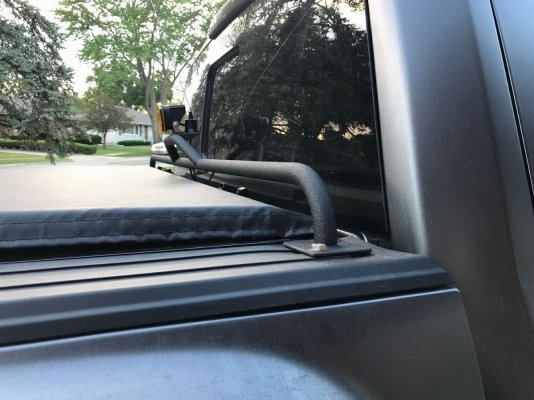
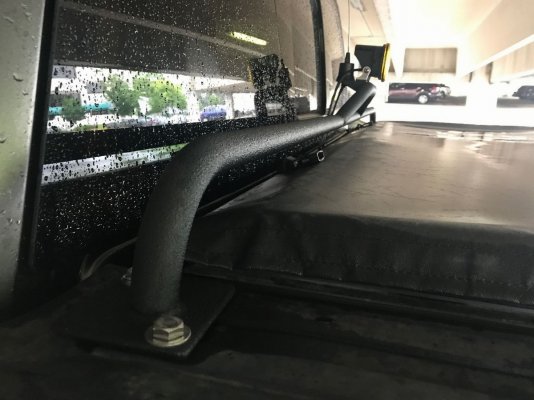
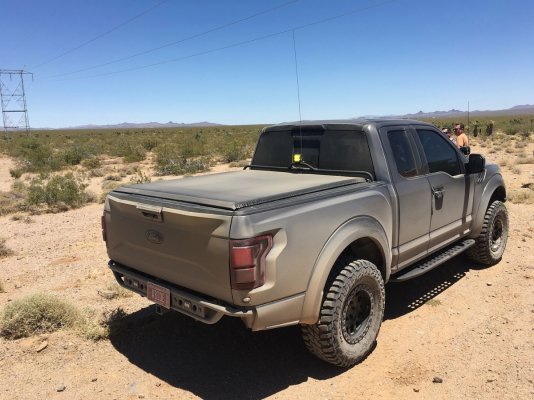
Reused the bed hoop we made for my ’12. Good discrete mount for rear amber and antenna that can be used with a rollup tonneau. Base accepted the new Squadron Pod, and current NMO antenna base. The hoop is bolted to the bed rails. Previously welded studs to bed, tried out a nutsert this time for a cleaner finish. You can do also do a cleaner finish w/o a nutsert, simply use several extensions and bolt up nut from bottom. I needed to do this with large washers for the 2 outter holes, a nutsert did not have bed material to grab onto. Will do cutouts on the bedside plastics to have the hoop bases sit underneath the plastic when time allows
 Bumpers
We made the bumpers on my ’12, and knowing all the work/time/materials involved… Decided to sit back and let Corey do the work this time. RPG
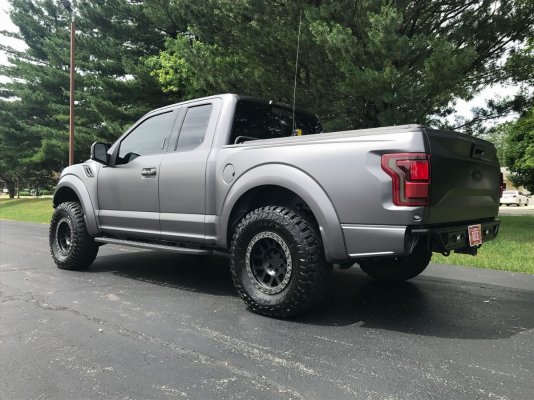
Bolt-on Pre-runner bumpers. Didn’t have time to get LineX’d before our west trip, so currently powdercoated. Up front, it accepts a 40” Baja Designs Arc bar, follows the bumpers radius nicely. Added the Hi-Power 20W upgraded circuits. Bar is an absolute beast, given power demands we had to run it on 2 switches. Since it’s an arc, decided on all spot to get some longer wider light. These bumpers are some of their prototype models, so were still in process of making the skid plate design for it. It does come with a small skid that pairs up to the factory one. Wanting to purge the facotry one, a friend fabbed up something for the interim. 6061 with 2 bends bolting up to the factory lower underside skid.
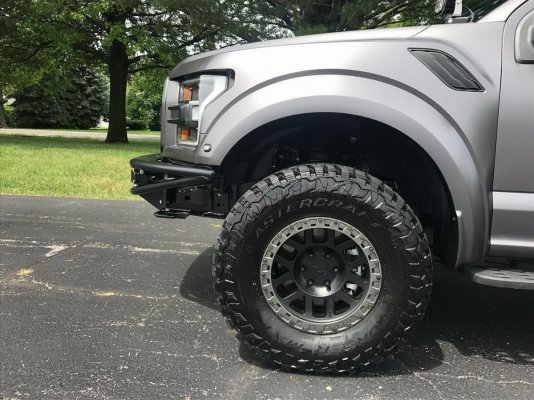
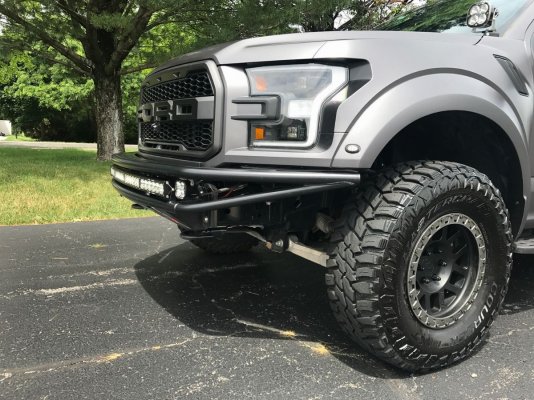
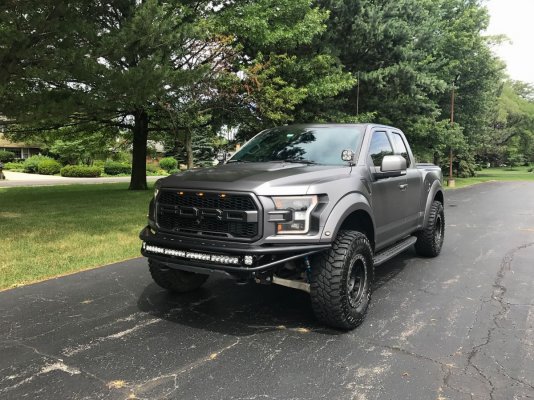
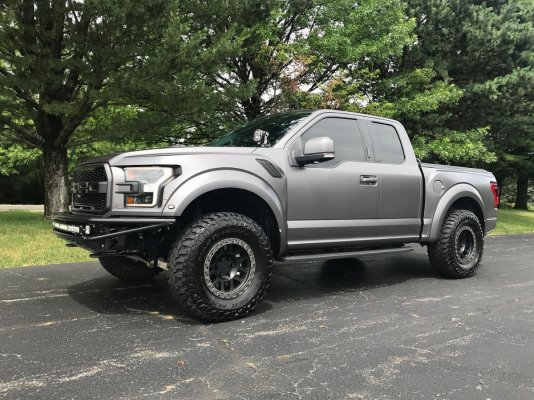
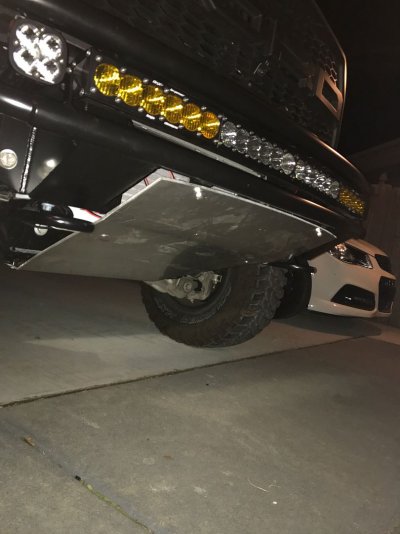
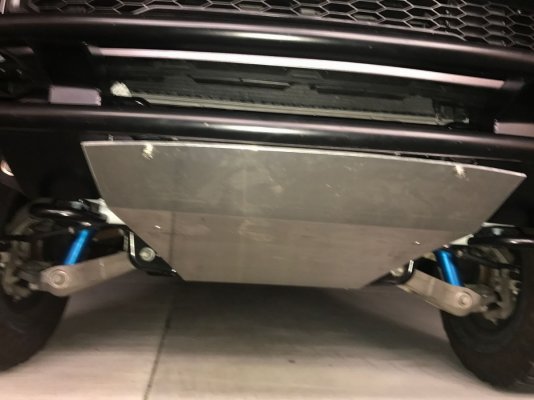
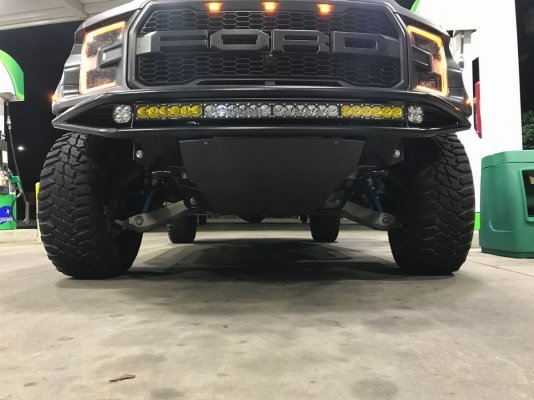
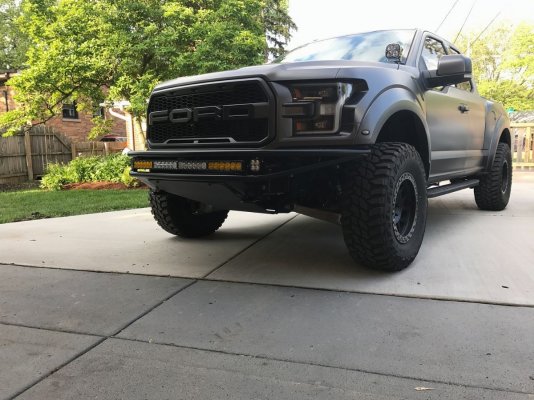
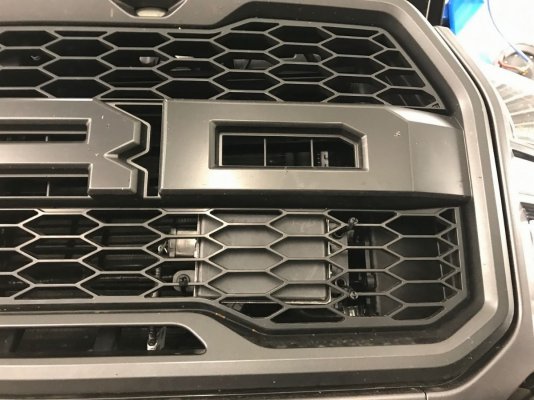
Still working on a relocation bracket for the Collision/ACC sensor. Initially this temporary fix worked ok, slightly sensative to objects on the left single grill is arced that direction... but since left me with "collision sensor unavailable"
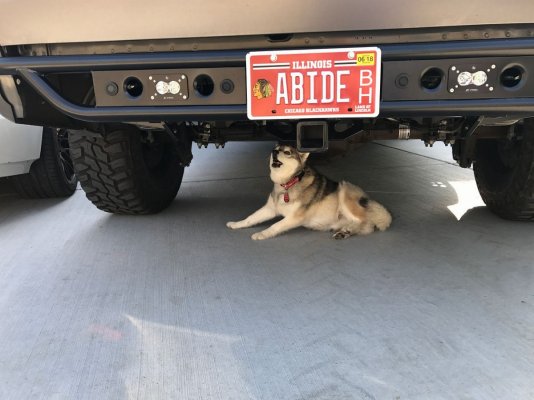
For the rear bumper, added the winch mount. It discretely tucks my X20 12,000 winch behind the rear license plate. Was looking to avoid adding weight up front, and liked getting some weight as far back as possible. Likely make some type of removable shroud to minimize mud and rock buildup. Added some flush mount S2 Pros for the tailgaters too… Most important bumper mod, re-acquired my Gen1 plate from the dmv… Still need to dovetail it, just putting that off until someone with steadier hands volunteers
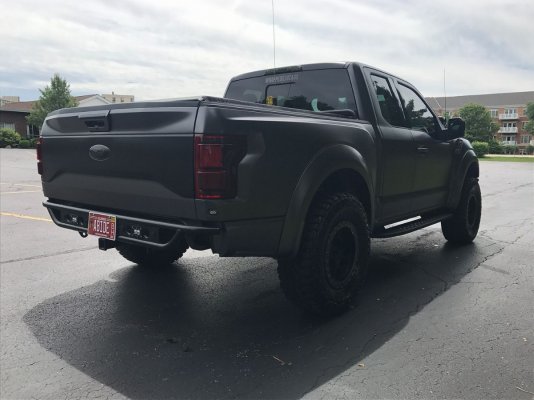
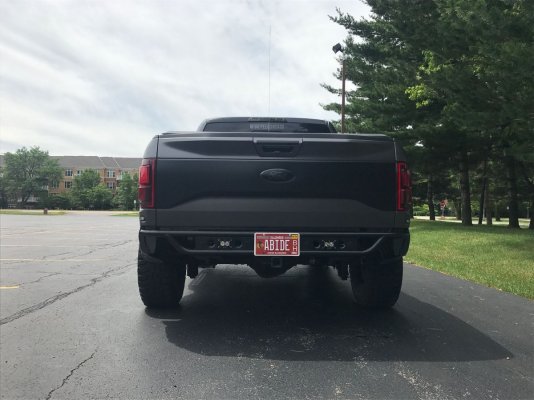
Exhaust DIY
The OE tailpipes lost their luster w/ new bumper. Not many exh offerings avail at the time, so decided to do a temporary DIY stock exh dump. Semi-Reversible if I wanted to go back stock, but cut tailpipes 8” up from the bend after the muffler. Then cut and spun those bends 180*. Done. Didn’t bother to better notch tip edges, but Sounds pretty good. Also it made for more clearances around the bump stop cross brace.
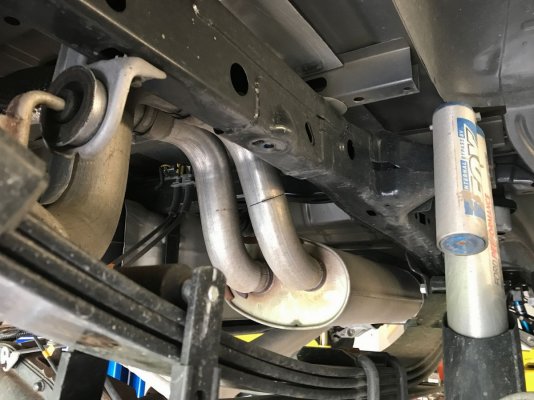
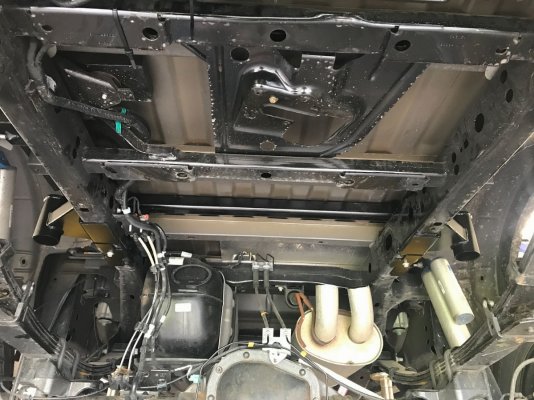
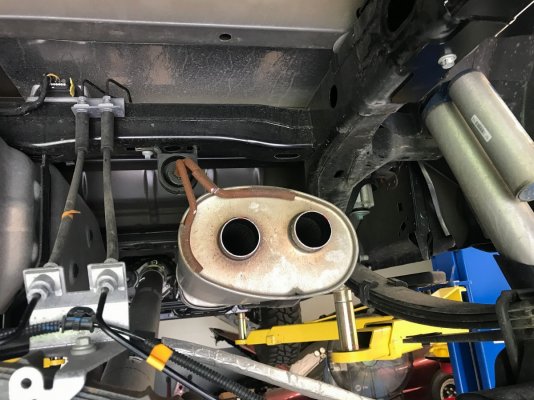
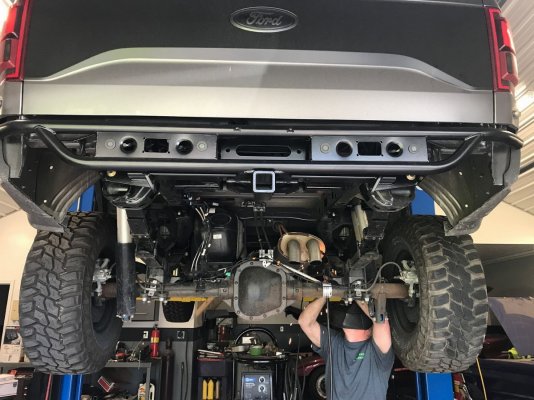
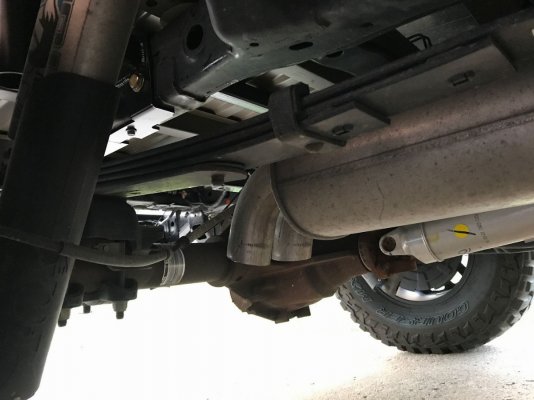
Might have considered keeping this exhaust, but did get in the window for the the corsa kit pre-order group. Plan to fab that similarly w/o tailpipes.
BumpStop
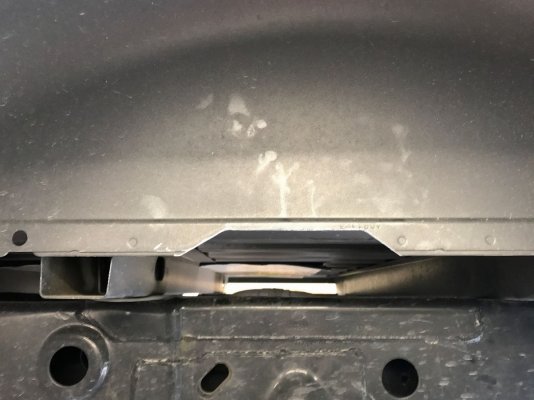
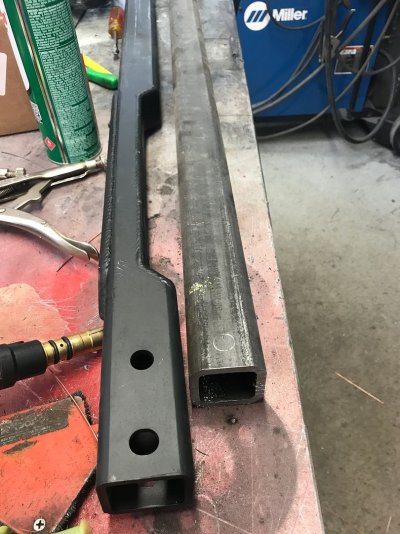
Along with the bumpers, added the RPG bumpstop kit. It is available with an OE exhaust brace, but wound up chopping mine so was not necessary. learned from my last bump kit, everything is easier with a lil notch

Trimmed up pinch weld for more clearance.
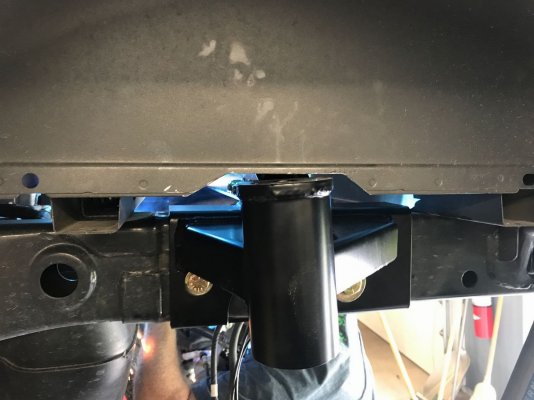
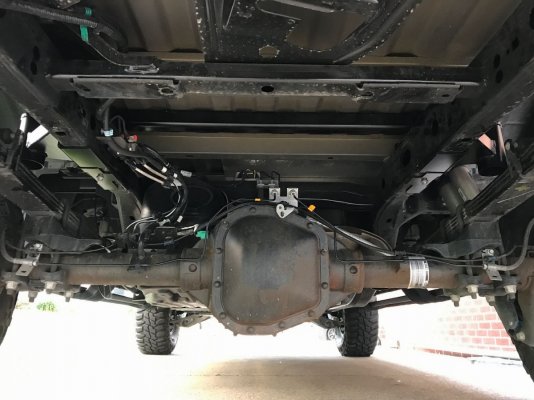
Notched cross brace for OE exhaust
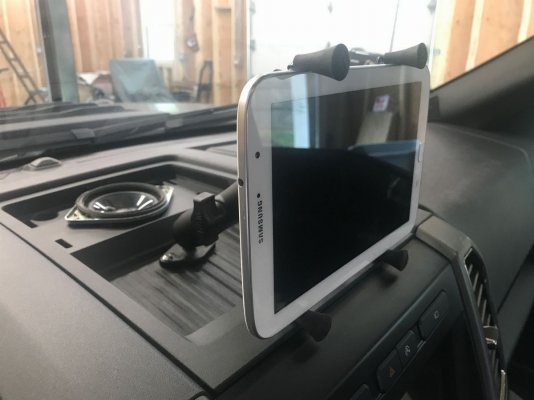
 Tablet mount
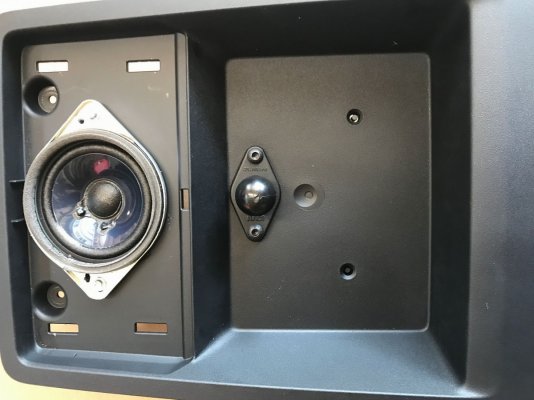
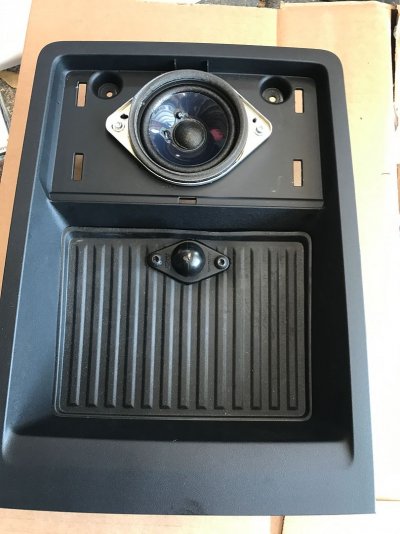
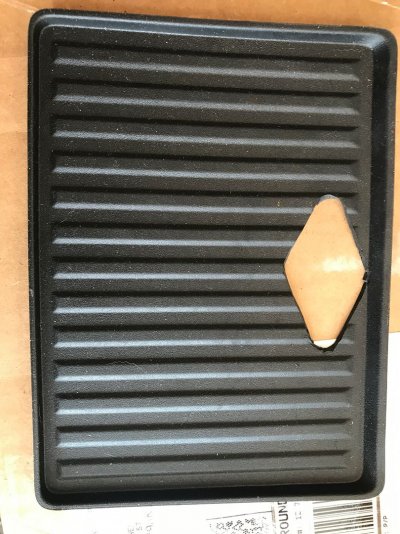
Again similar to ’12, a ram mount for a discrete and removable tablet solution. A new rubber mat will hide holes should I go a different route.
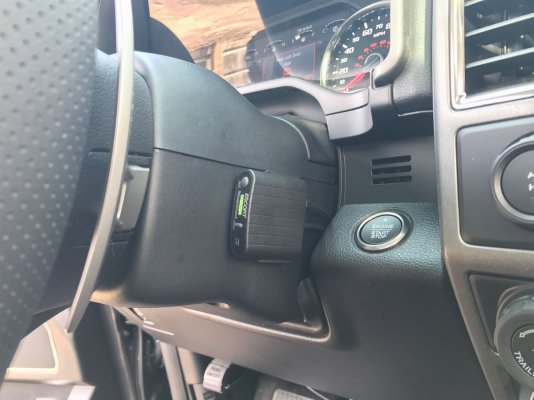
 Hardwire ****** 360 / Smartcord and Waylens Dashcam
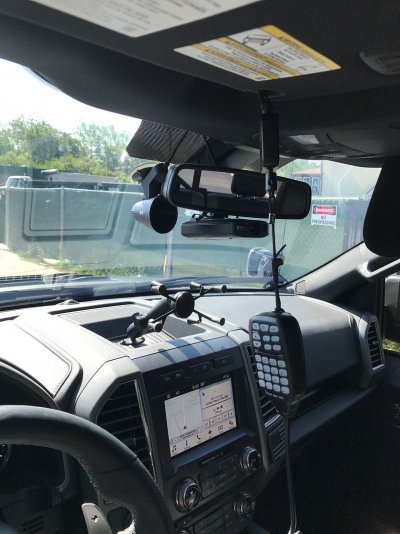
Looking to get some devices powered to key and constant, followed some other peoples lead, but powered via fusetap. writeup below
http://www.fordraptorforum.com/f266/how-hardwire-fusetap-52895/
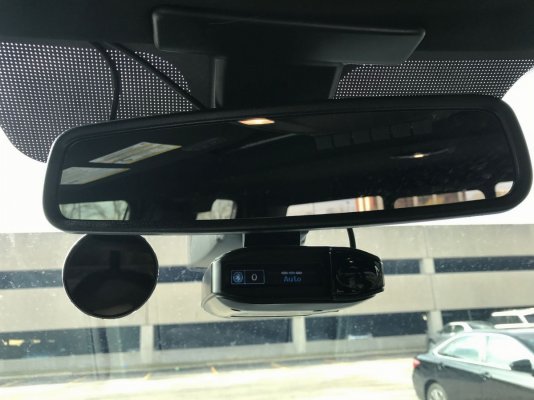
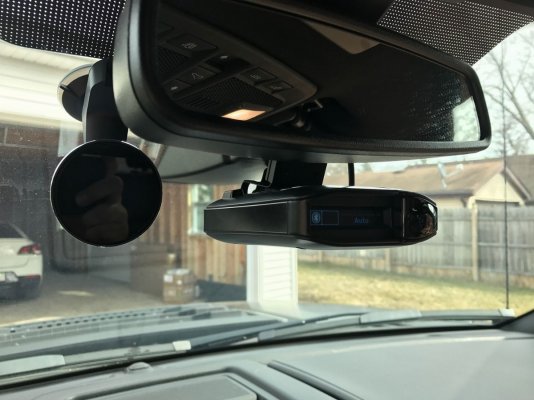
Waylens is pretty awesome compared to other dashcams I’ve used in the past... Though does not like being in the heat so far
more to writeup later... Bedrack, Deaver +3s...


