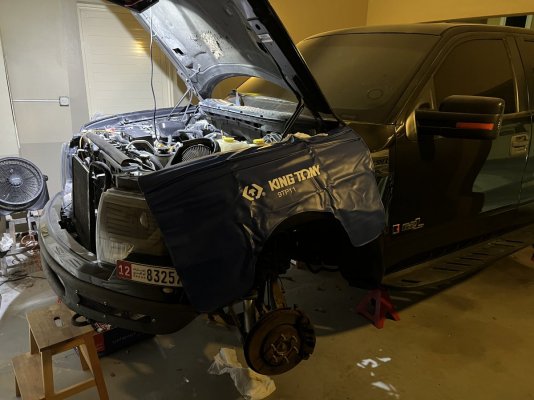
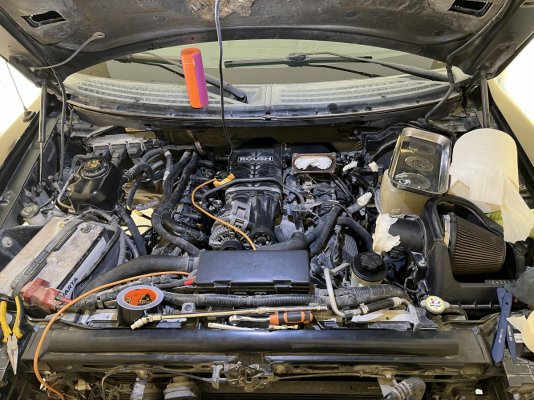
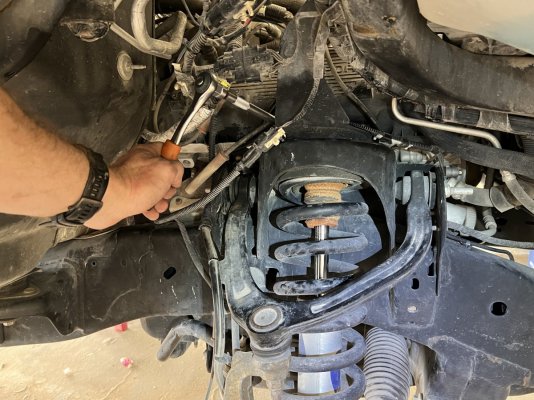
Hi all. Well, this is my first attempt at formally giving back to the FRF community. Just got my 2013 Roush a few months ago. Hopefully this is helpful to someone. I recently purchased the 700hp JDM upgrade kit and installed it over the weekend. I am happy to answer any questions about the overall install but thought I’d specifically post about replacing the spark plugs as it was…painful because of the SC.
Tools I used for the job:
· 5/16” socket, both 3/8” and ¼” (used for coil pack removals and 90 degree spacer between Throttle Body and SC—this, this is the painful part)
· 5/16” wrench (ratcheting if you have it)
· ¼” to 3/8” conversion socket
· 3/8” extensions- 10”, 6”, 3” if you have them (you may need to use ½” instead or have a breaker bar handy to get some of the plugs loose)
· ¼” extensions- 6” and 3” (you can probably get by with 3” only. Used these for the last two bolts behind the TB spacer)
· 6” Swivel spark plug socket (LIFE SAVER)
· 3/8” swivel joint
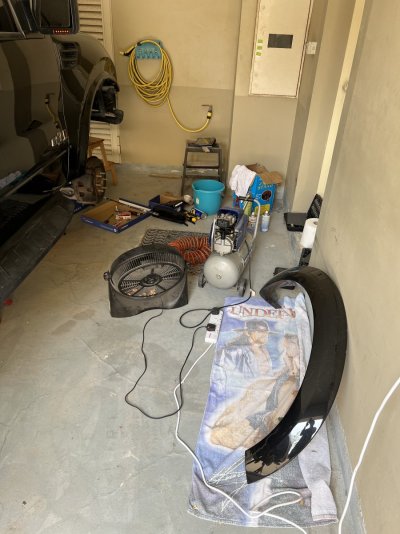
· (Optional) Air compressor and blow gun (I highly recommend blowing out the area around the coil packs and plug ports before starting this job)
It took me a little less than 3 hrs to complete 14 of the 16 spark plugs and then another 3 hrs to get the damn throttle body spacer off to get to the last two. If I did it over again I could do the job in 4hrs with the info below.
· You’ll need to remove the air intake completely. For the Roush intake it may be easier to remove the throttle body with the intake (I did anyway because I installed the Ford Racing 65mm TB) as the intake hose clamp tensioning bolt may be underneath the hose and impossible to reach.
· I recommend lifting the front end to get to the lower 8 plugs. I did those first, beginning with passenger side.
· I had to use the 10” extension with the 6” swivel plug socket for rear most plug on both sides, everything else I used the 6” extension with the swivel socket
· Once the bottoms were complete I lowered the front end and started on the top 8 plugs
· All but the rear most two on the drivers side were fairly straightforward- used the extensions with the swivel socket and the deed was done pretty quickly. I recommend doing them one by one- reduces the amount of gunk that may fall into the plug ports.
· Now to the difficult part. Removing the throttle body spacer was painful. The top front facing bolt was the only one easy to get to. For the front lower bolt I used a 5/16” wrench because of the space.
· REMEMBER, the rear bolts only need to be loosened enough to pull the spacer out. DO NOT remove them.
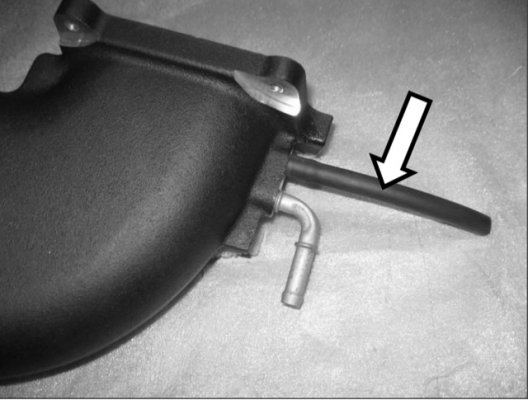
· There is also a small boost bypass hose at the back of the spacer that you’ll need to wrap your hand around and pull off the nipple coming off the back of the TB spacer, identifies below
· For the rear bolts I used the ¼” 6” extension, a ¼” to 3/8” conversion attachment and the 3/8” swivel joint, another 6” extension for the bottom bolt, and a Milwaukee 3/8” M12 ratchet (very hard to get a regular ratchet in that space). I literally had to lay a piece of cardboard over the engine, lay on top of the engine from radiator to SC.
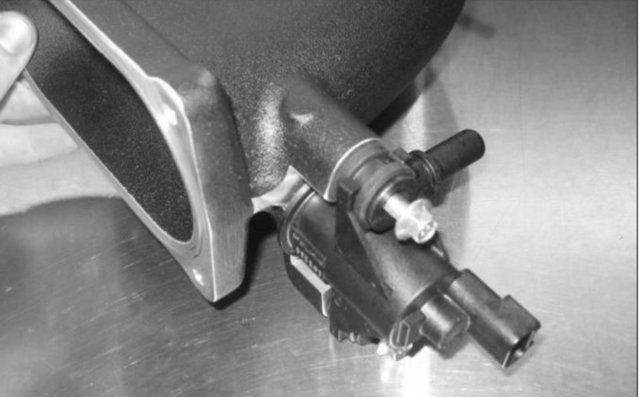
I also removed the VMV valve completely from the spacer. You may not need to but it’s only two bolts and gives a lot more room to play around
· For the top, rear bolt you should be able to slide a ¼” extension and 5/16” socket right over the top of the TB spacer and get it loose fairly easy.
· For the bottom rear bolt, I disconnected my JLT oil separator (PCV line on passenger side)
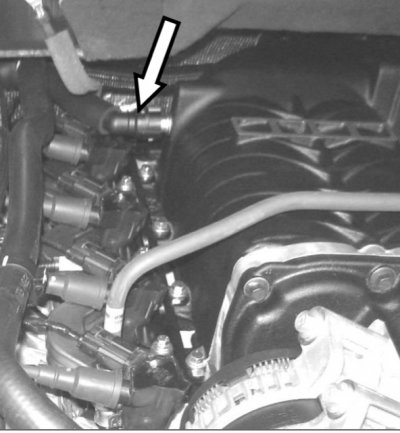
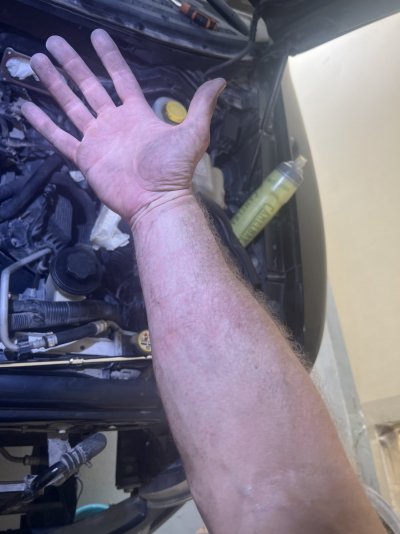
to get more room and wrapped my left arm around the left side of the SC until I could feel the rear most bottom bolt, guided the extension with my right hand around the back of the 90 degree spacer until I could line the socket up with my left hand to the bolt. There is a hose that runs right about in front of the bolt, making it even trickier. I had to do all I could to push the hose down with the extension while lining it up to the bolt
· Once you finally get the socket on the bolt and loosen it, you just need it loose enough to pull the spacer forward
· Once complete, now you can remove the last two coil packs on the driver’s side and complete the job.
· Once plugs are installed, re-install the coil packs, insert the TB spacer back onto the rear bolts that you loosened, tighten the bolts that you can, then climb back onto the engine and line that socket back up with the rear bolt and tighten that bad boy down.
· DON’T forget to re-connect the small boost bypass hose to the nipple on the back of the TB spacer!
· Reinstall all applicable hoses/electrical connectors that you may have disconnected underneath the air intake before re-installing it.
· Re-install the air intake and all appropriate hoses and wires.
There you have it folks. Please ask any questions and I will be happy to try and answer. I’m also certain that most folks on the forum are more thoughtful than I about some of this so feel free to opine. My next endeavor is the ICON Stage 3 kit and I’m thinking of doing write up of the install if not redundant.
Tools I used for the job:
· 5/16” socket, both 3/8” and ¼” (used for coil pack removals and 90 degree spacer between Throttle Body and SC—this, this is the painful part)
· 5/16” wrench (ratcheting if you have it)
· ¼” to 3/8” conversion socket
· 3/8” extensions- 10”, 6”, 3” if you have them (you may need to use ½” instead or have a breaker bar handy to get some of the plugs loose)
· ¼” extensions- 6” and 3” (you can probably get by with 3” only. Used these for the last two bolts behind the TB spacer)
· 6” Swivel spark plug socket (LIFE SAVER)
· 3/8” swivel joint
· (Optional) Air compressor and blow gun (I highly recommend blowing out the area around the coil packs and plug ports before starting this job)
It took me a little less than 3 hrs to complete 14 of the 16 spark plugs and then another 3 hrs to get the damn throttle body spacer off to get to the last two. If I did it over again I could do the job in 4hrs with the info below.
· You’ll need to remove the air intake completely. For the Roush intake it may be easier to remove the throttle body with the intake (I did anyway because I installed the Ford Racing 65mm TB) as the intake hose clamp tensioning bolt may be underneath the hose and impossible to reach.
· I recommend lifting the front end to get to the lower 8 plugs. I did those first, beginning with passenger side.
· I had to use the 10” extension with the 6” swivel plug socket for rear most plug on both sides, everything else I used the 6” extension with the swivel socket
· Once the bottoms were complete I lowered the front end and started on the top 8 plugs
· All but the rear most two on the drivers side were fairly straightforward- used the extensions with the swivel socket and the deed was done pretty quickly. I recommend doing them one by one- reduces the amount of gunk that may fall into the plug ports.
· Now to the difficult part. Removing the throttle body spacer was painful. The top front facing bolt was the only one easy to get to. For the front lower bolt I used a 5/16” wrench because of the space.
· REMEMBER, the rear bolts only need to be loosened enough to pull the spacer out. DO NOT remove them.
· There is also a small boost bypass hose at the back of the spacer that you’ll need to wrap your hand around and pull off the nipple coming off the back of the TB spacer, identifies below

· For the rear bolts I used the ¼” 6” extension, a ¼” to 3/8” conversion attachment and the 3/8” swivel joint, another 6” extension for the bottom bolt, and a Milwaukee 3/8” M12 ratchet (very hard to get a regular ratchet in that space). I literally had to lay a piece of cardboard over the engine, lay on top of the engine from radiator to SC.
I also removed the VMV valve completely from the spacer. You may not need to but it’s only two bolts and gives a lot more room to play around

· For the top, rear bolt you should be able to slide a ¼” extension and 5/16” socket right over the top of the TB spacer and get it loose fairly easy.
· For the bottom rear bolt, I disconnected my JLT oil separator (PCV line on passenger side)

to get more room and wrapped my left arm around the left side of the SC until I could feel the rear most bottom bolt, guided the extension with my right hand around the back of the 90 degree spacer until I could line the socket up with my left hand to the bolt. There is a hose that runs right about in front of the bolt, making it even trickier. I had to do all I could to push the hose down with the extension while lining it up to the bolt
· Once you finally get the socket on the bolt and loosen it, you just need it loose enough to pull the spacer forward
· Once complete, now you can remove the last two coil packs on the driver’s side and complete the job.
· Once plugs are installed, re-install the coil packs, insert the TB spacer back onto the rear bolts that you loosened, tighten the bolts that you can, then climb back onto the engine and line that socket back up with the rear bolt and tighten that bad boy down.
· DON’T forget to re-connect the small boost bypass hose to the nipple on the back of the TB spacer!
· Reinstall all applicable hoses/electrical connectors that you may have disconnected underneath the air intake before re-installing it.
· Re-install the air intake and all appropriate hoses and wires.
There you have it folks. Please ask any questions and I will be happy to try and answer. I’m also certain that most folks on the forum are more thoughtful than I about some of this so feel free to opine. My next endeavor is the ICON Stage 3 kit and I’m thinking of doing write up of the install if not redundant.


 )
)