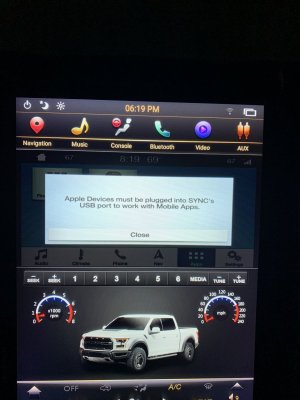
I went ahead and pulled some of the relevant info to get it all in one spot.
If I get a few minutes this weekend, I'll try and do a quick write up of the install steps as watching the video is a little slow and aggravating. lol
The unit:
https://www.phoenixautomotiveinc.co...on-radio-for-ford-f-150-f-250-f-350-2015-2019
Use code raptor10 for 10%
Phoenix Install Video:
Tools needed:
You need a Torx 10, 7mm socket with extension and two Phillips head (#2 and a small phillips)
Firmware Update:
https://www.dropbox.com/sh/ubh6eqqhxy7rl8b/AAAJrP7oSam-6v0PwVj6GU6Ya?dl=0
Firmware Update:
1. Load img file on to a Fat32 USB
2. Insert USB to radio
3. Radio should start updating automatically.
Canbus update:
1. Put the file on your thumb drive and make sure you don’t have a (1), (2), etc. at the end of the file name.
2. Insert thumb drive in the tablets USB port.
3. Verify the USB symbol appears at the top of the tablet.
4. Press settings.
5. Press system info.
6. Press and hold on screen until pin pad appears.
7. Type 7890 then OK.
8. Press MCU upgrade.
9. Press CAN upgrade.
10. Make sure plug box is indicated at the top of the screen.
11. Press simple upgrade.
12. Should start download automatically from there.
Adjust Screen Frequency/Refresh:
Go to settings
System info. Press and hold on the middle of the screen.
Enter code 7890.
Then under system settings. Scroll down until you see screen frequency. Change to high.
Save and reboot.
Adjust Screen Rendering:
Force GPU render and disable hardware overlay or whatever it’s called in the same spot under dev options. (need clarification)
How to Change Boot Up Screen:
https://phoenixautomotivellc.freshd...e-boot-up-screen-on-android-tesla-style-unit-

