Disclaimer: Links on this page pointing to Amazon, eBay and other sites may include affiliate code. If you click them and make a purchase, we may earn a small commission.

ayoustin

Full Access Member
Joined
Jul 31, 2018
Posts
166
Reaction score
259
Just picked up a bunch of those same cable anchors from Pegasus haha! Looks like you're definitely doing it all the right way ($$$) those Raychem boots are nice!

If you had stainless bolts seizing you're likely going to have similar results with Ti. Ti and most stainless have similar properties in regards to hardness and how much they don't like being used as threaded fasteners. The only time stainless and Ti threads don't easily gall is when they are micro polished, which most fastener manufacturers don't do. With that said, galling can all be overcome easily with anti seize on the threads.
 
OP
OP
Olsen Motorsports

Olsen Motorsports

Full Access Member
Joined
Mar 9, 2020
Posts
655
Reaction score
1,134
Location
Downers Grove, Illinois
Just picked up a bunch of those same cable anchors from Pegasus haha! Looks like you're definitely doing it all the right way ($$$) those Raychem boots are nice!

If you had stainless bolts seizing you're likely going to have similar results with Ti. Ti and most stainless have similar properties in regards to hardness and how much they don't like being used as threaded fasteners. The only time stainless and Ti threads don't easily gall is when they are micro polished, which most fastener manufacturers don't do. With that said, galling can all be overcome easily with anti seize on the threads.
Yes! Metal free anti sieze is a must on Titanium!
We are fortunate to have Pegasus and McMaster Carr super close to us!
Love to see pictures!
 
OP
OP
Olsen Motorsports

Olsen Motorsports

Full Access Member
Joined
Mar 9, 2020
Posts
655
Reaction score
1,134
Location
Downers Grove, Illinois
A4EEBE00-F9B9-458D-A39E-7968B67292E6.jpeg
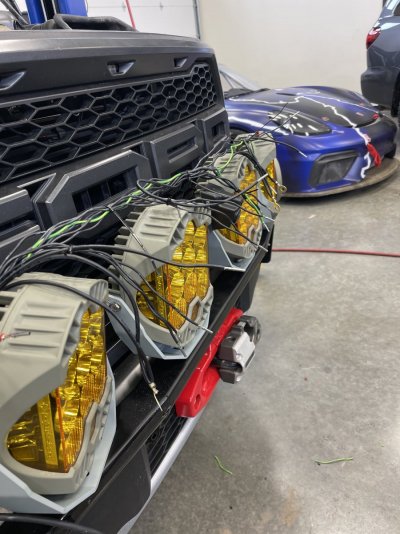
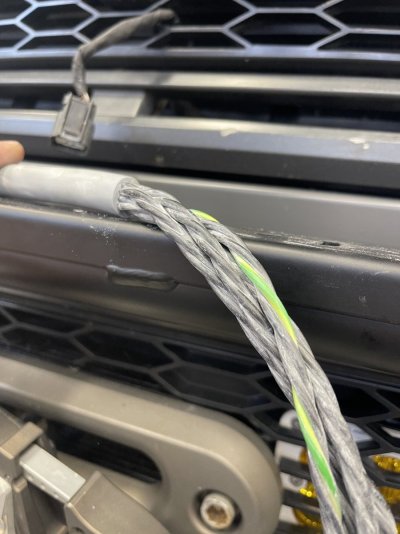
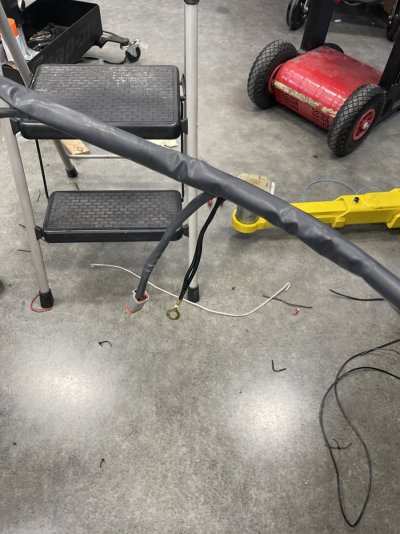
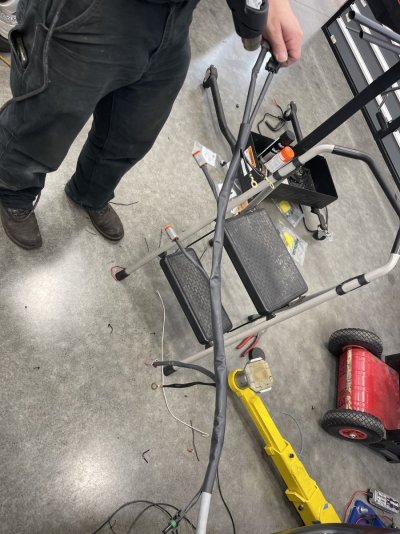
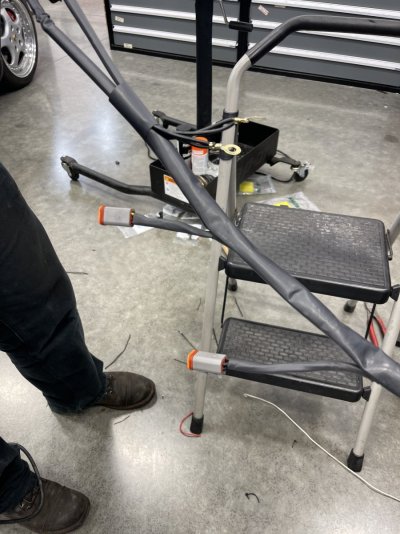
Got the loom laid out and pinned for the front LP9’s used a 12 conductor control cable for this 6286E531-0581-43A3-BE37-4B0EDE1E00E8.jpeg2CD00DAE-CD13-4CB9-AA36-47F4571F09FC.jpeg3101171F-51BA-4FC8-8BC5-20E8A16EC080.jpeg
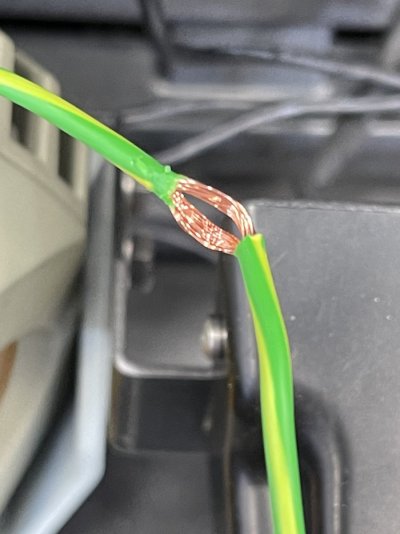
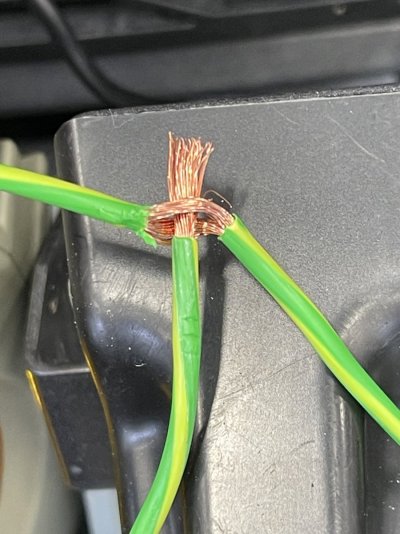
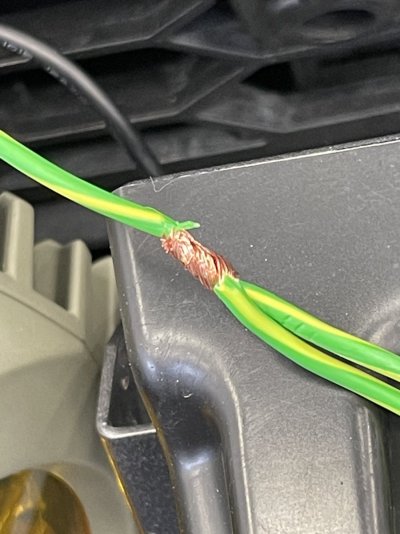
Needed to bridge the halo backlight for the LP9’s. Spliced it together on a loop and then trimmed to fit where we needed to terminate
 
OP
OP
Olsen Motorsports

Olsen Motorsports

Full Access Member
Joined
Mar 9, 2020
Posts
655
Reaction score
1,134
Location
Downers Grove, Illinois
594DE3A7-ADE4-4ECC-8771-DDE2B095ECEA.jpeg
DA078B08-61B0-4E6E-8D9E-3775807037FF.jpeg7FD09451-F43C-4A14-9CF5-FFD37201C375.jpeg
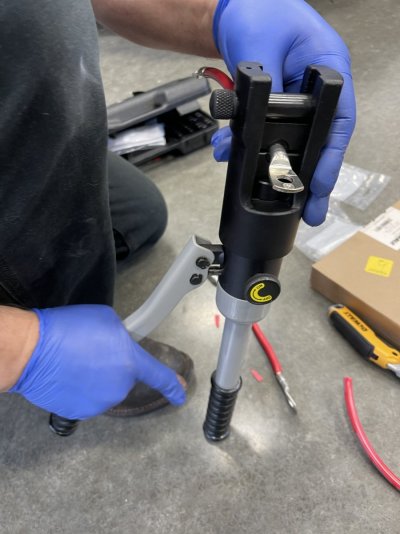
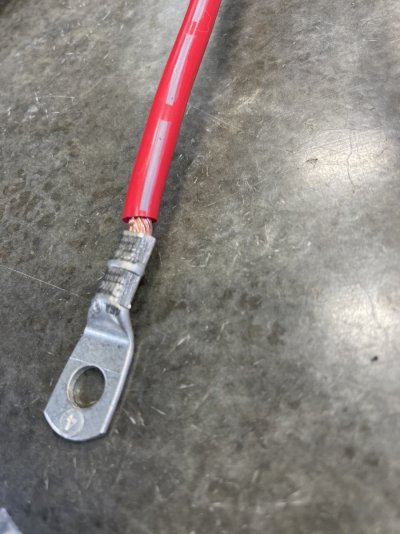
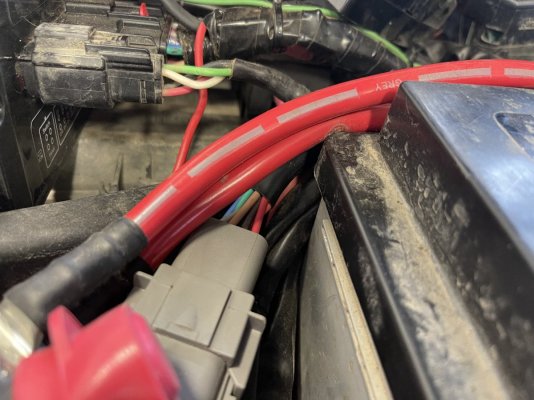
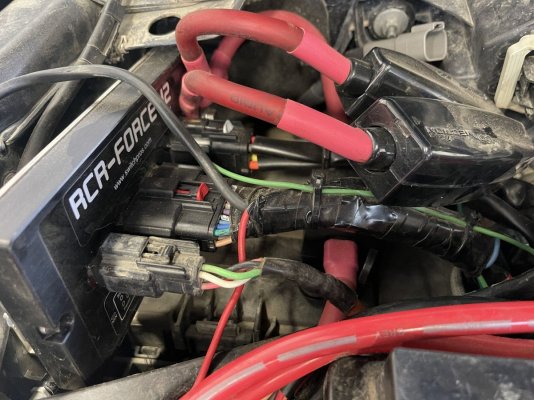
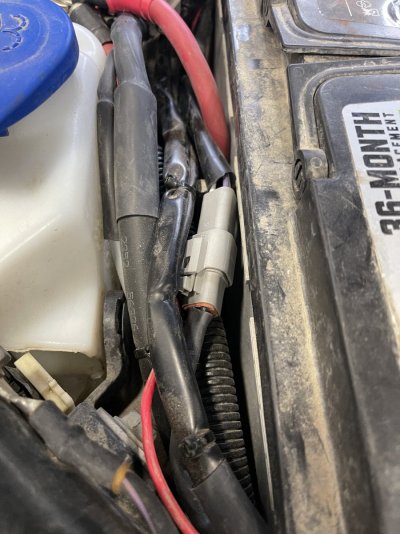
Got to try out the new hydraulic battery cable crimper makes it easy! So many power poles we ran an auxiliary battery terminal post. Doubled up the power jumper to the post for maximum amps. Between the winch’s, switch pros, amps, air compressors it’s just too much for the factory battery post. Plan is to run an auxiliary battery in the bed on a perko switch in the future to help.
05988118-2E5A-49AD-9C82-926A81DE6A7B.jpeg115DA254-C288-48F4-AE8C-83B7BCC13A21.jpeg
Everything for phase one (front circuits) is in and wired. Everything on connectors as well. Phase two for the bed circuits is roughed in to the bed but no time right now to get it done
 
OP
OP
Olsen Motorsports

Olsen Motorsports

Full Access Member
Joined
Mar 9, 2020
Posts
655
Reaction score
1,134
Location
Downers Grove, Illinois
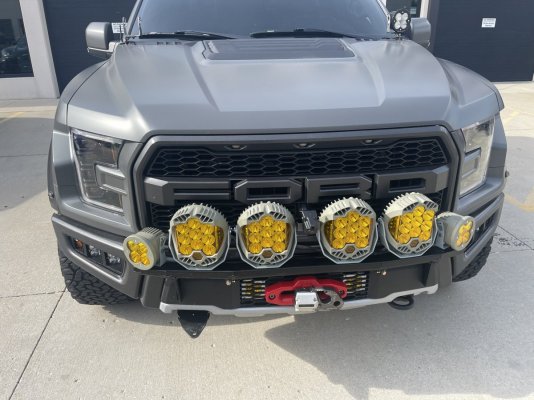
B51FEE29-393B-49BD-88EB-06669582420A.jpegAll done! Everything worked first try except the winch lights. Had power and ground reversed lol. But quick fix just move the pins on the main harness
49F88200-5CA6-4685-A4B5-BAECAC15017C.jpeg

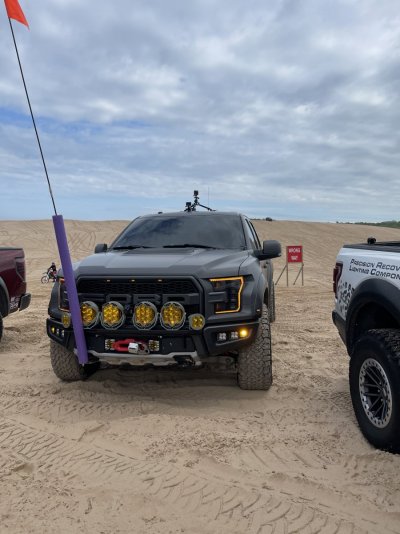
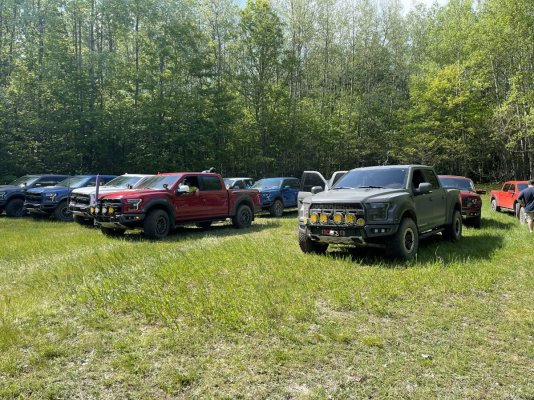
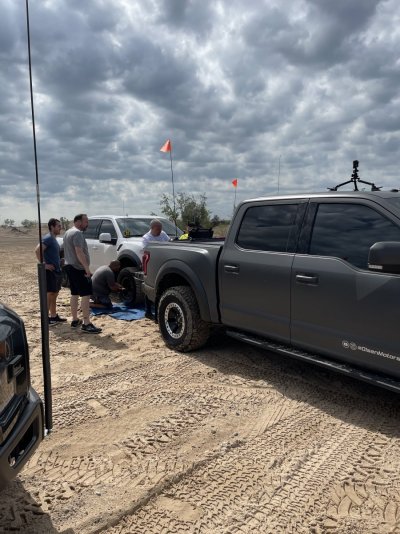
Made it out to the dunes with the raptor junkies guys for the weekend

A16D74A6-FC32-4926-892F-D04AC1AD3A1B.jpeg
475EF70E-4C35-4BB1-8842-858ADDF5050B.jpeg
everything worked flawless on the truck. Only issue was my buddie broke an axle so we had to change it out quickly.
 

RaptorDXB

FRF Supporting Member
Supporting Member
Joined
Jan 31, 2021
Posts
11
Reaction score
6
Location
Dubai, UAE
View attachment 169259
Everything for phase one (front circuits) is in and wired. Everything on connectors as well. Phase two for the bed circuits is roughed in to the bed but no time right now to get it done
Hi looks great, can you explain to me what you did here, it appears you have put more than one power cable to the switch pros, is there any risk with that? What are the black in line boxes Vection? Are they fuses for the winches, I'm assuming that one is the switch pros feed and the other two are the winches, I will have switch pros, one winch and two compressors, that require the chunky cables, the rest for ground and smaller ones I was looking at sealed buss bars, https://sealedbussbar.com
 
OP
OP
Olsen Motorsports

Olsen Motorsports

Full Access Member
Joined
Mar 9, 2020
Posts
655
Reaction score
1,134
Location
Downers Grove, Illinois
Hi looks great, can you explain to me what you did here, it appears you have put more than one power cable to the switch pros, is there any risk with that? What are the black in line boxes Vection? Are they fuses for the winches, I'm assuming that one is the switch pros feed and the other two are the winches, I will have switch pros, one winch and two compressors, that require the chunky cables, the rest for ground and smaller ones I was looking at sealed buss bars, https://sealedbussbar.com
The bus bar solution looks great!

We are using the power lug on the switch pro as a terminal block, those are the amplifiers running off that inbound power feed, everything is fused and that puts no strain on the switch pro - it is just a terminal block. it is no applying or drawing power through the switch pro.
 
OP
OP
Olsen Motorsports

Olsen Motorsports

Full Access Member
Joined
Mar 9, 2020
Posts
655
Reaction score
1,134
Location
Downers Grove, Illinois
Super excited about this. Going to do an infrared radar for the front of the truck. Just ordered all the bits!

https://navtv.com/products/NTV-KIT485/flir-pathfindir-ii-object-detection-system.html

This is the animal and pedestrian detection system

https://navtv.com/products/NTV-KIT930/cod-f43.html

Factory Nav screen integration (add’s an aux video input, as well as lets you use the cameras at any speed)

https://navtv.com/products/NTV-KIT588/flir-xw.html

FLIR XW - Interface that alerts you (beeps) and switches the factory nav screen to the FLIR view

This mod really gets me in the gizmo and gadget section, but there have been many times on the way to events driving late at night in the boonies that we have had some close calls, hope this helps with that!

Will try and get this one installed along with all the stuff in the bed!
 

smurfslayer

Be vewwy, vewwy quiet. We’re hunting sasquatch77
Joined
Dec 16, 2016
Posts
17,671
Reaction score
27,268
Super excited about this. Going to do an infrared radar for the front of the truck. Just ordered all the bits!

https://navtv.com/products/NTV-KIT485/flir-pathfindir-ii-object-detection-system.html

This is the animal and pedestrian detection system

https://navtv.com/products/NTV-KIT930/cod-f43.html

Factory Nav screen integration (add’s an aux video input, as well as lets you use the cameras at any speed)

https://navtv.com/products/NTV-KIT588/flir-xw.html

FLIR XW - Interface that alerts you (beeps) and switches the factory nav screen to the FLIR view

This mod really gets me in the gizmo and gadget section, but there have been many times on the way to events driving late at night in the boonies that we have had some close calls, hope this helps with that!

Will try and get this one installed along with all the stuff in the bed!

If you go this route, I think you’re going to need some B/D IR illuminators... Just sayin’
 
Top