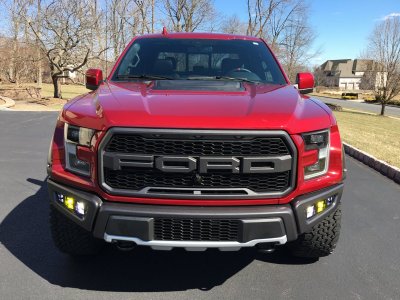
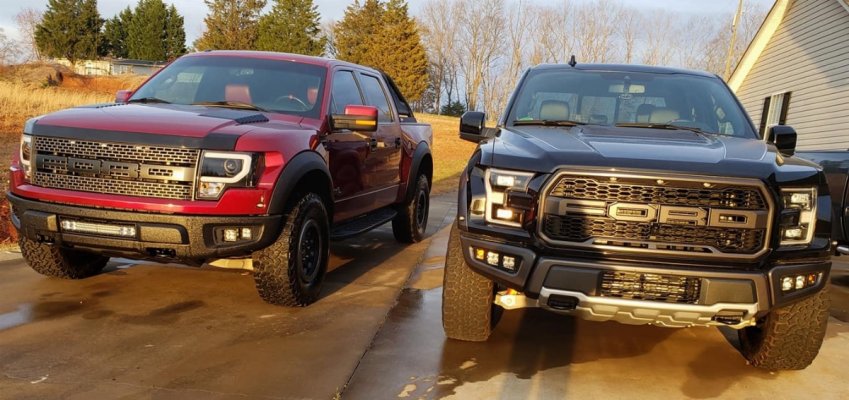
Here's a writeup on my Fog Light Kit install with a few notes and things i worked through during the prep and install this past weekend.
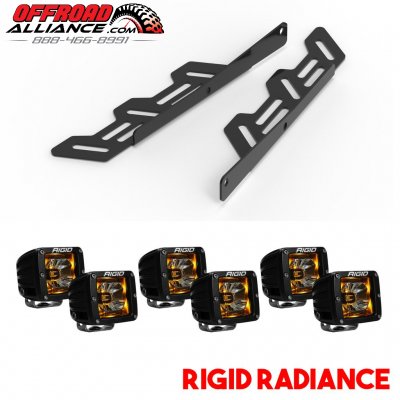
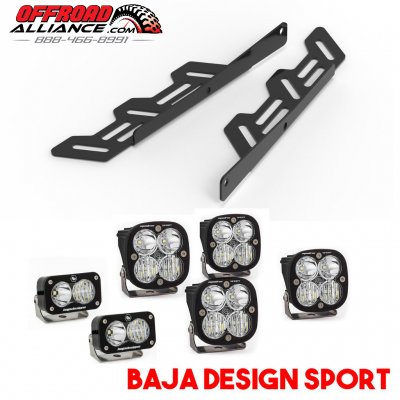
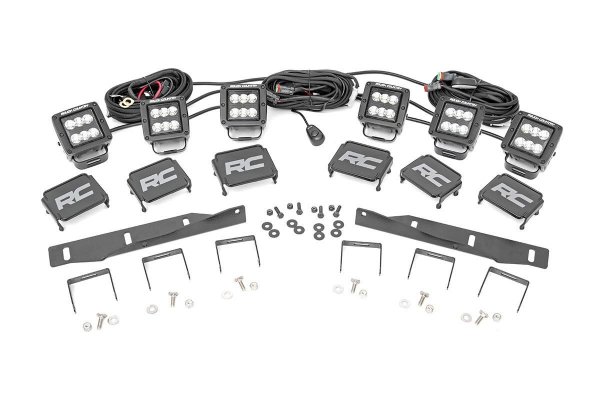
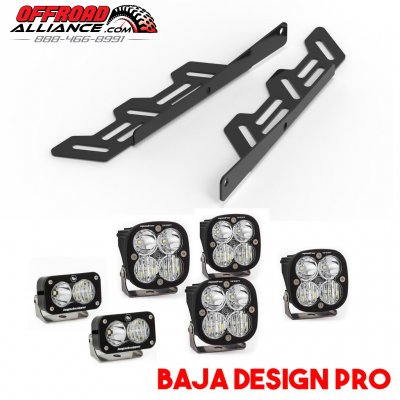
The kit I ordered included a mounting bracket, purpose built wiring harness (from FordRaptorLights.com), and 3 light pairs. The lights i ordered included Baja Designs Pro clear Spot lights for the inside pair, Baja Designs Pro amber Wide Cornering lights for the center pair and KC Highlighter Flex dark amber spots for the outside pair. The guys at FordRaptorLights indicated I could drive with outside dark amber spots on all the time if I liked which is basically correct as I have these aimed slightly down (vs straight ahead). The BD lights though are super bright the wide cornering amber lights by themselves light up 200 feet 180 degree arc around the whole front of the truck (they are my favorites for driving on dark roads with the thousands of deer around here). The clear BD spots will shoot a narrow beam 100+ yards straight ahead. so the combo of the 2 BD lights is awesome coverage. Looks like 5x brighter than my high beams.
The kit was a straight forward install. Start with the small rubber gasket they include that goes onto the edge of the bumper opening to protect the bracket and your bumper when you mount the bracket. The bracket has 2 bolts, I installed the center bolt loosely to hold it in place, then i used an ice pick to line up the holes for the upper corner bolt which is a bit harder to reach. This allowed me to tighten the center bolt a bit more then remove the ice pick and easily hand screw in the bolt and tighten them both evenly until the fog light frame line up cleanly to against the bumper opening. I had to check the rubber gasket a couple times to make sure it stayed cleanly in place. A 2nd person to help keep an eye on this while you tighten is recommended.
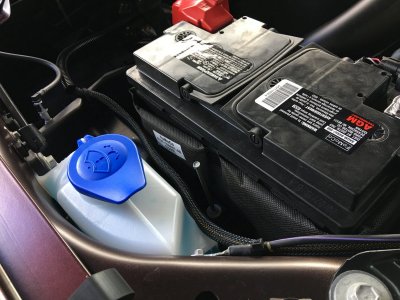
I then clipped in the supplied plastic light frames in each of the openings in the bracket. then bolted the lights in place hand tightened for the moment and connect the lights to supplied quick connect harness. I routed the harness over the top of the truck frame on the passenger side and thru the skid plate opening to get to the drivers side lights, following another harness which was already there and zippy tied to it in 3 places. On the drivers side i also routed the harness over the top of the truck frame and connected the lights. I then pushed the switch side of the fog light harness up from the passenger side in front of the battery (again following another factory harness and laid it along the outside edge of the Plastic battery holder.
Then I found the Upfitter wires which were taped back behind one of the big engine harnesses on the firewall. I unplugged the engine harness (easy) to make it easier to get to the up fitter wires as they were folded up with tape (took the tape off straighten the 6 wires towards me keeping them on the firewall side of the engine harnesses) then pugged the engine harness back in.
The 6 up fitter wires are easy to tell apart (use a flashlight to see the wire colors better if needed). Of the 6 wires there are 2 that are thicker wires (these are switch 1 and 2 and 15Amp each), 2 that are medium thick (these are switch 3 and 4 and 10 Amp each) and 2 that and thin (these are the 5 amp wires for switch 5 and 6).
I used switch 1 for the BD spot, switch 2 for the BD wide corners, and switch 3 for the KC flex.
The Fog Light wiring harness is a color coded on each end so no mixing up stuff. The black wire in the harness goes to ground. I used one of the bolts that holding up the fuse box near the up fitter wires, 10MM socket to take the bolt off. I went to Napa and picked up 1 foot of solid core 16 gauge wire and a crimp on eye connector to connect the wire to the grounding spot. The other end of the wire I connected to the Black ground wire on the fog light wiring harness. I used Crimp connectors with shrink tubing covers and a wire heat gun to shrink the tubing over the connectors for an air tight seal. You can use a candle lighter (carefully) to shrink the tubing around each if you don't have a hot air gun. Then to make everything clean, I used a 1/2" black split cable harness cover sleeve (cut it to the length i needed) and placed 6 up fitter wires in it (3 used and 3 un-used for now).
Carefully drilled 3 holes in various plastic pieces to zippy tie a few more places to make everything very neat, otherwise I followed other factory harnesses and zippy tied to them. I then (having the truck facing a wall in my garage) turned on each light pair and adjusted beam position and tighten them down. Done.
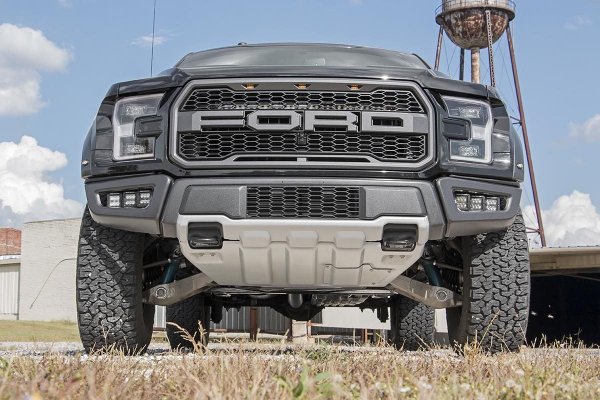
Thanks to the guys at FordRaptorLights.com they are open late which is nice if needed. PS i added the amber covers to the outside KC flex highlighters after i took this picture.
