screaminfast
Full Access Member
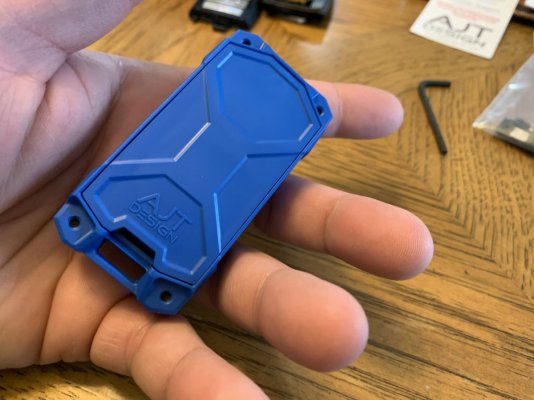
Hey Guys, I stumbled across this on my interwebs travels and thought I'd give it a try, give my review and a little HOWTO. It's an AJT Designs Injection Molded key fob.
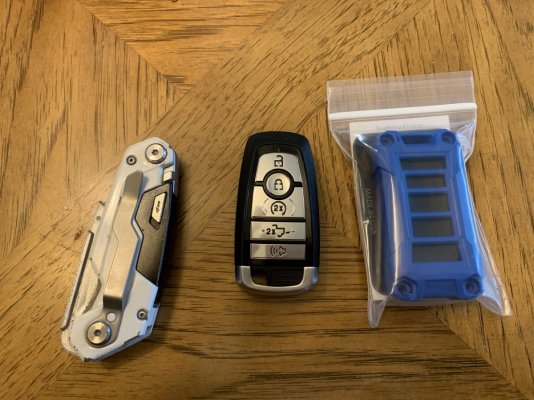
First off, I didn't want to use one of my raptor-branded keys because you permanently destroy the original fob to put the electronics into the new case. So I picked up a new replacement fob off of amazon (https://amzn.to/3X4hPzy) and created a little video on programming it as long as you have two other Admin keys.
Once I had the new fob programmed and verified that it worked, I started on the taking it apart and putting it into the AJT case. AJT has a decent video on youtube which I'll put a link to at the end but there were a few minor variances from his video to what I had to do.
Let's get started!
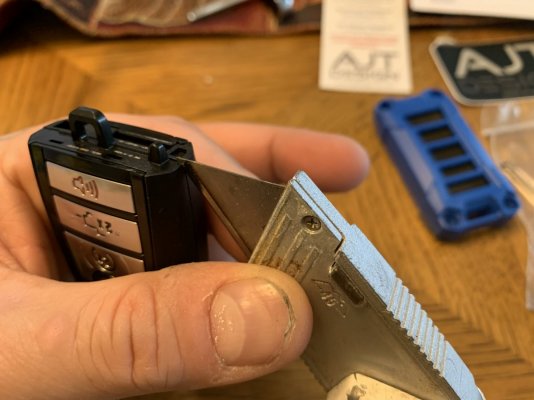
First you want to pop off the back and remove the batter from the fob. Then with a sharp utility blade (I used a dewalt carbide blade) you want to slowly go around the outside seam over and over to cut through the glue that is holding the two sides together. In the corners I pressed the blade in a little farther to help separate the halves. Be careful not to push in too deep because the circuit board is in there.
Eventually it will split apart or enough that you can pull it apart. Try not to send the circuit board into your face like I did.
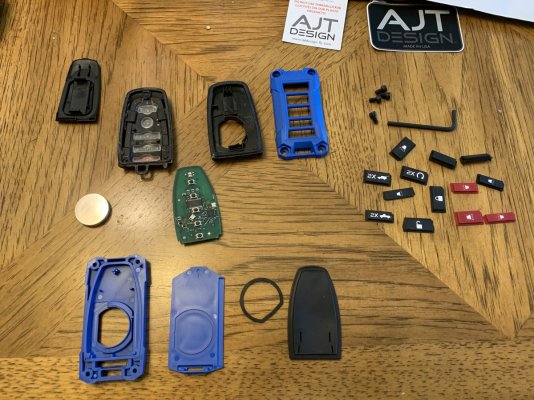
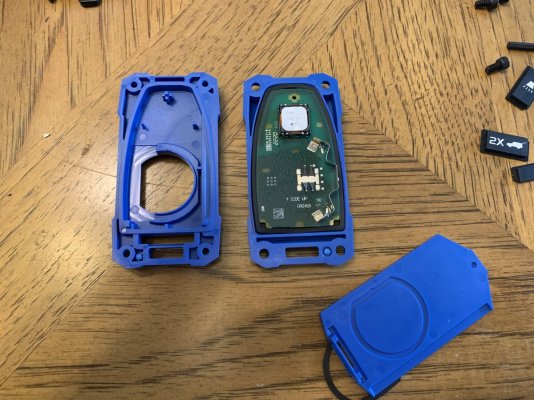
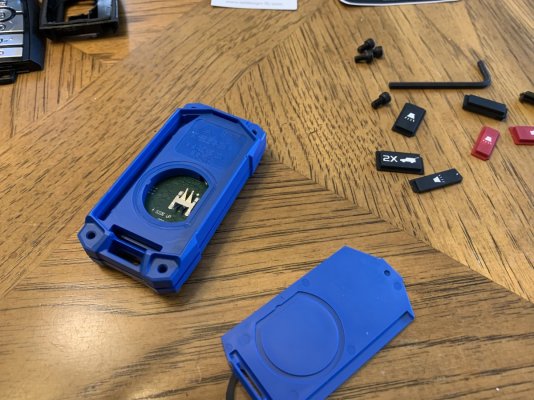
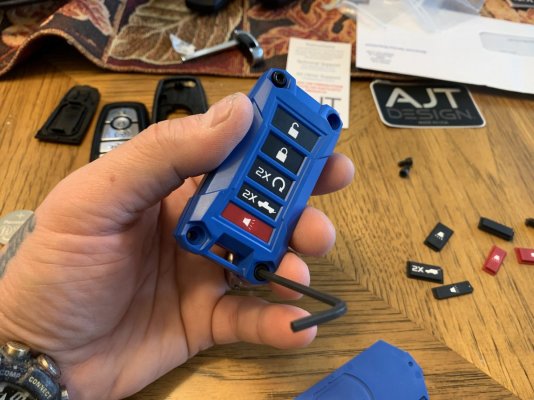
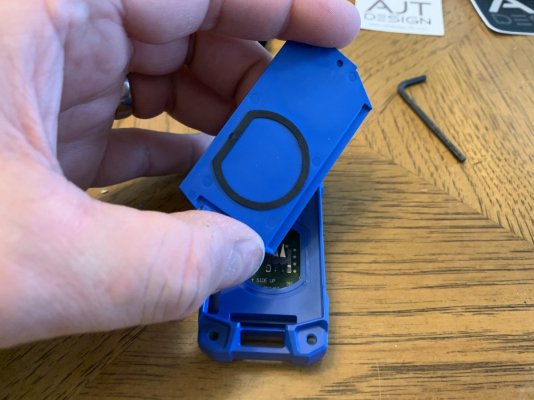
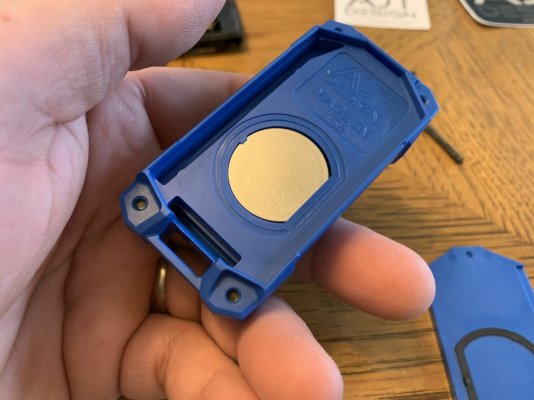
Now you are ready to start assembling the new fob case. Start by laying out the buttons into their respective places. It is more of a universal kit, but you pretty much can't mess it up. I ordered the ones that came with red panic buttons. I also laid the circuit board onto the back to see how it fit in there.
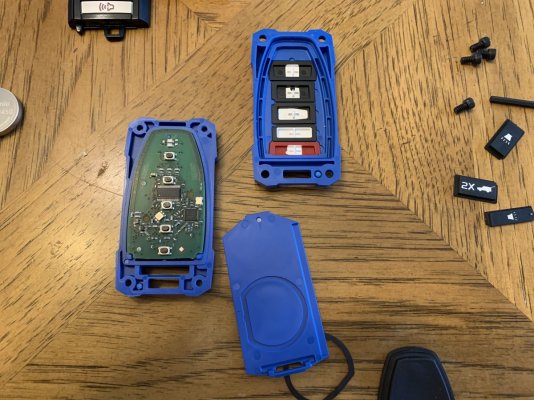
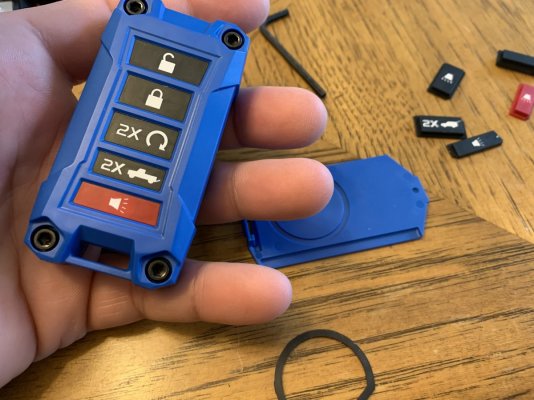
Take the large black rubber sealing gasket and place it over the back of the buttons you just installed into the front and press it down into there so it's flush.
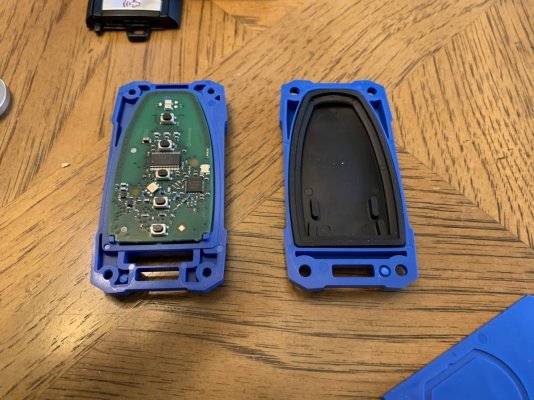
Continued....

First off, I didn't want to use one of my raptor-branded keys because you permanently destroy the original fob to put the electronics into the new case. So I picked up a new replacement fob off of amazon (https://amzn.to/3X4hPzy) and created a little video on programming it as long as you have two other Admin keys.
Once I had the new fob programmed and verified that it worked, I started on the taking it apart and putting it into the AJT case. AJT has a decent video on youtube which I'll put a link to at the end but there were a few minor variances from his video to what I had to do.
Let's get started!
First you want to pop off the back and remove the batter from the fob. Then with a sharp utility blade (I used a dewalt carbide blade) you want to slowly go around the outside seam over and over to cut through the glue that is holding the two sides together. In the corners I pressed the blade in a little farther to help separate the halves. Be careful not to push in too deep because the circuit board is in there.

Eventually it will split apart or enough that you can pull it apart. Try not to send the circuit board into your face like I did.

Now you are ready to start assembling the new fob case. Start by laying out the buttons into their respective places. It is more of a universal kit, but you pretty much can't mess it up. I ordered the ones that came with red panic buttons. I also laid the circuit board onto the back to see how it fit in there.

Take the large black rubber sealing gasket and place it over the back of the buttons you just installed into the front and press it down into there so it's flush.

Continued....


