New Key Fob Case!!

Disclaimer: Links on this page pointing to Amazon, eBay and other sites may include affiliate code. If you click them and make a purchase, we may earn a small commission.

screaminfast

Full Access Member
Joined
Sep 30, 2022
Posts
121
Reaction score
119
Location
Rochester NY
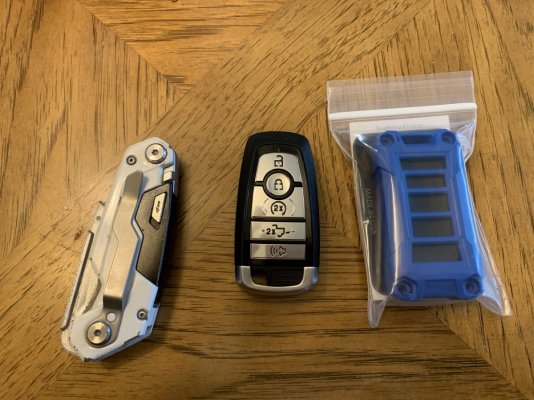
Hey Guys, I stumbled across this on my interwebs travels and thought I'd give it a try, give my review and a little HOWTO. It's an AJT Designs Injection Molded key fob.
raptor-key-01.jpg

First off, I didn't want to use one of my raptor-branded keys because you permanently destroy the original fob to put the electronics into the new case. So I picked up a new replacement fob off of amazon (https://amzn.to/3X4hPzy) and created a little video on programming it as long as you have two other Admin keys.


Once I had the new fob programmed and verified that it worked, I started on the taking it apart and putting it into the AJT case. AJT has a decent video on youtube which I'll put a link to at the end but there were a few minor variances from his video to what I had to do.

Let's get started!

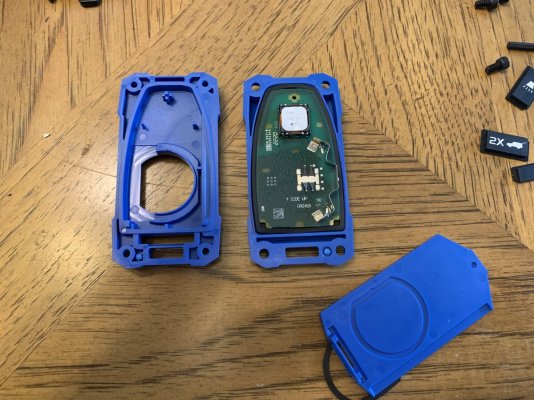
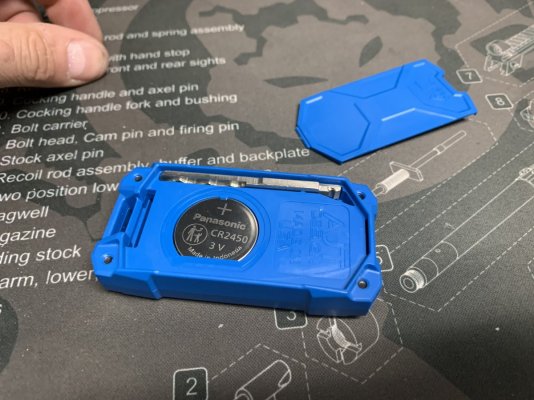
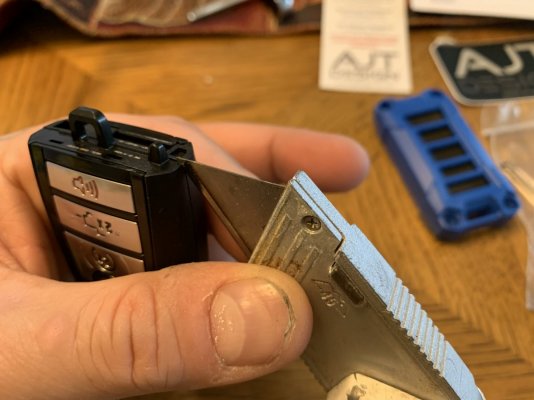
First you want to pop off the back and remove the batter from the fob. Then with a sharp utility blade (I used a dewalt carbide blade) you want to slowly go around the outside seam over and over to cut through the glue that is holding the two sides together. In the corners I pressed the blade in a little farther to help separate the halves. Be careful not to push in too deep because the circuit board is in there.
raptor-key-02.jpg

Eventually it will split apart or enough that you can pull it apart. Try not to send the circuit board into your face like I did.
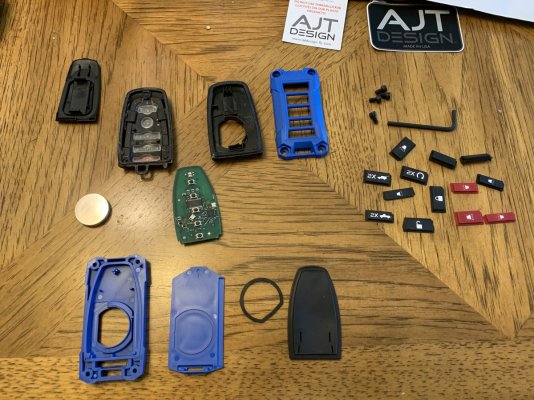
raptor-key-03.jpg


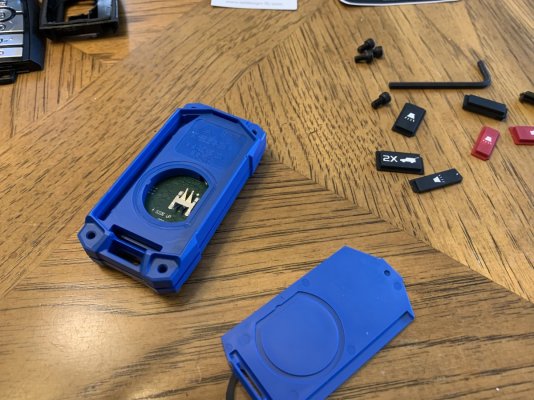
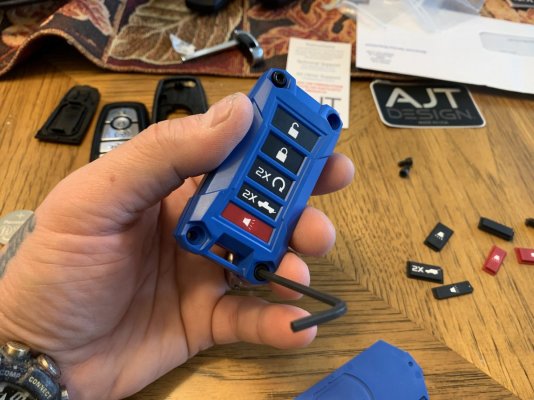
Now you are ready to start assembling the new fob case. Start by laying out the buttons into their respective places. It is more of a universal kit, but you pretty much can't mess it up. I ordered the ones that came with red panic buttons. I also laid the circuit board onto the back to see how it fit in there.
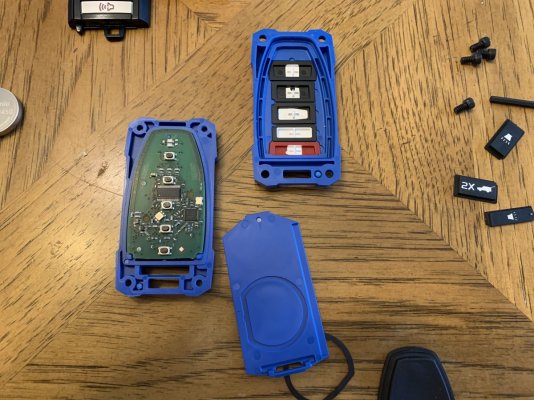
raptor-key-04.jpg


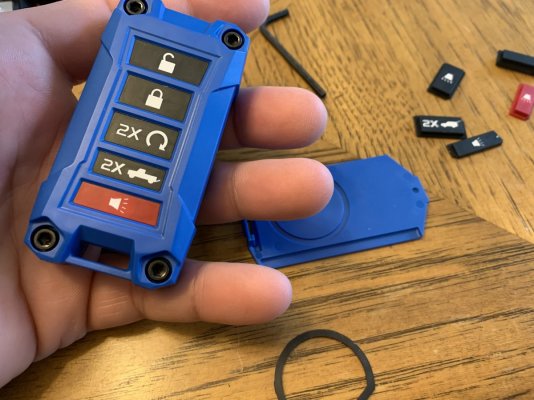
Take the large black rubber sealing gasket and place it over the back of the buttons you just installed into the front and press it down into there so it's flush.
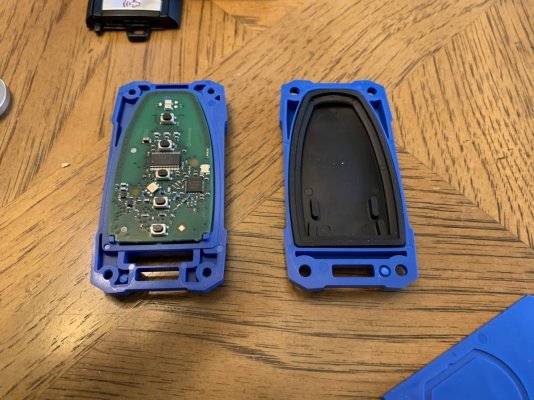

raptor-key-05.jpg


Continued....
 
OP
OP
screaminfast

screaminfast

Full Access Member
Joined
Sep 30, 2022
Posts
121
Reaction score
119
Location
Rochester NY
Once you have that gasket in there, take the circuit board and place it into the front half with the buttons down. Press the circuit board into place and it should stay into the gasket.

raptor-key-06.jpg


Align the back onto the front piece noting the tabs and the hole at the top of the circuit board.


raptor-key-07.jpg


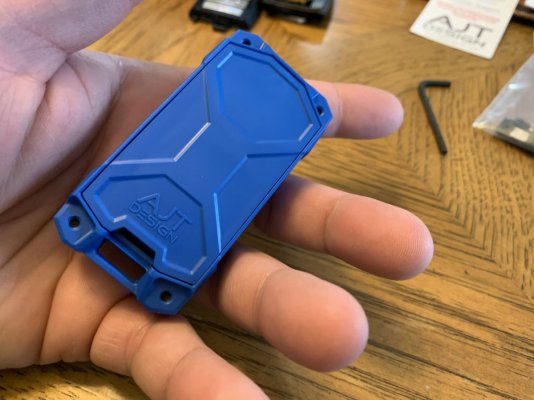
GENTLY install the screws with the supplied allen key in a criss-cross style. I did them finger tight. Remember they are plastic threads.

raptor-key-08.jpg

raptor-key-09.jpg


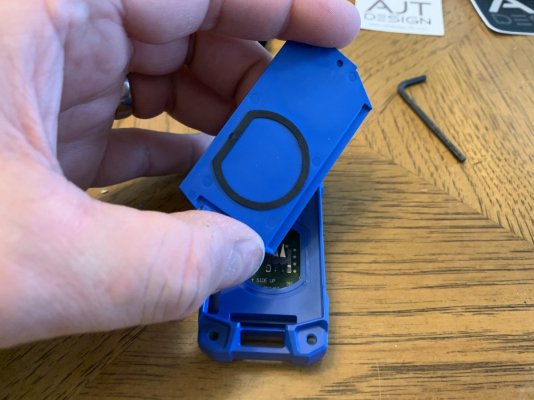
Grab the back plate and press the battery gasket into place on there. It should fit into the little deboss on there and stay in place.

raptor-key-10.jpg


Continued...
 
Last edited:
OP
OP
screaminfast

screaminfast

Full Access Member
Joined
Sep 30, 2022
Posts
121
Reaction score
119
Location
Rochester NY
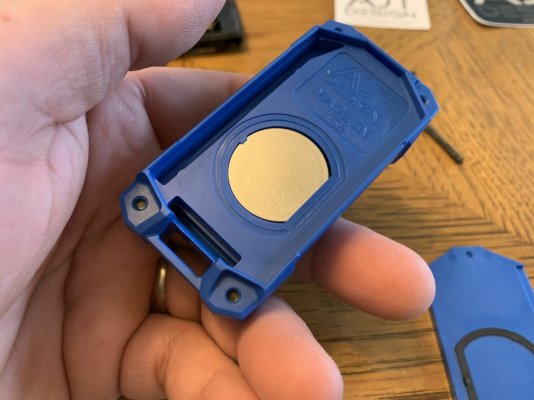
Insert the battery into the fob case gently minding the tiny plastic tab that holds in in there.

raptor-key-11.jpg


After getting this far, I went over to my local ford dealership and asked them if the would cut the new backup key for me. The first dude said he had to ask the manager, but when the manager came out, it was someone I knew from back in the day at another bmw speed shop. Turns out the hesitation was that some of the aftermarket ones are very hard and break the bits. Most locksmiths and dealers can cut this key for you or you can decide not to do it at all. I wanted to have it with the new fob. The parts department didn't even charge me to cut the key.

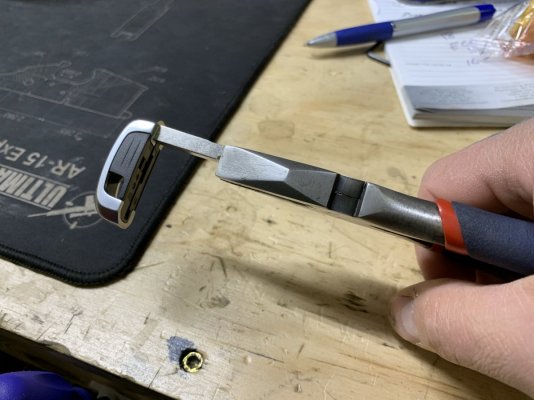
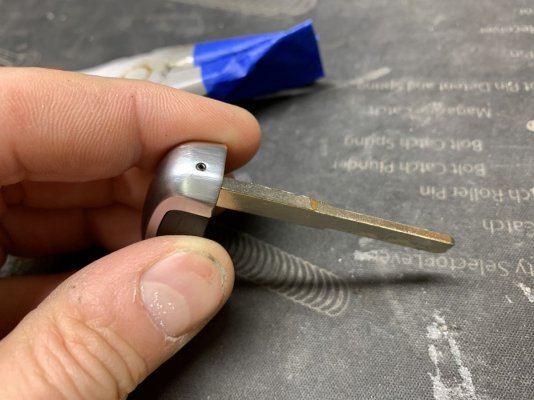
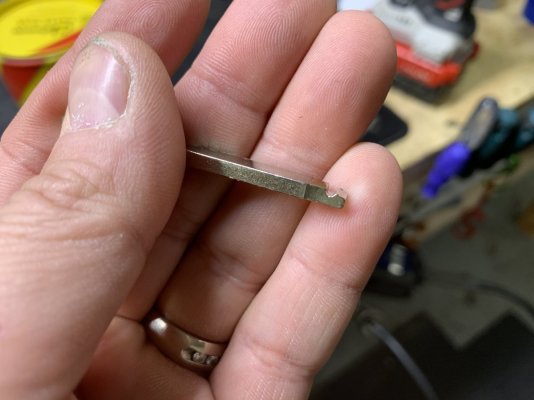
Once cut, I headed to my shop to remove the key from the factor lower fob part. The video from AJT shows it just being pulled out. Mine did not want to until I noticed that there was a tiny little roll pin in the side of it. If you have this roll pin (My factory MY18 Raptor ones also have this), you will need to drill it out. I used a 5/64th drill bit and just went slowly until I could feel the key wiggling. Also if you don't want to scratch up your key, you can put tape on your pliers or vice grips.


raptor-key-12.jpg


raptor-key-13.jpg


raptor-key-14.jpg


Once you have it out, just place it into the back of the AJT key fob case with the key side towards the battery. Side note, since my key got some gouges and it was freshly cut anyways, I just took it to my grey wheel and cleaned up the burrs and the sides.


raptor-key-15.jpg


Continued...
 
OP
OP
screaminfast

screaminfast

Full Access Member
Joined
Sep 30, 2022
Posts
121
Reaction score
119
Location
Rochester NY
The last thing to do is to just pop the rear cover back on and you're all done!

raptor-key-16.jpg


First Impressions:

The fob case is very well designed, and tolerance seem great from an injection molding standpoint. Overall installation took maybe 10-15 minutes, another 10-15 to get the backup key out and cleaned up. With the gaskets, the board should be completely sealed and waterproof, but I don't plan on testing that. I'm pretty happy with the purchase and it's really just another thing to make my raptor my own.

Notes:

- Remember DO NOT OVERTIGHTEN the case screws. They would easily strip the plastic. If you're worried about it, you could get some keenserts or something from mcmaster to have metal threads.

- The backup key is VERY hard to use without the additional torque of the bottom part of the factory key fob. Maybe AJT could make a revision that has a slot to use to aid in turning it. I highly doubt I'll have to use it, but just a thought

- When testing the backup key, don't pull the door handle and be an idiot like me. It will get stuck under the handle cover. You can get the handle to go back down, but it was frustating.

- The front of the AJT case does not have a cutout or transluscent part for the LED, so you will lose the status indicator for your remote start.


Links:

AJT Ford Key Fob Cases: https://www.ajtdesign-llc.com/online-store/Ford-c133931030

AJT Install Video:

Replacement Key on Amazon: https://amzn.to/3X4hPzy


Disclaimer: I have no association to AJT nor benefit at all from this write-up. I just really liked it and wanted to post something constructive on here.

Thanks!
 

isis

FRF Supporting Member
Supporting Member
Joined
Aug 28, 2019
Posts
1,836
Reaction score
1,780
Location
PA
Why did you decide to go this route rather than getting a fob cover?
Same question. I got a cf looking one on eBay that just snaps on. Way easier
 

melvimbe

FRF Addict
Joined
Jul 22, 2019
Posts
4,878
Reaction score
6,436
Location
Houston, TX
Hard no for me. Looks bigger than the OEM one, I don't see the point. It's like stabbing yourself in the eye for fun.

Eh. I wouldn't go to that extreme. Sometimes, you want to build your own thing, rather than buy the thing for cheaper because it's fun to build or something...even if there is no additional functionality to doing it custom. This doesn't look all that fun and no new functionality that I can see.
 

melvimbe

FRF Addict
Joined
Jul 22, 2019
Posts
4,878
Reaction score
6,436
Location
Houston, TX
Some questions...does your new keyfob still work in terms of being detected to unlock doors by touch and start up the truck, or do you lose that?

Also, can you rearrange the button locations? Can you replace buttons with blanks, if you didn't want have an unlock button for some reason? Can you add buttons to control something other than truck, like unlike your house or something? Trying to find a reason why this could be useful.
 
Top