bigrig
Full Access Member
Creating and Installing a Mount for a Lowrance HDS-7
After reading one of the prerequisites for joining Raptor Expeditions on their Barstow to Vegas run was to install a Lowrance unit, I started looking around for one to install. I picked up a HDS-7 Gen3 on Ebay for $899.
Once it arrived it dawned on me that I needed a mount for it. After looking at the mounts on RPG, Outlaw Offroad and LGE CTS*Motorsports, all going for around $100, I thought to myself, "I could easily make a mount as good as this." Well, like all my projects, it took me longer than expected, and after buying some tools, ended up costing me a little more than $100. But the pride in making something myself is part the reward so here is the story if you care to know more about it.
Tools I used:
Lowrance Bracket:
I first made a trip out to our local scrap metal warehouse and picked up a really clean piece of aluminum. I bought more than what I needed in case of mistakes (which turned out to be a good thing as you will see below). It ended up costing me about $8.00.
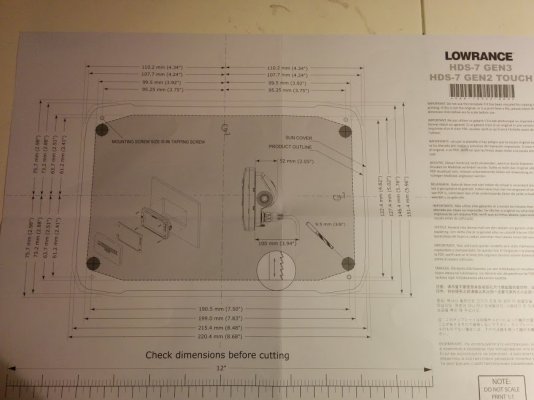
Lowrance Template:
The Lowrance unit comes with a template to assist with cutting (mostly for flush mounts in boats, but works perfect for this application too).
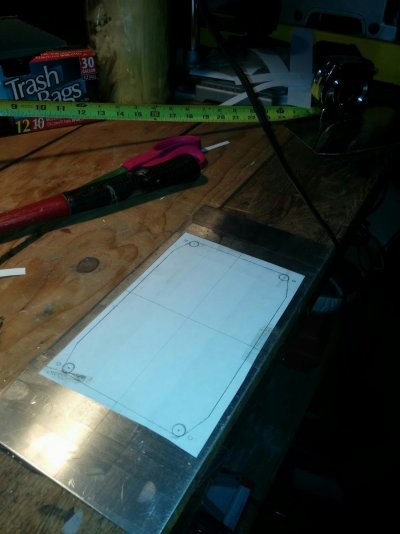
My traced out template:
I used some printer paper to trace out the outline on the template page so I could reuse the template in the event I made a mistake.
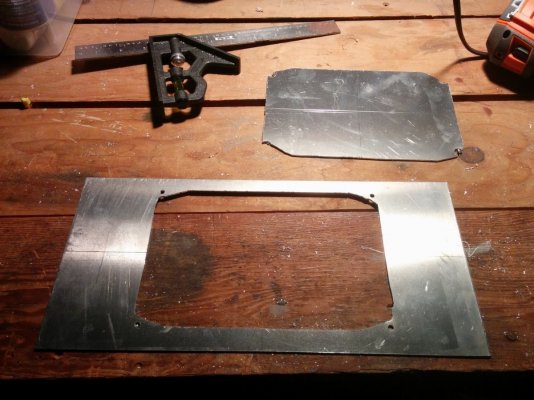
Making the cuts for the faceplate:
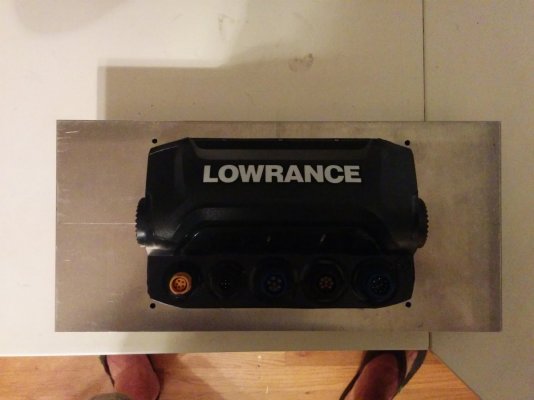
I had to buy a jigsaw to make the cuts. I picked up one at Home Depot for $70. I drilled holes in the angled sections so I could get the blade in and cut the hole out of the center. The template worked great and the fit around the Lowrance unit was exceptional.
Bending mishap:
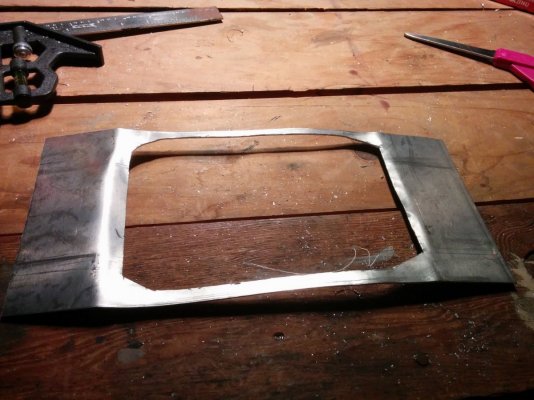
Next step was to make the bends on the sides of the faceplate that would mount to the arms I planned to make next. I figured I could make the bends by clamping the faceplate to my workbench and bending against a 90 degree edge. Turns out that approach didn't work out so well...
Take two... with a metal bending brake!
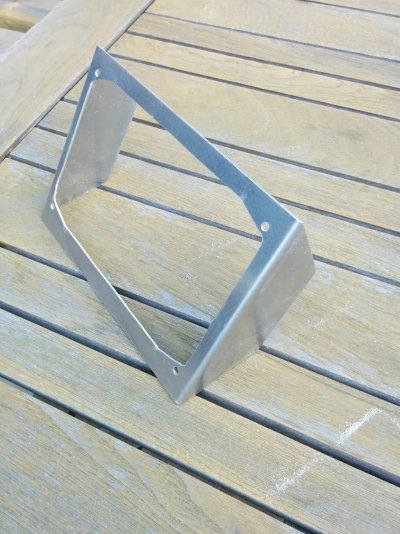
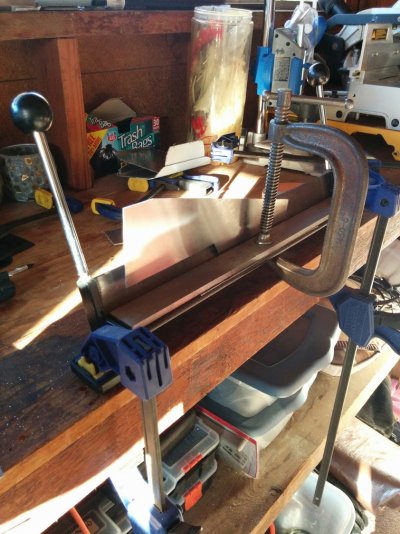
So I went back and repeated that process above. This time I ordered a metal bending brake from Harbor Freight for $40. This was the right tool for the job but required a C-Clamp and some other clamps to hold it in place. The bends turned out great. I used a dremel with a cutting wheel to angle the mounting points but if you were to do this, I would suggest you cut the angles before bending the sides. It would have been much easier. I just did it this way because I didn't know I wanted those sides angled until after I bent the sides.
Arms for mount:
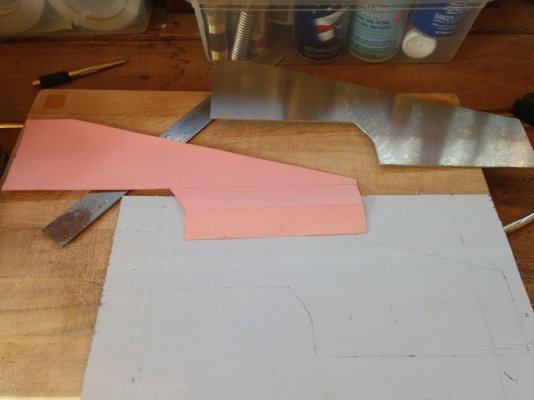
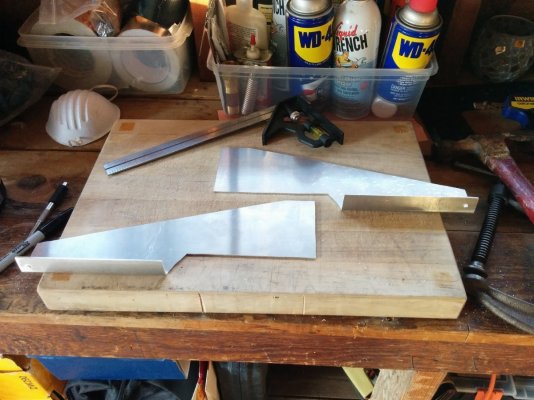
After I completed the faceplate, I was on to making the arms for the bracket. For the arms, I went back and forth from the truck to the garage cutting out construction paper, measuring, and shaping a template for what I thought the arms should look like. I came up with this...
Finishing up the arms:
After a few bends with the metal brake, some drilling and some belt sanding to shore up the edges, I had the arms ready.
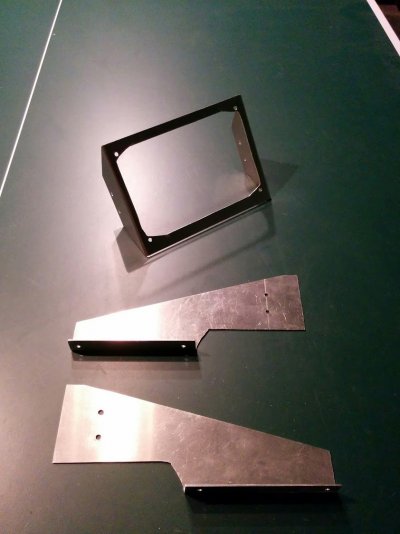
Final assembly:
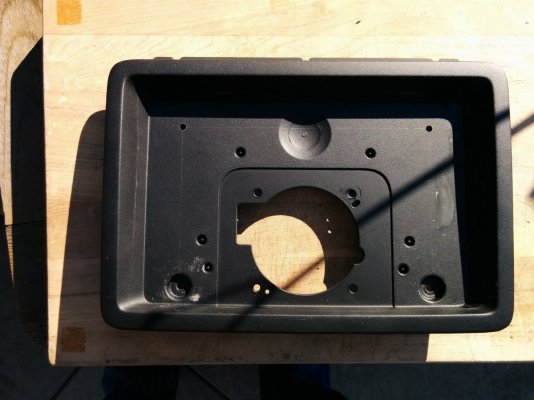
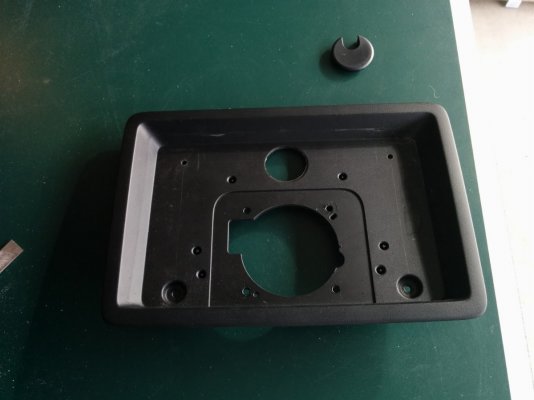
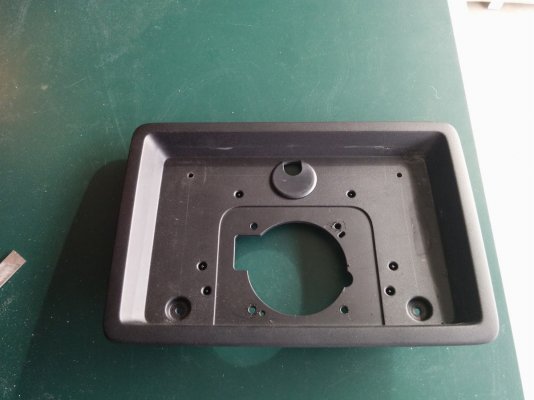
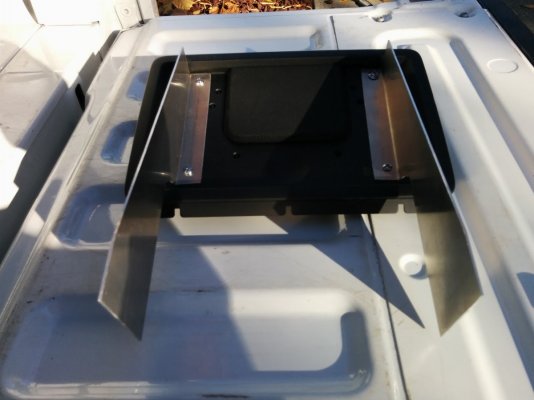
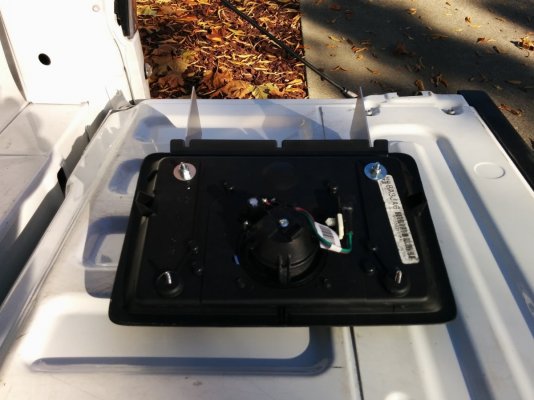
I pieced it all together to make sure it fit the way I intended and then started on mounting it to the plastic speaker dash tray. To do this, I pulled the tray out and removed the speaker to make it easier to work on. I cut holes for the arm mounts and cut a hole for the wire to go through. I used a computer wire port cap to make the hole cleaner.
Final Result:
Once I was happy with the fit of the mount I primed and painted it, wired up the HDS-7 to the last upfitter switch and voila!
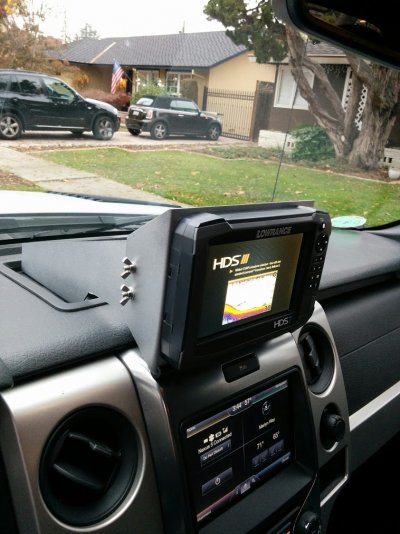
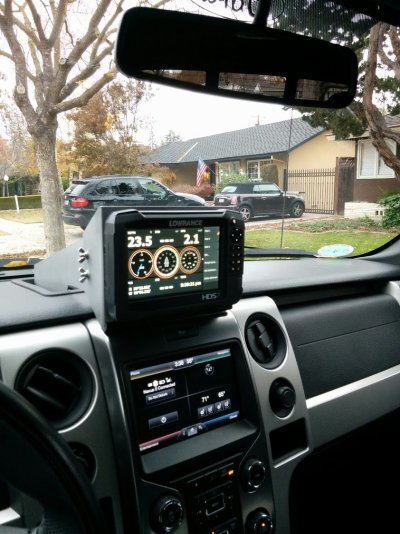
I hope this post helps anyone trying to do this on their own. It ended costing me $118 (mostly because of the tools I needed to purchase) and took a couple weekends of intermittent work, but I am pleased with the result. I have taken it offroad since and so far it has handled the shock of bumps and rock crawling very well.
Measure twice, cut once, have fun, enjoy the process!
~bigrig
After reading one of the prerequisites for joining Raptor Expeditions on their Barstow to Vegas run was to install a Lowrance unit, I started looking around for one to install. I picked up a HDS-7 Gen3 on Ebay for $899.
Once it arrived it dawned on me that I needed a mount for it. After looking at the mounts on RPG, Outlaw Offroad and LGE CTS*Motorsports, all going for around $100, I thought to myself, "I could easily make a mount as good as this." Well, like all my projects, it took me longer than expected, and after buying some tools, ended up costing me a little more than $100. But the pride in making something myself is part the reward so here is the story if you care to know more about it.
Tools I used:
- Drill
- Jigsaw
- Metal Bending Brake
- C-clamps
- Belt Sander
- Dremel with cutting wheel
- Combination Square
- Ruler
- Tape Measure
- Soldering Iron
- Socket Set
- Screw Drivers
- Allen Wrenches
Lowrance Bracket:
I first made a trip out to our local scrap metal warehouse and picked up a really clean piece of aluminum. I bought more than what I needed in case of mistakes (which turned out to be a good thing as you will see below). It ended up costing me about $8.00.
Lowrance Template:
The Lowrance unit comes with a template to assist with cutting (mostly for flush mounts in boats, but works perfect for this application too).

My traced out template:
I used some printer paper to trace out the outline on the template page so I could reuse the template in the event I made a mistake.

Making the cuts for the faceplate:
I had to buy a jigsaw to make the cuts. I picked up one at Home Depot for $70. I drilled holes in the angled sections so I could get the blade in and cut the hole out of the center. The template worked great and the fit around the Lowrance unit was exceptional.


Bending mishap:
Next step was to make the bends on the sides of the faceplate that would mount to the arms I planned to make next. I figured I could make the bends by clamping the faceplate to my workbench and bending against a 90 degree edge. Turns out that approach didn't work out so well...

Take two... with a metal bending brake!
So I went back and repeated that process above. This time I ordered a metal bending brake from Harbor Freight for $40. This was the right tool for the job but required a C-Clamp and some other clamps to hold it in place. The bends turned out great. I used a dremel with a cutting wheel to angle the mounting points but if you were to do this, I would suggest you cut the angles before bending the sides. It would have been much easier. I just did it this way because I didn't know I wanted those sides angled until after I bent the sides.

Arms for mount:
After I completed the faceplate, I was on to making the arms for the bracket. For the arms, I went back and forth from the truck to the garage cutting out construction paper, measuring, and shaping a template for what I thought the arms should look like. I came up with this...

Finishing up the arms:
After a few bends with the metal brake, some drilling and some belt sanding to shore up the edges, I had the arms ready.


Final assembly:
I pieced it all together to make sure it fit the way I intended and then started on mounting it to the plastic speaker dash tray. To do this, I pulled the tray out and removed the speaker to make it easier to work on. I cut holes for the arm mounts and cut a hole for the wire to go through. I used a computer wire port cap to make the hole cleaner.


Final Result:
Once I was happy with the fit of the mount I primed and painted it, wired up the HDS-7 to the last upfitter switch and voila!


I hope this post helps anyone trying to do this on their own. It ended costing me $118 (mostly because of the tools I needed to purchase) and took a couple weekends of intermittent work, but I am pleased with the result. I have taken it offroad since and so far it has handled the shock of bumps and rock crawling very well.
Measure twice, cut once, have fun, enjoy the process!
~bigrig
Last edited:

