Okay, Okay..... so it has been awhile since I last updated this thread. I just cant believe it has been 3 months that these have been sitting to the side. Needless to say, I have not had much time to work these lights due to schooling amongst other things.
Either way, I did get a whole free night to myself due to the wife being sick laid up in bed and no kids.

On to the progress:
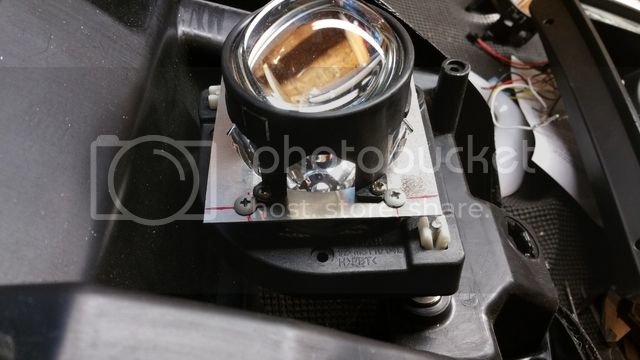
Where I last left off was the projector mounting. Since the provided brackets were not going to work for my headlight, I had to make some custom brackets. So I ended up going with a 3/32 aluminium plate that I drilled out and cut to the dimensions of the H1 projector. This deemed tricky due to the fact that the original projector was slightly longer and the glass lens was slightly bigger.
I mocked it up numerous times to make sure the projector would line up perfectly to the shroud opening. So I probably measured 8 times then drilled once. It turned out good and just had to trim a little to mount the whole assembly with the existing screws.
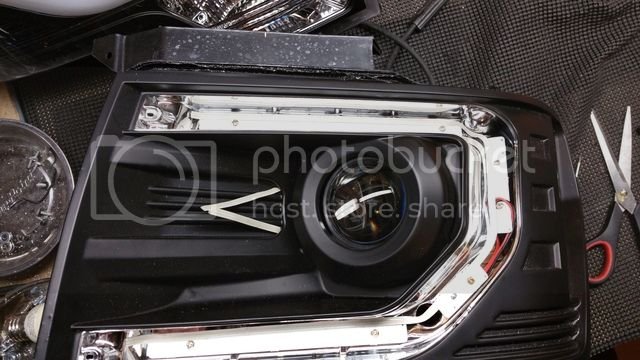
Next up was the DRL modification that I decided to go ahead and do. What this consisted of was just replacing the existing DRL light with the same switchback led used throughout the headlight. This made the DRL much brighter with the ability to switch to amber for turn signal operation and to be used as a night time configuration.
Out with the old:
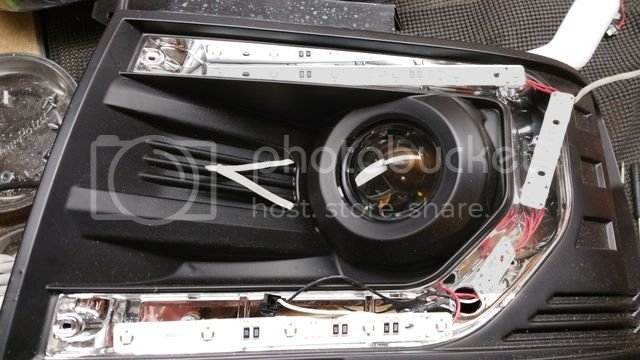
I dissembled the led boards that were installed and flipped them around to save time from having to make any custom boards or mounts.
After install:
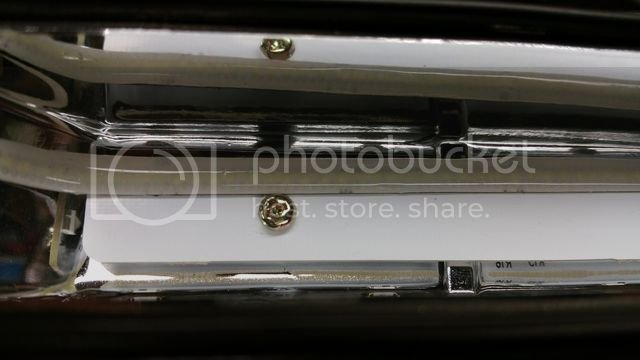
Close up:
Next up was mounting the HALO ring around the projector.
I didn't get any pictures of this but it was straight forward.
First, I had to grind off some small nubs that were on the ring in three places. Then I just drilled a hole just big enough to fit my wires through at the top of the shroud and attached the ring with some 3m extra strength molding tape.
I then attached the 3" strips with its existing backing tape and reinstalled the shroud.
Testing the lights:
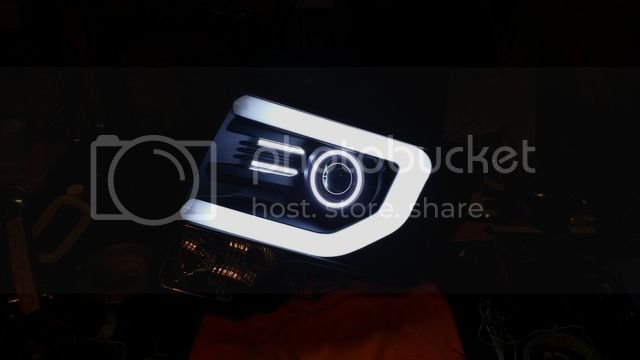
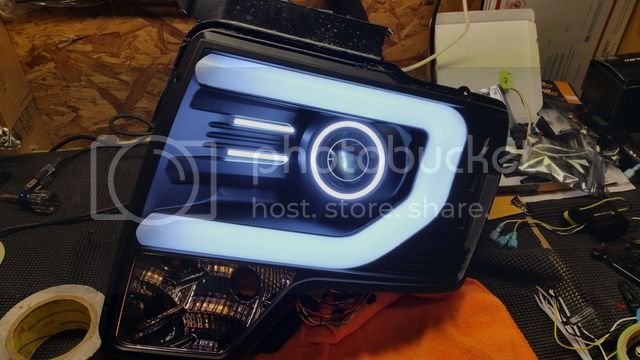
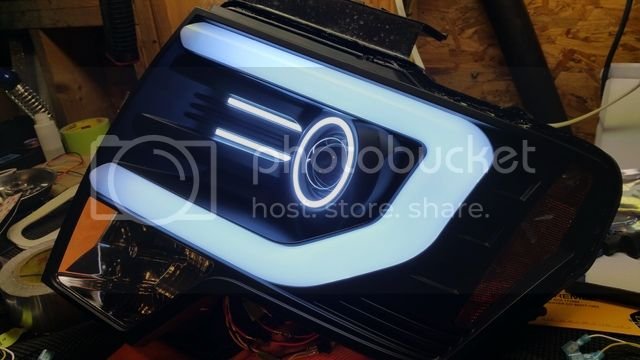
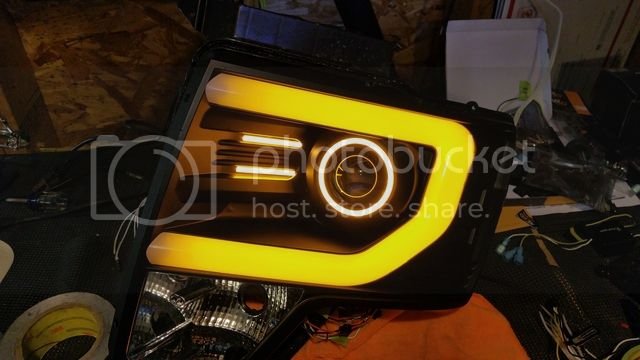
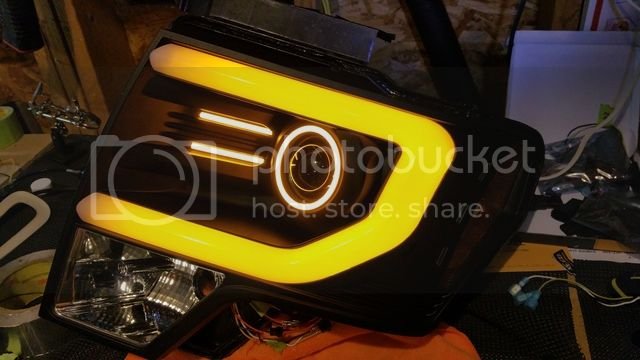
Soldered all the led strips inside the headlight and sealed the hole with RTV.
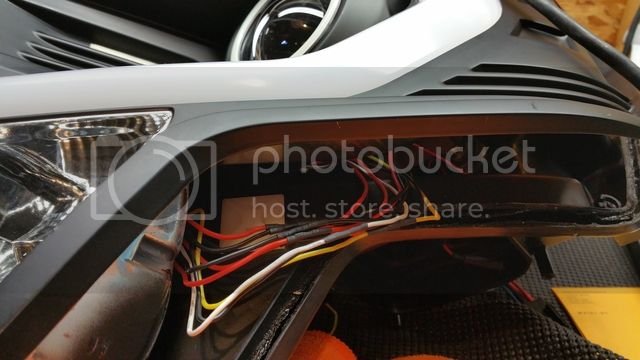
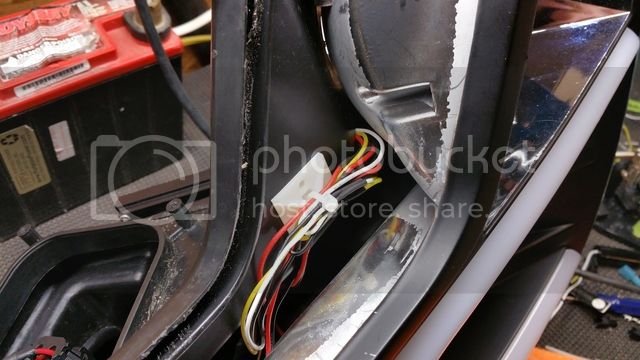
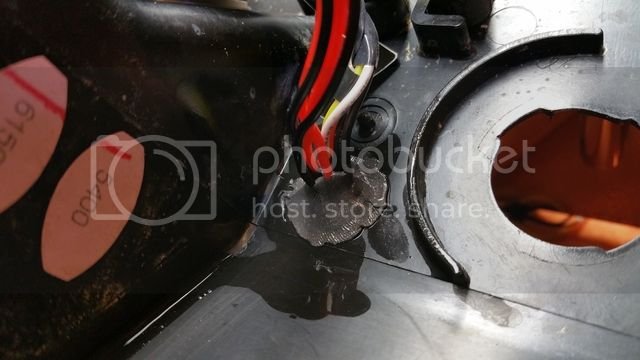
I then proceeded to give the power supplies some protection as they seem to be susceptible to water intrusion and possibly become damaged. That and the protection helps with securing the power supplies to the headlight helping to keep from sliding out of the tie strap.
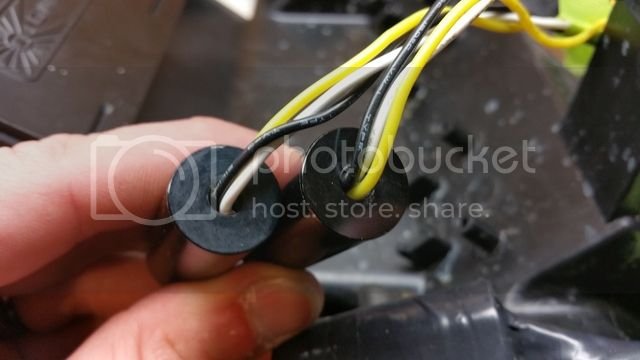
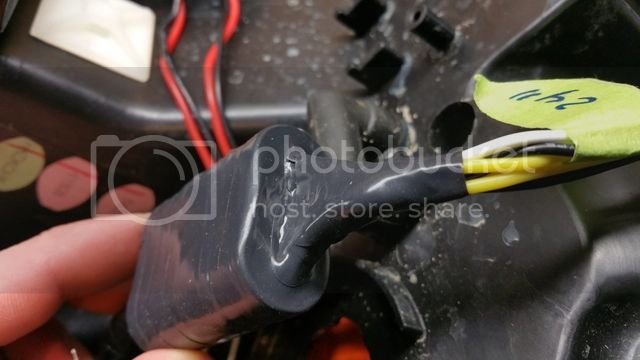
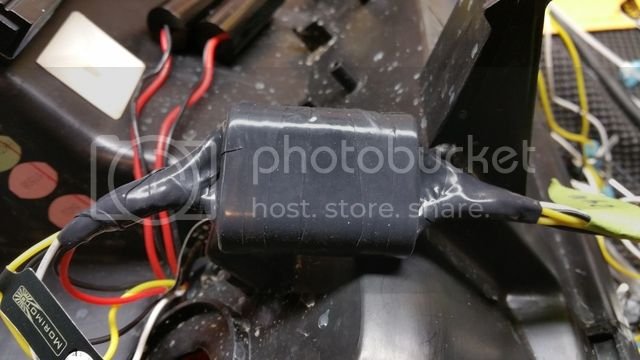
The picture shown below shows where I mounted the ballast and igniter for the HID. These were attached with Dual-lock and will keep me from having to mount anything to the truck. It also shows the original harness that was modified to stay a complete plug and play to the new HD relay harness which will be using the OEM plug as well.
Also modified is the rear cover to accommodate the HID wiring and the high beam wiring. I will keep an eye on this to make sure it doesn't leak. If so it will receive some RTV as well.
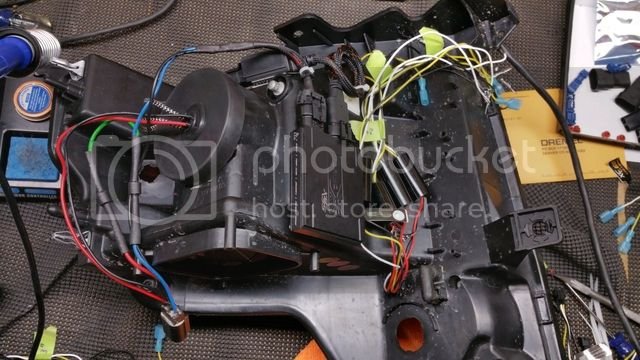
Shown below is the high beam wiring harness and connector. You can also see the rear of the projector.
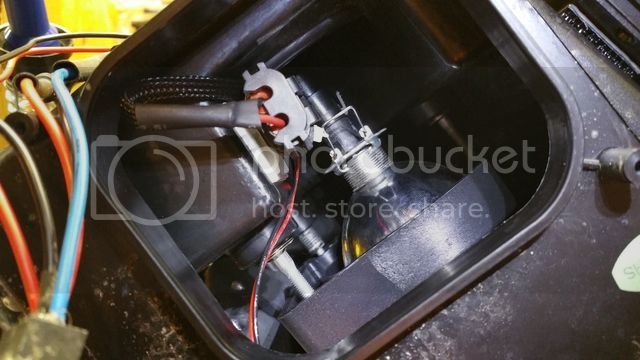
Another view of the equipment mounting.
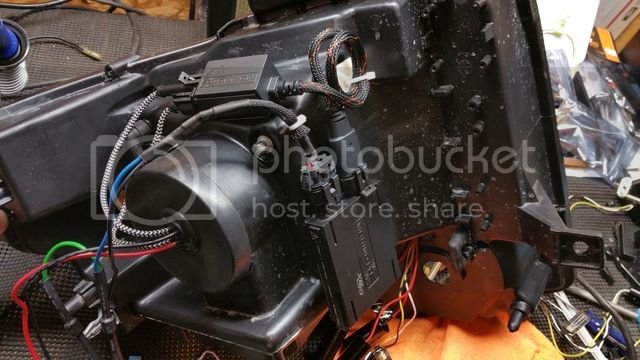
Well that is it for now. I am hoping to get these done soon cause I am sick and tired of these crap halogen lights and cant wait to actually see at night.


