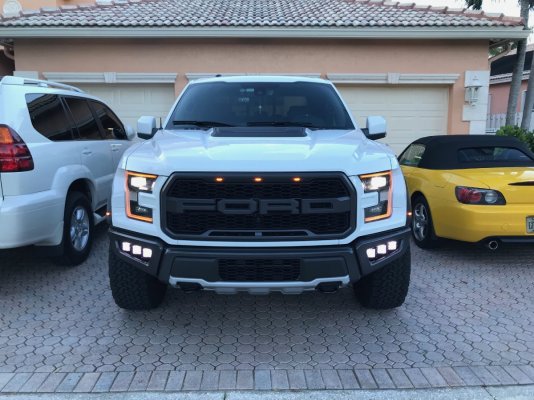
GEN 2 My First Truck, 2017 Ford Raptor Supercrew

Disclaimer: Links on this page pointing to Amazon, eBay and other sites may include affiliate code. If you click them and make a purchase, we may earn a small commission.

OP
OP
I

image98

Active Member
Joined
Sep 18, 2017
Posts
65
Reaction score
76
Location
California
Rear Wheel Well Trim

Did you remove the plastic fender trim (flares) pieces or U-Pol over the fasteners that are inside the wheel well rim?

Yes, I removed both the rear wheel well flare and underlying trim. I think one of my photographs show a bare wheel well under masking tape and plastic. However, I do think its certainly possible to keep the trim on and mask if one is able to use a lift or jack and remove the tires. I don't think there is enough room to spray and get a good application if you leave both the trim and tires on.
 

flzrider

Member
Joined
Jul 12, 2017
Posts
48
Reaction score
17
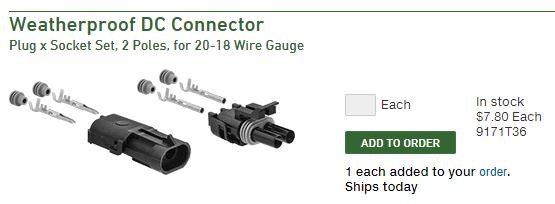
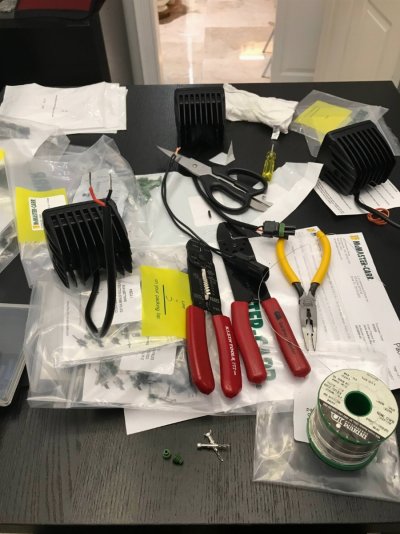
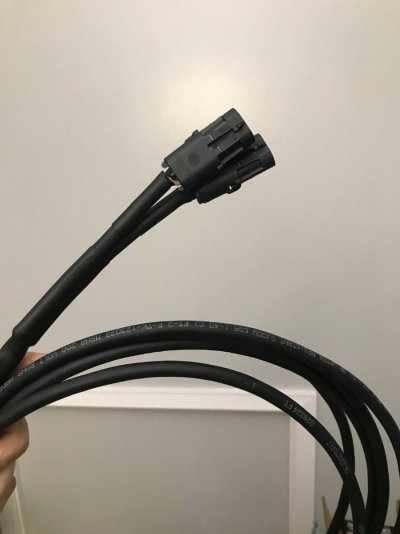
image98, just wanted to say thank you for your extremely informative and detailed posts here. I was able to easily wire up fog lights on my truck using the information you posted here. In my case I ended up using cables and watertight connectors from McMaster-Carr. It's pretty time consuming making custom wiring harnesses when you are soldering every crimp and double and triple heat shrinking everything, but it's worth it when everything looks perfectly OEM when complete.

Here are the details on the connectors I used:

Zudb6sE.jpg

5qqZrkm.jpg

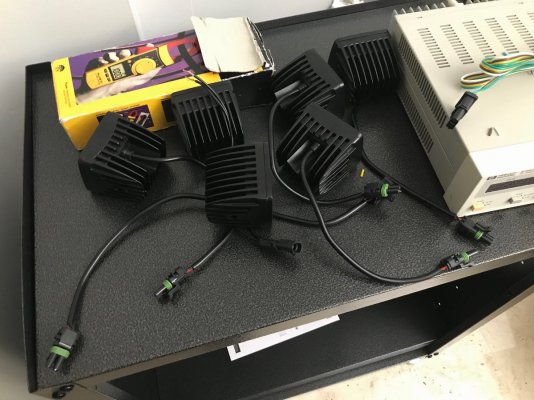
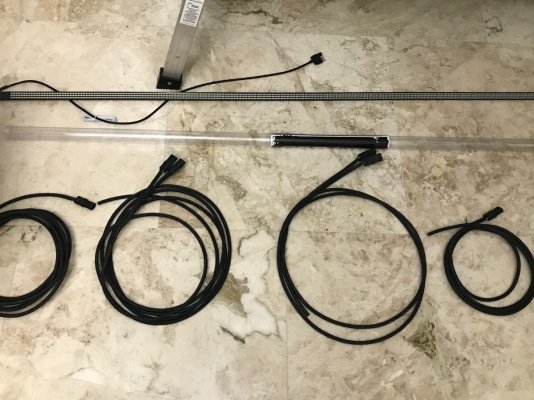
And here are the connectors on the lights themselves and the wiring harnesses:

8OQhIIt.jpg

jkPOskE.jpg

lwliREh.jpg

p9FAsIP.jpg

And the final product:

dvt9M6i.jpg
 
Last edited:
OP
OP
I

image98

Active Member
Joined
Sep 18, 2017
Posts
65
Reaction score
76
Location
California
image98, just wanted to say thank you for your extremely informative and detailed posts here. I was able to easily wire up fog lights on my truck using the information you posted here. In my case I ended up using cables and watertight connectors from McMaster-Carr. It's pretty time consuming making custom wiring harnesses when you are soldering every crimp and double and triple heat shrinking everything, but it's worth it when everything looks perfectly OEM when complete.

Looks good. Glad I could be of help. What mounting bracket did you end up going with for your 6x 3" lights?
 

paulny

Full Access Member
Joined
Oct 20, 2017
Posts
146
Reaction score
155
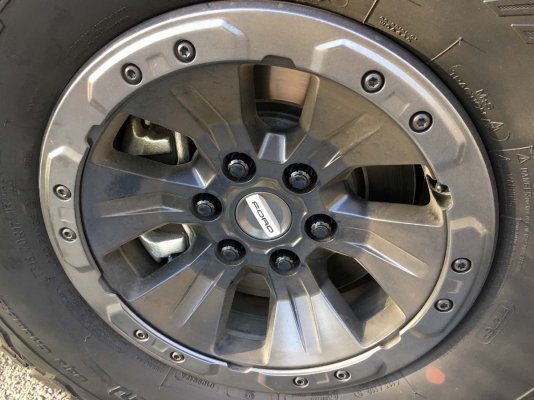
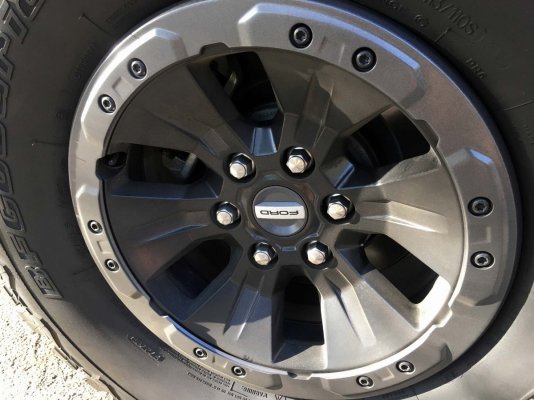
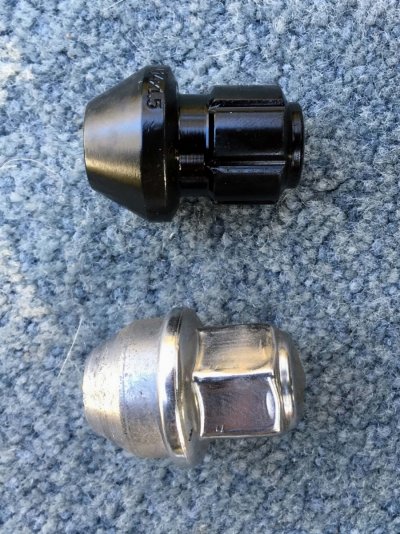
A simple upgrade. I installed the Gorilla Automotive 96644BDX locking wheel nuts. Annodized black, and they come in a 24 pack. I think they look great on the factory beadlock rims.

IMG_4989hd.jpg

Gorilla Wheel locks on dirty rims

IMG_4991hd.jpg

Stock

IMG_4988hd.jpg

Amazing attention to detail, and I am VERY impressed with your work. Question, is the Gorilla 96644BDX the actual part # for the lug nuts which fit our Raptor, or do we need to enter additional thread information in addition to the 96644BDX?
 
OP
OP
I

image98

Active Member
Joined
Sep 18, 2017
Posts
65
Reaction score
76
Location
California
Gorilla Lug Nuts

Amazing attention to detail, and I am VERY impressed with your work. Question, is the Gorilla 96644BDX the actual part # for the lug nuts which fit our Raptor, or do we need to enter additional thread information in addition to the 96644BDX?


Hi, that is the manufacturer and exact part number for the wheel lock 24 pack. I ordered my set through summit. It comes with a socket key, but obviously you will need a ratchet and socket (if I recall it is a dual hex 13/16 and 7/8) or lug wrench. I contacted Gorilla directly (instructions included in box) and ordered a spare key. Costs $15.

Locking Lug nuts
https://www.summitracing.com/parts/gor-96644bdx

Gorilla Lug Wrench GOR-PW1 (good to keep in the truck with key and socket)
https://www.summitracing.com/parts/gor-pw1
 

paulny

Full Access Member
Joined
Oct 20, 2017
Posts
146
Reaction score
155
Hi, that is the manufacturer and exact part number for the wheel lock 24 pack. I ordered my set through summit. It comes with a socket key, but obviously you will need a ratchet and socket (if I recall it is a dual hex 13/16 and 7/8) or lug wrench. I contacted Gorilla directly (instructions included in box) and ordered a spare key. Costs $15.

Locking Lug nuts
https://www.summitracing.com/parts/gor-96644bdx

Gorilla Lug Wrench GOR-PW1 (good to keep in the truck with key and socket)
https://www.summitracing.com/parts/gor-pw1

Great, thanks so much for the information and links. Again, your rig looks amazing and I wish I had 10% of your mechanical aptitude :)
 

K1llD4shN1n3

Full Access Member
Joined
Jul 27, 2016
Posts
546
Reaction score
331
Location
Colorado
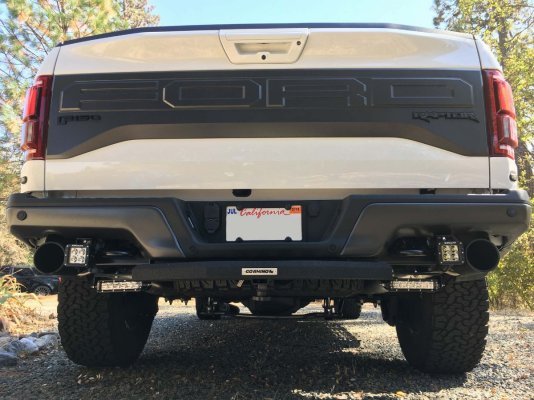
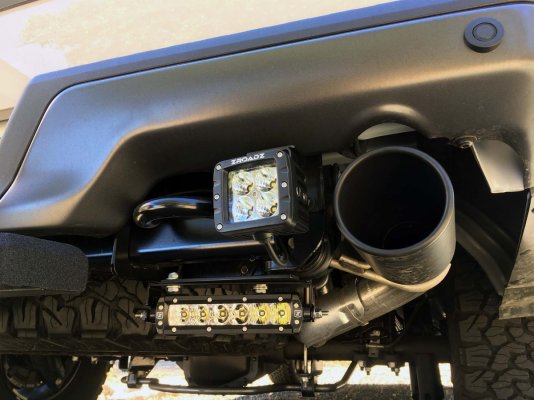
I spent a couple of days installing a pair of 3” spots and a pair of 6” Light Bars under the rear bumper. Both pairs are wired directly to the trucks upfitter switches #4 and #5. No relays required. I spotted the 3” pods straight backwards while angling the 6” bars a little outward for a wider illumination spread.

IMG_5250hd.jpg


IMG_5226hd.jpg


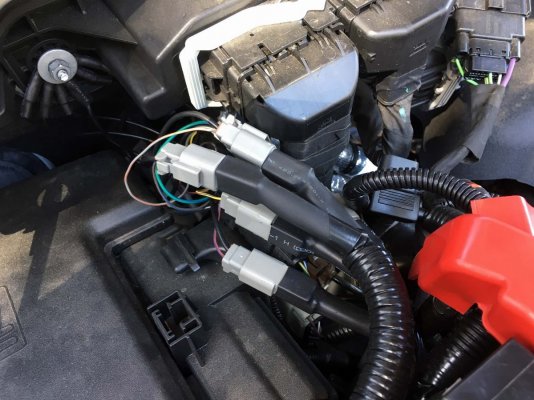
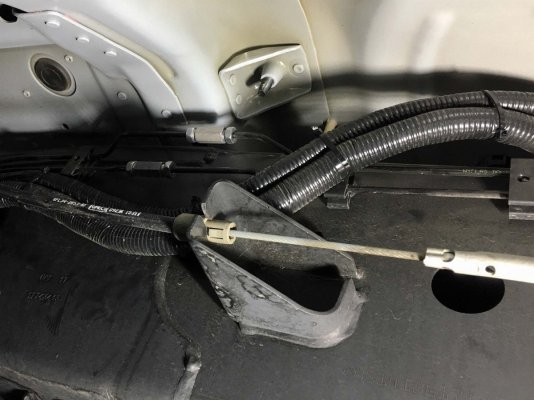
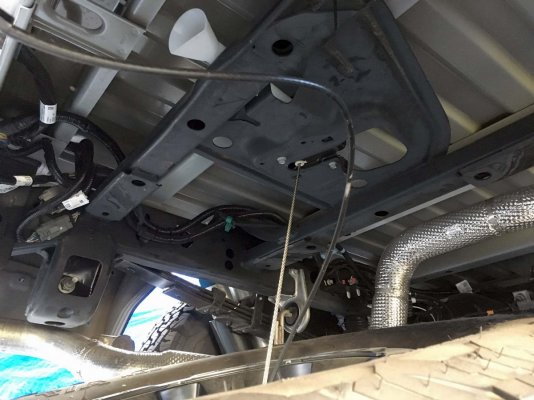
Installation for the brackets was very straightforward. No drilling or cutting. However, I assembled my own harness running three pairs of 14 AWG wires in ½” Taylor Convoluted Tubing and wrapped in electrical tape. I ran an extra pair of lines for future expansion. Every hot and neutral wire is connected with a Deutsch 2-pin connector. I fastened and ran my harness directly above and in parallel to the factory harness, which runs along the LH frame rail, above the gas tank, and over the spare tire. It almost looks stock.
IMG_5242hd.jpg


IMG_5172hd.jpg


IMG_5180hd.jpg


3” Rear Bumper Spot Lights


Rear Bumper LED Mounting Kit Combo with 2 LED Light Pods and Wiring Harness | ZROADZ


6” Rear Bumper Light Bars


Rear Bumper LED Mounting Kit Combo with 2 LED Light Bars and Wiring Harness | ZROADZ


AUX1 - Green(solid)/Blue(stripe) - 15A - EMPTY

AUX2 - Gray/Yellow - 15A - FRONT 40” LED light bar with relay (20-25 amp) 10 AWG

AUX3 - Violet/Orange - 10A - 3” front quad flood spots (6.66 amps) 14 AWG

AUX4 - Brown/Blue - 10A - 6” wide pair reverse (7 amps) 14 AWG

AUX5 - Gray/Orange - 5A - 3” reverse pair spots (3.33 amps) 14 AWG

AUX6 - Yellow/Violet - 5A - 3” front pair spots (3.33 amps) 14 AWG


This completes my first round of upgrades. I’m researching mass air intakes and am considering the Whipple Stage 1 Kit which is CARB compliant. I may also upgrade the exhaust system to something with a little more presence and a deeper note. However, the truck has plenty of power and smiles per mile as is. I am enjoying the toned down exhaust note and will drive it for a couple thousand more miles before making the changes. I still need to break the truck in!


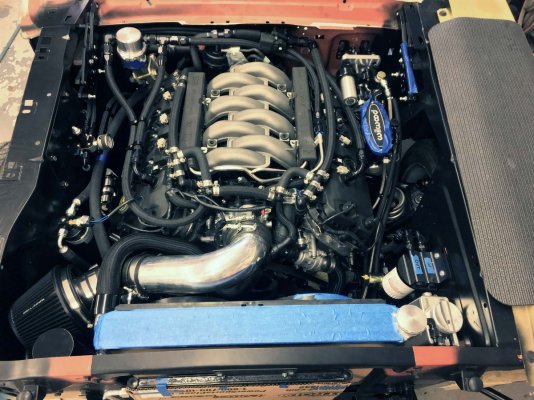
In the meantime, if you like classic Mustangs, please check out my 1966 Mustang Convertible build thread over at the Vintage-Mustang Forum. Did I mention I’m installing a 2016 5.0 Coyote engine, Tremec T56, Currie 9” rear, hydroboost, coil over suspension, rack and pinion steering, 14” 6 Piston Discs up front, 12” Discs in the rear, and plenty of other restomod upgrades. Thanks for reading!


1966 Mustang Convertible Restomod Coyote Build - Vintage Mustang Forums


IMG_1809hd.jpg


Ha oh man I ran my wires to the back through the frame and boy it was a pain!


Sent from my iPhone using Tapatalk
 
Joined
Mar 22, 2018
Posts
29
Reaction score
32
Bought a 2018 Leadfoot over the weekend.

Just wanted to say thanks for the great thread. Pretty sure you’ve cost me at least $2k in mods I never thought of!

So glad you posted about the sway bar. Ordered it immediately after seeing this thread. I’ll post once I get it installed.
 
Top