Suspension:
ICON Vehicle Dynamics - Attitude Adjustment Collar Leveling Kit Install
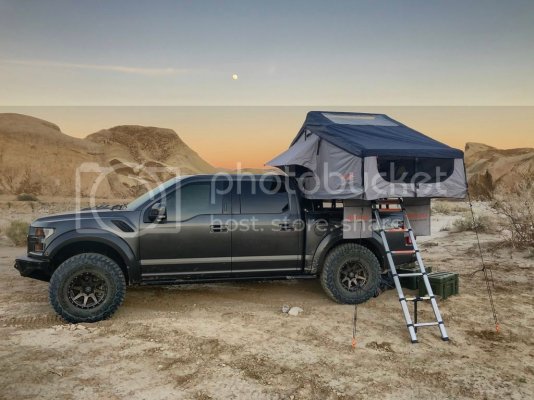
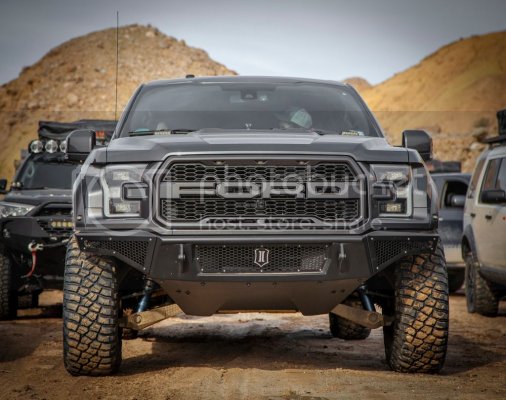
I decided a long time ago that I was going to upgrade to 37" tires whenever my stock 35" tires wore out. Well, I moved across country and hit about 30k miles on the truck and it was time. I thought I would be further along with my build by that time and would have already upgraded the suspension but life happens and I hadn't gotten around to it. So when the time came to buy new tires I decided I would install a leveling kit to get the tires to fit and then swap it out for a full suspension system at a later date. Here is some information about how I installed the ICON Vehicle Dynamics Attitude Adjustment Collars along with information about how the 37s fit afterwards.
**Note - one of the reasons why I chose to go with the ICON Vehicle Dynamics Attitude Adjustment Collars is because their spacers allow you to adjust the amount of lift you want to add (1.5", 1.75", 2", and 2.25"). Also, ICON makes some really bad ass products and are known for being the Cadillac of the suspension world. They do there due diligence in research, design and test the hell out of their products so we can trust them.
Step 1
I watched this install video by RealTruck.com:
Step 2
I gathered all the necessary tools and headed to the shop
Step 3
I jacked the truck up, placed it on jack stands and pulled the tires.
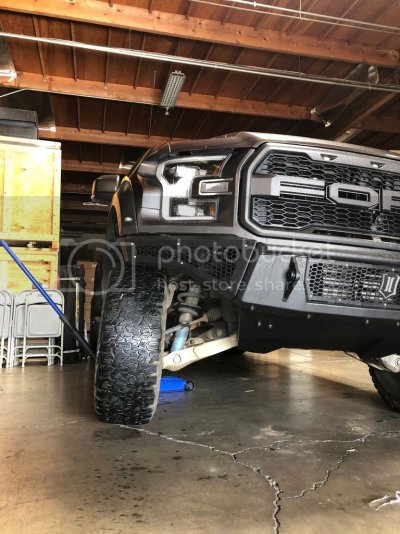 Step 4
I followed the steps in the video above to remove the stock coil overs one at a time.
Step 5
Compressing the springs. Here is where I deviated a bit from Realtruck.com's instructions. In the video they use a nice professional spring compressor to safely compress the springs and remove the stock spring perch. I do not have access to one of these readily so I decided to use TWO sets of MacPherson Spring Compressors from Autozone's Rental Tool Program.
https://www.autozone.com/loan-a-too...spring-compressor-macpherson-strut/555557_0_0
One compressor may have worked but I felt that it would be much safer with two and the time difference was minimal.
After marking the position of the coil spring and perch in relation to the shock housing, I used all 4 compressor parts by spacing them evenly around the diameter of the coil spring. I then used my impact gun to tighten each of them in a circular motion until the spring was compressed enough to begin removing the collar.
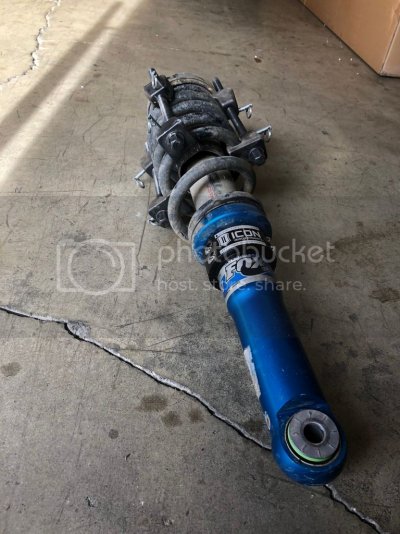 Step 6
I then used a piece of wood and a hammer to tap the stock collar off. This took some time, you just have to work the collar off slowly by hitting it in multiple different spots around the perimeter. Take your time, it will come off.
Step 7
I then installed the ICON Attitude Adjustment Collars, released the spring compressors and cleaned up the shocks.
Step 8
I reinstalled the shocks back into the truck per the video. ** Note I had to do one side TWICE because I forgot to add the included top plate.... So be sure you install that plate if you want to go full 2.25".
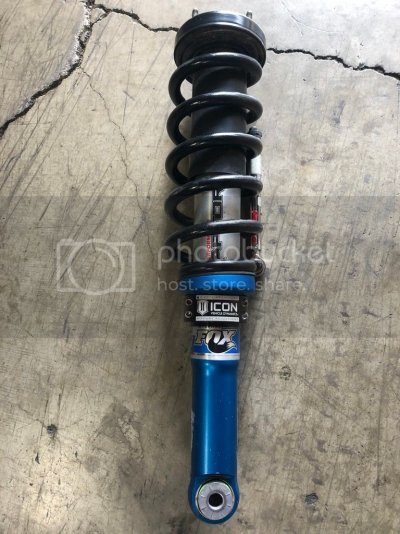 Step 9
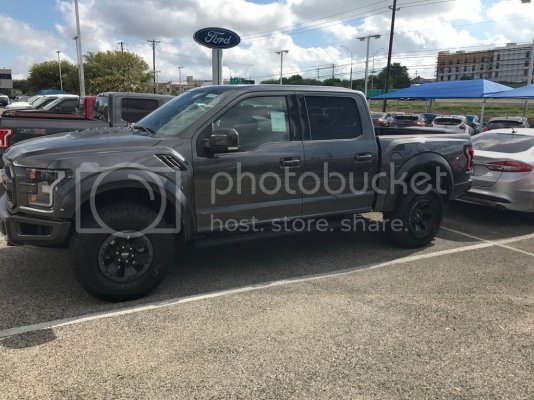
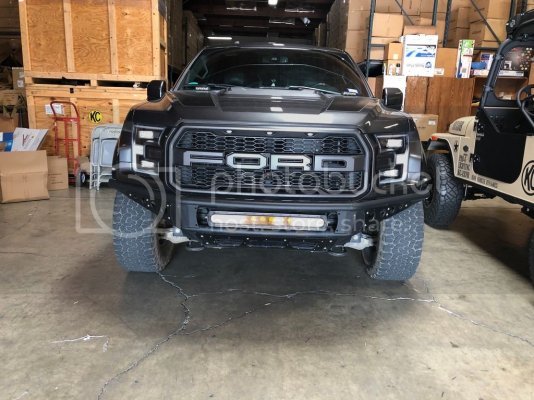
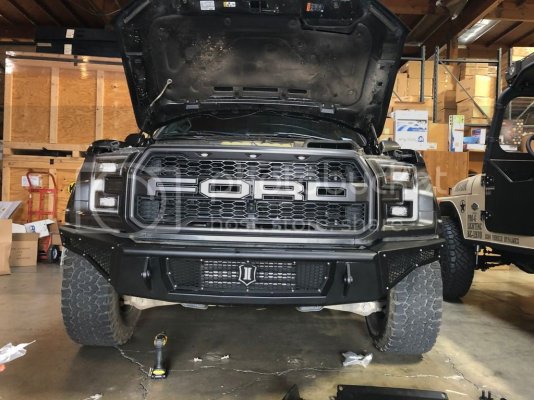
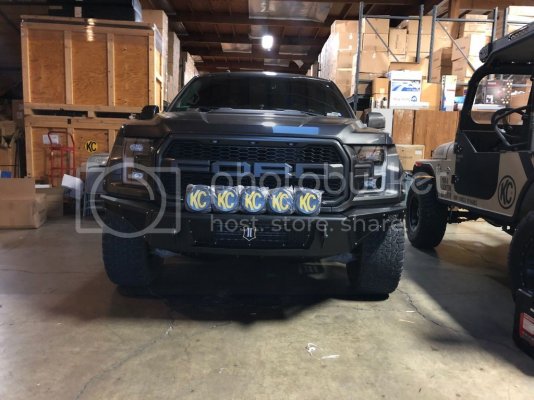
After everything was back in and tightened up, I dropped the truck and took this photo immediately.
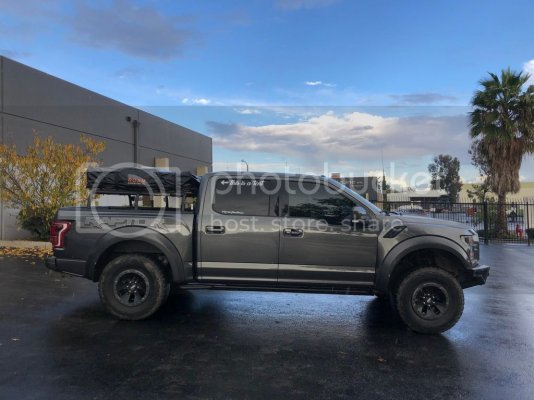
As you can see it is a bit high in the front but I think that had to do with a few things. 1) I believe I have permanently damaged my stock leaf springs from towing my rock crawler and parts for work. 2) The Roam Adventure Co. Vagabond V3 tent, bed rack, tool box, and tools weigh somewhere in the ballpark of 400lbs minimum.
Step 10
I took the truck to get an alignment the next day at a local shop.
Step 11
Trimming the front fender area.
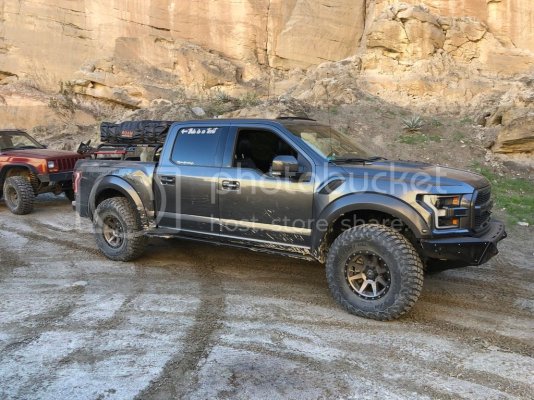
As a quick reference, here is a photo of my worn out stock tire height vs. the new ICON Alloys Rebound wheels with 37" BFG KM3s.
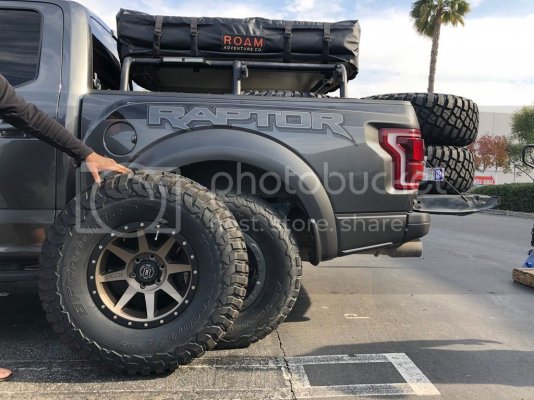
I installed the 37s and started to see where I needed to trim to make things fit. The first area of concern was in the front fender wells just behind the tire near the cab. First, I cleaned the area so that I could mark the cut line with tape.
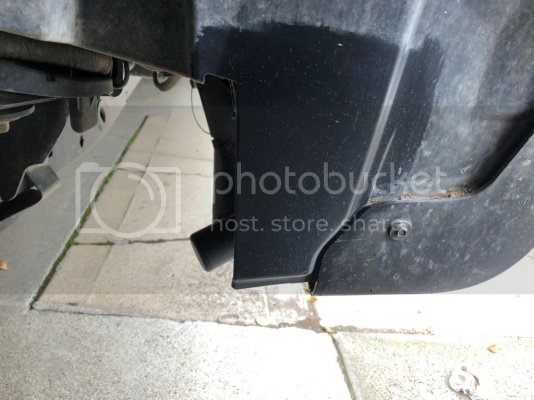
Then I marked my cut line with blue tape.
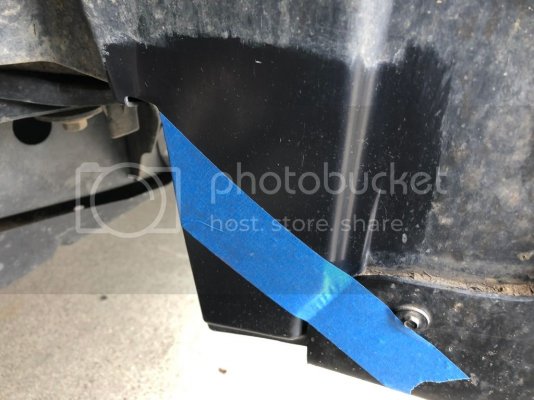
Then I took my Milwaukee Oscillating Tool with a wood cutting blade and cut through just the plastic fender well piece. This entire process took just a few minutes.
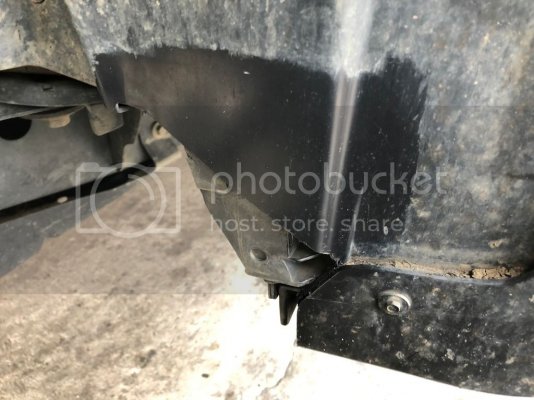
At this point, if you did not plan on doing much off roading other than cruising down dirt roads or fairly flat stuff you could get away with 37s.
I intend on going pretty hard and running through the desert often so I am going to figure out how to do that with 37s but I want to take my time so my truck is not a hack job.
Step 12
I have not done this part yet and this is just a theory as I need to spend more time looking under the truck, but I plan on either cutting out the inner fender and either creating a replacement liner or some supports to hold the outer fender in place. There is a chance I will give the inner fender a few wacks with a hammer to bend it out of the way but I dont want this to look like shit and I would like to do it right. Here are some photos of where the rubbing is happening in the rear.
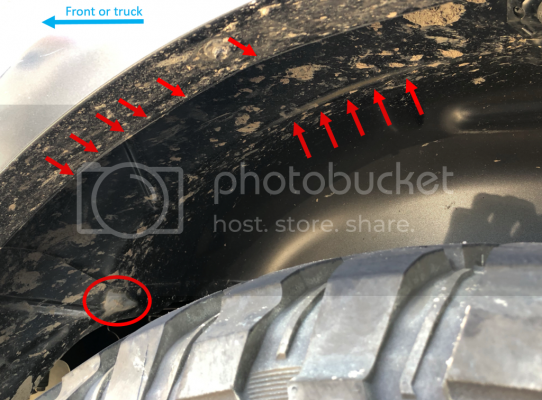
There are 3 points that I see rubbing.
1) The plastic fender flare - this is minor and seems like it can be easily trimmed with an oscillating saw. I am thinking I will cut roughly 1/4" off the inner edge.
2) The front point between transition from the bed to the fender liner. This is aluminum and I am thinking a couple wacks with a hammer will solve this. If not, I will have to cut it out and either reweld or leave it out.
3) The upper fender area, I dont have any other solution other than hammer or cut and replace or leave out entirely.
My thoughts are that when people install fiberglass fenders, they cut most of this out any way and replace with supports. I may just do the same but keep my stock fenders. Absolute worst case scenario, I will pickup a set of ADV fiberglass fenders for front and rear.
Seriously though, it only really rubbed when I was hauling ass or really flexing out and I had a lot of gear in the back (more camping gear, dogs, spare tire). More than the 400lbs of static stuff that I mentioned earlier. If you use this as your daily and don't care about raging offroad, you would be fine with the ICON Raptor leveling kit up front, stock leaves in the rear and 37s.
Stay tuned as I plan to figure this one out cleanly and share as many details as possible.


