Ok Guys I will start by saying that I’m no expert at this, Just decided to try it out and it worked.
So do it at your own risk and wear safety glasses.
these are not your regular led's
these are called SMD/ Surface Mount led's
1- remove the plastic part holding the clear push buttons. ( if you don’t know how to do this step STOP this task is not for you Hahaha.)
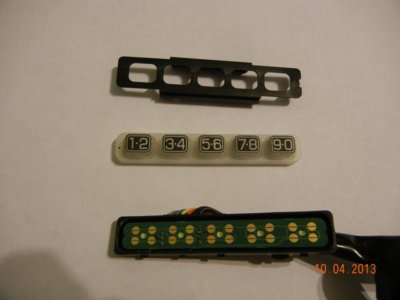
2- Remove the board by heating and removing the solder material off of each individual terminal/pin (6 total) for about 2-4 seconds depending on how hot your solder pencil gets.
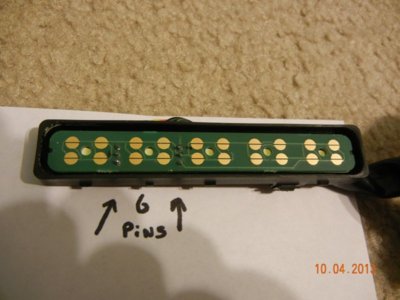
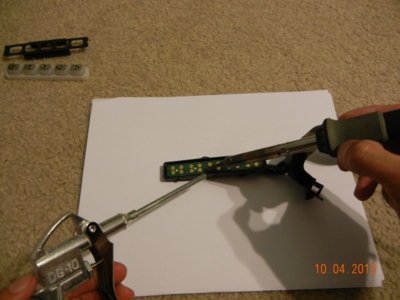
as soon as the solder material gets hot blow it off with an air gun/compressor . clean all the material that just got splashed on your board if any.
3- Remove the board from the housing by carefully I repeat carefully inserting a small screw driver on one side of the board and apply light outward pressure to it. Start close to the pins and make sure the board is not getting stuck.
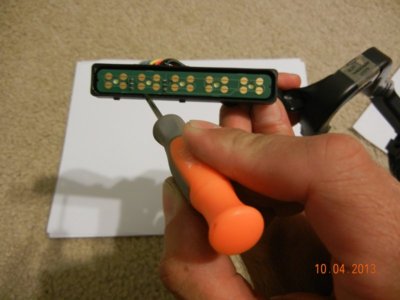
Now we have the board completely off the housing.
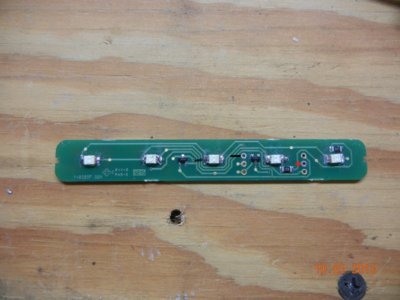
4- Connect/solder temporary wires to the positive and negative of the board as followed. You will need a 12 Volt battery for next step.
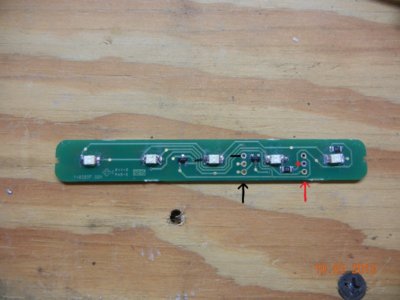
connect the temporary wires to the battery so the lights will be on all the time while working on them.
Leave the temporary wires on the board connected to the battery while you replace the Led’s this will help you find the + and – of the lights when you solder them.
5- Start by removing the first led on the board. (removing this led will cause the other 2 to turn off this is due to them been connected in series) before soldering the new led to the board you need to test fit it and make sure it turns on. if it doesn’t. then try turning the led around because only if you have an led tester you will know which side is + or - see Video on you tube. look for
SMD LED tester from Applied-Electronics.com If you tried both sides of the led and it still does not work, then you don’t have a good connection or the led’s requires a higher voltage.{ Time to get new led’s}
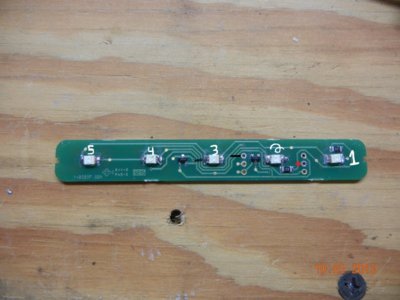
If the led turns on Congratulations!! move to the next one next to it and repeat steps.
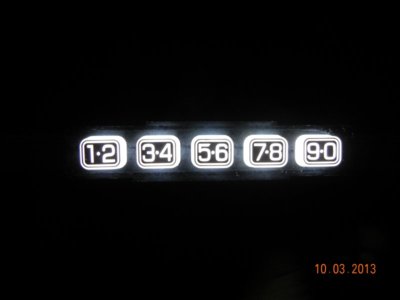
6- When you have replaced all 5 of them and you know they all work remove the temporary wires from the board and replace the board back in the housing. (don’t forget to solder the
Pins to the board)
I think you got it from here just put it back together.
I hope you will understand this and make it happen, If you get in trouble feel free to ask me I’ll be glad to help.


 as soon as the solder material gets hot blow it off with an air gun/compressor . clean all the material that just got splashed on your board if any.


