NJSP117
Full Access Member
I thought about the AUX switch as well, but I loved the simplicity of the mirror tap. Automatic on and auto off right when the truck shuts off.
Do you know what wires you tapped into on the mirror?
Disclaimer: Links on this page pointing to Amazon, eBay and other sites may include affiliate code. If you click them and make a purchase, we may earn a small commission.
I thought about the AUX switch as well, but I loved the simplicity of the mirror tap. Automatic on and auto off right when the truck shuts off.
Alright .... Here is what I have learned and gathered about adding a Dash Cam and/or Radar Detector to the AUX Switches and my plan of attack on install (my goal is to keep my cig lighter free to use with a USB adapter)
This is my dash cam (love it ~ moving it over from my 4runner)
I plan to run this step down (steps down 12v to 5v)
Now, instead of using a fuse tap, I plan to hardwire directly to an AUX switch with an inline 5amp fuse just to be on the safe side and ground it to the body.
As for the Radar Detector. From what I gather ~ they don't need a step down ~ Plan to add the same 5amp fuse inline and ground it accordingly. Unless y'all feel I should run a large fuse.
This should allow me to manually turn them on & off with a switch and each should power down (even if left in the on position) when the truck gets shut off.
Anyone see any issues with this plan?
Details:Can anyone tell me how to use the mirror Tap with the adaptive cruise mirror? Where did you access the wires?
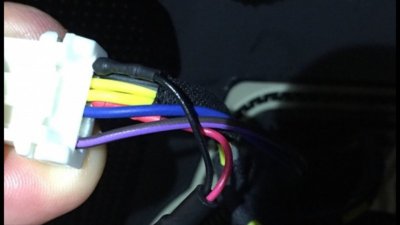
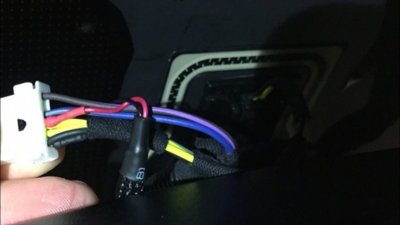
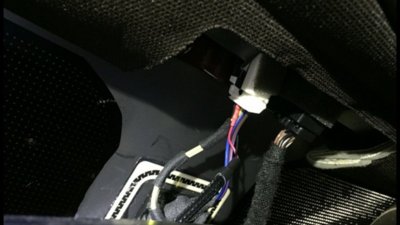
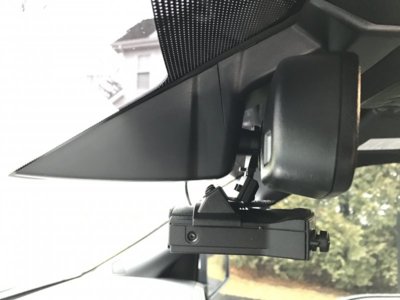
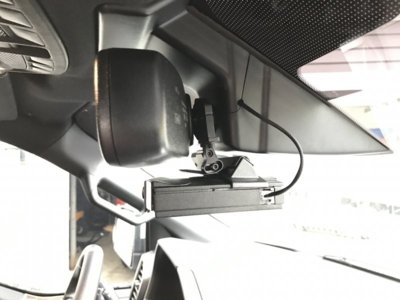
Do you know what wires you tapped into on the mirror?
Did you do yours off of the white or black plug?Blue/brown for power and black/yellow for ground
Blue/brown for power and black/yellow for ground
Thanks for the writeup. I was just curious, why not just hook the dash cam directly to one of the two AUX switches that run at 5 AMPS? That way you wouldn't need the step down.
Did you do yours off of the white or black plug?
@Swimmer ... This is what I did. Took about 2 hours on the install and getting aquanted with the AUX switch wires both under the hook and the passenger floor kick panel.
My DashCam is hooked up to AUX #5I can now turn it on and off. I plan to wire up my Radar Det to AUX #6! Radar should be quite a bit quicker now that both wire looms are easier to access! Install was over all a breeze!

