G's Raptor

Disclaimer: Links on this page pointing to Amazon, eBay and other sites may include affiliate code. If you click them and make a purchase, we may earn a small commission.

E63

Full Access Member
Joined
Feb 7, 2012
Posts
473
Reaction score
325
Location
Poway, CA.
Table of Contents: (Will update if allowed, otherwise go to end to see whats new)
  1. Introduction – Explaining the Why
  2. Delivery of my Raptor
  3. RPG Stage 3 Install, getting the rust out
  4. First Trials of Raptor – Snow, Mud, Soft Sand, Steep Rocky narrow Desert Trail
  5. Bed Liner choices
  6. Bed Cover and Storage Choices
  7. Radar Detectors and Mirror Tap install
  8. Modifying Stock fenders for 37” Tires
  9. RPG Stage 4 Installation Fox 3.0 Front and Rear
  10. 37” Tires
  11. Undercoating Rear Fenders
  12. Mud Flaps
  13. Invisible Bug Screen
  14. Bed Cage
  15. GPS, Custom Mount, Aux Antenna, (Removal of Back Seat tips)
  16. RPG Tie Rods
  17. HID Projector Headlights w/CCFL Halos
  18. RPG UCA
  19. National Springs (Upgrade from Std.)
  20. TPMS
  21. Cargo Management
 
Last edited:
OP
OP
E63

E63

Full Access Member
Joined
Feb 7, 2012
Posts
473
Reaction score
325
Location
Poway, CA.
Introduction

So this is my first build, thought I would do things a little differently. Re: the Table of contents above: I plan on updating as the build proceeds. All items listed are complete and most of the write up and pics were organized in word for cut and paste into this thread. I likely will post one a day to allow for comments etc. In this way the comments can be close to posts to resemble other builds that stretch out over time.

Introduction
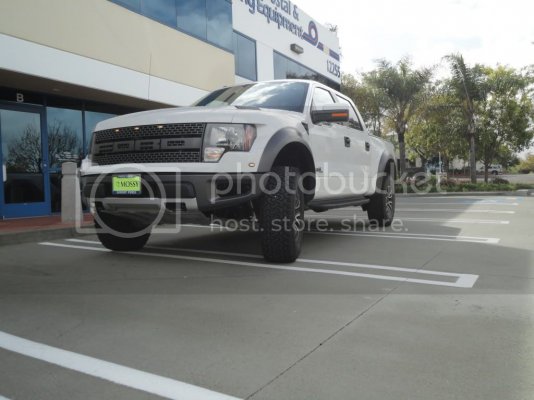
Hi, my real name is Gordon, most of my friends just call me G or Big G. As many of you might know I ordered my Raptor as soon as the new 2012 order books opened in late August, it was birthed on Feb 6, it sat in Michigan Salt for a month rusting, finally took delivery on March 13, 2012. So I had a lot of time on my hands to think about what I wanted to do with the truck, Mod wise.
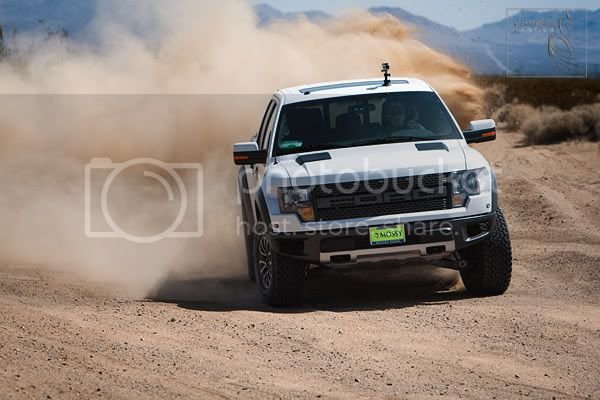
RaptorDriftingintheDirt37-4668fb.jpg

There are a lot of great builds in the forums and some very talented folks. I learn something from everyone’s. So thank you. What seemed to me to be missing often times was the WHY. Why did folks do what they did. How do they intend to use the Truck, so with that in mind here is a little background on me and how I plan to use it.

I have been an auto enthusiast since a teenager, tricking out a ’66 Chevy El Camino in the late seventies. In early 80’s I restored a rare 71 Monte Carlo SS-454 while worked for 5 years as Marketing Director for Auto Aftermarket company. Organized and staffed several elaborate Auto Trade show booths every year. One of the benefits of this job required me to borrow vehicles for pattern making. I got to drive Ferrari, Jags, Bentleys, RR, AMGs, BMWs, Audis, Porsches and one off’s from Europe not usually seen in this country. I sold the Monte Carlo for capital to start a business in ’86 in Office Automation Equipment. (still running the business 26 years later, interesting American Success story, but I digress.) Drove an Acura NSX for 10 years, then BMW 550i and currently have a 2010 MBZ AMG E63 – Best ever sports sedan ever made, so when it came time to get a more serious off-road vehicle, only the best would do.

Been doing desert off-road driving for 16 years, almost always with one to four of my kids in tow, camping is our thing although day trips are common, Have used 4WD Suburbans/Tahoes for 13+ years, a Suburu before that. I could never make it thru most of the passes in the Anza Borrego Desert. So ability to haul 3 or 4 kids and high ground clearance was a top priority. After watching Raptors Fly, I knew that was something I wanted to do as well.
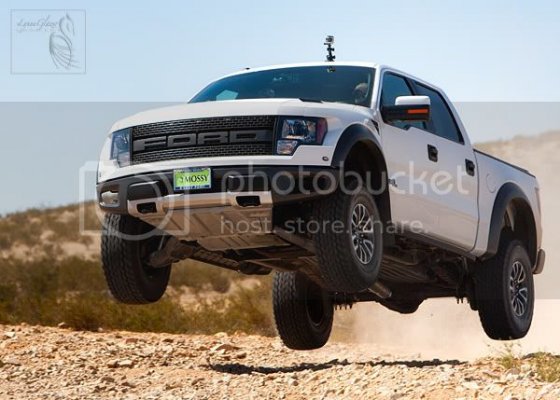
37-4633w.jpg
But I also do a lot of Handyman work, managing several residential and commercial properties, so I needed a way to secure tools and also haul lumber, irrigation and landscape materials. I am an avid Skier and we often drive 1000 miles or more for winter ski vacations.
So versatility is important, Fun is primary, looking bad-ass, not hard to do out of the box, but like most of us, I want to make the truck a reflection of my inner me.
 
OP
OP
E63

E63

Full Access Member
Joined
Feb 7, 2012
Posts
473
Reaction score
325
Location
Poway, CA.
Delivery of my Raptor

Delivery of my Raptor

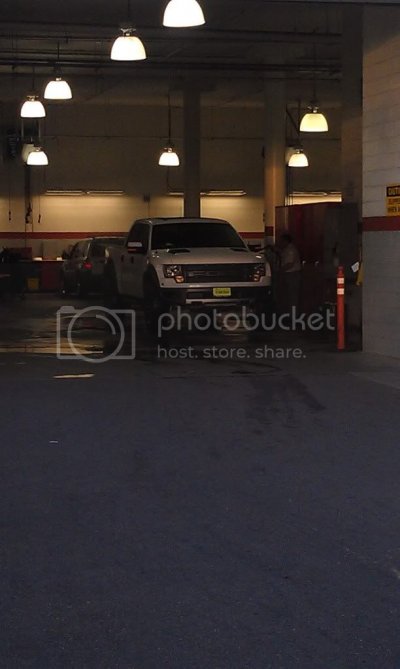
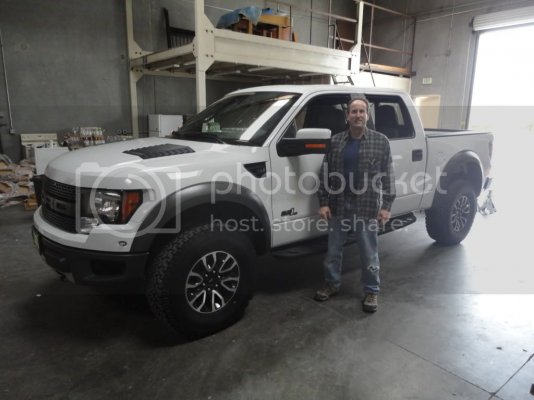
Here is the Truck getting prepped at the dealer, it was a mess after its long trip.
IMAG0398.jpg

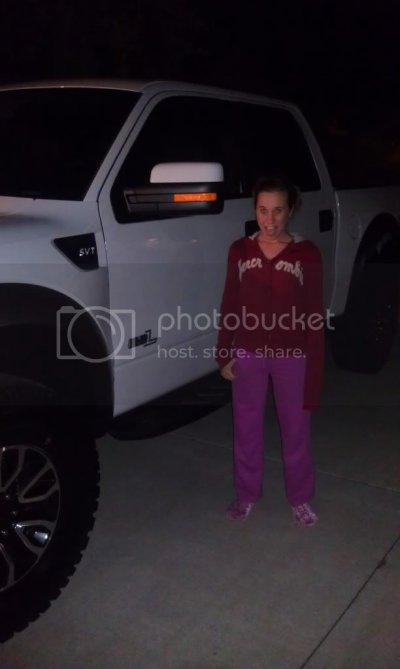
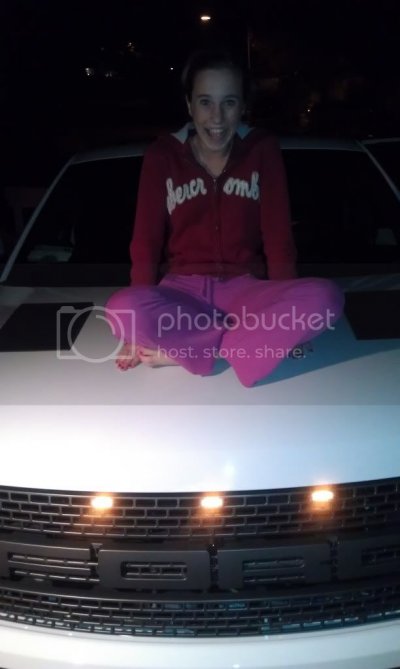
Excitement after finally getting home from the dealership -4 hours I was there
IMAG0403.jpg
IMAG0405.jpg
 
OP
OP
E63

E63

Full Access Member
Joined
Feb 7, 2012
Posts
473
Reaction score
325
Location
Poway, CA.
RPG Stage 3 Install, getting the rust out

RPG Stage 3 Install, getting the rust out
First person I called was Jarrett at RPG, I had already had a stage 3 kit on order and since they were close to me they offered to help me install the gear. The free installation was not the reason I chose to go with RPG, frankly after researching they stood above the rest in their design and fabrication quality. There is a ton of information already in this forum regarding these products so I am not going to repeat it here. I will say this though, the way their products are designed is with a staged approach to modification and improvement where all of the components are designed to work in harmony with each other. Frankly I don’t have the skill set to make a bunch of aftermarket stuff work perfectly together. I have had some bad experiences trying to improve earlier sport sedans with gear that just didn’t work out well. Frustrating since I was in that world in my role in the early Eighties. I had sway bars on one car that ripped the frame. Friends of mine have had similar experiences. For me to start making some rather drastic changes to an already impressive off road SVT engineered package, I was nervous. For me there was no choice, I wanted to fly in my Raptor, but I didn’t want frame issues either. Jarrett and Corey gave me the confidence to move forward.

Surprise
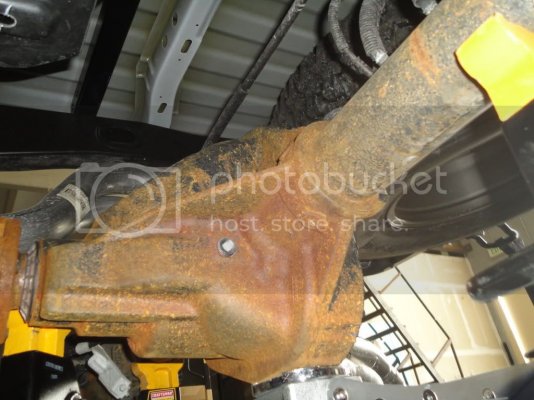
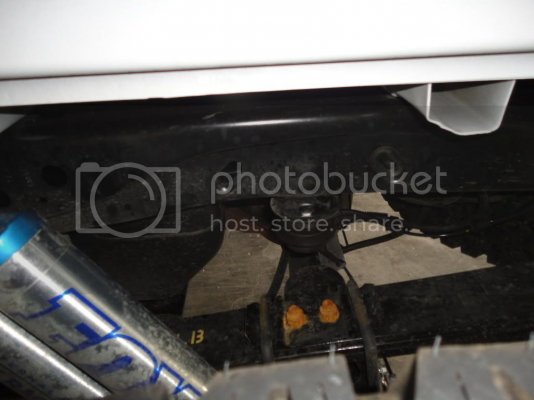
When we got the truck up in the air we found a terrible case of rust and oxidation had started, worse case Corey had ever seen.
DSC01671.jpg
DSC01670.jpg
DSC01669.jpg
DSC01667.jpg
DSC01666.jpg

It looked worse that it was, Scotch pads and Rustoleum Rust converter and she was looking good. Since we had the entire rear suspension apart it was easy to do it the right way.

There is no substitute for experience, unbelievable to have the know-how and the right parts and tools. I can’t’ thank RPG enough. It was actually my good fortune to have to wait 6+ months to take delivery, otherwise I might have been stuck with a different solution, I studied them all, what impressed me the most was their sophistication of design, experience and willingness to work with a relative novice like me. I learned more from talking to them than 6 months of trolling the forums.
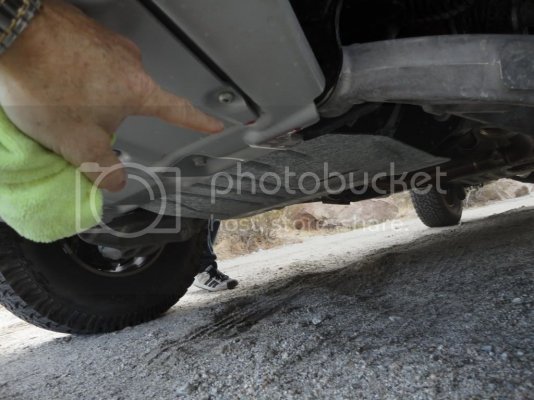
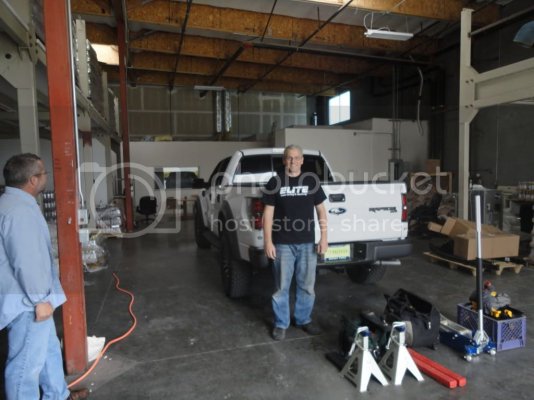
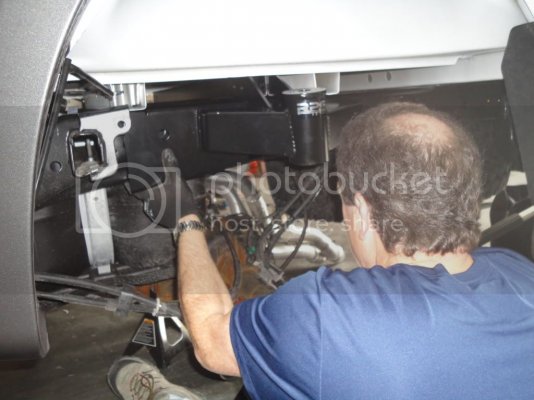
The installation of the RPG Stage 3 is well documented on this forum and the net so I won’t go into to much detail. It was a hard day’s work for me since I am normally at a desk, but Corey, Noah and I got er done in about 5 hours including the Mid Perch adjustment, sanding and painting rusted surfaces.

DSC01657.jpg
DSC01658.jpg

Stock “Frame Bender” er, I mean SVT designed micro cellular Bump Stop, aka Jounce Bumper – it actually states in the Dealer Handbook “ “New Microcellular bump stops help the Raptor soak up rough terrain” Please don’t post any Frame rants, I just wanted to give a short perspective on this.

DSC01660.jpg

Get er up:
DSC01665.jpg


Here is side by side stock leaf springs vs. the new Nationals
DSC01677.jpg

DSC01663.jpg


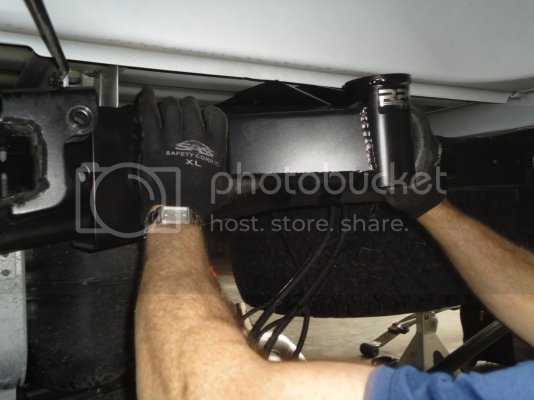
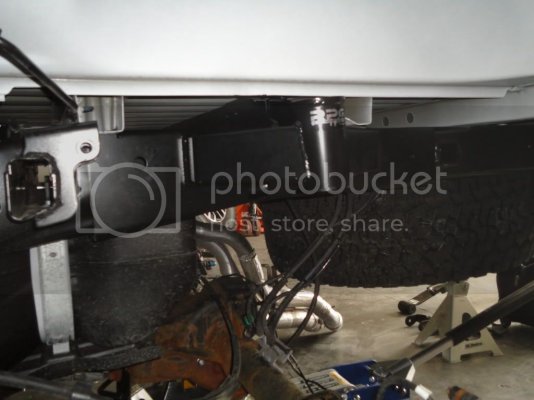
Frame Support – this thing is monstrously beefy, and fits like a glove.
DSC01673.jpg
DSC01674.jpg
DSC01675.jpg
DSC01676.jpg

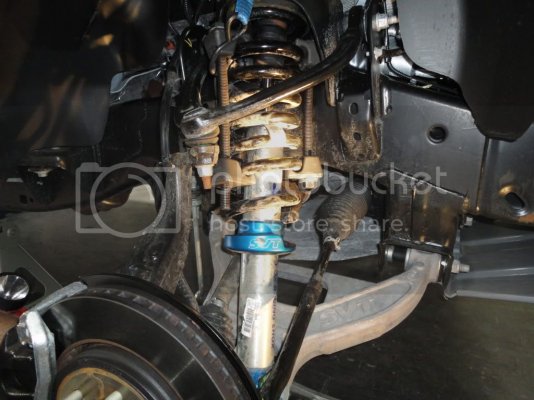
Doing the Front Perch, notice plastic insert missing from one of the shocks (bottom of Spring). Ford refused to fix or provide part since I had worked on it myself. They claimed I may have lost it during the work. As you can see, we never remove the shock to change the perch adjustment.
DSC01678.jpg

Stage 3 Completed, time for Test Drive
DSC01680.jpg

DSC01686.jpg
 
OP
OP
E63

E63

Full Access Member
Joined
Feb 7, 2012
Posts
473
Reaction score
325
Location
Poway, CA.
First Trials of Raptor – Snow, Mud, Soft Sand, Steep Rocky narrow Desert Trail

Now that frame is protected, time to have some fun.

Having been very active in Scouting for over 15 years as an adult leader, being prepared was a primary focus, especially since I most often go out by myself. I know its best to go in groups, but up to now I never really pushed my vehicle to its limits, although I did take the Suburban places it probably should not have gone.

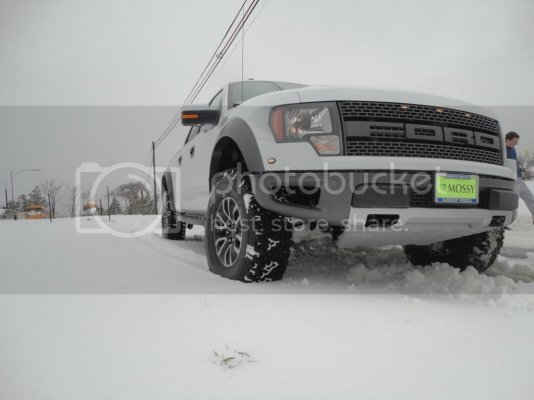
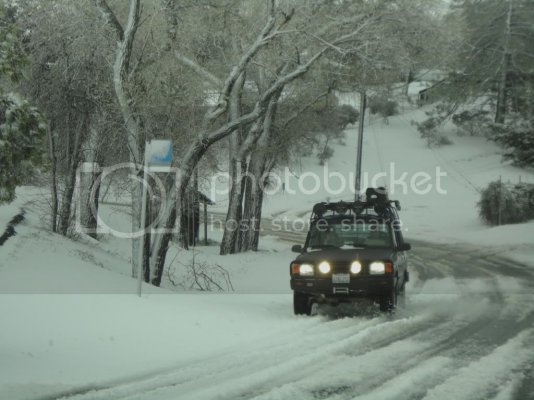
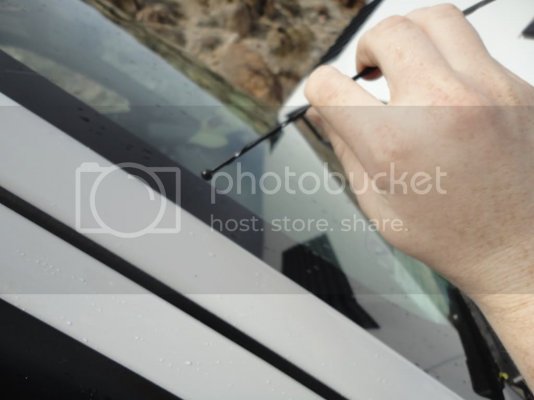
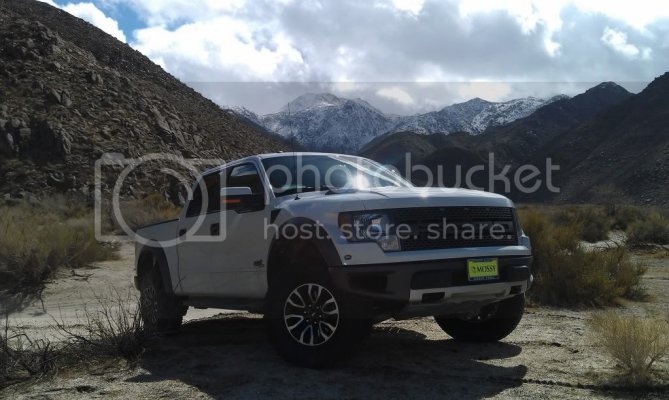
So picked it up on Wed, did the RPG Stage 3 on Friday, Sunday was the biggest storm of the season and we baptized the Raptor with deep snow, rain, high speed desert driving, narrow rocky ascent into Sheep and Coyote canyons, busted the windshield when an Ocatillo grabbed antennae and smacked windshield, crack appeared a few hours later. Here is picture of my 3rd son Ian – that is an average sized Ocatillo to his left, they are a super strong cacti with long sharp thorns.
DSC01716.jpg
DSC01722.jpg
DSC01781.jpg

IMAG0431.jpg

IMAG0518.jpg

IMAG0442.jpg

Crappy pieced together video showing the terrain, camera freaked out and kept stopping, I edited the pieces together for brevity. Yes that is rain, not often seen in the desert Click link below

http://s1266.photobucket.com/albums/jj521/gglazer/Raptor%20Stage%203%20Install/RaptorFirstExcursionSheepCanyoncompilation.mp4

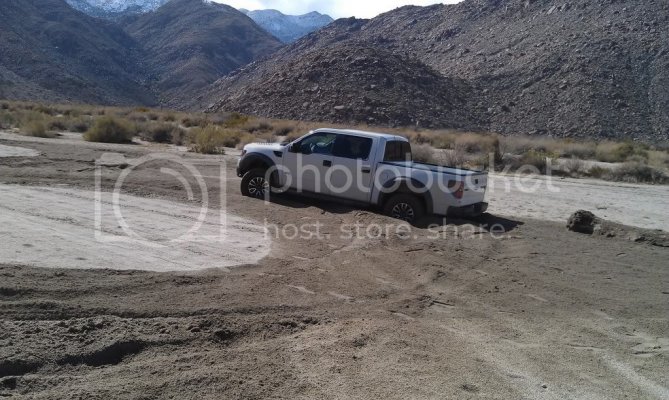
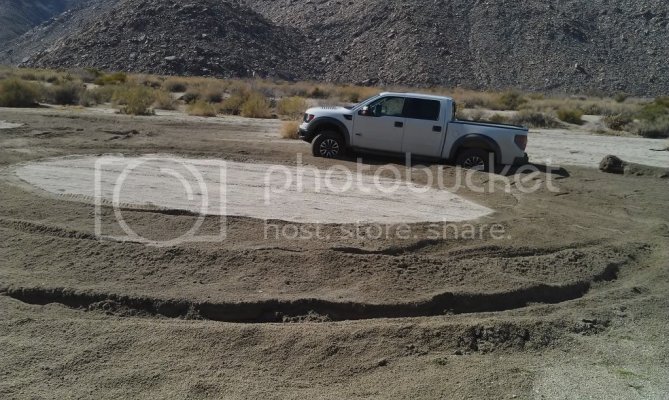
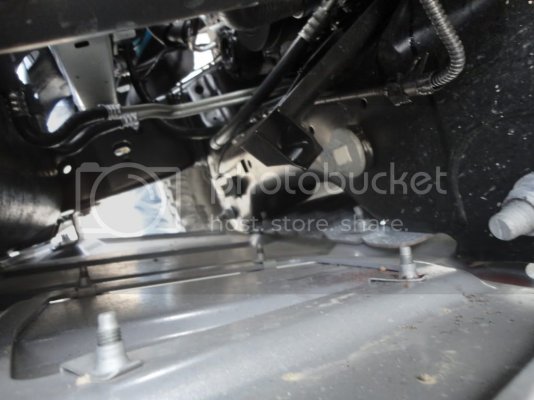
Busted the power steering pump and had a tuff drive down the rocky trail to get home, that was quite the workout. This is when it happened doing donuts in 2WD, shifted into 2 wheel high and attempted to exit with wheels still in donut mode, pop went the pump. I went into low and crawled out without problem. This was likely caused by the improper design of the pump reservoir that has the in/out upside down from optimum. Ford replaced pump under warranty. RPG has designed a resevoir made for racing that will work better.
IMAG0451.jpg
IMAG0452.jpg
IMAG0450.jpg

DSC01779.jpg
DSC01778.jpg
 
Top