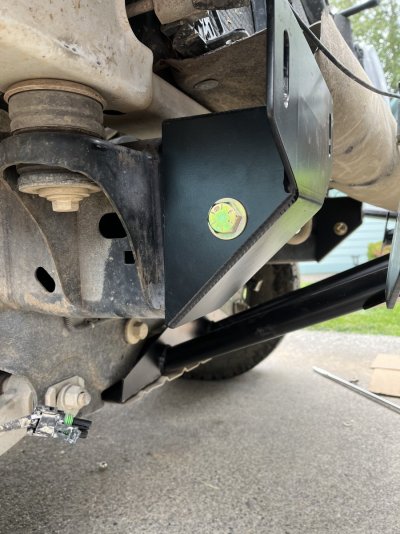
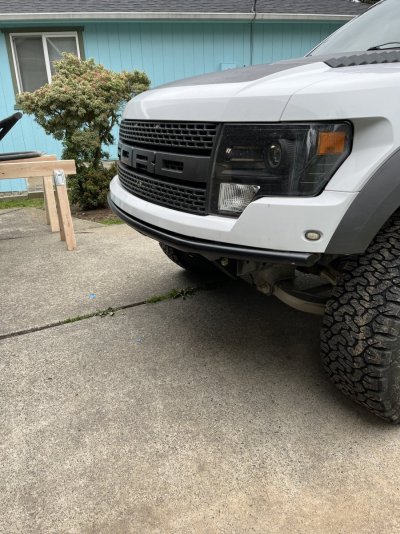
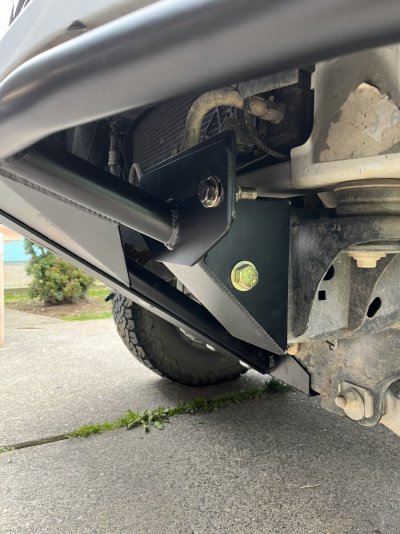
Evil off-road Abbadon front bumper

Disclaimer: Links on this page pointing to Amazon, eBay and other sites may include affiliate code. If you click them and make a purchase, we may earn a small commission.

OP
OP
BadNewsBronson
Joined
Feb 18, 2016
Posts
29
Reaction score
22
Alright’s gents picked up the abaddon. Super excited !!! And I have to say [email protected] was absolutely fantastic and I have nothing but good things to say about him. Can’t wait to get it on and I’ll definitely keep everyone posted!
 

Jhollowell

Full Access Member
Joined
Mar 14, 2016
Posts
821
Reaction score
834
Location
Everett, wa
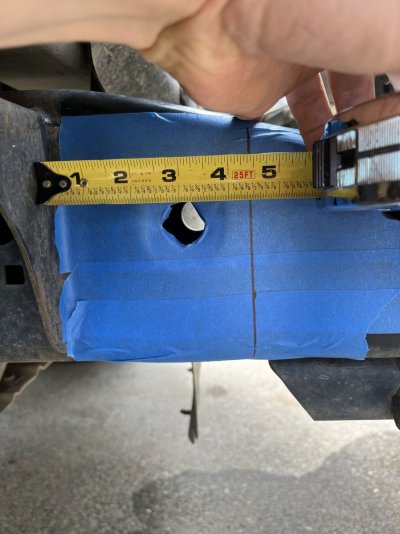
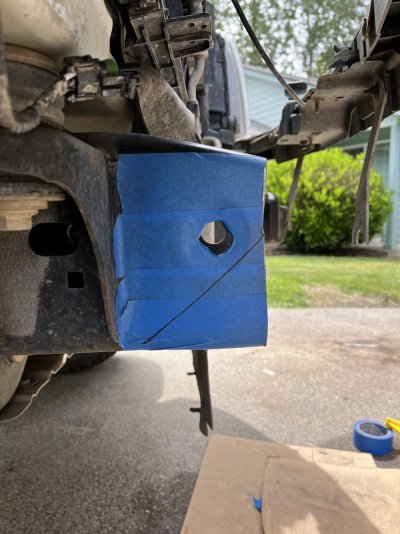
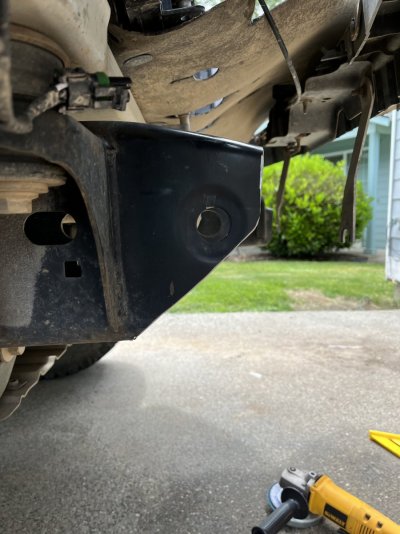
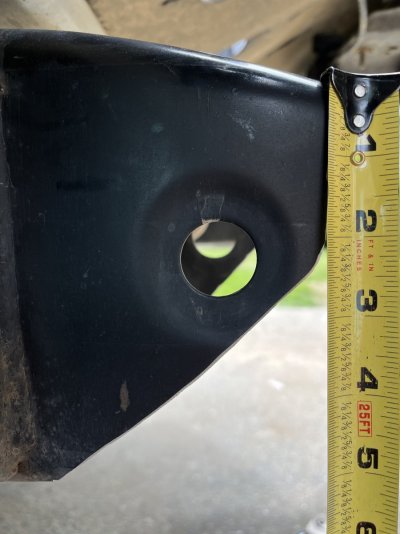
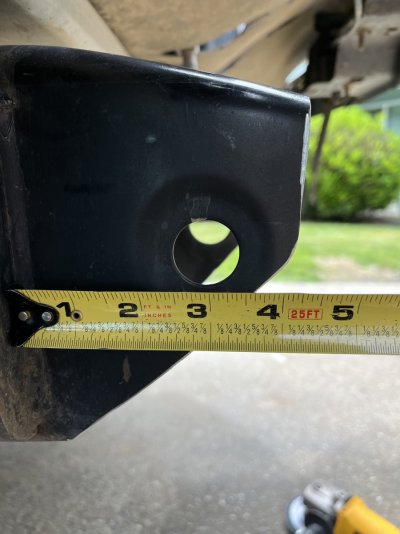
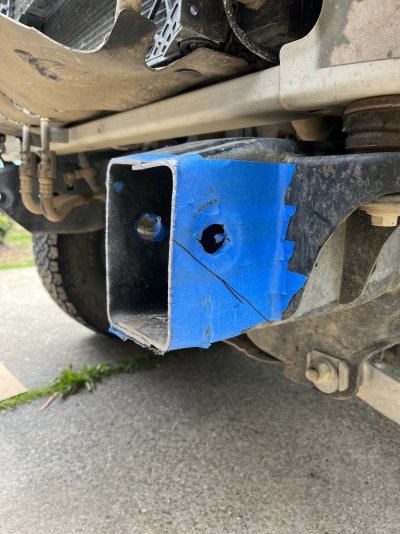
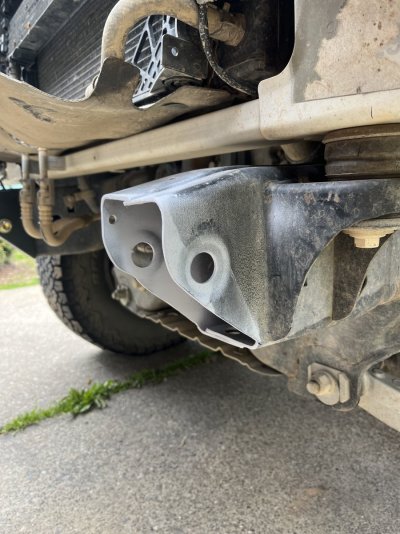
Installed the bumper yesterday and for the most part was pretty simple and straight forward. It was a learn as you go kind of thing for me so i'll share some of my learnings. First off i there are really no instructions on where to cut the frame and it does use the existing hole so be carful not to cut too much off. 4.5" from the back part of the horn seemed to work out for me. The angle cut was a little difficult so i made a straight cut first then held up the new horn and scribed a line and made my cut. I started with an electric grinder for the first cut and that's a bit unwieldy especially sitting and kneeling under the truck. Maybe jacking it up a little would have helped and definitely a lift would be ideal but i did it just sitting on the tires. I used the grinder for the passenger side and it worked out, but the drivers side i decided to use a reciprocating saw with a long blade to make my first cut all the way through. That went way faster and was much more manageable and had the advantage of not throwing sparks everywhere. It also gave me a pretty even cut straight down. For the angle cut i used a cordless grinder and that worked really well too. its a little slower but didn't throw as many sparks and was a little easier to manage. After the cuts i cleaned them up with a flapper wheel and hit them with some primer. The one issue i had and Ken mentioned it in my previous post, is the horn is held on with one through bolt so on some frames it will rock, even when tightened. I happen to have a lathe in my garage and happened to have some stainless tube so i made 2 sleeves to go between the frame flanges so when you tighten the bolt, it doesn't deform the frame. After bolting everything up i had no rocking and the bumper looks great and feels solid. Really happy with the way it turned out and how it looks.

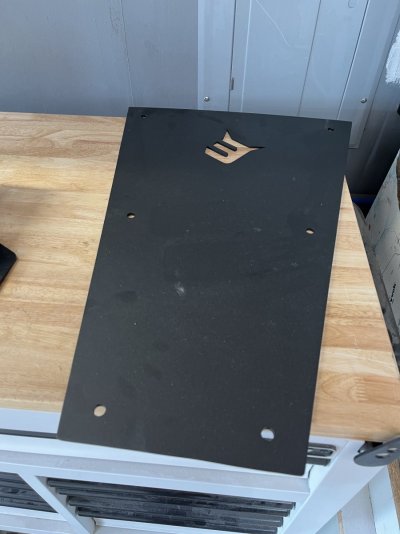
Hardware. Power coated the bumper bolts to blend in with the horn.
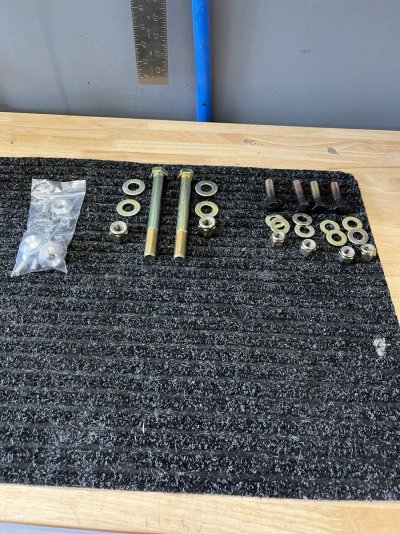
IMG_5724.jpeg
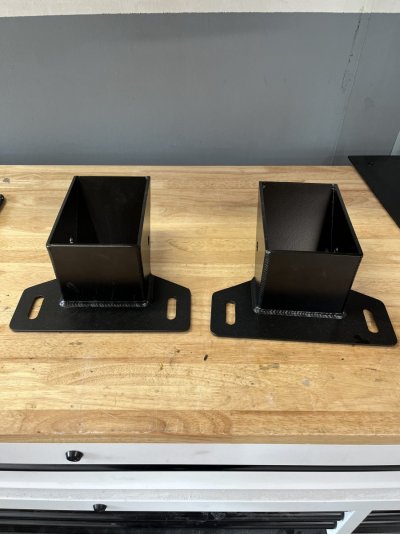
new frame horns. Beautiful tig welds
IMG_5725.jpegIMG_5726.jpeg
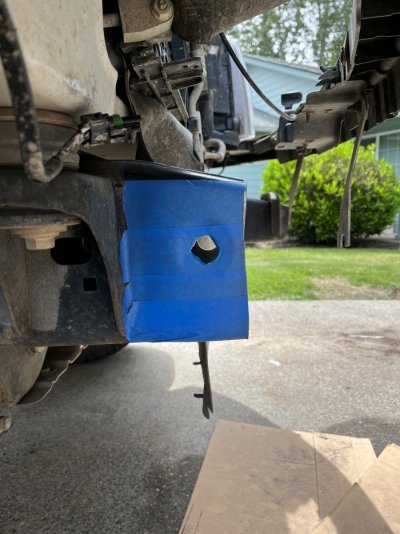
Passenger side first cut
IMG_5728.jpeg
Little tough to get a straight cut with the grinder. Not a big deal since the horn covers it.
IMG_5729.jpeg
 

Jhollowell

Full Access Member
Joined
Mar 14, 2016
Posts
821
Reaction score
834
Location
Everett, wa
Angle Cut layout
IMG_5730.jpeg
Passenger side done and cleaned up
IMG_5731.jpeg
IMG_5733.jpeg
IMG_5734.jpeg
Drivers side cut with reciprocating saw. Nice clean cut there. I think my frame was tweaked a little from the fender bender a few years ago. Only had damage on the drivers side bumper which is why i replaced it. Got tired of seeing a bent bumper.
IMG_5735.jpeg
 
OP
OP
BadNewsBronson
Joined
Feb 18, 2016
Posts
29
Reaction score
22
Dude looks so good! I’m still waiting for my bumper to come in but this will definitely help me out. Really appreciate you going through the process step by step!
 

Antho

FRF Addict
Joined
Apr 12, 2019
Posts
2,023
Reaction score
2,598
Location
Texas
Angle Cut layout
View attachment 358866
Passenger side done and cleaned up
View attachment 358867
View attachment 358868
View attachment 358869
Drivers side cut with reciprocating saw. Nice clean cut there. I think my frame was tweaked a little from the fender bender a few years ago. Only had damage on the drivers side bumper which is why i replaced it. Got tired of seeing a bent bumper.
View attachment 358870
Looks awesome and great work. Good call on doing crush tubes. Seem like that should be part of the hardware.
 
Last edited:

NateMob

Full Access Member
Joined
Sep 15, 2021
Posts
402
Reaction score
478
Location
SATX
(You may have already done this, just wanted to throw it out there. )

If you're going to use the truck to do Raptor things, trim the skid back and layer the lower bumper mount over it rather than under it. The way it is in one of the photos is going to get it ripped off. Bumper looks awesome, it's rock solid and built to take some abuse.

This one saw a lot of dirt/rocks and hard landings at TRR this past weekend.
 

Attachments

  • 00ED23E1-4572-402A-84ED-30B34367EB9D.jpeg
    00ED23E1-4572-402A-84ED-30B34367EB9D.jpeg
    188.2 KB · Views: 47
Last edited:

Jhollowell

Full Access Member
Joined
Mar 14, 2016
Posts
821
Reaction score
834
Location
Everett, wa
(You may have already done this, just wanted to throw it out there. )

If you're going to use the truck to do Raptor things, trim the skid back and layer the lower bumper mount over it rather than under it. The way it is in one of the photos is going to get it ripped off. Bumper looks awesome, it's rock solid and built to take some abuse.

This one saw a lot of dirt/rocks and hard landings at TRR this past weekend.
I haven’t installed mine yet. Was debating doing the front diff service while it’s off. Did you actually cut the skid plate to shorten it? I noticed the front bolts were covered by the bumper and the middle set were commons to both I’m thinking 4 bolts is plenty for the skid
 

NateMob

Full Access Member
Joined
Sep 15, 2021
Posts
402
Reaction score
478
Location
SATX
I haven’t installed mine yet. Was debating doing the front diff service while it’s off. Did you actually cut the skid plate to shorten it? I noticed the front bolts were covered by the bumper and the middle set were commons to both I’m thinking 4 bolts is plenty for the skid
Yep, we trimmed it a couple inches or so per the instructions and it tucked underneath perfectly. Once trimmed and layered the skid holes line up with the lower bumper mount holes.
 
Top