@CRISTHEILLEST GEN 2 BUILD THREAD

Disclaimer: Links on this page pointing to Amazon, eBay and other sites may include affiliate code. If you click them and make a purchase, we may earn a small commission.

cristheillest

Member
Joined
Jun 8, 2022
Posts
43
Reaction score
113
Location
Bay Area
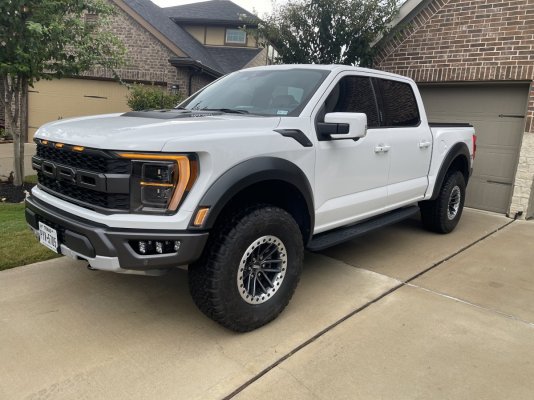
What's up everybody! Think it's time I get going with this build thread and show you guys what I've done to my truck within the 5 months of having it. I can say that this truck has by far been my best purchase, I love this thing! If you guys have instagrams, ya'll should add me! I do post a lot of my car projects there almost daily! Give me a follow @cristheillest

Jump to page 4 for Chase Light DIY
https://www.fordraptorforum.com/threads/cristheillest-gen-2-build-thread.94607/page-4

Jump to page 4 for VHF Center Console DIY
https://www.fordraptorforum.com/threads/cristheillest-gen-2-build-thread.94607/page-4

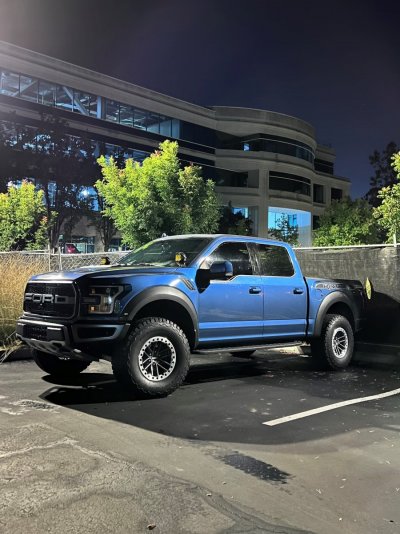
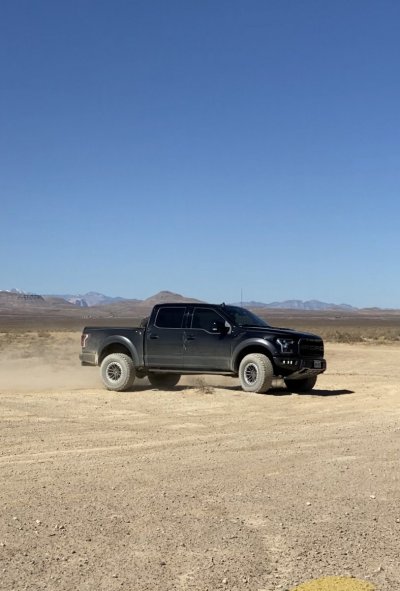
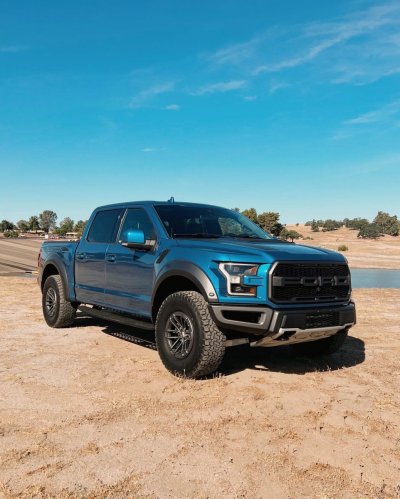
Let's start from the beginning; I purchased this truck back in June, it is a 2019 Performance Blue Gen 2 802A package, fully loaded. It wasn't long before I started modding it, typical car guy extracurricular activities :driver:
D98FFF80-E8EB-48E0-BE9B-886538D179E1.JPG
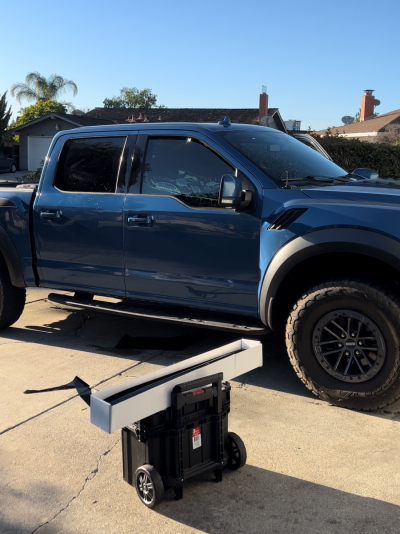
First things first, I hate riding around in water bottle cars so I tinted the windows within the same week. Went with 5% all around cause if I'm going to get a ticket might as well make it worth it!
IMG_0858.PNG
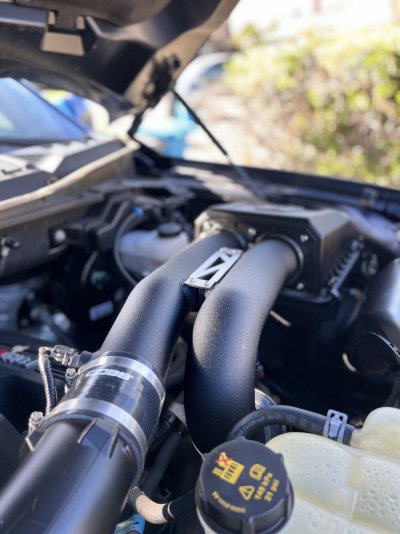
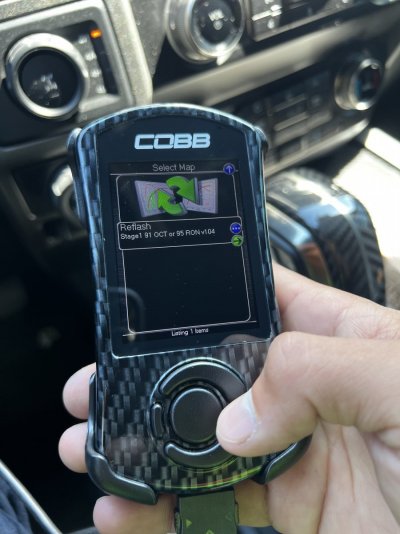
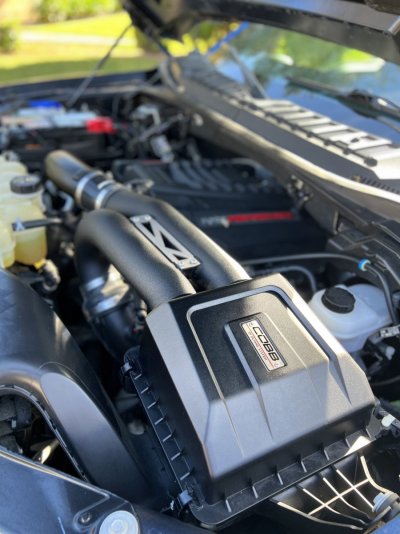
A couple days went by and my order finally arrived, ended up purchasing the Borla Atak exhaust, Cobb CAI and Access port for the 91 OTS Tune. I was really surprised on how much different the truck performed after the OTS tune, kind of a bummer the Raptors didn't perform like that from the factory. But anyways, below are a couple pictures of the installation, pretty easy/simple stuff.IMG_0565.jpgIMG_0568.jpgIMG_0872.jpg
 
Last edited:
OP
OP
cristheillest

cristheillest

Member
Joined
Jun 8, 2022
Posts
43
Reaction score
113
Location
Bay Area
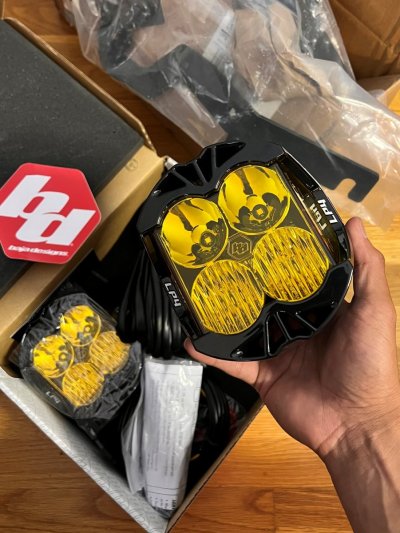
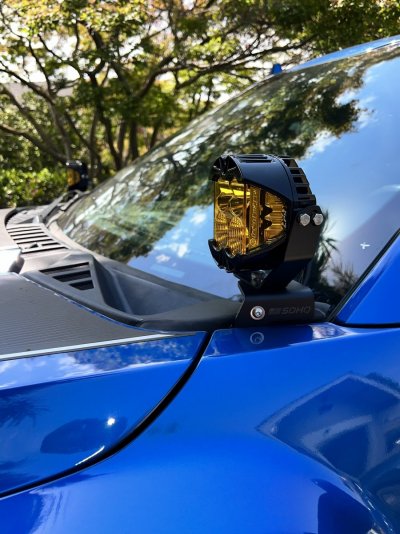
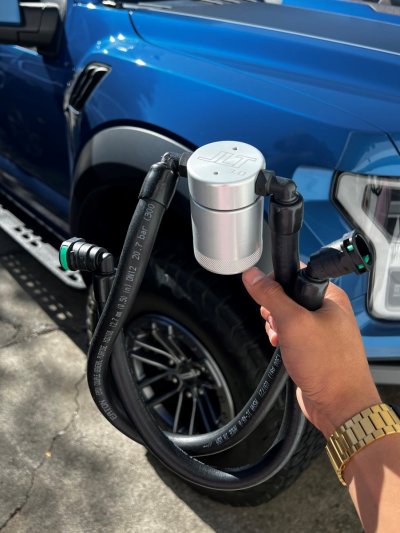
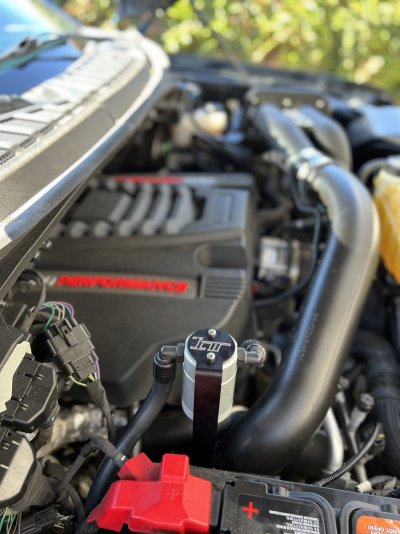
A couple weeks went by and ended up making another order, purchasing the JLT oil catch can and Baja Design LP4 along with the SDHQ A pillar brackets. Same deal with these, pretty simple install
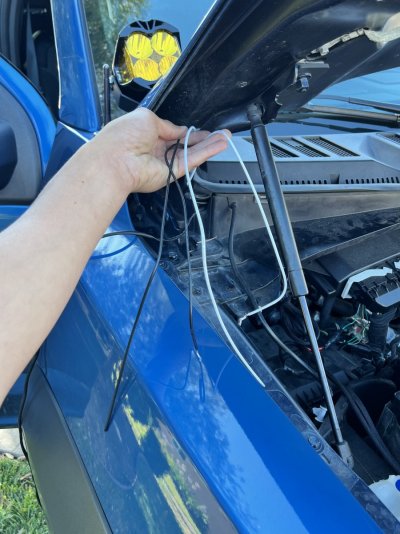
IMG_1646.jpgLook at this babies, they're so well designed!! Also, for those of you doing your own shit like myself, keep in mind you will be thrashing most of the wire harness that comes with the kit, after trimming this is what I was left with which then connected to the auxiliary switches.
IMG_1803.jpg
Once wired up, the results are pretty neat! :happy160:
IMG_1900.jpgView attachment 378489
Once the lights were done, onto the easy install - JLT oil catch can
?hash=516f0bb1b836cd214f5157c86e57220f.jpgIMG_0794.jpg
 

Attachments

  • IMG_0733.jpg
    IMG_0733.jpg
    155.9 KB · Views: 4
Last edited:
OP
OP
cristheillest

cristheillest

Member
Joined
Jun 8, 2022
Posts
43
Reaction score
113
Location
Bay Area
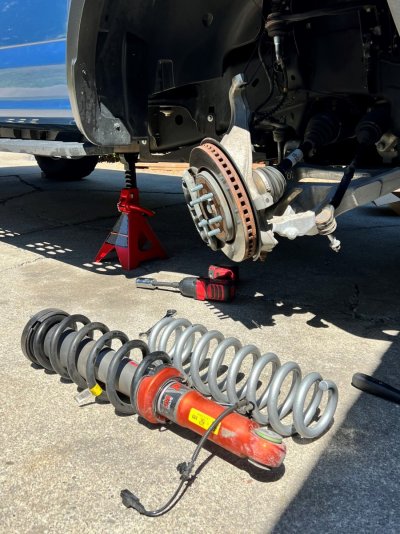
A couple more weeks went by and pulled the trigger on Eibach leveling springs for the front. Now I've done springs swaps in the past, but after reading through some of the DIY's on this forum I started to get a bit nervous about the install as people were making it seem a lot worst than it really was.

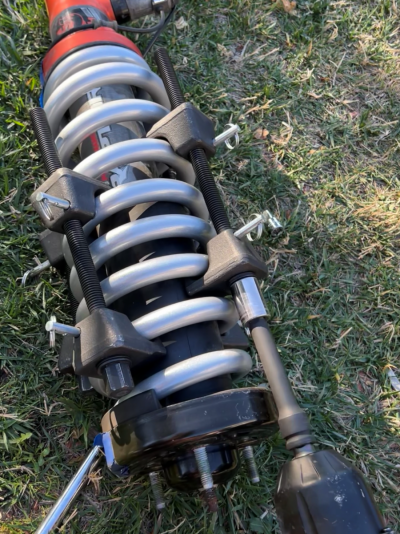
I am here to tell you that the install was not bad as everybody thinks, just get yourself two sets of spring compressors, an impact gun, extension and you'll be set. Now when installing these, make sure to only turn each of the rods a bit at a time going in a crisscross patter - And well, obviously take precautions too, at the end of the day a sketchy job is a sketchy job. The hardest thing about this job was literally removing that stupid strut tower nut way in the back, where you have no room to get your fingers in.

Here is the right shock removed next to the Eibach spring
IMG_2646.jpg
This is what I did, 4 mac strut spring compressors centered on the spring, notice they are each set one run below the other. Did this to apply even pressure through the compression area.
IMG_3963.PNG

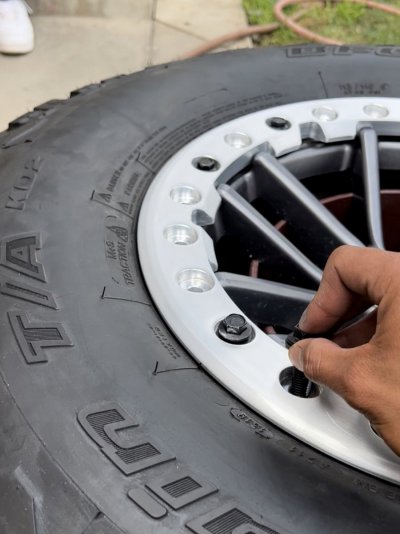
Couple more days went by and finally decided to knock out the bead lock rings on the OE wheels I have, I personally like these wheels so I figured why not, I do plan on off-roading a lot so **** it why not

NOW THIS INSTALL SUCKED!! SO FREAKING REPETITIVE
IMG_3954.jpg
20+ bolts being torqued again and again is not fun, but ehhh, suck it up and do it
IMG_3063.jpg
 

Attachments

  • IMG_2646.jpg
    IMG_2646.jpg
    195.2 KB · Views: 6
Last edited:
OP
OP
cristheillest

cristheillest

Member
Joined
Jun 8, 2022
Posts
43
Reaction score
113
Location
Bay Area
Now time for some trail upgrades. I got a Lake Mammoth trip with some of the NorCal group in a few weeks so lets install some of the necessary items.

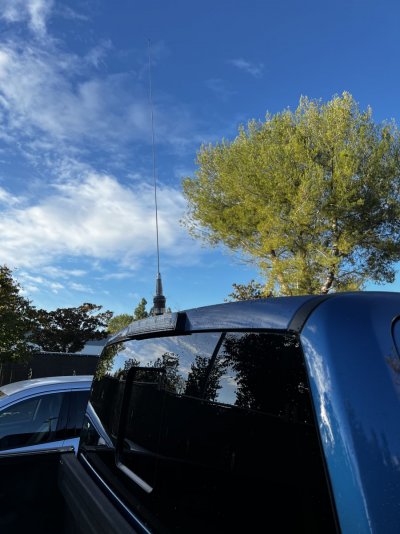
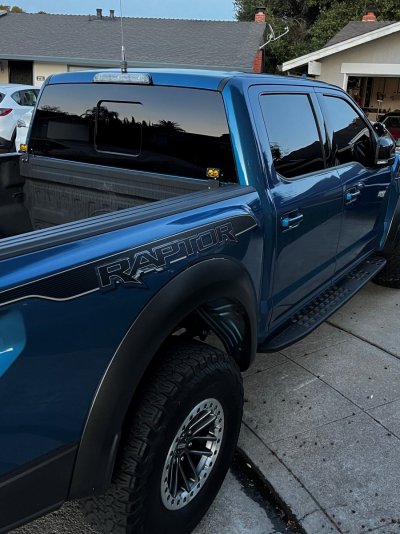
Ordered a VHF radio along with the third brake light antenna mount. I ended up going with the Bullet Proof Diesel antenna mount keeping my OE brake light, I'm not a fan of the big chase light bracket holding the S2 lights, personally I think its too bulky but that's just personal opinion.

IMG_3958.jpg
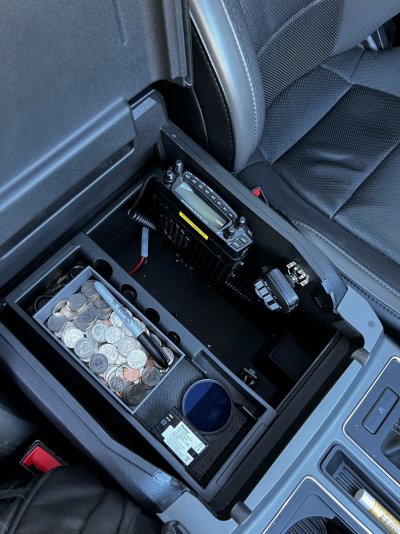
Once installed, I got going with the radio install inside of the center console. I ended up going with a 50W Anytone radio
IMG_3959.jpg
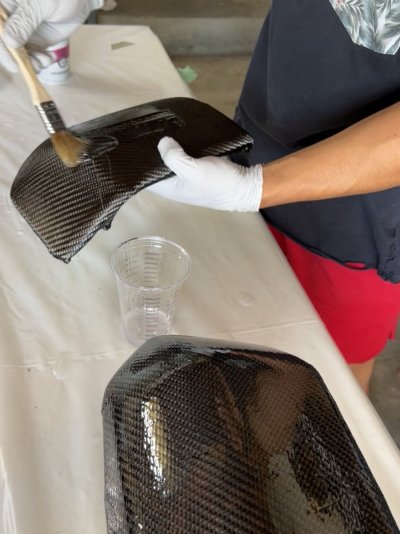
Now let's start getting real creative now. I recently started getting into carbon fiber part making so I ended up making skinning an extra set of mirror caps I had laying around.

This was definitely a learning process! Never messed with carbon fiber and I actually screwed up like 3 times LOL but the end result was pretty sick.
IMG_3956.jpg
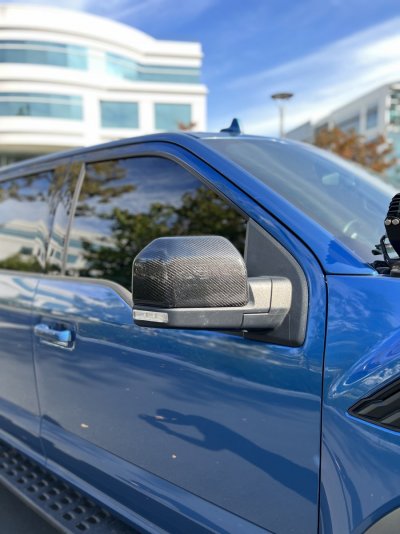
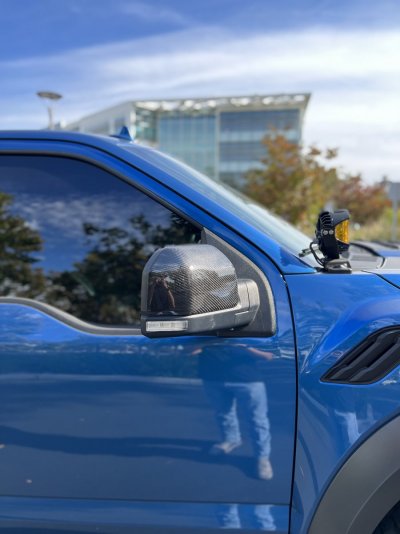
IMG_3675.jpgIMG_3676.jpg
If you guys want a set, let me know!! I started making extras!! The carbon fiber was skinned directly on the mirror cap so you won't be at risk of somebody ripping them off. I recently had a buddy get his stolen as the ones they sell online are installed using double sided tape. The carbon fiber and epoxy were bonded directly to the mirror cap.
 
Last edited:
OP
OP
cristheillest

cristheillest

Member
Joined
Jun 8, 2022
Posts
43
Reaction score
113
Location
Bay Area
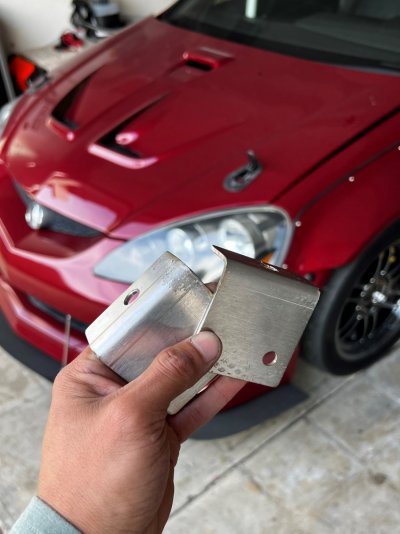
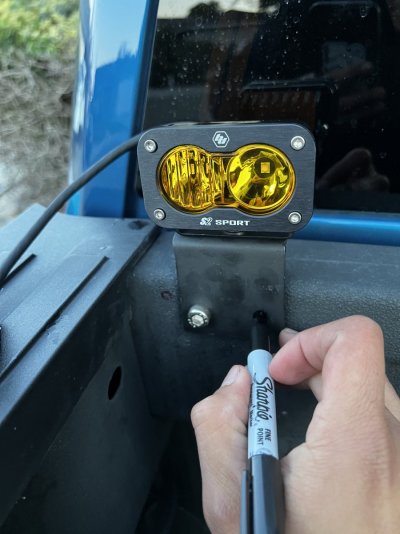
My most recent mod happens to be the Baja Desing S2 chase light install with custom brackets I made from scrap metal i had laying around in the garage.

I used 3/16" stainless steel plates, which then I cut and drilled to be installed directly on the bed.
IMG_3907.jpg
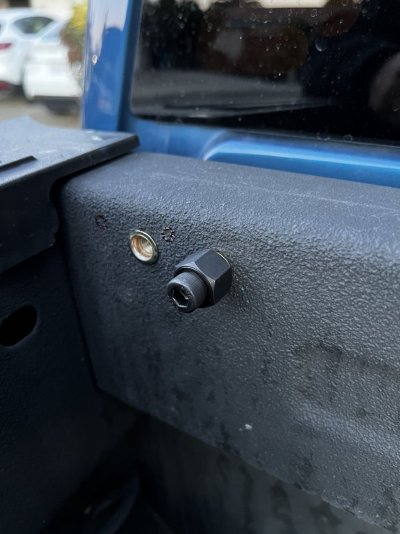
Once properly cleaned up, I painted them black so they could blend in with the finish of my bed. Also painted the hardware that came with the lights. While the paint dried, I began drilling the 4 holes on the bed and I used rivet nuts to be able to properly secure the lights to the bed. IMG_3936.jpg
IMG_3934.jpg
Once the rivet nuts are installed the the brackets mounted, its time wiring to get done but you guys don't need to see that!
IMG_3939.jpg

As you guys can see, it's been a busy 5 months for me. I do everything myself, I got plans to upgrade the suspension next but for now this will do! More posts to come :grd:
 
Last edited:

Antho

FRF Addict
Joined
Apr 12, 2019
Posts
2,018
Reaction score
2,594
Location
Texas
Looks great and good choice on upgrades. Only thing i would have done differently where the chase light mounts. Only because i hate drilling holes in the truck. I use the swarfwork mounts and they are perfect. Not knocking just wanted to let you know there are decent options available without having to drill!
 
OP
OP
cristheillest

cristheillest

Member
Joined
Jun 8, 2022
Posts
43
Reaction score
113
Location
Bay Area
Looks great and good choice on upgrades. Only thing i would have done differently where the chase light mounts. Only because i hate drilling holes in the truck. I use the swarfwork mounts and they are perfect. Not knocking just wanted to let you know there are decent options available without having to drill!
Thanks man! I saw those but honestly don’t really care about drilling 3/8” holes, it’s very minimal, the only thing about drilling these is to make sure the lights won’t be covered by the tire rack but I’m building a custom rack so I’ll be fine!
 

Antho

FRF Addict
Joined
Apr 12, 2019
Posts
2,018
Reaction score
2,594
Location
Texas
Thanks man! I saw those but honestly don’t really care about drilling 3/8” holes, it’s very minimal, the only thing about drilling these is to make sure the lights won’t be covered by the tire rack but I’m building a custom rack so I’ll be fine!
Again, not knocking it. I think it looks great. Just wasn’t sure if you knew about other option. Keep it up! Great wheel choice too! I liked them so much I had to buy a set for the gen3!E73784E2-6230-4488-80B1-2187D82B0F08.jpeg63B36B13-DA77-4469-AD02-36B1DF08D614.jpeg
 
Last edited:
Top