@CRISTHEILLEST GEN 2 BUILD THREAD

Disclaimer: Links on this page pointing to Amazon, eBay and other sites may include affiliate code. If you click them and make a purchase, we may earn a small commission.

OP
OP
cristheillest

cristheillest

Member
Joined
Jun 8, 2022
Posts
43
Reaction score
113
Location
Bay Area
Finally had time to wire up my VHF radio and chase lights that I had previously posted before. I had initially just mounted the lights and radio in the center console but didn't have much time to actually tackle the wiring process. Realizing that there isn't an actual "DIY" for these two installations, I figured I'd show you guys what I did.

Chase Light Installation - Bed Mounted

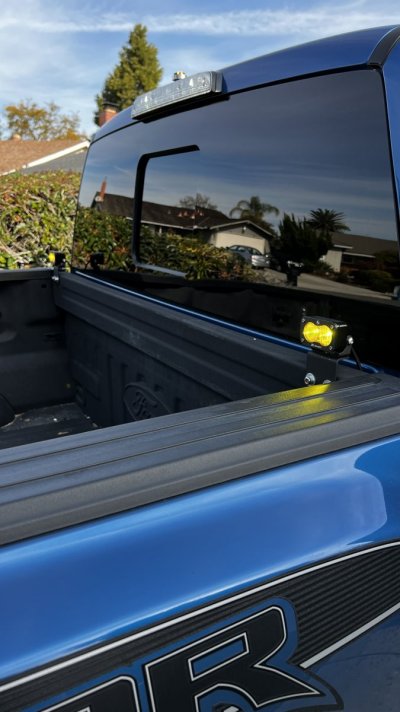
From my previous posts, you'll see I made my own brackets for the BD S2 Sports which sit roughly an inch higher than the bed. See below:
IMG_4270.jpg
Now for the wiring, this is what I did.
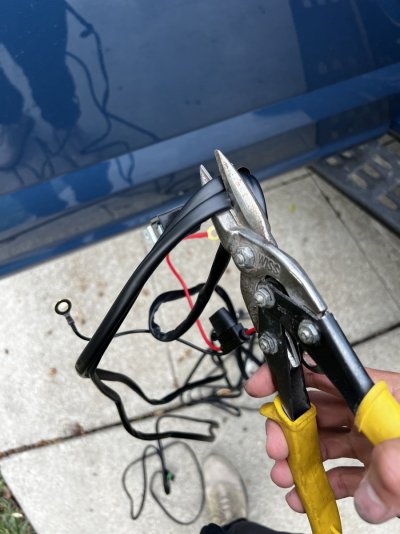
Start by cutting off all the unnecessary wiring that comes with the kit. (Cutting off the switch, relay and fuse). You'll be left with the power and ground wire for both lights.
IMG_4099.jpg
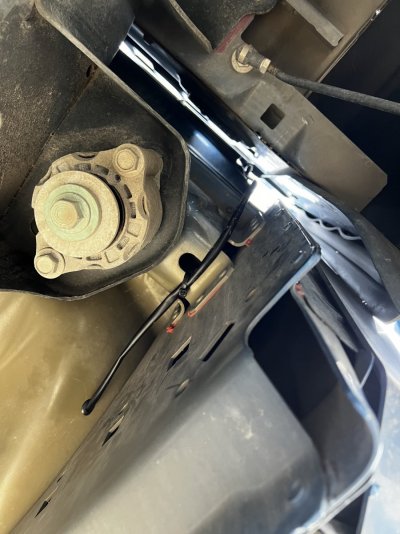
I then ran my wires through a hole I found on each side of the truck which was used by the main wire harness clip. Take a look under the truck and with some pliers, press on the clip and push up to pop off that clip and pass your wiring through. I highly recommend using grommets every time your passing wiring through holes to prevent damage to the wire insulation and helps with waterproofing. While you're down there, tie the wire tight to the body using zip ties.
IMG_4251 1.jpg
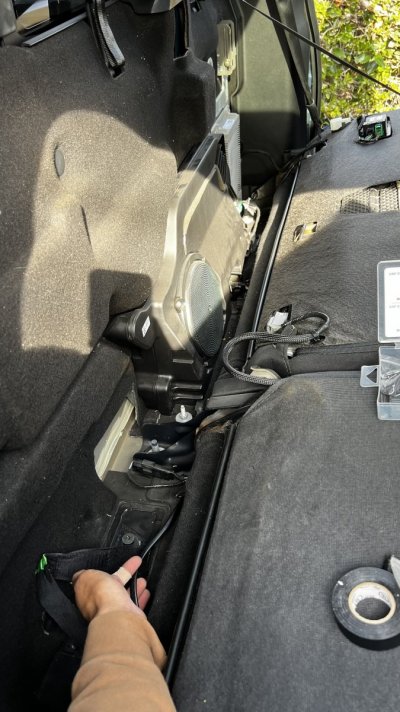
Once both wires have been fished into the cab, I ran my driver side wiring up behind the C pillar panel, exit out the side and have the wires run behind the seat to meet up with the passenger side light wiring.
IMG_4271.jpg
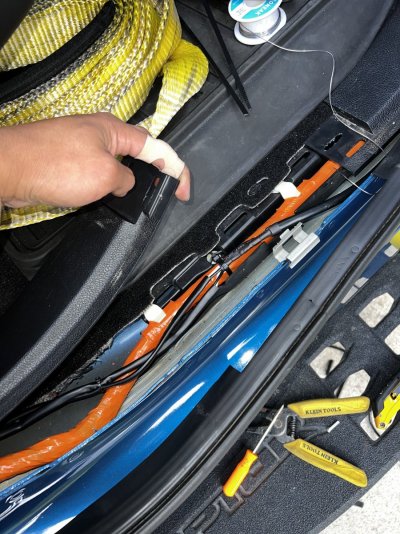
Once I ran the wiring where I wanted it away from any moving objects, I soldered both lights into a single 12G wire which then ran through the chase space towards the front of the truck to be connected to the pass-thru wiring and ground point.
IMG_4262.jpg
 
OP
OP
cristheillest

cristheillest

Member
Joined
Jun 8, 2022
Posts
43
Reaction score
113
Location
Bay Area
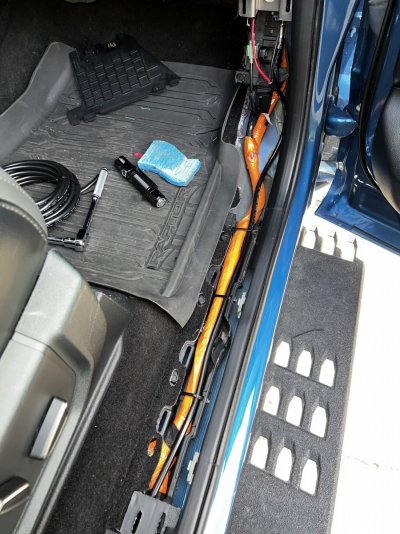
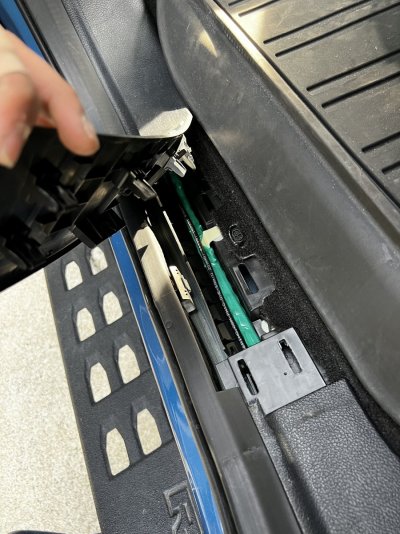
Front panel floor panel and wires through the chase as shown
IMG_4261.jpg
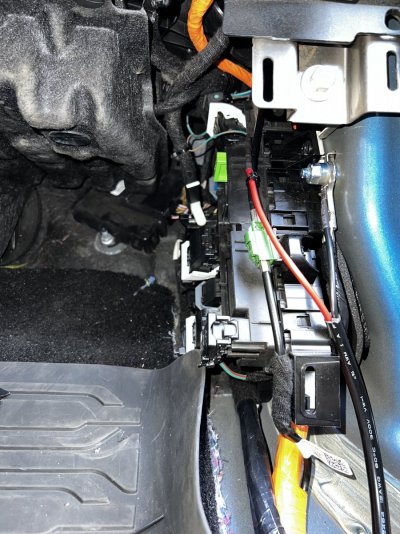
I connected directly to the pass-thru wire that's behind the fuse box. (If you have trouble finding the bundle, drop the glove compartment completely using the push pads and you should be able to have a better view, they are there trust me bro) All jokes aside, they are there - just a pain in the ass to find since we are not given much room to play with.

For this connection, you need to connect both the pass-thru wires and upfitter wires together in the engine bay, once you do so, connect your light power to the same wire that you connected in the engine bay using the pass-thru wire. In my case, I connected to upfitter switch #6, which for the 2019 is orange/green wire.

You'll also need a ground, I connected my ground to an existing ground point as shown below.
IMG_4260.jpg
Once connected, test your lighting and do pull tests on your wiring. Pop all your panels back in place and now you have a nice clean installation.

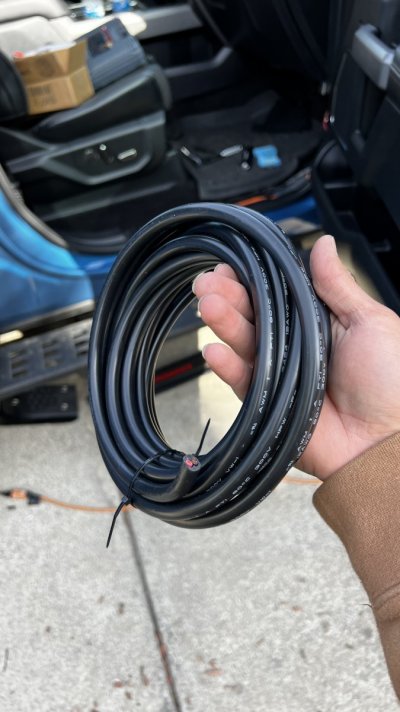
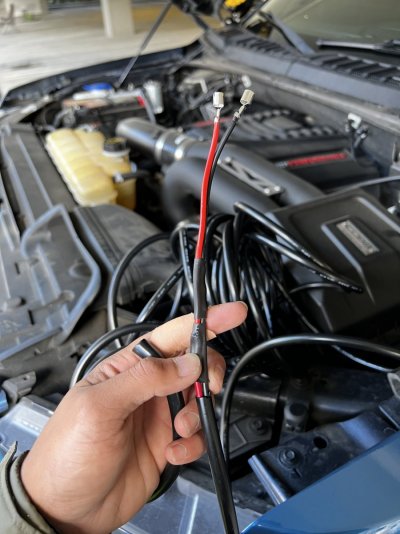
For the additional wiring, I used this 2-in-1 wiring which has two 12g wires. This will help keep your installation a lot less messy and its easier to deal with. I found this on amazon, which comes in many different gauges.
IMG_4280.jpg

Hope this helps some of you doing your own installations! :happy160:
 
Last edited:
OP
OP
cristheillest

cristheillest

Member
Joined
Jun 8, 2022
Posts
43
Reaction score
113
Location
Bay Area
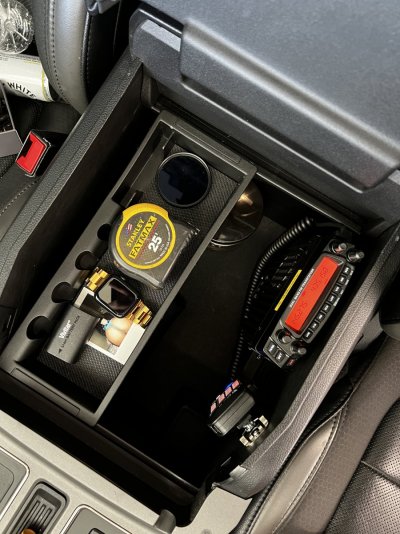
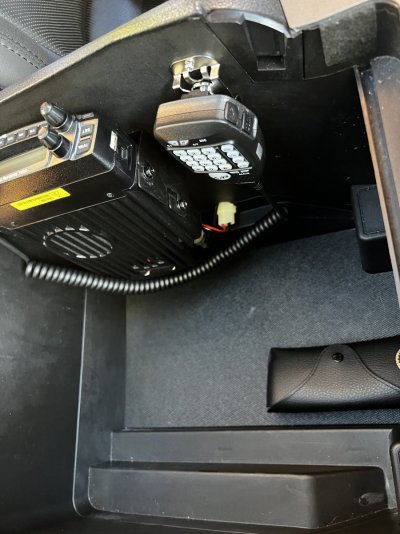
VHF Radio in Center Console
IMG_4221.jpg

For this installation, I brought my antenna wire from the 3rd brake light into the front of the truck through the chase space used for the oem wire harness similar to what I did for the chase lights.

Run the wire through the headliner down to the C pillar panels, run wire in front of air bags down into the chase space towards the driver seat. IMG_4281.jpg
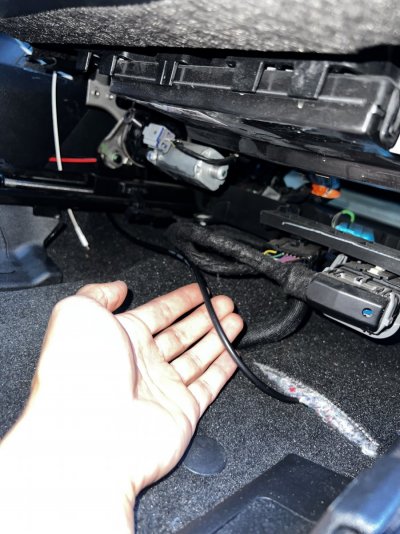
Pop off the floor panel and fish the antenna wire below the carpet and have it pop up using the existing carpet opening as shown below.
IMG_4373.jpg

Now for the actual radio installation inside the console, choose your side and install. Once installed, I drilled a hole directly on the side of the console towards the driver side seat. I made it just big enough for the antenna wire to fit through and big enough for the radio power clip to fit snugly inside of it.
IMG_4376.jpg
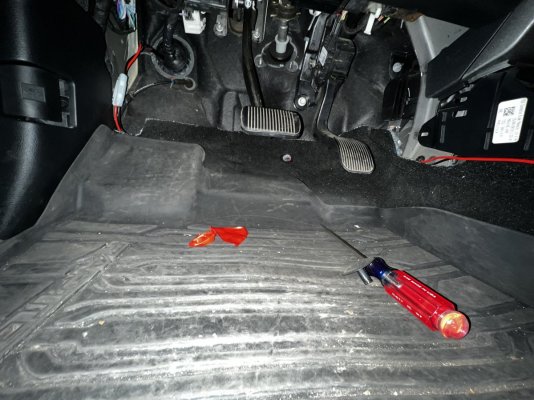
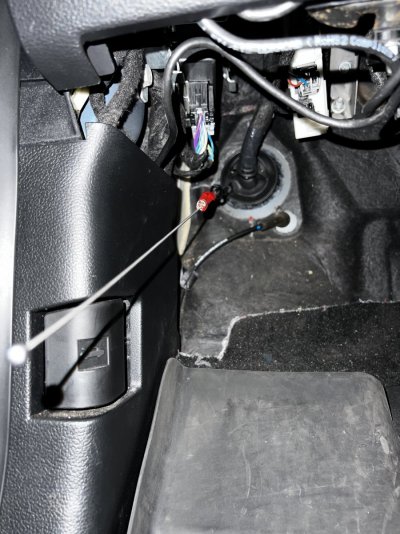
I ran the power wires directly to the battery and also used inline fuses for the added projection. Popped the left console panel and ran wires towards pedals, remove clip holding carpet down and run wires towards the left side of the truck as shown below.

IMG_4212.jpg
I
 
Last edited:
OP
OP
cristheillest

cristheillest

Member
Joined
Jun 8, 2022
Posts
43
Reaction score
113
Location
Bay Area
In order to pass the wires from the cab into the engine bay, I drilled a 1/4" hole directly on the harness grommet and passed my wires through. It's kind of a pain in the ass so what I did, I grabbed my antenna and taped my wires to the tip and passed them into the cab from the engine bay. This make things much much easier.
IMG_4209.jpg
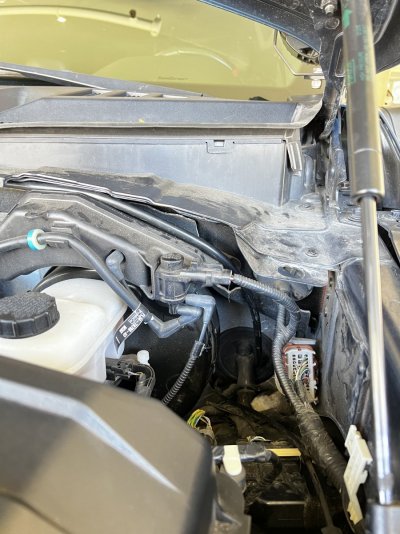
Once your wires are passed through the grommet into the engine bay, to keep things clean and not too visible, this is what I did. Ran the wires up above the brake booster as shown below.
IMG_4218.jpg
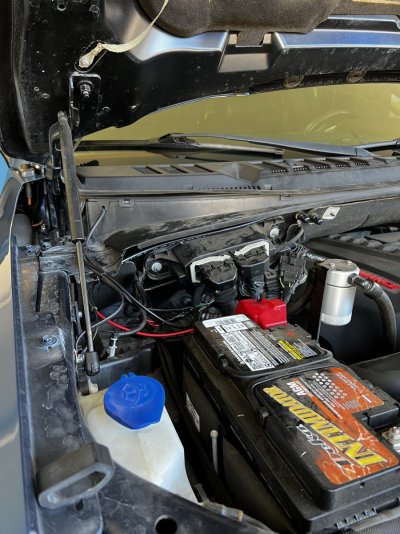
Once above the brake booster, I ran the wires behind the insulation blanket hugging the fire wall. You'll see 2 aluminum clips holding the blanket tight, simply slide those off about 1/2" and now you can bring your wiring tight against the firewall and away from the moving parts.

Kinda hard to see in the picture below, but I guess that's the point right? (It's the red cable, trace it back on the picture) Once that's done simply connect your ground and your power to the battery positive terminal.
IMG_4219.jpg

That's what I did, pretty straight forward but I got a couple questions on IG so I figured why not post about this too.

Note: Keep in mind you'll more than likely have to extent your wires for the radio, I used the same 12g 2-in-1 wire to extend my wires all the way to the battery.
IMG_4198.jpg

All this is very straight forward and genetic, if you guys have any questions send me a DM and I'll be happy to help.
 
Last edited:
OP
OP
cristheillest

cristheillest

Member
Joined
Jun 8, 2022
Posts
43
Reaction score
113
Location
Bay Area
Low the detailed pictures, I just wish I had enough time to work on the Raptor. Also, loving the carbon fiber mirrors.
Thanks man, it is pretty time consuming! On longer installations I usually take a couple days to complete but that's alright, just gotta remember where you left of
 

UsedRaptor

FRF Supporting Member
Supporting Member
Joined
Sep 20, 2020
Posts
404
Reaction score
1,225
Location
earth
I'm just seeing a change bomb in the center console. Big enough jump is going to set it off. Nice truck!!!
 
Top