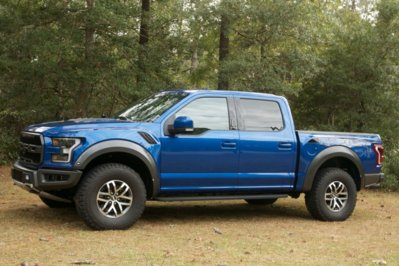
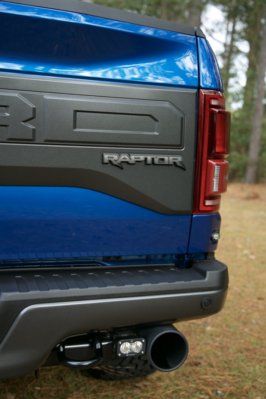
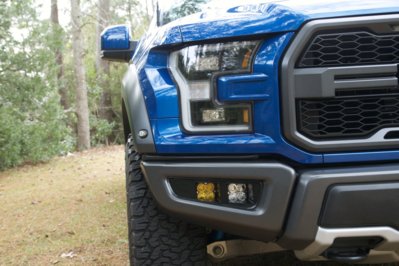
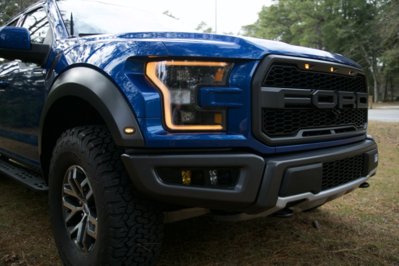
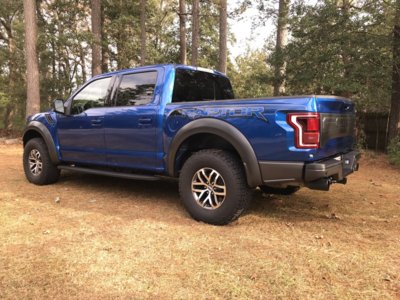
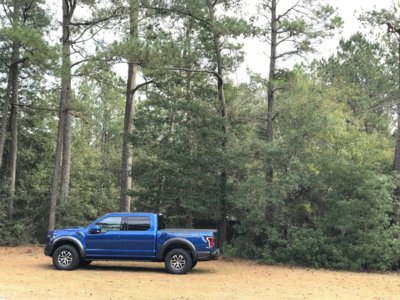
Completed new truck detail

Disclaimer: Links on this page pointing to Amazon, eBay and other sites may include affiliate code. If you click them and make a purchase, we may earn a small commission.

Speeddeacon

Full Access Member
Joined
Nov 4, 2018
Posts
310
Reaction score
155
Location
NC
Buying a new vehicle in the late fall or winter can make the new car detail a bit tricky. I picked up my new Ford Raptor and brought it home the week of Thanksgiving. Between the family, work and terrible weather, I didn’t have an opportunity to do my normal detail for almost two months. I had some time off and decent weather the two days before Christmas this year, so I got busy to get my new beast ready to brave the elements. Actually, she has already spent a week in 20” of snow and survived a nor’easter and over two thousand miles traveled in our short time together. She was definitely entitled to her spa treatment. I did have to wait until mid-morning, though, until the temps broke into the forties before I wanted to get outside and get wet.

I had only washed her once, after returning from the snow trip, but she wasn’t too dirty actually. I started with a pressure washer rinse to hopefully knock any major contaminants off of her.

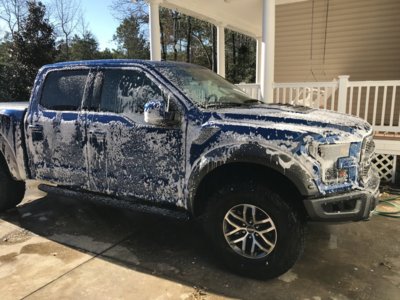
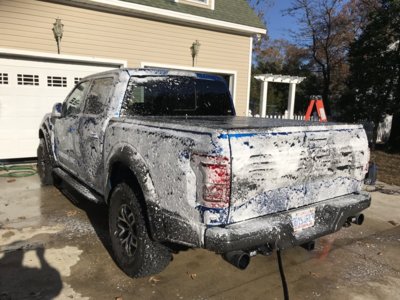
Next up was the foam treatment with Adam’s Car Shampoo with a few ounces of Adam’s All Purpose Cleaner added. I foamed the entire truck, letting it sit and soak while I prepared my two wash buckets. For the wash, I used the Adams Strip Wash, again with a few additional ounces of All Purpose Cleaner added. My goal was to remove any dealer applied protection, if there was any. She did bead up pretty well during my first wash so I assume there was something besides clear coat on the surface.
TYBoL4OrSjm6mJfPwQ+eog.jpg

1u3av4Z%Q2O%pk%Y61RfHw.jpg

When the wash was ready, I grabbed my Adam’s Wheel Cleaner, Wheel Woolie and a micro fiber towel and washed the wheels thoroughly. When I was done with the wheels, I rinsed the foam from the top of the truck down using a hose. I’m sure a pressure washer would be fine, and quicker, but once I’ve got soap on the surface, I prefer to use gentle water flow from that point on. With the surface now rinsed, I grabbed my trusty Adam’s Wool Mitt, which I use only for strip washes now, climbed my ladder and started washing the roof. Using the two bucket technique, I thoroughly washed every painted and glass surface, hoping to rid them of any chemicals. I’ve not used the Iron Out product and keep forgetting to order any. If I had some, I would use it at this point, after a rinse, to remove any additional contaminants remaining.

Not having read the instructions for my planned ceramic coating, I rinsed the soap in my usual fashion, which is to use a mixture of filtered water and Adam’s Detail Spray. The ceramic instructions say not to use any chemicals during the rinse. Oooops. But then I figured that, since I was going to clay the surface using Detail Spray as a lubricant, it should really matter, should it?
coUZUiAjQXa2ueXD9PEPHQ.jpg OKqEOrWXR3aUxS2vENFWgQ.jpg


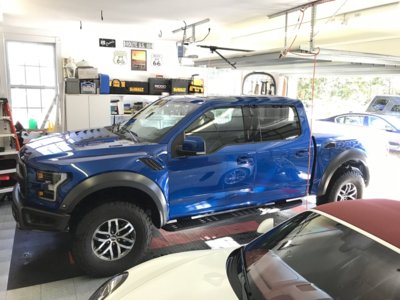
With the truck thoroughly rinsed, I used the Cordless Leaf Blower that my wife had given me the night before as an early Christmas Present, to blow most of the excess water off the truck. I usually will use a water blade (don’t care what the pros say, it works and I have never had any scratches from using it) and my metro vac for the nooks and crannies, then finish with an Adam’s Big White Drying Towel. I still used the Big White after the leaf blower and it seemed to have a lot more water to pick up than my ordinary way. Either way, I got the truck dry and at this point moved it inside.
XKXmUwIaQC6FXylWtGvbig.jpg
 
Last edited:
OP
OP
Speeddeacon

Speeddeacon

Full Access Member
Joined
Nov 4, 2018
Posts
310
Reaction score
155
Location
NC
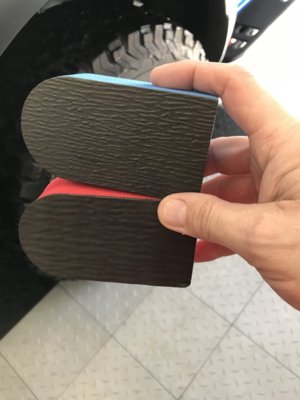
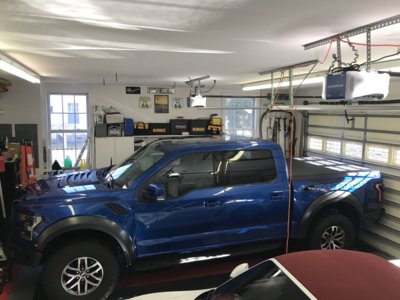
My garage is a tight fit for the truck so I had to pull it only partially inside during most of the work so I would have space to actually get to the surfaces. Next up was the “clay” treatment. Several years ago I bought a couple of synthetic clay bars to try when I ran out of clay. Turns out, that would be now because when I went to get the clay from my detailing cabinet, there was none. I bought them before Adam’s had their synthetic versions and I believe they were made by a company called Nonex, or something like that. There is no label or anything on them. I bought two different ones, a medium and a fine clay equivalent.

SBxIRyUdS%29+RKDCC3xng.jpg

Using the Adam’s Detail Spray mentioned earlier, I gave them a try. I didn’t really notice any difference between the two, so I stuck with the finest of the two for this job. Some observations about the synthetics is that it requires a fair amount more lubricant than real clay. I went through over half a bottle of it before I was finished. The other observation was that is made it so much nicer when you drop it. Notice I said when rather than if. When you drop this, you can simply wipe it off with a plush towel and you are good to go. No more throwing away expensive product. As I used it, I would occasionally feel and hear the click, click of something on the paint. A little concentration and lubricant and it was gone in no time. All in all, I’m not sure I prefer the synthetics over the real stuff, but it certain has it’s advantages. When I was finished, I wiped it all down with a Double Soft Microfiber Towel.

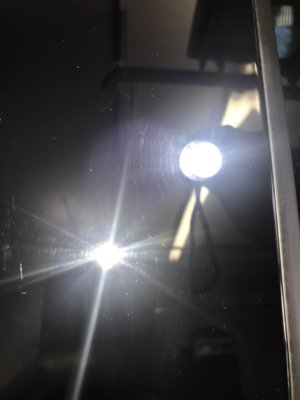
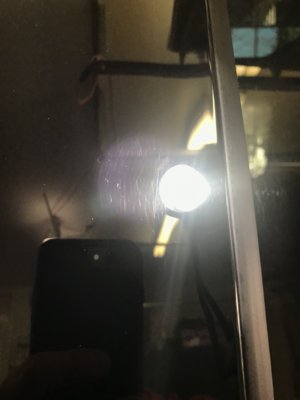
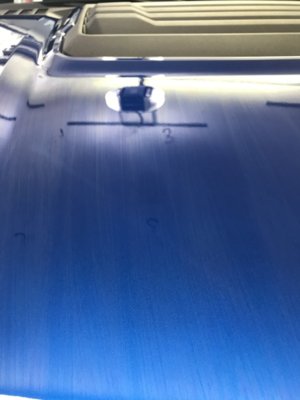
With the surface now washed, stripped and clayed, I inspected it as closely as possible for areas that needed correction. There were several areas of irregularities, both from the factory and from the miles I’d driven, such as excess paint blobs and a rock chip on the hood. The only swirls I could detect, were on the gloss black B pillars. I’m not sure if that happened at the dealership or if I somehow did it with my quick wash, but it was quite noticeable.

t+LIxAIEQWSO00lyOKEdmw.jpg

V9gkANKSSsC0ML4SHcw+5g.jpg

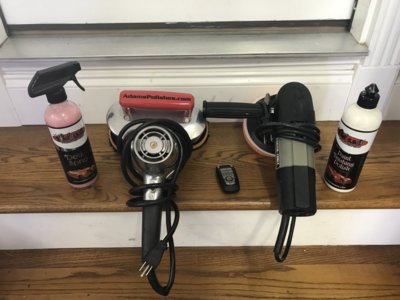
Even though I didn’t really see any swirls in the paint, I decided to go ahead with my planned polish anyway since it had never been polished and had substantial miles on it already. I pulled out my trusty Adam’s Cyclo and old Porter Cable Random Orbital and some white pads. This is where I made my amateur mistake. Normally I tape off the trim at this point, but since I planned on using ceramic and it requires the paint prep that is suppose to remove all remaining residue, I didn’t use any VRT or tape on the trim before polishing. More on this later.

VE+EzqPzSG+k7v3BMK0TOA.jpg
 
Last edited:
OP
OP
Speeddeacon

Speeddeacon

Full Access Member
Joined
Nov 4, 2018
Posts
310
Reaction score
155
Location
NC
I polished all the paint on the truck using Adam’s Paint Finishing Polish, as well as those swirl ridden B pillars. I did one section at a time, removing the residue with a single soft cloth before moving on to the next one. With all the surfaces polished and buffed, the paint was really popping and looking great. At that point, it was time to call it a day.

7wdmwV63RX+ND663NKv6Sg.jpg

O1FIyDyySTCPnGoxZPtsxg.jpg


FzuQ2ekwTJS7IWVczCwX0Q.jpg

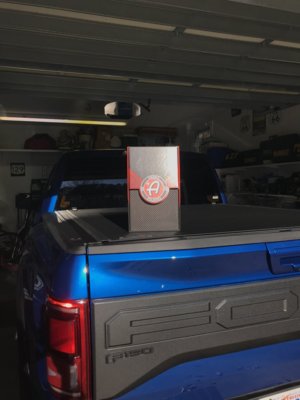
The next morning it was time to start the ceramic process. It is amazing how much dust and fuzz settles just over night. So I grabbed a Triple Soft Cloth and went over the entire truck to remove it as much as possible before getting into the ceramic application. Then I grabbed the Microfiber Towel from the kit and the Paint Prep bottle and went over the trim pieces. I noticed a bit of polish residue on the trim but with the ceramic prep, it seemed to disappear so I thought it was removed. I was ready to apply the Adam’s Ceramic Trim Coating, which I did one piece at a time using the red applicator supplied in the kit. I applied it to the trim in a cross hatched pattern, then let it sit on the surface until it was tacky. I really did’t notice the rainbow on the trim at all and it took several minutes for it to get tacky. I presume it was the cool temps that made it take so long. But eventually I got the hood intake, wheel flares, mirror surround, front grill, tailgate insert and bed rails all coated and buffed.

With the trim complete, I tossed the applicator and the towel and grabbed new ones and started out on the paint. I used the paint prep to do the section that I planned to coat, then applied the Adam’s Ceramic Coating, again using a cross hatch application technique. The rain bowing was much more evident on the paint, but it still took several minutes for it to get tacky to the touch.

K34czjhhR2W5zBen2rwIKA.jpg

While I was waiting, I would go ahead and prep the next section. Once the ceramic was tacky, I removed it with the provided Single Soft Microfiber Towel, which was very straight forward. I repeated this process until the entire truck, except the glass and tires, had been coated, including the wheels. I intended to do the barrels of the wheels by crawling under the truck and getting them from behind, but the brakes fill the wheels such that I couldn’t get my hand in to do it. A wheels off application would be required, but I didn’t take the time to do it this time. Maybe at some point in the future I’ll have them off and can get to it then. The truck looked amazing and passed the baby’s bottom feel test with flying colors.

I finished that day’s process by tackling the glass using Adam’s Glass Cleaner and Glass Cleaning Microfiber Towel inside and out. Getting to the center of the front windshield proved to be a challenge. I ended up using a squeegee to trap the towel onto the glass, which worked like a charm. Once I was pleased with the cleanliness of the glass, I sealed them with Adam’s Glass Sealant then wiped the residue with one last pass of glass cleaner and cloth.


Now all that was left was for the ceramic to cure. It was Christmas Eve, so she sat in the garage all through Christmas, and Boxing Day. 72 hours after I had applied the ceramic, I went back to finish the process by applying Ceramic Boost to add that extra level of shine and to help the curing process. Before I did, another wipe down with a Triple Soft was necessary to get the dust, etc. off the paint again. When I sprayed the first mist of Ceramic Boost onto the paint, the aroma of Amerreto filled my nostrils. This is easily, and by no small margin, the best smelling Adam’s product to date. I wanted to drink the stuff, but I resisted, enjoying the pleasing smell and effect of rubbing it only to silky smooth ceramic coated surfaces of my new truck instead. All was going terrific until I noticed my bed rail trim. The polish residue, which I thought I had removed, was noticeable once again. And now was covered in ceramic trim coating. Oh well, what was I going to do about it now. I’ll live with it for a while, but ultimately I will have to tape off the paint and remove the ceramic trim coating with a polisher.

Once I was finished with the Ceramic Boost, I turned my attention to the interior. Thankfully it was still fairly clean, so a good vacuum, wipe down with Adam’s Interior Detailer and Adam’s Leather Conditioner were all it took to complete the task. I forgot to snap some shots of it for this post, but we all know what a detailed interior looks like anyway.

Now it was time to put my wife’s car back in the garage. The truck will live outside, which is one of the reasons I wanted to ceramic the finish as opposed to a traditional wax or synthetic sealant.
 
Last edited:
OP
OP
Speeddeacon

Speeddeacon

Full Access Member
Joined
Nov 4, 2018
Posts
310
Reaction score
155
Location
NC
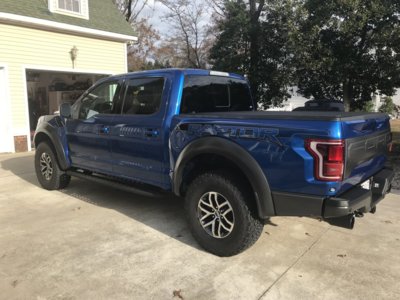
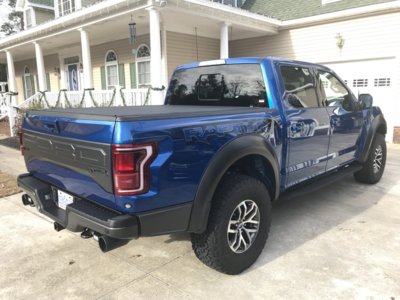
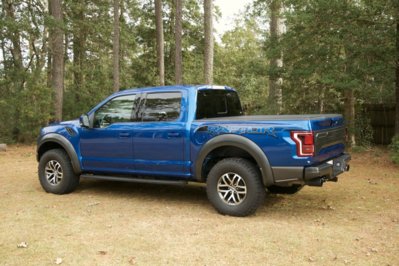
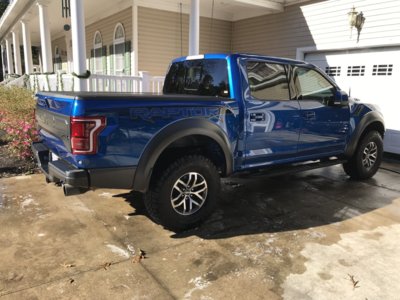
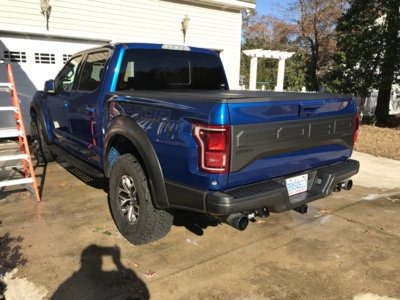
Here are a few pictures of the final result.

%0Gp7LjDT+CQoTPe6pDE1w.jpg

9+FyUB4XSSygJmdP3rf7yQ.jpg OrJNTvgiRqq7ELmDs6U+3w.jpg

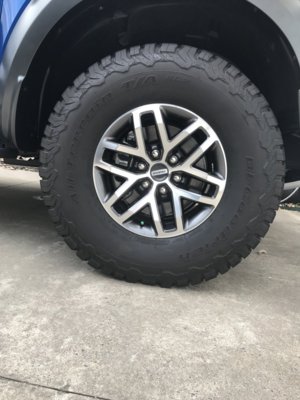
I'm not a fan of shine on tires. I do sometimes use VRT, but this time I felt that this big rubber looked best just being clean. It won't last long anyway.

fullsizeoutput_15ae.jpeg fullsizeoutput_15ac.jpeg
 
Last edited:

AdamsPolishes

Supporting Vendor
Supporting Vendor
Joined
Mar 15, 2013
Posts
3,210
Reaction score
2,342
Great job, awesome results! Thanks for the great write-up, and the fantastic photos!

Sorry to hear about the issue with the polish residue on the trim. It sounds like the Coating Prep masked the residue, and did not remove it all. When planning a ceramic coating on the trim, it is best to mask off the trim when polishing. You should not use VRT on the trim when polishing, since it would not be easily removed by wiping with Coating Prep, and would then interfere with the Trim Coating. Since the polishing residue would also interfere with the Trim Coating, I would suggest trying to remove this residue by scrubbing the residue areas with Tire & Rubber Cleaner during your next wash, using a tooth brush. After the trim dries, check to see that the residue was removed, and then re-apply Trim Coating to these areas.

Also, iron decon can be done with Wheel Cleaner. Both the Iron Remover and Wheel Cleaner have the same iron-dissolving chemical, but the Iron Remover is a thinner product to allow it to spread out better over the paint.
 
Top