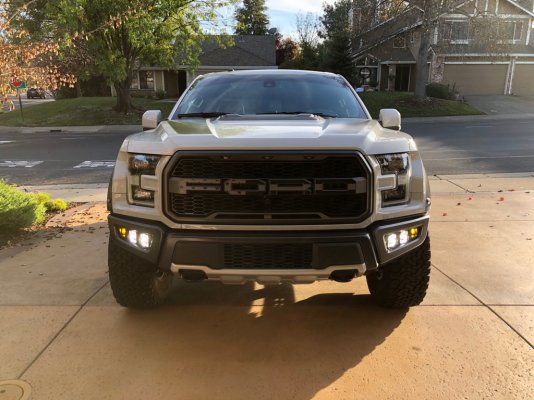
To review my install, it took probably 3-4 hours today since I had to perform several steps multiple times since there were no step-by-step directions.
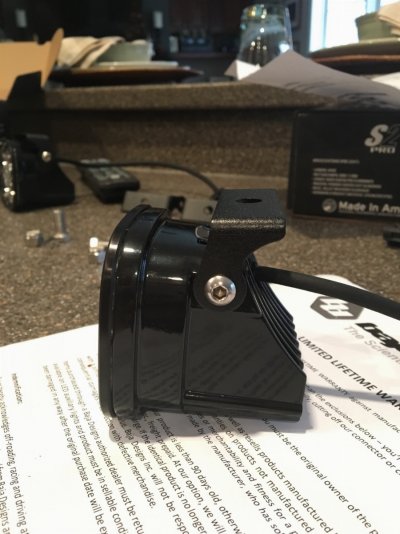
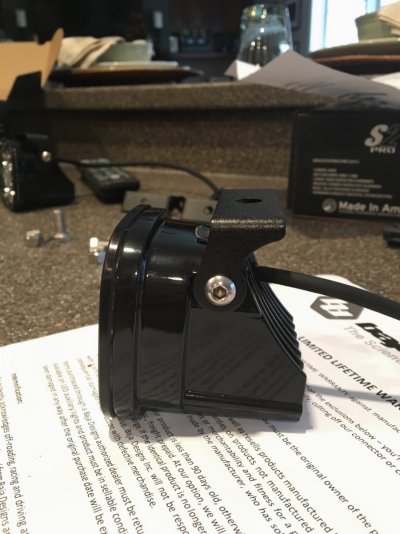
Last night I spent some time unboxing the lights and mounting the lights to the bracket. Turns out I had to remount them since I didn't know which one was drivers side vs passenger side. (This is where there should be an imprint or at least a descriptive tape to identify the drivers vs passenger bracket.) I inserted the large bolt in first since I noticed I couldn't insert it while the two side screws were in holding the light. Ended up galling two of the bolts when mounting to the bracket. Tightened them up and this is where I said oops, wrong side. Removed all of the lights and then tried to loosen them and had to use a 12" crescent with the bolt in the vise. Lots of force to remove them! Went to Home Depot then Lowes and nobody had stainless steel bolts, ended up with 8 gauge bolt and lock nuts. Replaced them all.
On to today...
Decided to leave all of the lights off the bracket and mount them first. This is where there were some instructions. Ended up removing a 1/2" bolt next to where you insert the one bracket bolt. My mistake. Put the bolt back. Looked at the instructions again and found the pack of bolts, nuts and washers. (Should have been labeled that this pack is used to mount both of the plates.)
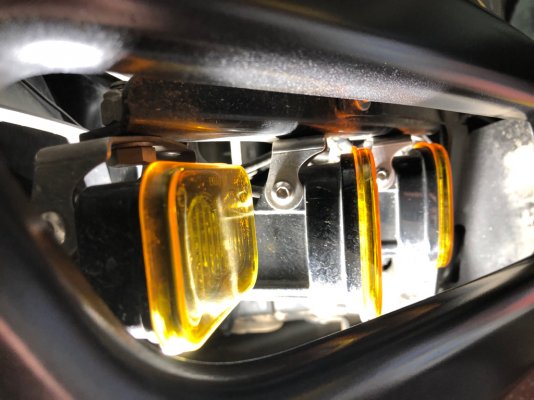
Mounted the Driver side plate with the brackets already installed 99% tight. They moved a little. At this point I decided to run the cables before I mounted the lights and then moved to the passenger bracket.
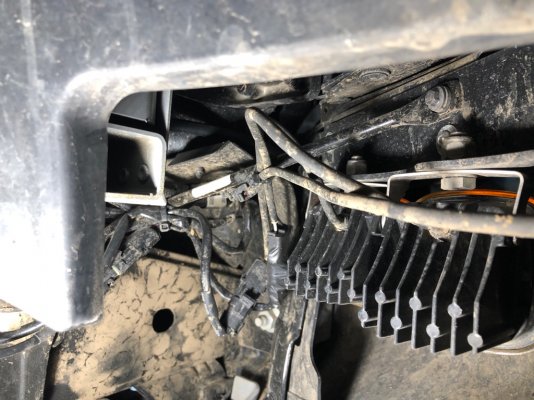
No instruction on which cable goes where, yes a little common sense comes into play but a quick inserted note into each bag would be extremely helpful. Decided to run the cable where there was a 1"x1" space just about 1" higher then the bracket. I noticed the space went from drivers side to passenger side. Used an approximately 3' wooden dowel rod and taped the wiring harness to it. Then pushed it through. Ended up pushing the incorrect harness (one of the 55" ones) or if they were exactly the same, ended up pushing the wrong side through. Removed it and pushed it from the passenger side to drivers side. Then ran the other cable for the s2 lights. Ended up using some yellow electrical tape on both ends of the s2 lights to differentiate that harness from the other one. Did the same with the up/down cable which connects to the upfitter wires.
Back to the drivers side bracket, mounted the lights and it was tough to fit my fingers in there and ensure the lock washers don't fall while inserting the screws. Finally got them installed and decided to mount the lights to the passenger bracket before mounting the bracket. Much easier to install the lights and easier to install the bracket. Just heavier to hold and insert the bracket screws.
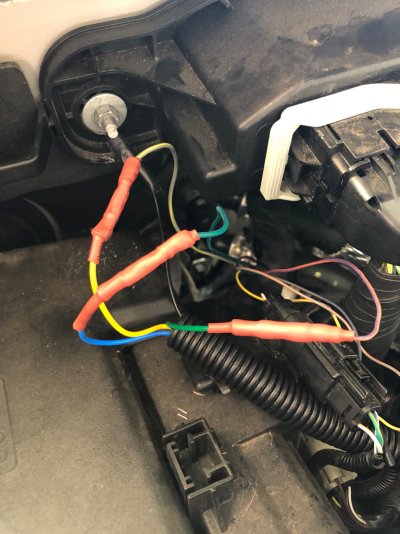
Ran the power cables down to each wiring harness and snapped them together and wire tied it all to look good.
Already had some single wire
Muyi connectors and used one to connect to the upfitter switch. Then ran a 1' extension wire. The extension wire is what I used to snap into the supplied connector. Hooked up both grounds and done. Switch 1 for the main lights and 5 for the S2 sports.
If there was a youtube installation video I probably could have performed the install in less time (less mistakes.)
Lights look great and perform great. Just need to adjust them a little.
Sending in the Rebate tomorrow.


