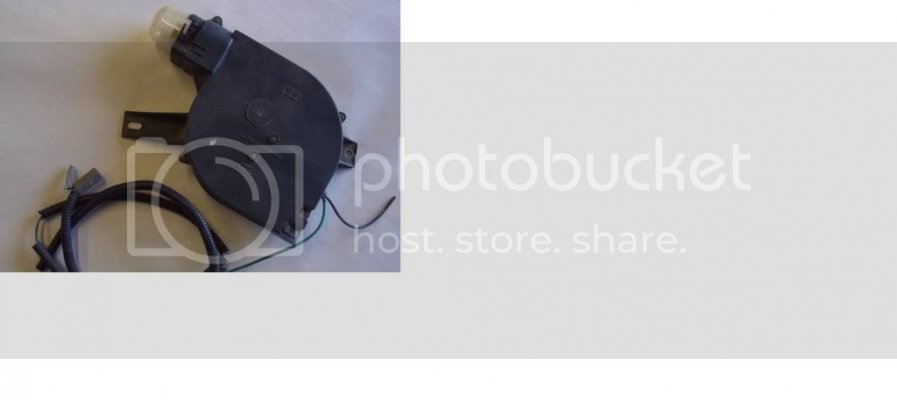
Ford Raptor Under Hood LED Light
Tools needed:
10mm socket
Adjustable wrench
2 zip ties
Difficulty:
1 2 3 4 5 6 7 8 9 10
Time:
10-30 minutes
I couldn't seem to find the post but I remember distinctly that back around the time FRF started I made a comment of how ridiculous it is that the Raptor (or F-150) doesn't have an under hood light. My 1983 Buick LeSabre had an under hood light for crying out loud.
Well, SDHQ nailed it and I decided it was time to put my money where my mouth is. Here is a short install tutorial to help you guys out, although it's very easy to do.
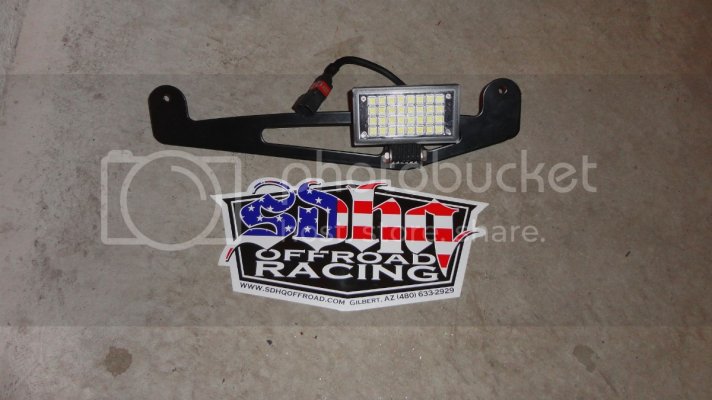
Here's what comes in the box:
Vision X Utility Flood LED - 500 Lumens
SDHQ hood bracket
Wiring adapter cord
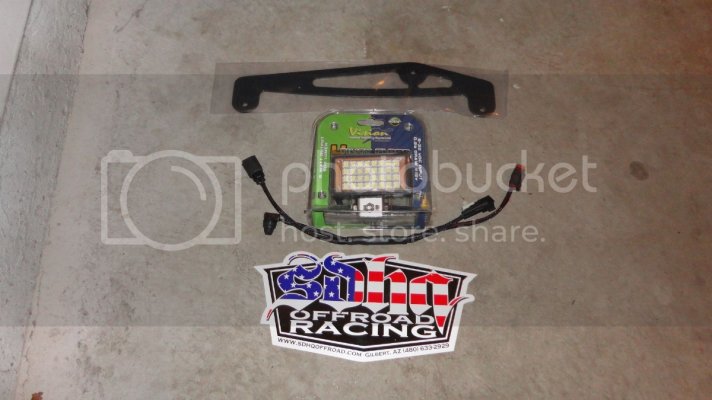
*A note on the adapter cord. It appears SDHQ used the Ford factory harness plugs for the LED grille lights. As such, there is a white retainer pin on the male plug but it is not used in this application (unless you want to drill a hole to give it a home).
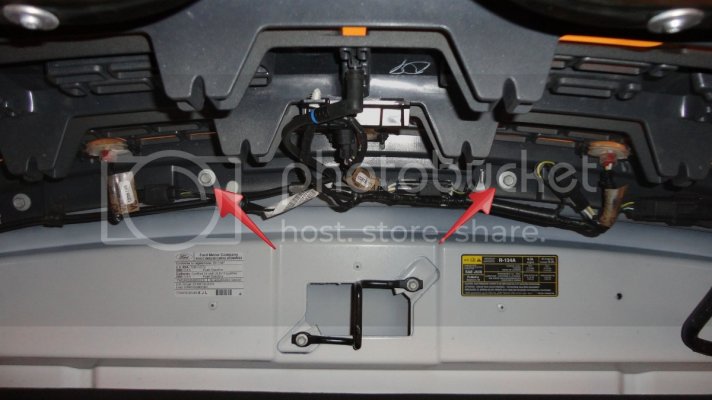
Step 1.
Remove the 2 grille bolts on either side of the hood latch strike using a 10mm socket.
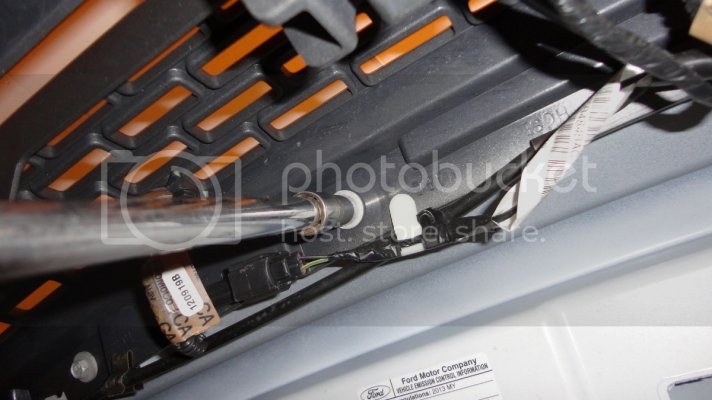
Step 2.
Install the Vision X Utility Flood LED to the SDHQ bracket and tighten the nuts using a 10mm socket and an adjustable wrench. I installed the LED so it's oriented to the right of the hood latch strike when installed.
Step 3.
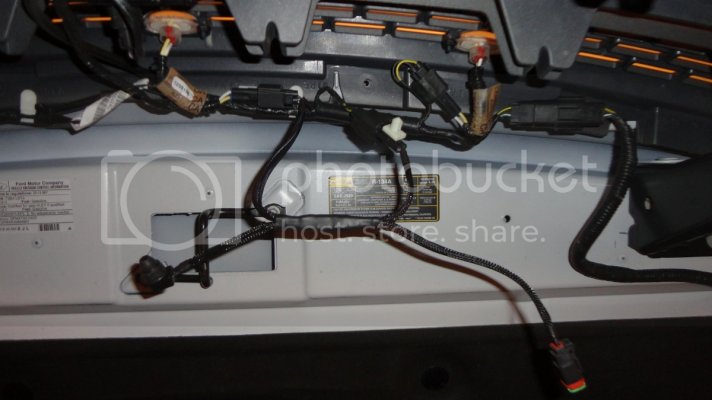
Install the wiring adapter cord. I used the plug from the "middle" LED grille light. Just depress the clip and pull apart.
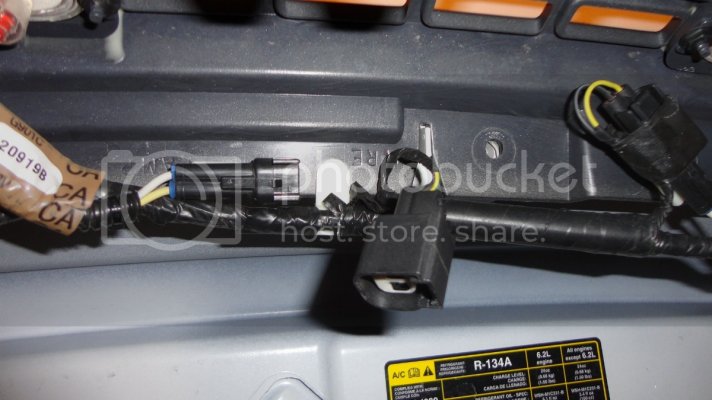
Plug the female end of the adapter cord in to the male grille LED plug.
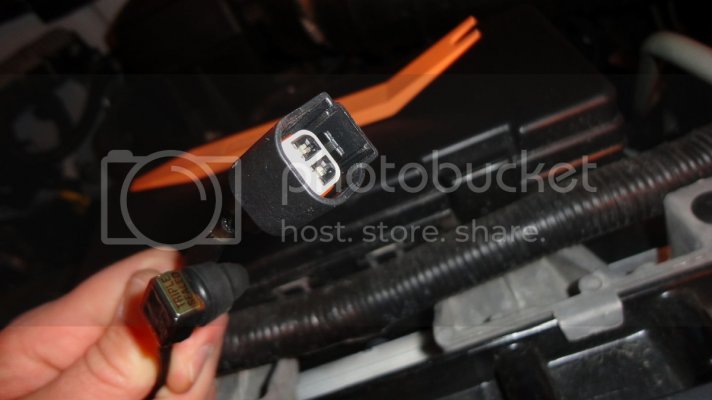
Complete the circuit by plugging the male end of the adapter cord back in to the female grille LED plug.
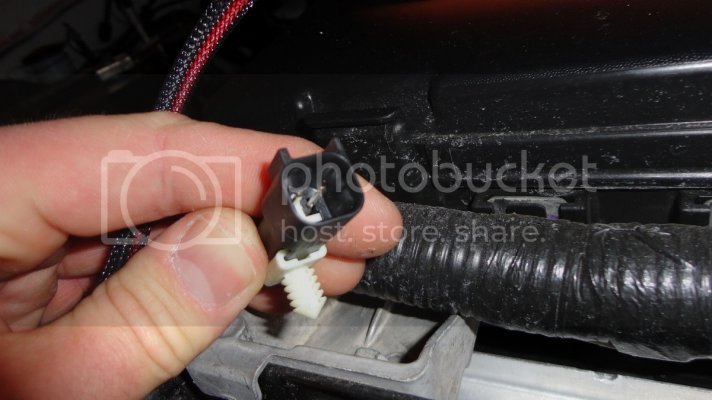
You will have this. The plug on the right with the green goes to the Vision X LED flood and the On/Off switch is there on the left.
Step 4.
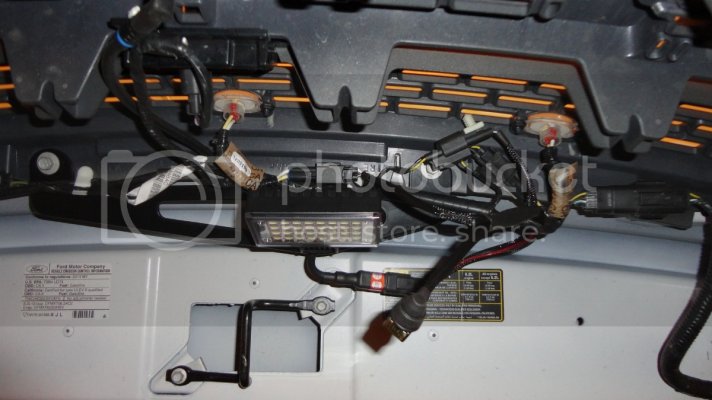
Secure the SDHQ bracket to the hood using the grille bolts you removed earlier. Slide the bracket tabs under any wiring. Route the wire from the Vision X flood through the cutout in the SDHQ bracket. Plug in the Vision X LED flood.
Step 5.
The wiring adapter cord provided by SDHQ is plenty long to get creative with how you secure and route any excess wiring. I routed most of the wiring up and behind the bracket and used 2 zip ties to secure the wiring and On/Off switch.
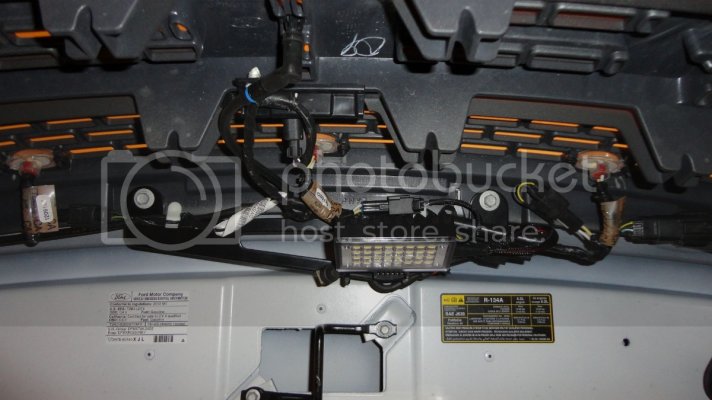
Now for the moment of truth! Your LED grille lights need to be ON, and then hit the switch for the Vision X flood!
Before:
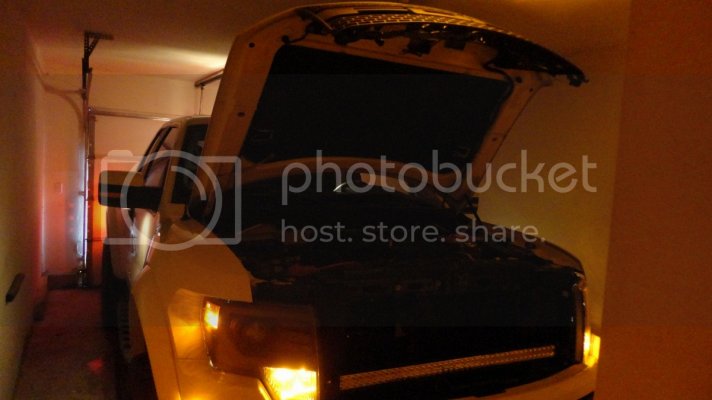
After:
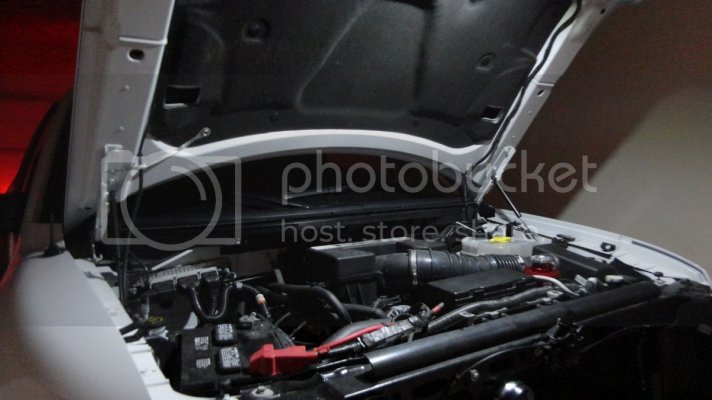
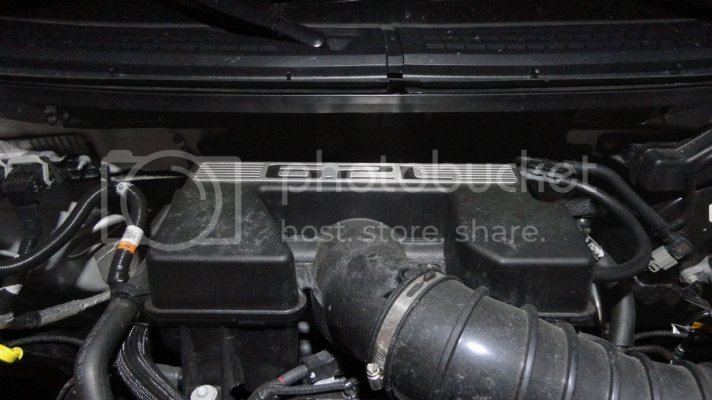
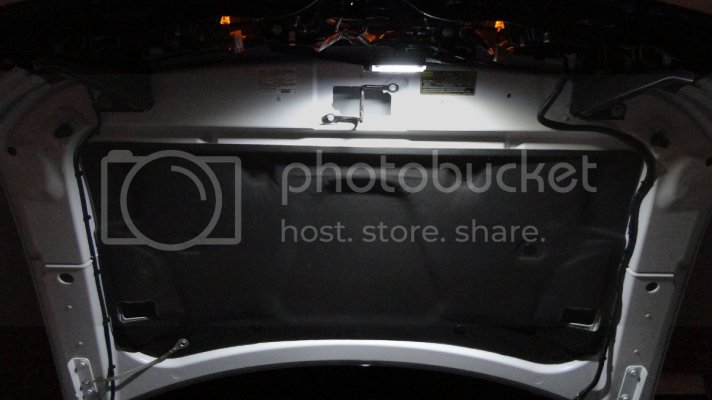
Review:
The light is SUPER bright, excessively bright even (and we all love excess
 ). You can see straight down to the floor from your engine bay.
 For me this light will come in handy during oil changes, fluid checks, engine bay cleaning, product installs under the hood, etc.
Then there's the added peace of mind that if you need to give a jump start or god forbid you're stranded on the side of the road you will have plenty of light under the hood. Your Raptor isn't ready for the zombie apocalypse without this mod! Overall I am very impressed with the packaging, fit/finish and quality of the package SDHQ has put together. Worth every penny IMO.
Let me know if you have any questions!


