Coolant flush
What you need:
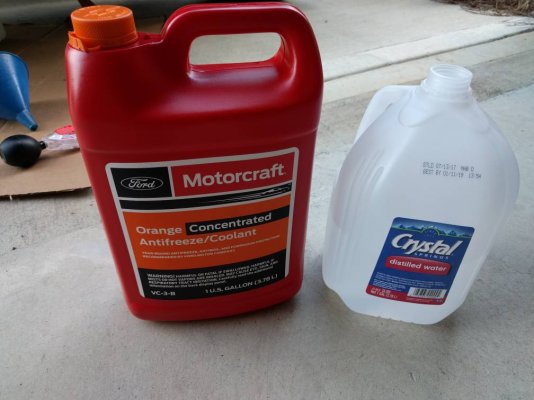
-3 gallons Motorcraft Orange Coolant VC-3-B or compatible

-3 to 5 gallons distilled water (can be purchased from most chain grocery stores)
-Large drain pan or big aluminum pans you get for cookouts
-Shop towels
-Clean funnel
-Pliers (I used needle nosed pliers)
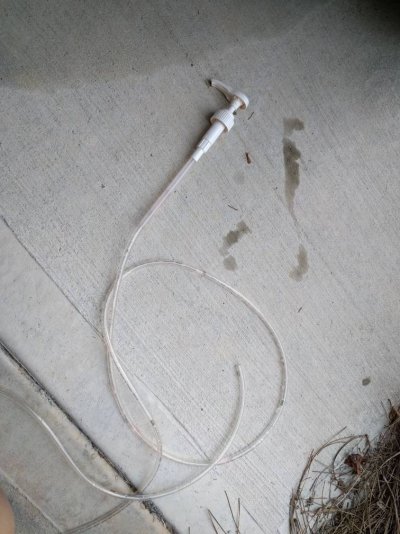
-Hand pump or vacuum pump

Steps:
1. Make sure your engine is cool. You do not want to perform this job on a hot engine!
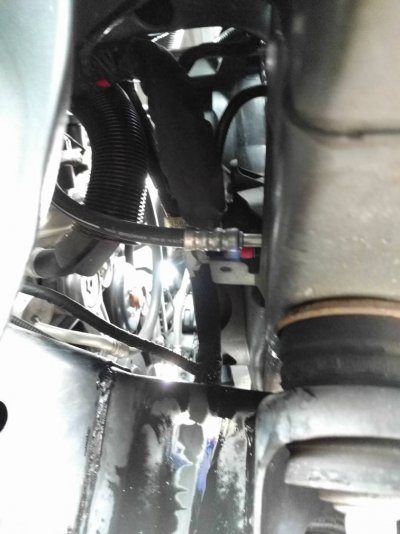
2. Locate your radiator drain plug. It is located on the passenger side corner of the radiator with a red plastic plug. Before loosening the plug, you want to move your drain pan underneath to catch the coolant. You can also use some foil to make a makeshift funnel so the coolant doesn't splash all over the frame rail.

3. Next you want to begin loosening the drain plug. You may need to use the pliers to break it loose.
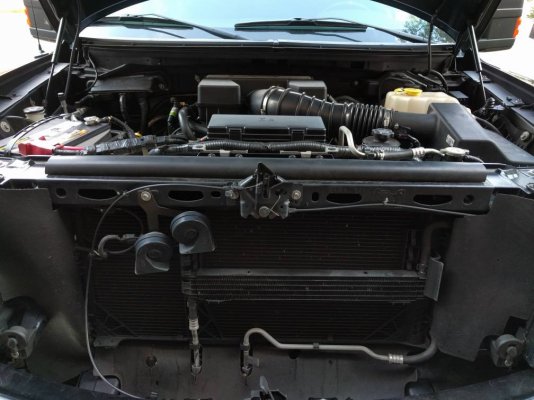
4. Once the plug is loose and there is the coolant is flowing, you can loosen radiator cap at the top of the radiator. It is a silver metal cap on top of the radiation on the driver's side. Once you remove the cap the coolant will drain much quicker.

5. While the radiatior is draining, get your pump with a long hose and begin to pump out the coolant from the coolant reservoir tank, located on the driver's side it's a big semi-transparent tank with a yellow cap. Pump out as much as you can.
6. Once the radiator is done draining, you can begin mixing your coolant. If you have an empty 1 or more gallon bottle this will come in handy. If not, it is not necessary. You can begin by measuring half parts coolant and half parts distilled water and adding to your coolant reservoir tank until you have reached the top of the cold fill line.
7. Next, you can cap the reservoir tank and tighten your radiator drain plug. Place your clean funnel on the radiator filler neck (where you removed the radiator cap). Begin filling with distilled water ONLY. You may want to fill slowly as there will be lots of air trapped in your system causing the water to burp back out.
8. Continue filling until completely full to the top of the fill neck. Then, grab the large rubber hose connected to the top of your radiator and squeeze it a few times. This should burp some more air out allowing you to fill with more water. Repeat this process a few more times until you can no longer add water.
9. With the radiator cap still off, now you can start your Raptor and make sure to set your heater on full blast. You need to let the truck run for roughly 10-20 minutes until the radiator fans have kicked on at least 2 times to circulate the fresh distilled water into the system. You can also move your truck to a slight incline so that it is sitting nose high. This will help push air out of the system as well.
10. You should see that the radiator has sucked some water in and you can now add more water. Continue adding until full over the next 10-20 minutes.
11. Once added to the brim, you can screw on your radiator cap and take the truck for a quick drive. 10-20 minute drive would be best. While on your drive, monitor your coolant temperature to ensure there is no overheating and continue to have the heater on full blast.
12. Upon returning from your drive, you want to let the engine cool down for 30 minutes and then repeat draining/refilling your radiator and then taking it for a short drive to mix it all. It's unnecessary to drain/refill the reservoir tank.
13. After repeating the process the 3rd time, I added straight coolant to the radiator the 4th and 5th time. This gave me a close enough 50/50 ratio as verified with a coolant tester. You can verify your work if your drain pan is clear or if you transfer to clear bottles. My first drain was much darker than the 2nd, the 2nd darked than the 3rd, and so on.
14. Make sure you final fill is topped off completely and your coolant reservoir tank is in range. Don't forget your radiator cap!


