All,
My 2010 SVT Raptor has 2600 miles on it as of today. I've been out to Anza Borrego desert twice so far, and one Gorman event.
Due to a previous thread in this section, I was curious about checking my factory filter.
Here is what I found and what you will need.
First you will need:
A Ford SVT Raptor
Common Sense
A medium size flat head screwdriver
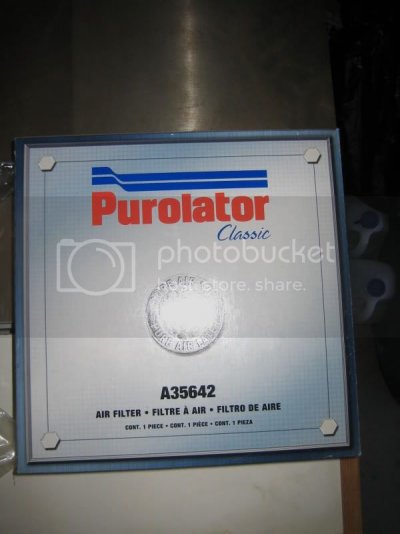
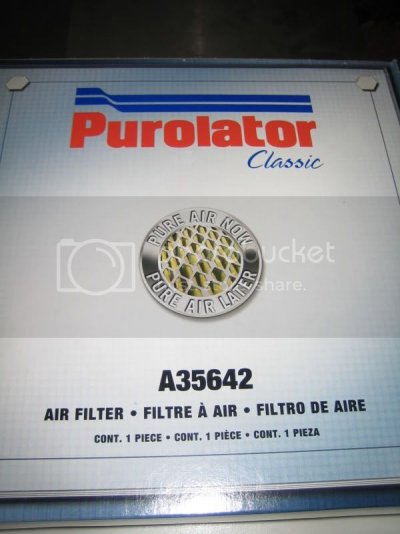
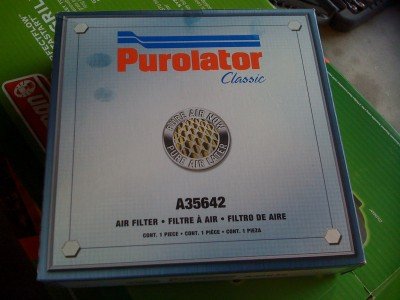
A replacement air filter (I used a Purolator A35642)
Here is the new filter! $19.99 at Pep Boys
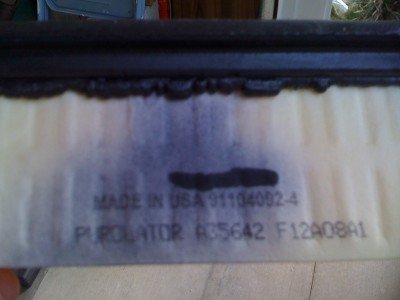
Ok....here is how we change/check the filter.
Step 1 - Park the truck and apply the parking brake. Make sure transmission is in Park. You might want to wait a while until your truck cools down as you will be working near the radiator, otherwise be mindful of the heat.
Step 2 - Pop the hood using the latch inside the cabin near the left footwell. Prop up the hood and make sure it is all the way open.
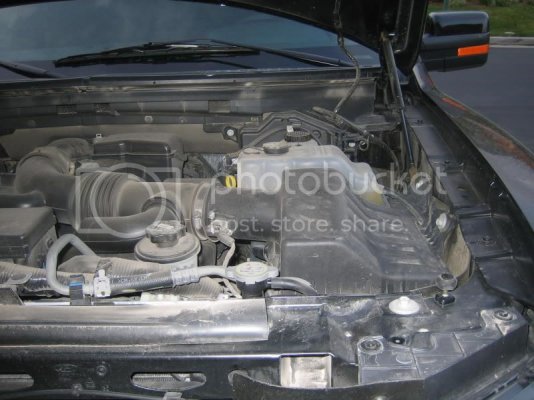
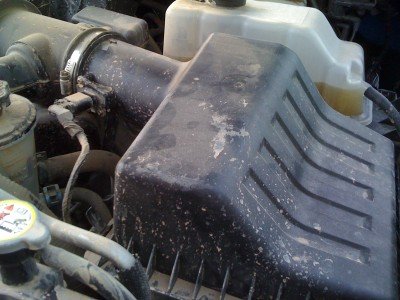
Step 3 - Identify your air filter housing. It's on the driver's side of the vehicle and it's the largest square looking thing near the driver fender. Here is a picture:
Step 4 - On the left hand side of the filter housing (as you are looking at it standing in front of the Raptor) you will see three or four "hold downs" Simply prise them to the left. They do not get removed from the housing, they simply click away.
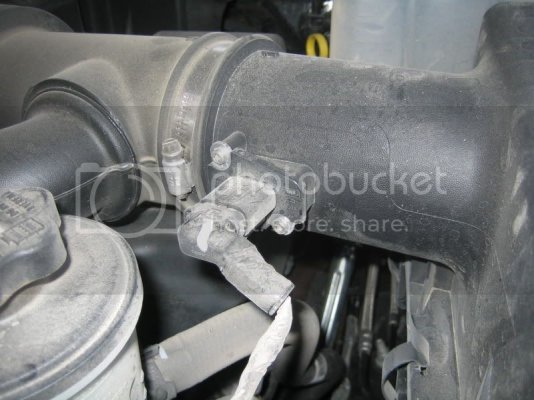
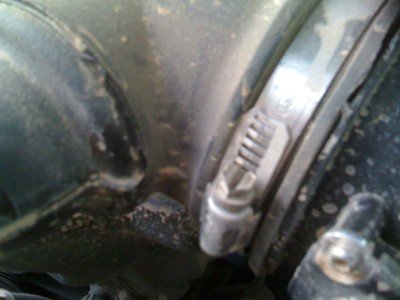
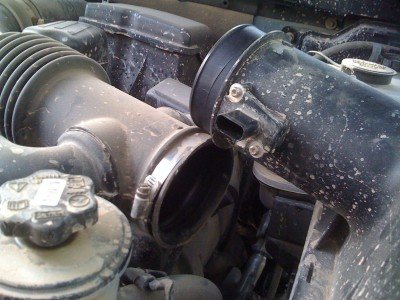
Step 5 - You will need to unscrew one screw holding the MAF intake hose. See below:
Step 6 - Undo the MAF electrical connector. There is a RED plastic tab on the bottom that you will slide out towards you. It will unlock the connector and you can pull it gently out.
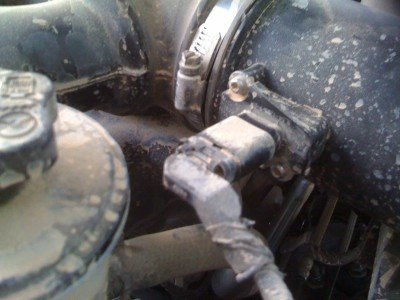
Step 7 - Now gently pull the filter housing away from the MAF/Intake hose. The plastic filter housing will pivot towards the retaining slats on the driver's side portion of the housing. See below:
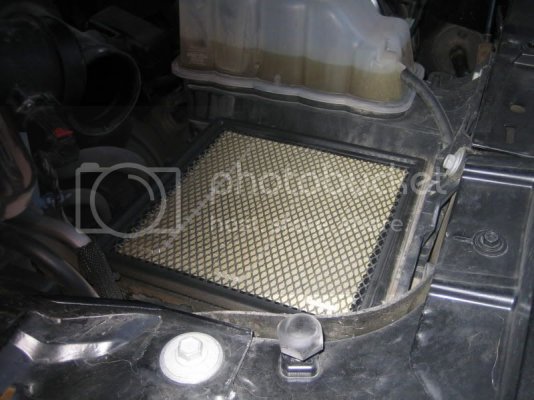
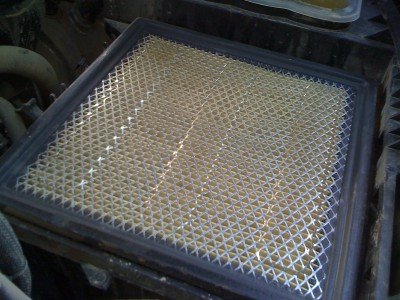
Step 8 - This is the TOP of your air filter. Remember this when you replace it. It looks clean because it should be. All the dirt and junk is trapped underneath!!
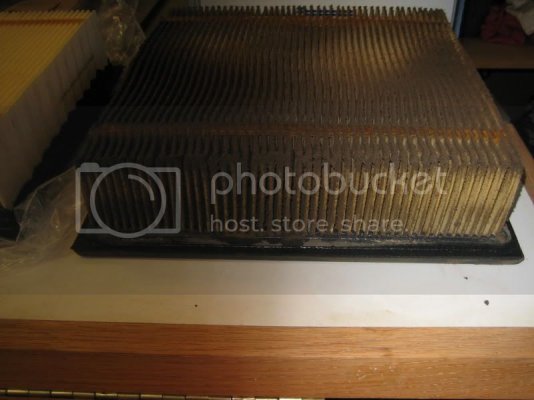
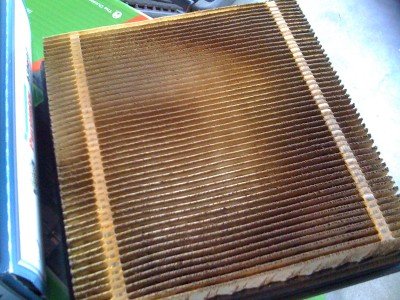
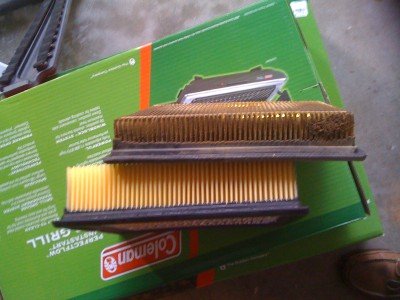
This is a DIRTY filter and it's only been in the truck 2600 miles!!
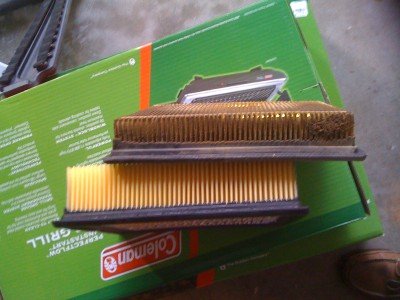
Here is the NEW FILTER on the LEFT and the old, dirty filter on the RIGHT:
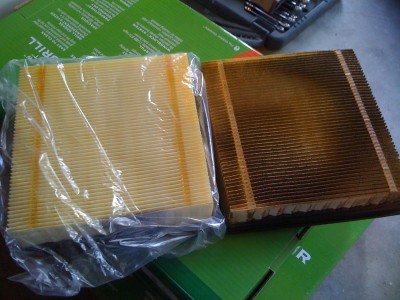
Notice how THICK the new filter is compared to the old one!! Don't fear, it will fit in the filter housing just fine. See the dirt caked on the old filter in the corner? :shock1:
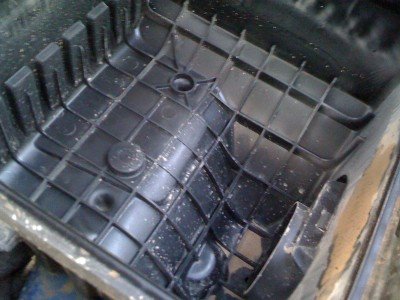
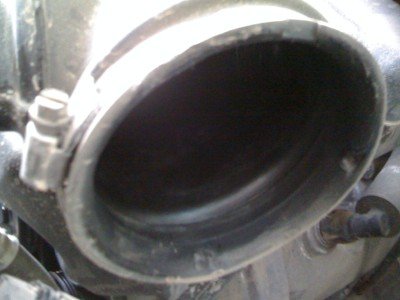
Step 9 - Inspect the inside of the filter housing after you remove the old filter. Clean out any loose junk and be mindful not to blow any dust or dirt INTO the MAF/Intake hose!!
The Purolator A35642 is currently made in AMERICA! Please try to support the USA with not just your vehicle purchase but also your parts!
Hope this thread helps everyone out!
My 2010 SVT Raptor has 2600 miles on it as of today. I've been out to Anza Borrego desert twice so far, and one Gorman event.
Due to a previous thread in this section, I was curious about checking my factory filter.
Here is what I found and what you will need.
First you will need:
A Ford SVT Raptor
Common Sense
A medium size flat head screwdriver
A replacement air filter (I used a Purolator A35642)
Here is the new filter! $19.99 at Pep Boys


Ok....here is how we change/check the filter.
Step 1 - Park the truck and apply the parking brake. Make sure transmission is in Park. You might want to wait a while until your truck cools down as you will be working near the radiator, otherwise be mindful of the heat.
Step 2 - Pop the hood using the latch inside the cabin near the left footwell. Prop up the hood and make sure it is all the way open.
Step 3 - Identify your air filter housing. It's on the driver's side of the vehicle and it's the largest square looking thing near the driver fender. Here is a picture:

Step 4 - On the left hand side of the filter housing (as you are looking at it standing in front of the Raptor) you will see three or four "hold downs" Simply prise them to the left. They do not get removed from the housing, they simply click away.
Step 5 - You will need to unscrew one screw holding the MAF intake hose. See below:

Step 6 - Undo the MAF electrical connector. There is a RED plastic tab on the bottom that you will slide out towards you. It will unlock the connector and you can pull it gently out.

Step 7 - Now gently pull the filter housing away from the MAF/Intake hose. The plastic filter housing will pivot towards the retaining slats on the driver's side portion of the housing. See below:

Step 8 - This is the TOP of your air filter. Remember this when you replace it. It looks clean because it should be. All the dirt and junk is trapped underneath!!

This is a DIRTY filter and it's only been in the truck 2600 miles!!

Here is the NEW FILTER on the LEFT and the old, dirty filter on the RIGHT:

Notice how THICK the new filter is compared to the old one!! Don't fear, it will fit in the filter housing just fine. See the dirt caked on the old filter in the corner? :shock1:

Step 9 - Inspect the inside of the filter housing after you remove the old filter. Clean out any loose junk and be mindful not to blow any dust or dirt INTO the MAF/Intake hose!!


The Purolator A35642 is currently made in AMERICA! Please try to support the USA with not just your vehicle purchase but also your parts!
Hope this thread helps everyone out!


